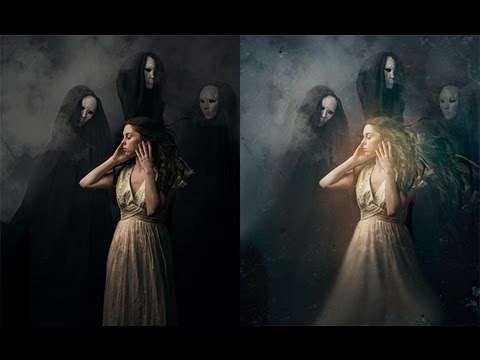
There’s a particular kind of client image that sits in my queue and stresses me out: the one that’s technically perfect but feels weirdly flat. Sharp, well-exposed, good composition. And yet something about it just doesn’t breathe. I’ve wasted more hours than I’d like to admit throwing adjustment layers at that problem, hoping a curves tweak or a color grade would somehow inject life into a photograph that needs something more textural. What I actually needed was to stop being afraid of the smudge tool.
In this Aaron Nace (PHLEARN) tutorial, Watch the full tutorial on YouTube, Aaron works through a moody self-portrait by photographer Amelia Fletcher, the kind of image that already has strong bones but needs atmosphere to really land. The setup: a figure with a ghost-like second character, smoke and fog in the background, and some sharp edges that are pulling focus away from the overall eerie mood. His fix involves two tools that most Photoshop users either ignore or actively avoid. This is what changed how I approach stylized portrait work.
Step 1: Duplicate Your Background Layer First
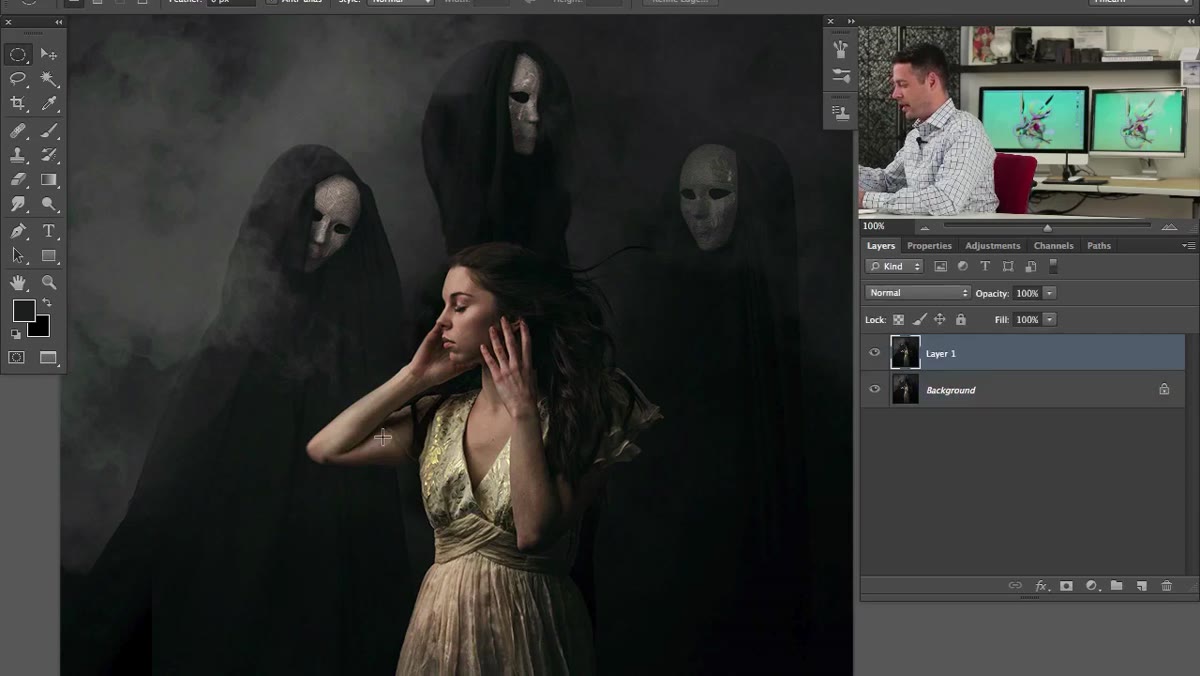 Duplicating background layer with Command-J shortcut
Before touching a single pixel, hit Command-J (Ctrl-J on Windows) to duplicate your background layer. This should honestly be tattooed on every Photoshop user’s hand, but it matters even more here because both the smudge tool and the clone stamp are destructive by nature. They change the actual pixel data, and there’s no blending mode toggle that’ll save you if you decide you hate what you did. The duplicate is your escape hatch. Keep the original locked at the bottom and never touch it again.
Duplicating background layer with Command-J shortcut
Before touching a single pixel, hit Command-J (Ctrl-J on Windows) to duplicate your background layer. This should honestly be tattooed on every Photoshop user’s hand, but it matters even more here because both the smudge tool and the clone stamp are destructive by nature. They change the actual pixel data, and there’s no blending mode toggle that’ll save you if you decide you hate what you did. The duplicate is your escape hatch. Keep the original locked at the bottom and never touch it again.
Step 2: Select the Smudge Tool and Set Your Strength
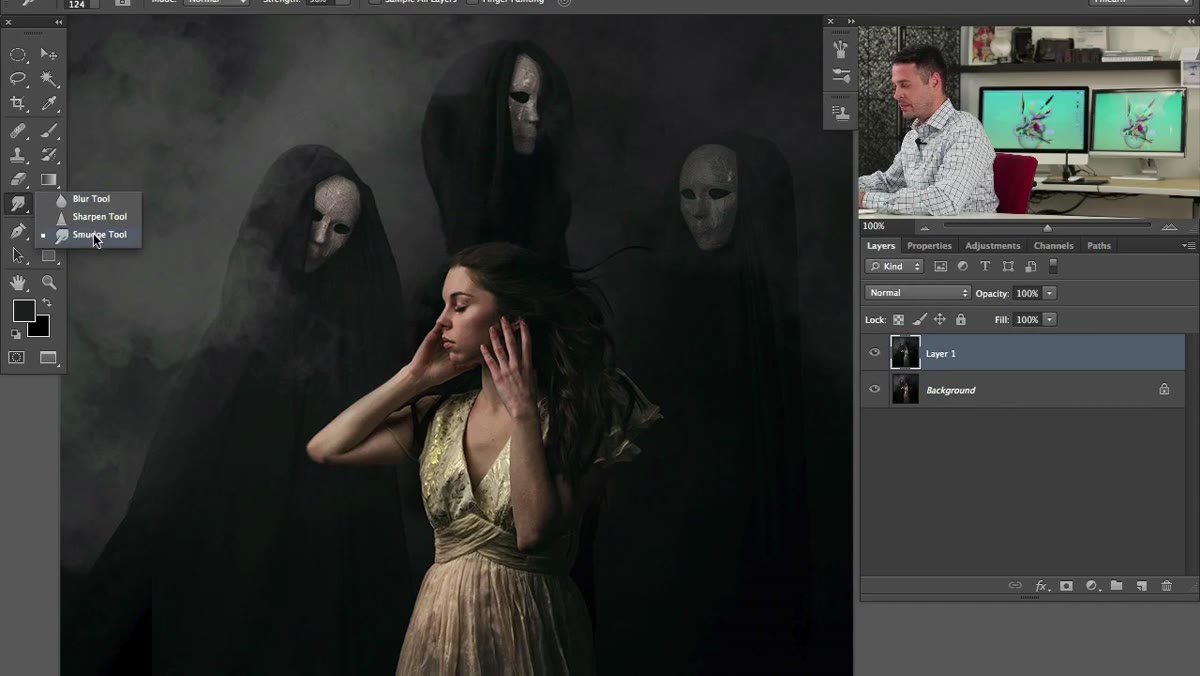 Smudge tool selected in toolbar, strength at 50%
Find the smudge tool in your toolbar. It lives in the same group as the blur and sharpen tools, the little finger icon that looks like it belongs in a 1990s clip art library. Once you’ve got it selected, set your strength to around 50% in the options bar at the top. This is the most important setting. Too high and you’re going to smear pixels into something that looks like a glitch art project. Too low and you’ll be clicking forever and barely seeing any change. Fifty percent is the sweet spot for subtle atmospheric work, giving you control without making every stroke a commitment.
Smudge tool selected in toolbar, strength at 50%
Find the smudge tool in your toolbar. It lives in the same group as the blur and sharpen tools, the little finger icon that looks like it belongs in a 1990s clip art library. Once you’ve got it selected, set your strength to around 50% in the options bar at the top. This is the most important setting. Too high and you’re going to smear pixels into something that looks like a glitch art project. Too low and you’ll be clicking forever and barely seeing any change. Fifty percent is the sweet spot for subtle atmospheric work, giving you control without making every stroke a commitment.
Step 3: Identify the Hard Edges That Are Breaking the Mood
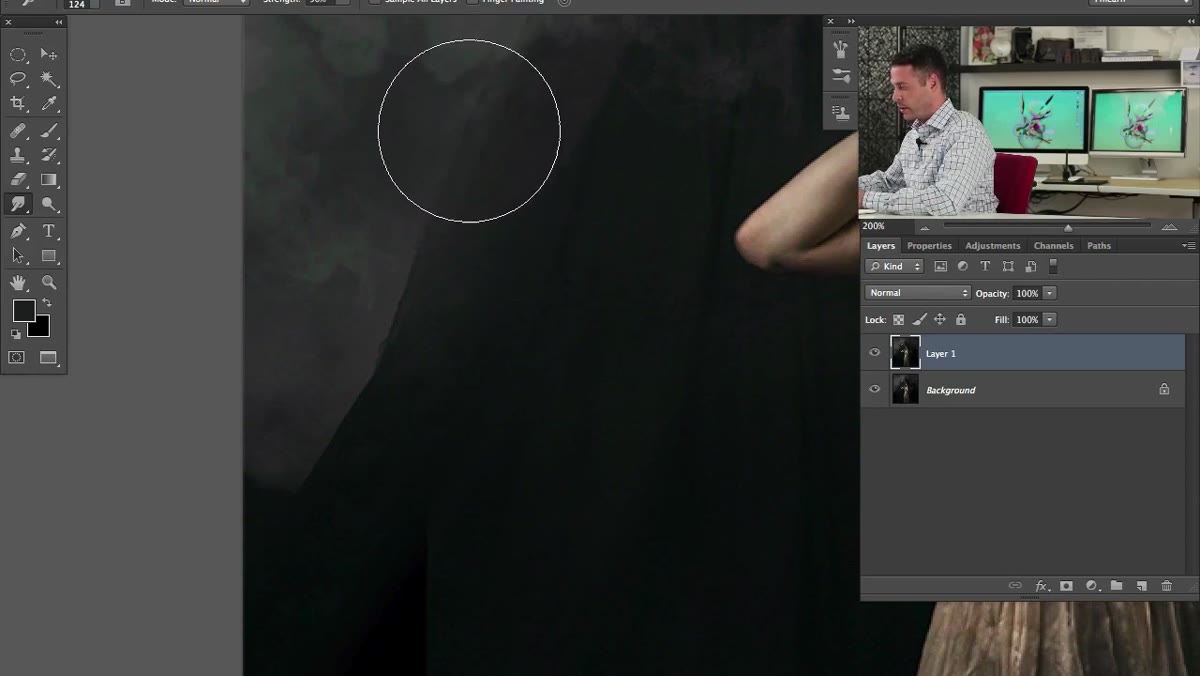 Zoomed in view showing hard edge on ghost figure
Zoom in to around 100% and actually look at your image. In Aaron’s example, the ghost-like figure in the portrait has a relatively sharp, defined edge, which is exactly the kind of thing that snaps a viewer out of the atmosphere you’re trying to create. Ghosts, smoke, fog, hair falling across a dark background, any subject matter that is supposed to feel ephemeral will be undermined by a crisp, clean edge. This step is diagnostic. Take a minute to identify which edges are doing storytelling damage before you start smudging anything.
Zoomed in view showing hard edge on ghost figure
Zoom in to around 100% and actually look at your image. In Aaron’s example, the ghost-like figure in the portrait has a relatively sharp, defined edge, which is exactly the kind of thing that snaps a viewer out of the atmosphere you’re trying to create. Ghosts, smoke, fog, hair falling across a dark background, any subject matter that is supposed to feel ephemeral will be undermined by a crisp, clean edge. This step is diagnostic. Take a minute to identify which edges are doing storytelling damage before you start smudging anything.
Step 4: Work the Smudge Tool Along Problem Edges
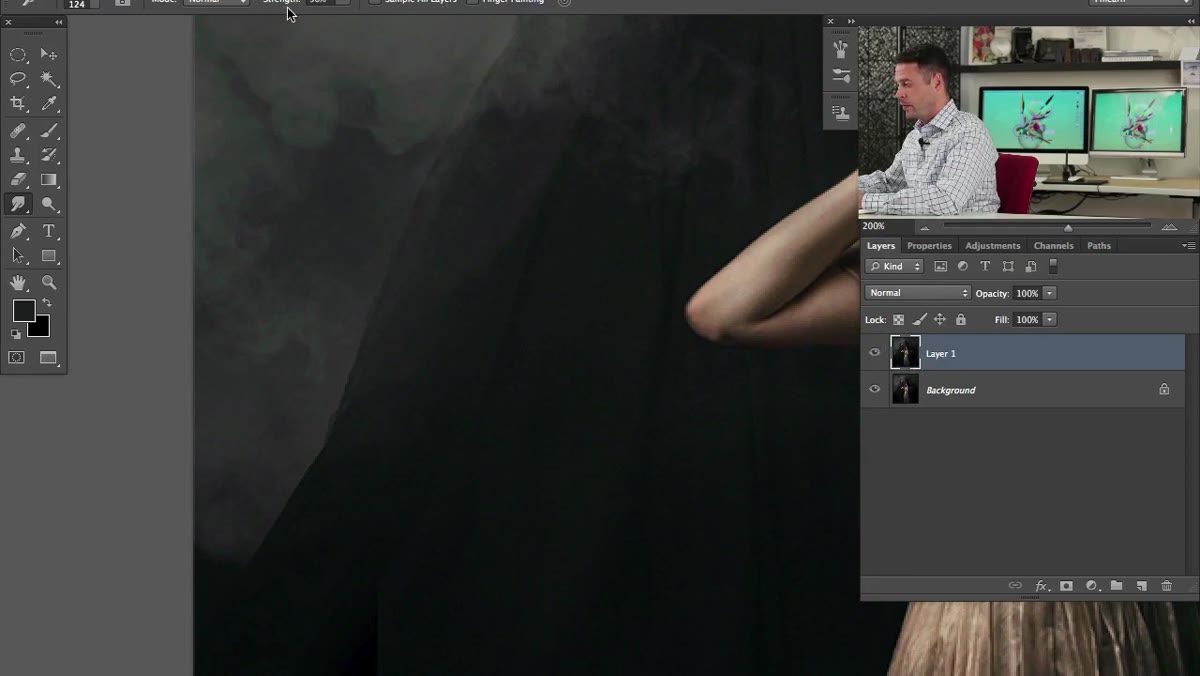 Smudge tool applied back and forth along ghost figure edge
Now here’s the actual technique. Take a medium-to-small brush and drag back and forth along the edges you identified. You’re not trying to erase the edge entirely. You’re softening it, blurring the transition so that the eye doesn’t snag on it. Aaron drags horizontally across the edge of the figure, pulling pixels in both directions to break up the hard line. Adjust your brush size as needed. Tighter areas need a smaller brush. The goal is for the edge to look like it fades into the background rather than sitting on top of it. This is the same logic painters use when they intentionally leave background elements out of focus to push the viewer’s attention toward the subject.
Smudge tool applied back and forth along ghost figure edge
Now here’s the actual technique. Take a medium-to-small brush and drag back and forth along the edges you identified. You’re not trying to erase the edge entirely. You’re softening it, blurring the transition so that the eye doesn’t snag on it. Aaron drags horizontally across the edge of the figure, pulling pixels in both directions to break up the hard line. Adjust your brush size as needed. Tighter areas need a smaller brush. The goal is for the edge to look like it fades into the background rather than sitting on top of it. This is the same logic painters use when they intentionally leave background elements out of focus to push the viewer’s attention toward the subject.
Step 5: Apply the Same Logic to Secondary Elements
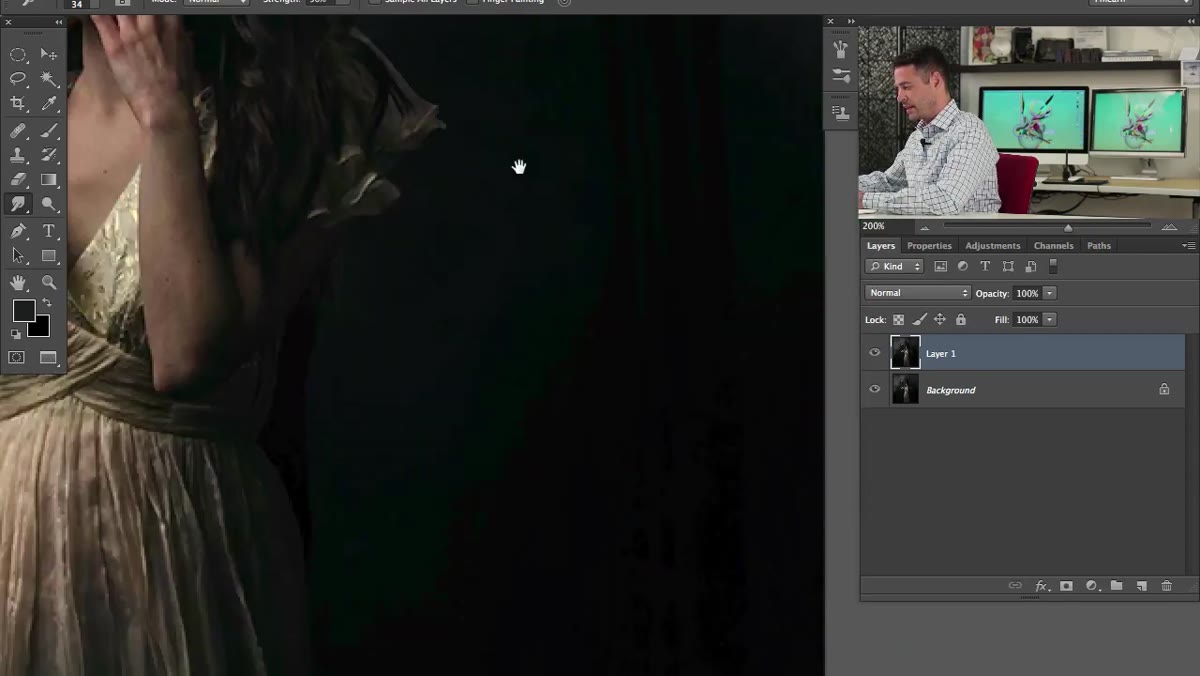 Smudge tool being used along the dress at bottom of frame
Once you’ve handled the obvious problem edges, look for secondary elements that don’t need to be sharp but are. In this portrait, that’s the lower portion of the dress. It’s not the focal point of the image, and keeping it crisp actually pulls attention downward when you want the viewer looking at the faces. Run the smudge tool along those edges too, with the same back-and-forth motion. The effect compounds. Each area you soften contributes to the overall sense that the image exists in a slightly dreamlike space rather than a studio.
Smudge tool being used along the dress at bottom of frame
Once you’ve handled the obvious problem edges, look for secondary elements that don’t need to be sharp but are. In this portrait, that’s the lower portion of the dress. It’s not the focal point of the image, and keeping it crisp actually pulls attention downward when you want the viewer looking at the faces. Run the smudge tool along those edges too, with the same back-and-forth motion. The effect compounds. Each area you soften contributes to the overall sense that the image exists in a slightly dreamlike space rather than a studio.
Step 6: Duplicate Again and Push the Effect Further
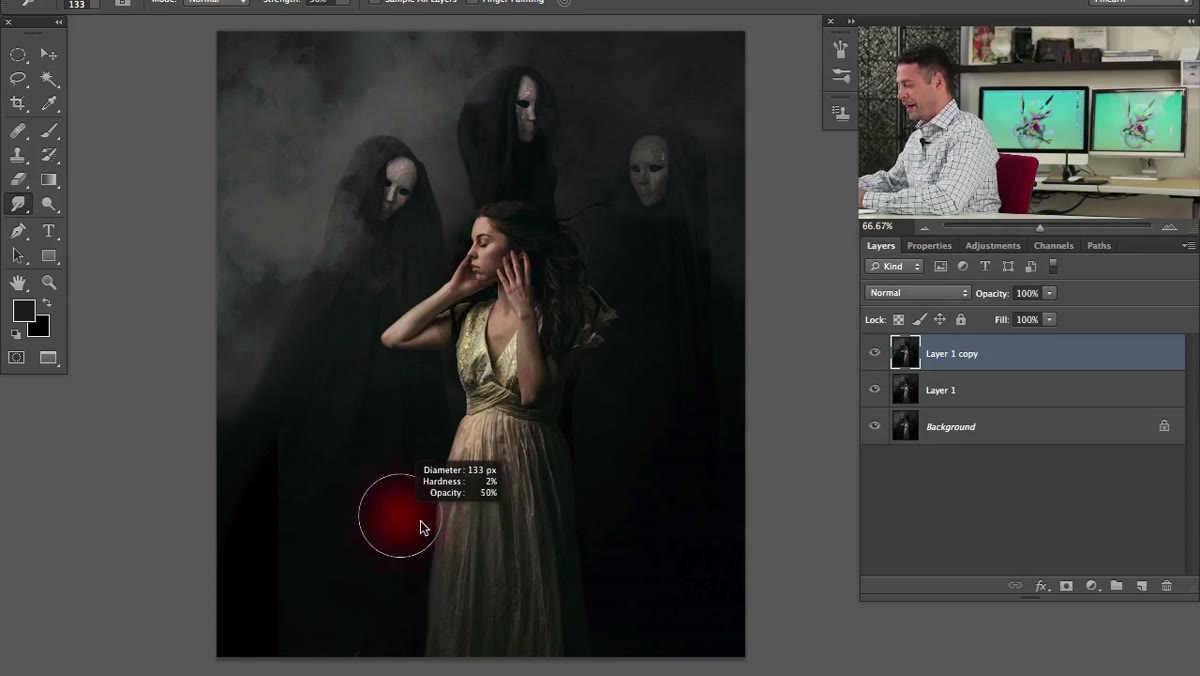 Second Command-J duplicate created to intensify the smudge effect
Here’s where it gets fun. Once you’ve done a pass of subtle softening, hit Command-J again to duplicate that already-smudged layer. Now you can go harder. Aaron uses this second layer to really warp the edges and let things get genuinely weird. Think of it as two separate decisions: the first layer is your conservative, client-safe version, and the second layer is where you find out how far the image actually wants to go. Working on a full-resolution image will slow Photoshop down significantly at this stage because the smudge tool is computationally heavy. Aaron mentions he’s working on a downscaled version for exactly that reason. If your machine starts struggling, that’s why.
Second Command-J duplicate created to intensify the smudge effect
Here’s where it gets fun. Once you’ve done a pass of subtle softening, hit Command-J again to duplicate that already-smudged layer. Now you can go harder. Aaron uses this second layer to really warp the edges and let things get genuinely weird. Think of it as two separate decisions: the first layer is your conservative, client-safe version, and the second layer is where you find out how far the image actually wants to go. Working on a full-resolution image will slow Photoshop down significantly at this stage because the smudge tool is computationally heavy. Aaron mentions he’s working on a downscaled version for exactly that reason. If your machine starts struggling, that’s why.
One Thing I’d Add From My Own Work
The smudge tool gets a bad reputation because people use it at 100% strength and then wonder why their image looks like it went through a blender. The secret is that this tool scales with your patience. I’ve started keeping a smudge layer in my portrait workflow specifically for hair tendrils and clothing edges against complex backgrounds, situations where a mask would take twenty minutes and a quick smudge pass takes two. The key I’ve found is to always smudge in the direction the subject matter would naturally move. Fog drifts sideways, hair falls with gravity, fabric drapes downward. Smudging against that logic looks wrong even if you can’t articulate why. Work with the implied physics of the image and it’ll read as intentional every time.
The single most important thing this tutorial taught me: the smudge tool isn’t a mistake waiting to happen. It’s a brush that borrows pixels instead of laying down color, and that makes it one of the most organic-feeling tools in Photoshop when you use it at the right strength on the right kind of edge. The difference between an image that feels atmospheric and one that just feels blurry often comes down to which edges you chose to soften and which ones you left sharp.
If you want to see Aaron walk through the full portrait transformation, including how he handles the smoke and atmosphere effects beyond just the edge work: Watch the full tutorial on YouTube. PHLEARN consistently produces some of the most practical, technique-forward Photoshop content out there, and this one is worth the full watch.
Comments (2)
Love how you break down complex stuff into manageable steps.
Love this. I referenced a similar technique in one of my recent posts. Always good to see other perspectives.
Leave a Comment