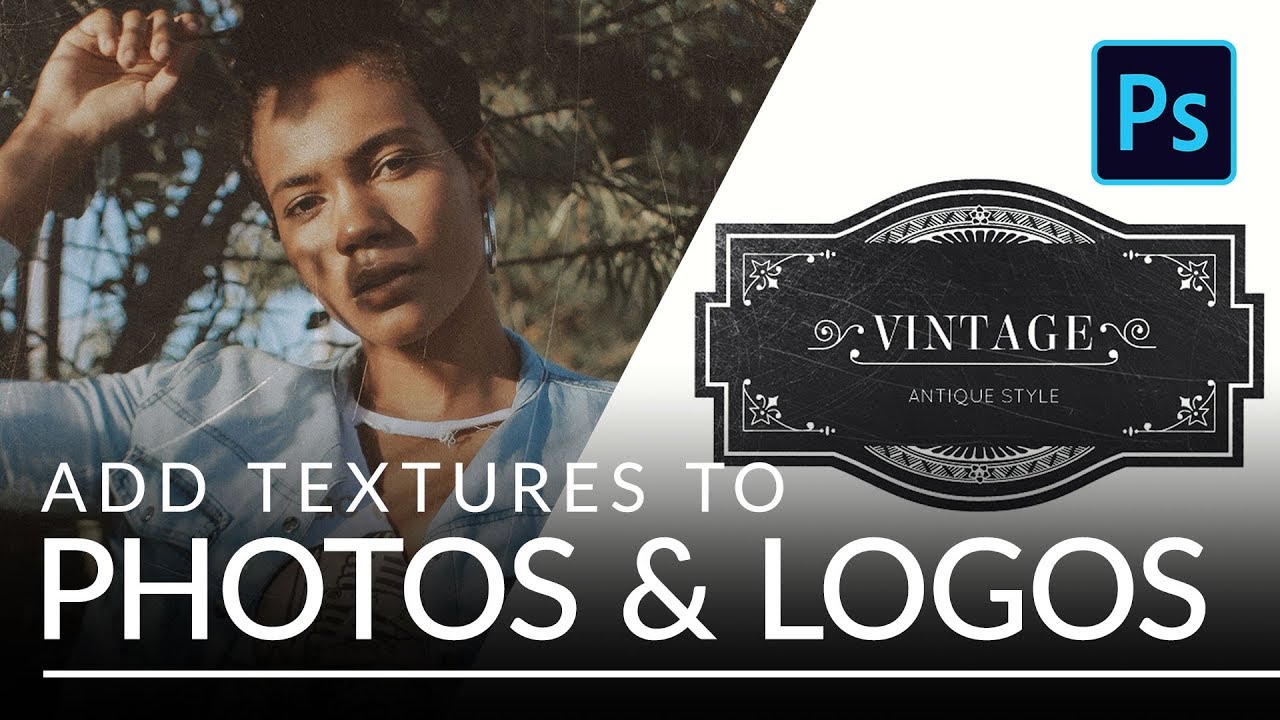
Client work has a funny way of humbling you. I can’t count the number of times someone has handed me a logo or a portrait and said “make it feel more… gritty? Vintage? Lived-in?” and I’ve sat there staring at a flat layer like it owes me money. Adding texture sounds simple until you’re actually doing it and everything either looks like you rubbed sandpaper on a JPEG or the effect is so subtle it may as well not exist.
That’s exactly why this technique from Aaron Nace over at PHLEARN landed so well for me. Watch the full tutorial on YouTube if you want to see it in action first. The method he walks through is genuinely fast, non-destructive, and works on photos and logos equally well. It’s built around blending modes, which sounds intimidating until you realize one mode does about 90% of the heavy lifting here.
The whole thing hinges on a surprisingly clean insight: most texture images are light scratches, grain, or marks on a dark background. If you can isolate the light stuff and throw away the dark stuff, you’ve got a texture layer that sits on top of your image without covering it like a blanket. Screen mode does exactly that. Here’s how to walk through it from scratch.
Step 1: Open Your Image and Your Texture File
 Photoshop workspace with photo and texture open side by side
Get both files open in Photoshop at the same time. Your base image, whether it’s a portrait, a product shot, or a logo on a transparent background, goes in one window. Your texture file opens separately. If you don’t have texture files handy, Aaron makes the ones from the tutorial available to download on PHLEARN.com, and they’re genuinely high quality, not the muddy stock garbage you sometimes find floating around.
Photoshop workspace with photo and texture open side by side
Get both files open in Photoshop at the same time. Your base image, whether it’s a portrait, a product shot, or a logo on a transparent background, goes in one window. Your texture file opens separately. If you don’t have texture files handy, Aaron makes the ones from the tutorial available to download on PHLEARN.com, and they’re genuinely high quality, not the muddy stock garbage you sometimes find floating around.
Keep both windows visible. You’re about to drag between them.
Step 2: Drag the Texture onto Your Image Using the Move Tool
 Move tool dragging texture layer from one document to another
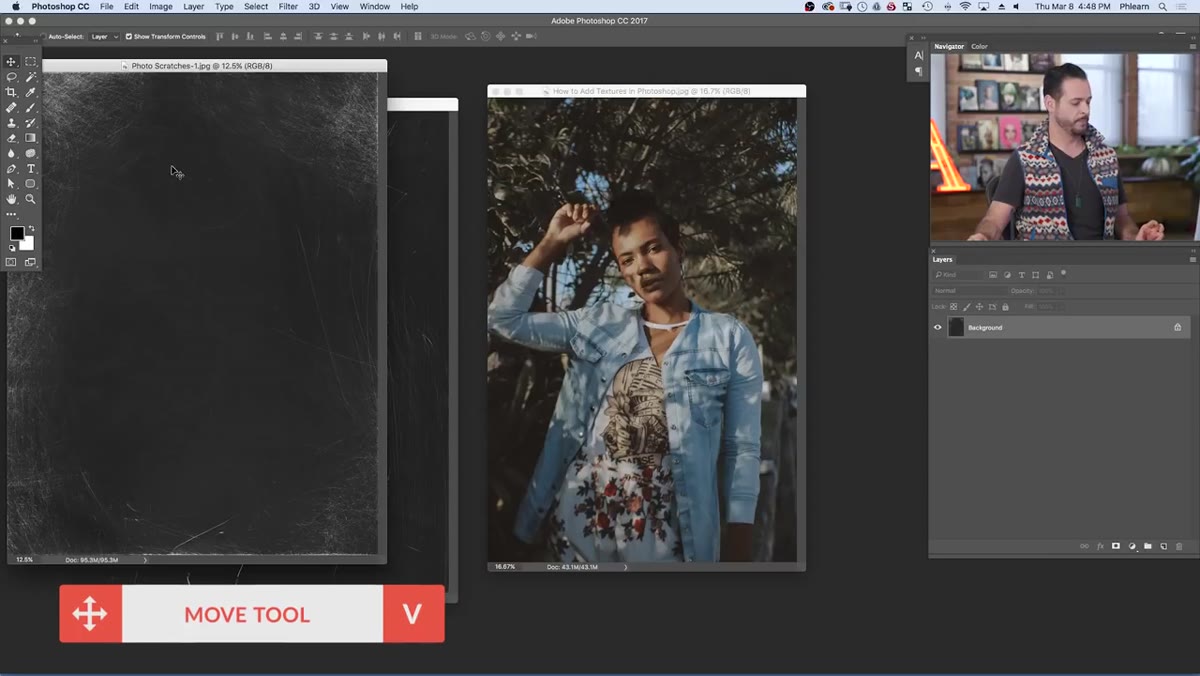
Grab the Move tool (V on your keyboard, because clicking the toolbar like it’s 2003 is not the move) and hold Shift while you click and drag the texture from its own window directly onto your base image. Holding Shift centers it automatically, which saves you the tedious nudging session afterward. The texture drops in as a new layer sitting above your image, which is exactly where you want it.
Move tool dragging texture layer from one document to another
Grab the Move tool (V on your keyboard, because clicking the toolbar like it’s 2003 is not the move) and hold Shift while you click and drag the texture from its own window directly onto your base image. Holding Shift centers it automatically, which saves you the tedious nudging session afterward. The texture drops in as a new layer sitting above your image, which is exactly where you want it.
At this point your photo is probably completely buried under the texture. That’s fine. It’s supposed to look broken right now.
Step 3: Resize the Texture with Free Transform
 Free Transform handles visible around texture layer on canvas
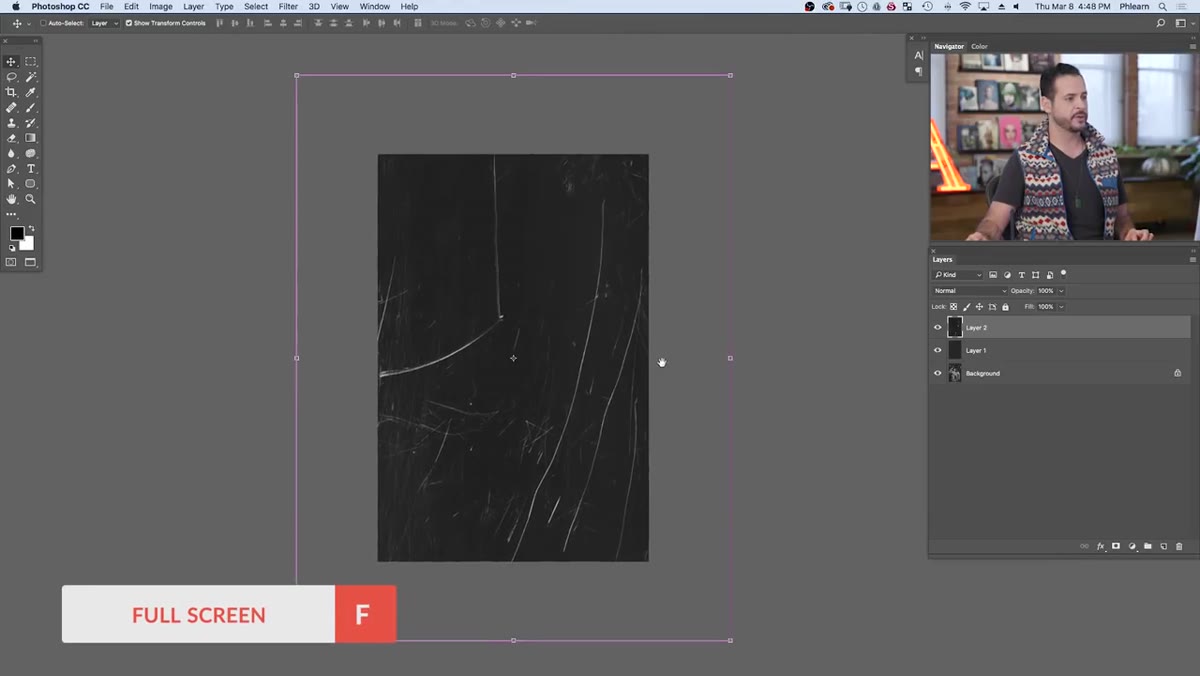
Hit Ctrl+T (Cmd+T on Mac) to bring up Free Transform. Texture files are often shot at high resolution, so there’s a decent chance yours is larger than your canvas. Drag the corner handles inward to scale it down. If you hold Shift+Alt (Shift+Option on Mac) while dragging a corner, it scales from the center outward on all sides simultaneously, which is a nicer way to work when you just need to shrink something uniformly.
Free Transform handles visible around texture layer on canvas
Hit Ctrl+T (Cmd+T on Mac) to bring up Free Transform. Texture files are often shot at high resolution, so there’s a decent chance yours is larger than your canvas. Drag the corner handles inward to scale it down. If you hold Shift+Alt (Shift+Option on Mac) while dragging a corner, it scales from the center outward on all sides simultaneously, which is a nicer way to work when you just need to shrink something uniformly.
One thing worth noting: Aaron points out that with textures, maintaining perfect aspect ratio matters less than it normally would. Squeezing or stretching a scratch or grain texture slightly doesn’t read as distorted the way it would with a face or a logo. So don’t stress it. Hit Enter when you’re happy with the size.
Step 4: Switch the Blend Mode to Screen
 Layers panel showing blend mode dropdown changed to Screen
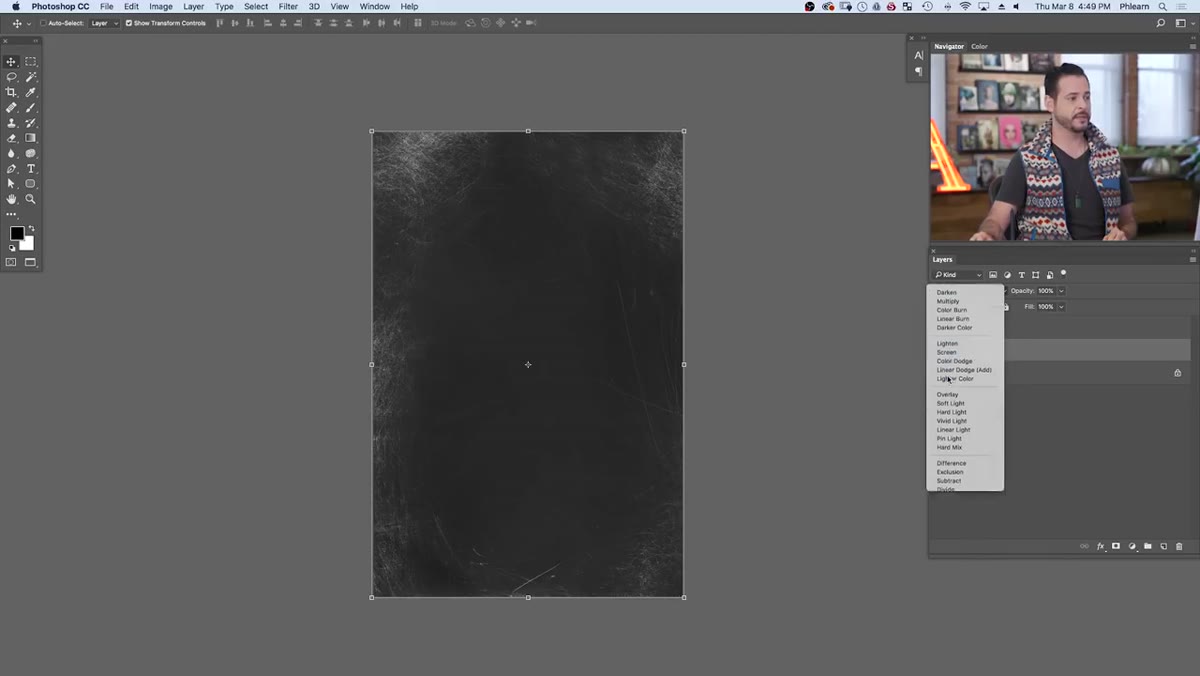
This is the move. In the Layers panel, click the blend mode dropdown at the top left (it says “Normal” by default) and switch it to Screen. Watch what happens: the dark background of your texture layer vanishes completely, and only the light scratches, grain, or marks remain, sitting on top of your photo.
Layers panel showing blend mode dropdown changed to Screen
This is the move. In the Layers panel, click the blend mode dropdown at the top left (it says “Normal” by default) and switch it to Screen. Watch what happens: the dark background of your texture layer vanishes completely, and only the light scratches, grain, or marks remain, sitting on top of your photo.
Screen mode works by mathematically ignoring anything dark and letting anything light show through. It’s perfect any time you have a light-on-dark texture. If your texture is dark marks on a light background, you’d flip this and use Multiply instead, which does the opposite. But for the classic scratchy-gritty stuff, Screen is your friend.
Step 5: Clean Up the Brightness with Levels
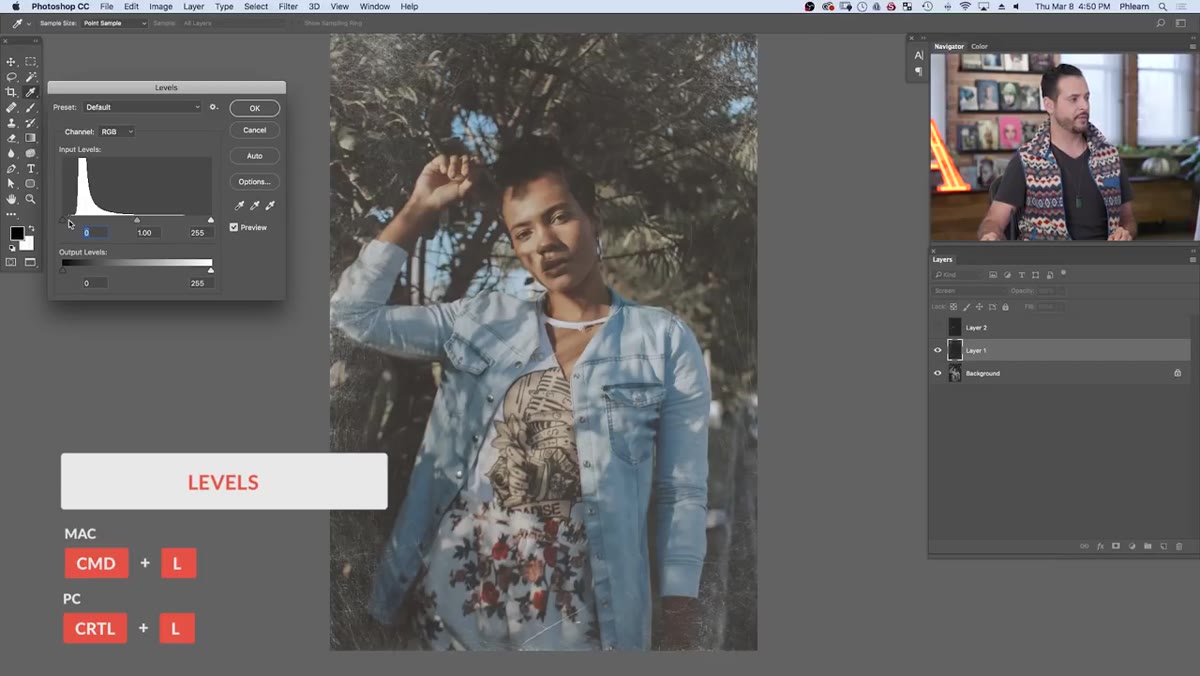 Levels dialog open with dark input slider being adjusted
Even after switching to Screen, the texture layer can still push a slight overall brightness onto your image, because the “dark” areas of the texture aren’t always perfectly black. Fix this with a quick Levels adjustment. Hit Ctrl+L (Cmd+L) to open Levels directly on that layer.
Levels dialog open with dark input slider being adjusted
Even after switching to Screen, the texture layer can still push a slight overall brightness onto your image, because the “dark” areas of the texture aren’t always perfectly black. Fix this with a quick Levels adjustment. Hit Ctrl+L (Cmd+L) to open Levels directly on that layer.
Drag the black point input slider (the leftmost triangle under the histogram) to the right until the ambient lightening effect disappears and the texture reads as pure marks on a transparent base. You’re essentially telling Photoshop “anything this dark or darker should be treated as fully transparent.” Don’t overdo it or you’ll start eating into the texture itself. A subtle nudge is usually all it takes.
Step 6: Add a Layer Mask to Protect Key Areas
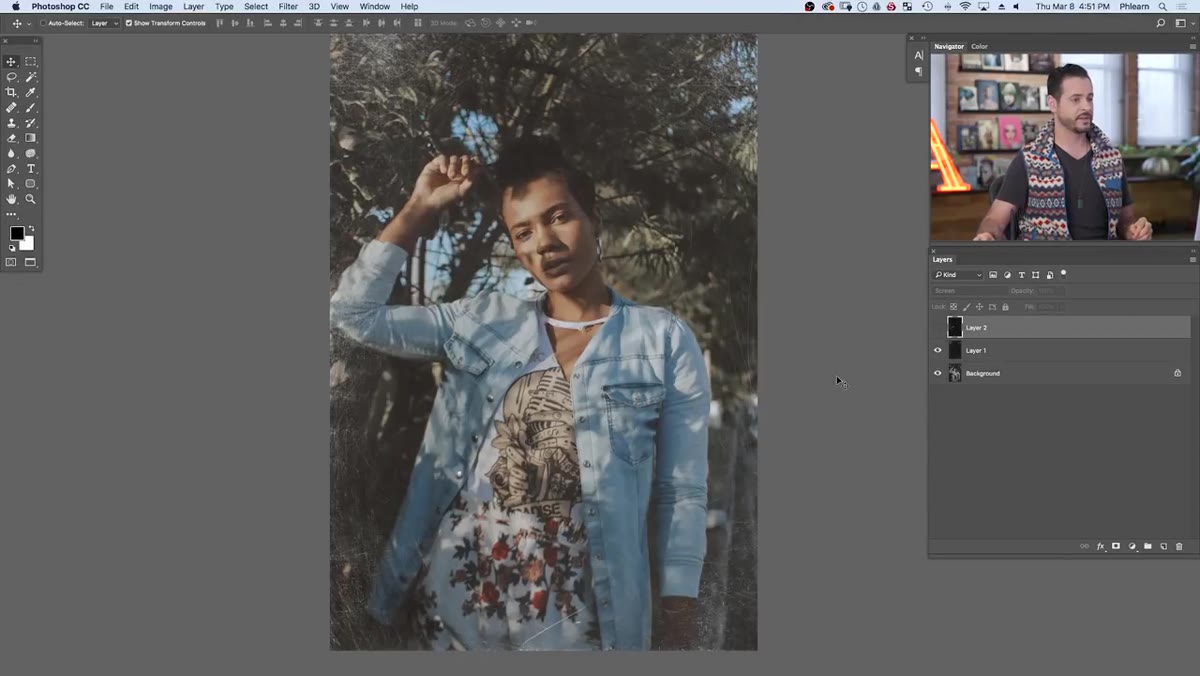 Layer mask added with black brush painting over subject’s face
Sometimes a texture scratch lands right across someone’s face or cuts through the most important part of a logo. Instead of repositioning the whole layer, just mask it out. Click the Layer Mask button at the bottom of the Layers panel (the rectangle with a circle inside), make sure your foreground color is set to black, grab the Brush tool (B), and paint directly over the area you want to protect.
Layer mask added with black brush painting over subject’s face
Sometimes a texture scratch lands right across someone’s face or cuts through the most important part of a logo. Instead of repositioning the whole layer, just mask it out. Click the Layer Mask button at the bottom of the Layers panel (the rectangle with a circle inside), make sure your foreground color is set to black, grab the Brush tool (B), and paint directly over the area you want to protect.
Black on a mask hides. White reveals. Paint with a soft brush at a comfortable opacity and you can dial back the texture precisely where it’s unwanted without touching anything else. This is the part of the technique that goes from “neat trick” to “actually professional.”
Step 7: Add Color to the Texture with Hue/Saturation
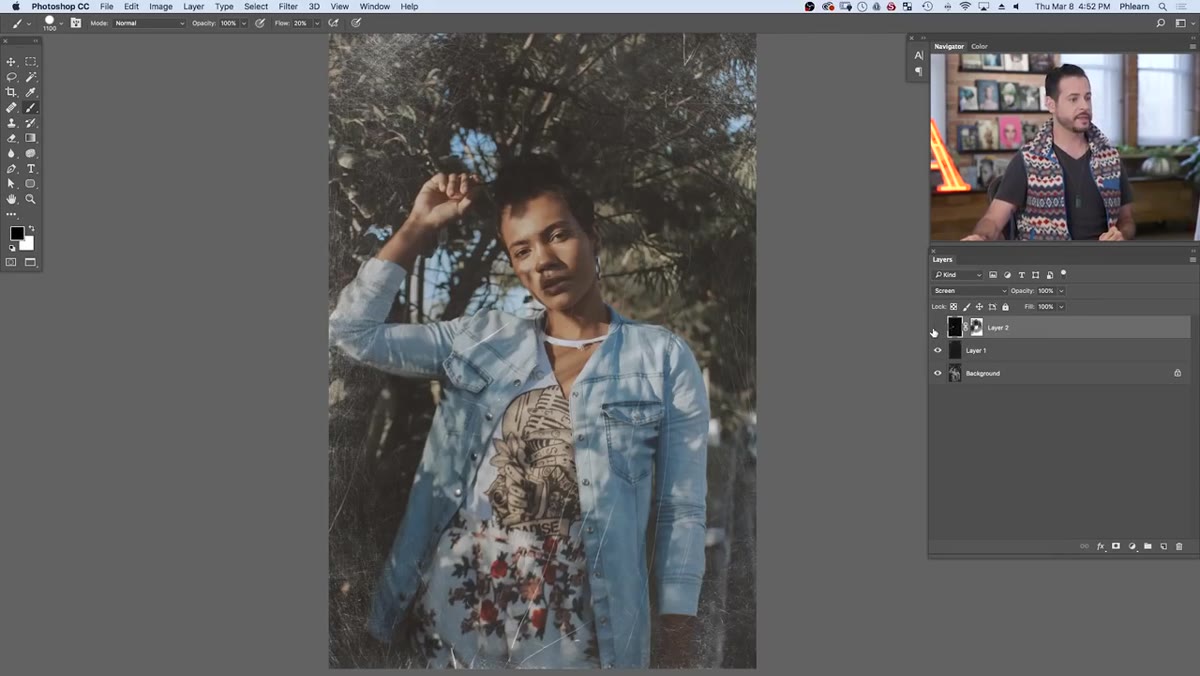 Hue/Saturation dialog open on texture layer
By default, these textures are black and white, which gives you a neutral gritty effect. But if you want the texture to have a color tone, open Hue/Saturation on the texture layer (Ctrl+U / Cmd+U), check the Colorize box, and drag the Hue slider around until you land somewhere interesting. A warm amber turns scratches into an aged-film look. A cold blue reads more like a metallic surface. It’s fast and completely reversible.
Hue/Saturation dialog open on texture layer
By default, these textures are black and white, which gives you a neutral gritty effect. But if you want the texture to have a color tone, open Hue/Saturation on the texture layer (Ctrl+U / Cmd+U), check the Colorize box, and drag the Hue slider around until you land somewhere interesting. A warm amber turns scratches into an aged-film look. A cold blue reads more like a metallic surface. It’s fast and completely reversible.
One Thing I’d Add from My Own Work
The step Aaron doesn’t explicitly call out, but which I’ve found essential on client jobs, is converting your texture layer to a Smart Object before you run Free Transform. If you drag the texture in, immediately right-click the layer and choose “Convert to Smart Object,” you can resize it freely at any point later without degrading quality. Texture layers tend to get repositioned and rescaled multiple times during a project as the composition evolves. Doing this upfront takes about two seconds and saves you from the specific misery of a pixelated texture on a final deliverable. Learn from my mistakes. Or don’t. But mostly learn from my mistakes.
The single biggest takeaway here is that Screen blending mode is doing the work that would take most people ten manual steps to achieve any other way. Understanding why it works, light areas stay, dark areas vanish, means you can start spotting other situations where it applies. That’s the kind of principle that compounds across every project you touch.
Watch the full tutorial on YouTube to see Aaron walk through the whole thing, including applying the technique to logos specifically.
Comments
Leave a Comment