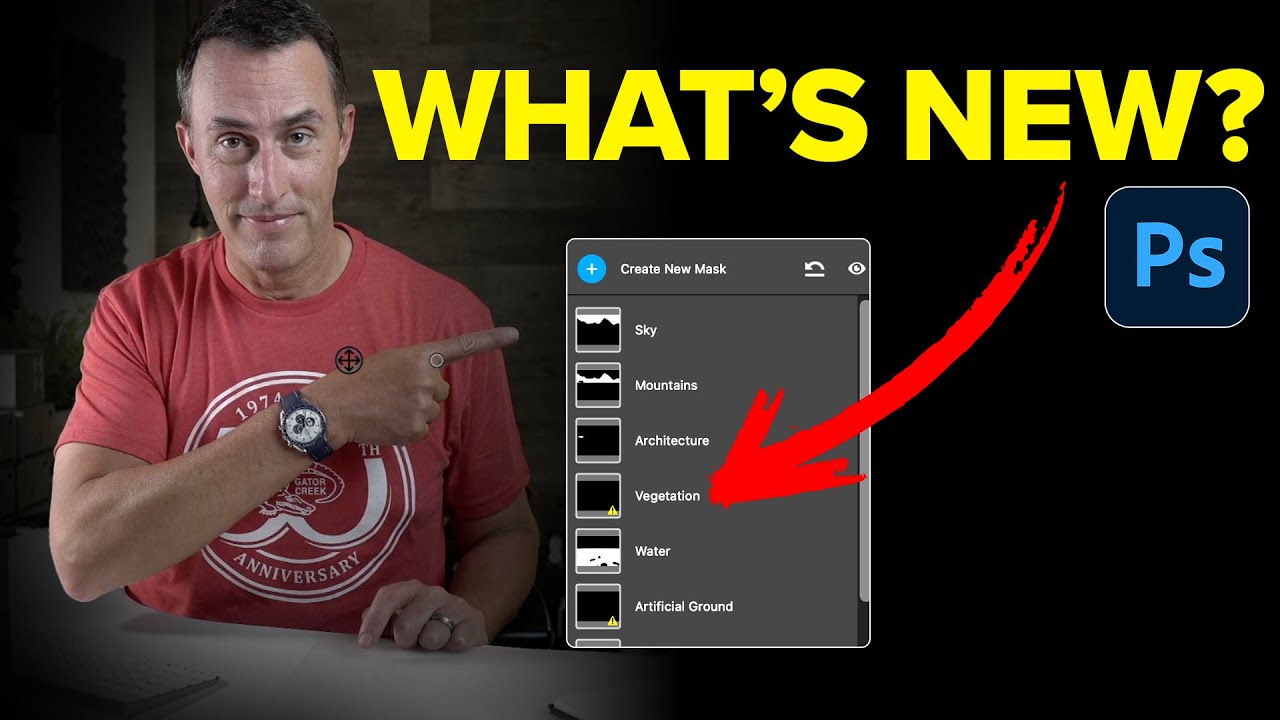
Photoshop's New Landscape Masking Is the Camera Raw Feature I Didn't Know I Needed

Photoshop's New Landscape Masking Is the Camera Raw Feature I Didn't Know I Needed

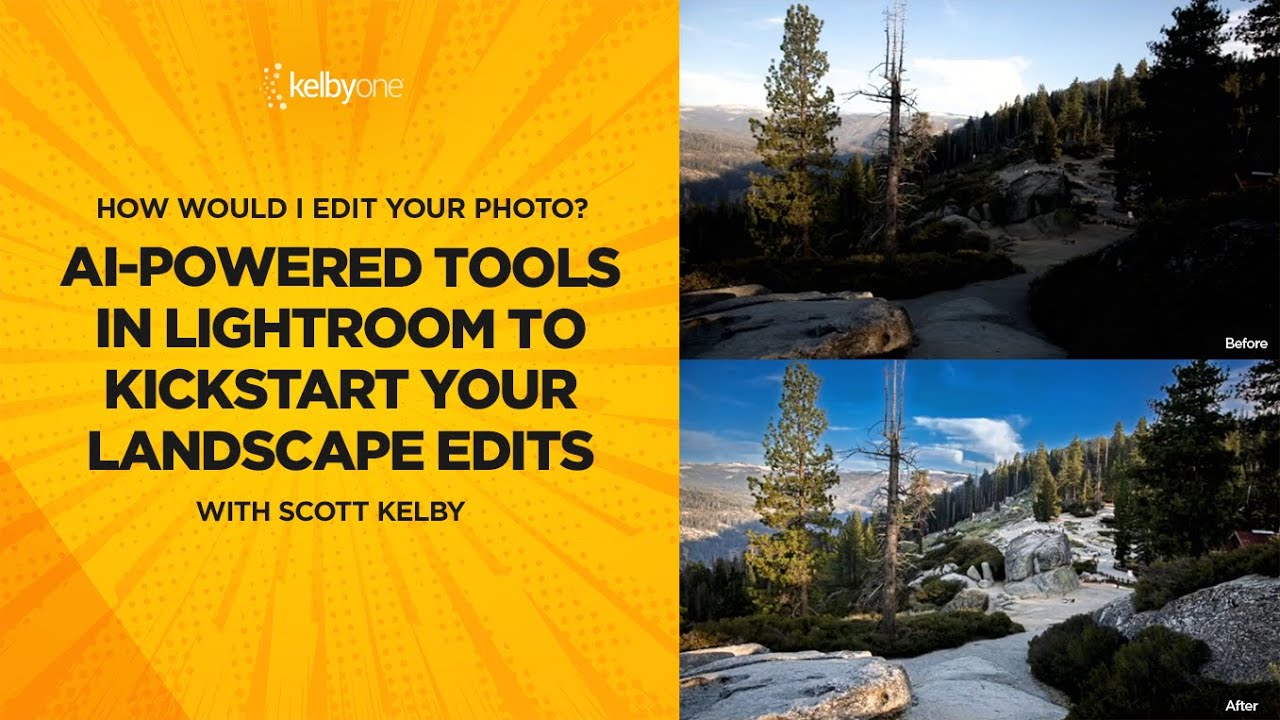
I’ll be honest with you. My relationship with Camera Raw masking has always been “good enough.” Select sky, paint in the foreground with a gradient, argue with a brush tool for fifteen minutes over some tree branches, call it done. It works. It’s not elegant, but it gets the job done between my third and fourth coffee of the morning. Then I watched this Matt Kloskowski tutorial on the April 2025 Photoshop update and realized I’d been doing the equivalent of cutting a steak with a butter knife.
Blend Two Exposures Into One Perfect Landscape Shot (No Filters Required)

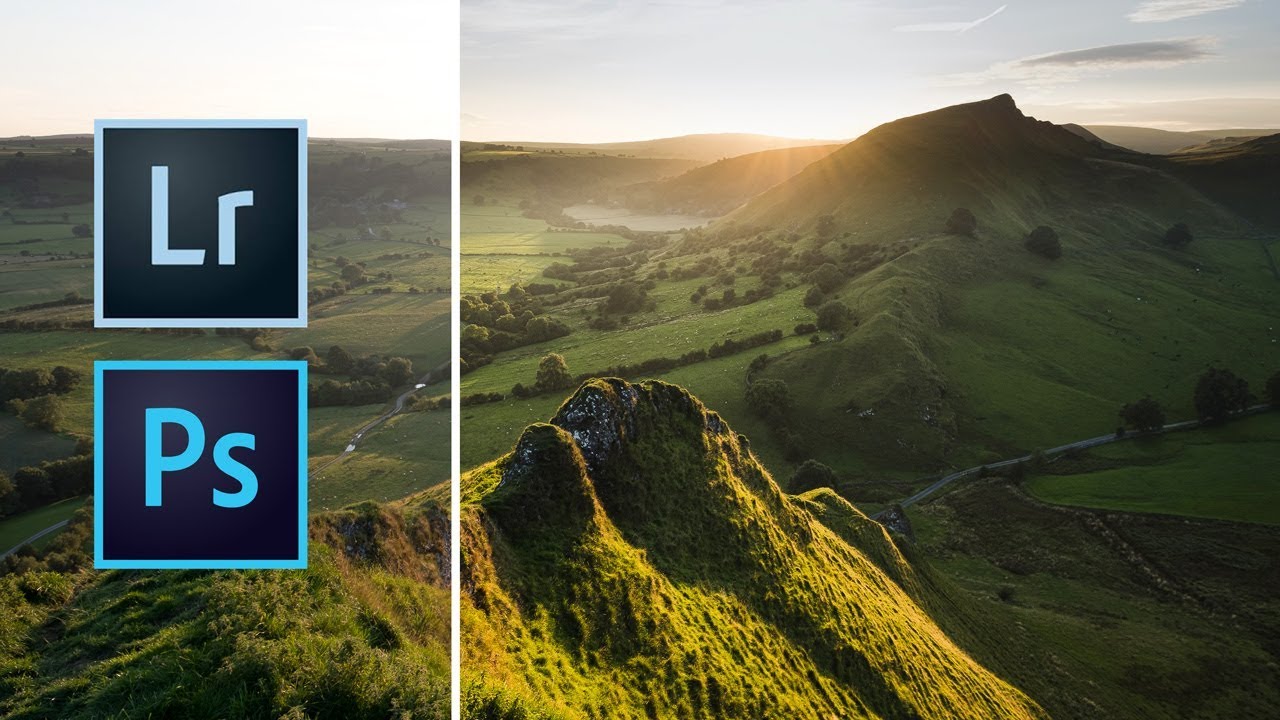
Blend Two Exposures Into One Perfect Landscape Shot (No Filters Required)

I’m a freelance designer who mostly lives in the land of composites, logos, and whatever a client needs done by Thursday. But landscape photography editing crosses my desk more than you’d think, and the number one problem people bring me is the same every time: the sky looks great but the foreground is a muddy mess, or vice versa. Graduated ND filters solve this in the field, but what happens when you’re halfway up a hill and you left your filters in the car?

When the Light Dies, You Adapt: Long Exposure Black and White Landscape Techniques from Thomas Heaton

When the Light Dies, You Adapt: Long Exposure Black and White Landscape Techniques from Thomas Heaton

There’s a moment every photographer knows. You’ve hiked to the spot, the scene is gorgeous, and then the wind picks up and kills any hope of a mirror-flat reflection. You either pack up or you adapt. I’ve packed up. I’ve also stood there like an idiot waiting for calm water that never came. What I hadn’t fully internalized until recently is that adapting isn’t a consolation prize — it’s a legitimate creative decision that the best landscape photographers make constantly, often producing stronger work than the original plan would have.

Make Your Mountains Look Massive: The Landscape Resize Trick I Wish I'd Known Years Ago

Make Your Mountains Look Massive: The Landscape Resize Trick I Wish I'd Known Years Ago

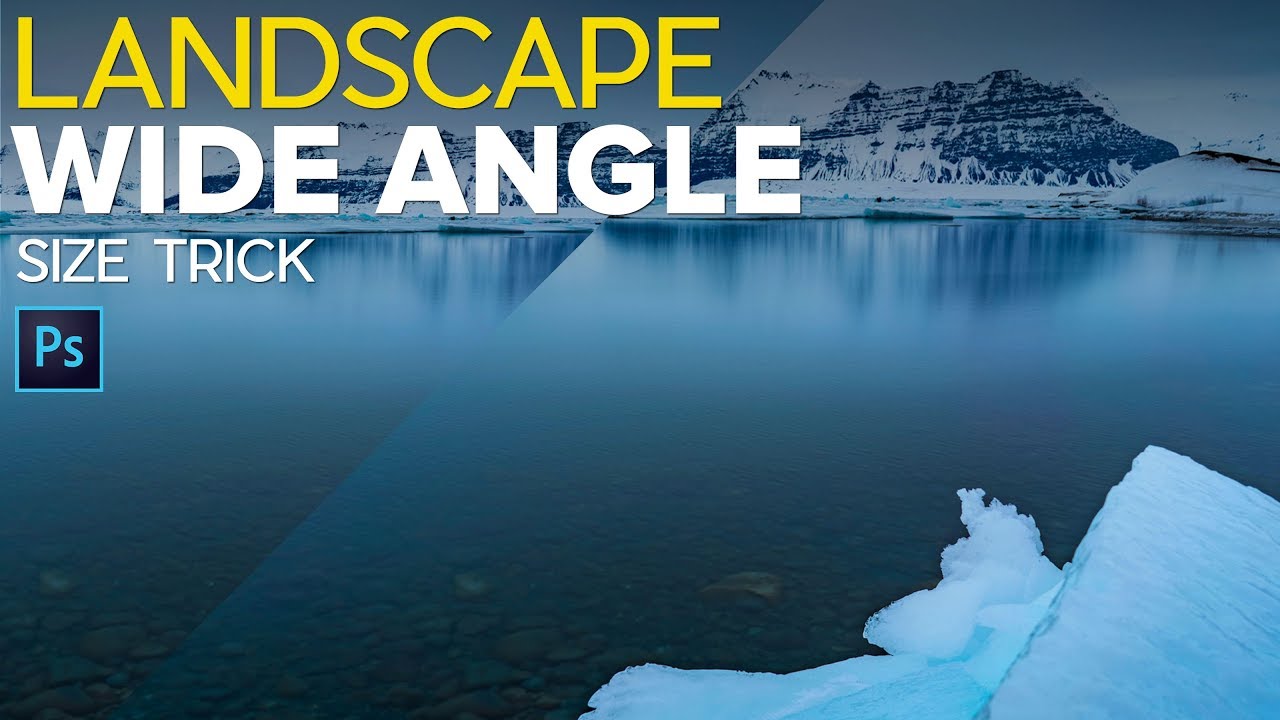
There’s a specific kind of disappointment that hits when you get home from a hike, pull up your photos, and realize that incredible mountain you were staring at all day looks like a small grey smudge in the background. You were right there. It was massive. And yet your wide-angle lens decided to shove it into the corner of the frame and make the dirt in the foreground the star of the show.

Ditch the Saturation Slider: A Better Way to Color Grade Your Landscape Photos in Lightroom

Ditch the Saturation Slider: A Better Way to Color Grade Your Landscape Photos in Lightroom

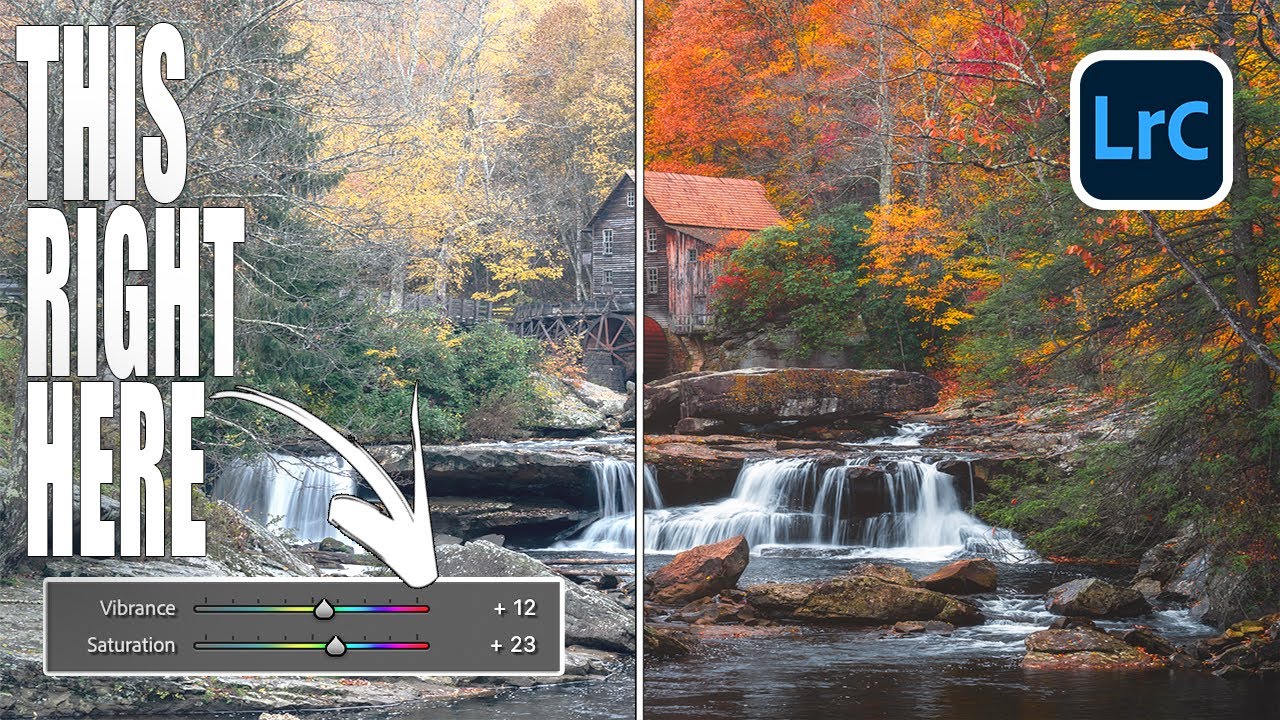
I’ll be honest - for the longest time, my color editing workflow was embarrassingly simple. Photo comes in flat? Drag Saturation up. Still looks dull? Nudge Vibrance. Call it done, collect the paycheck. It worked well enough that I never questioned it, which is exactly the kind of comfortable laziness that keeps you from getting better. Then I watched Mark Denney’s tutorial where he edits the same fall landscape photo twice - once using every color tool in Lightroom except Saturation and Vibrance, and once using only those two sliders - and the results genuinely stopped me mid-sip of my oat milk latte.

Stop Maxing Out Your Circular Polarizer — It's Killing Your Fall Shots

Stop Maxing Out Your Circular Polarizer — It's Killing Your Fall Shots

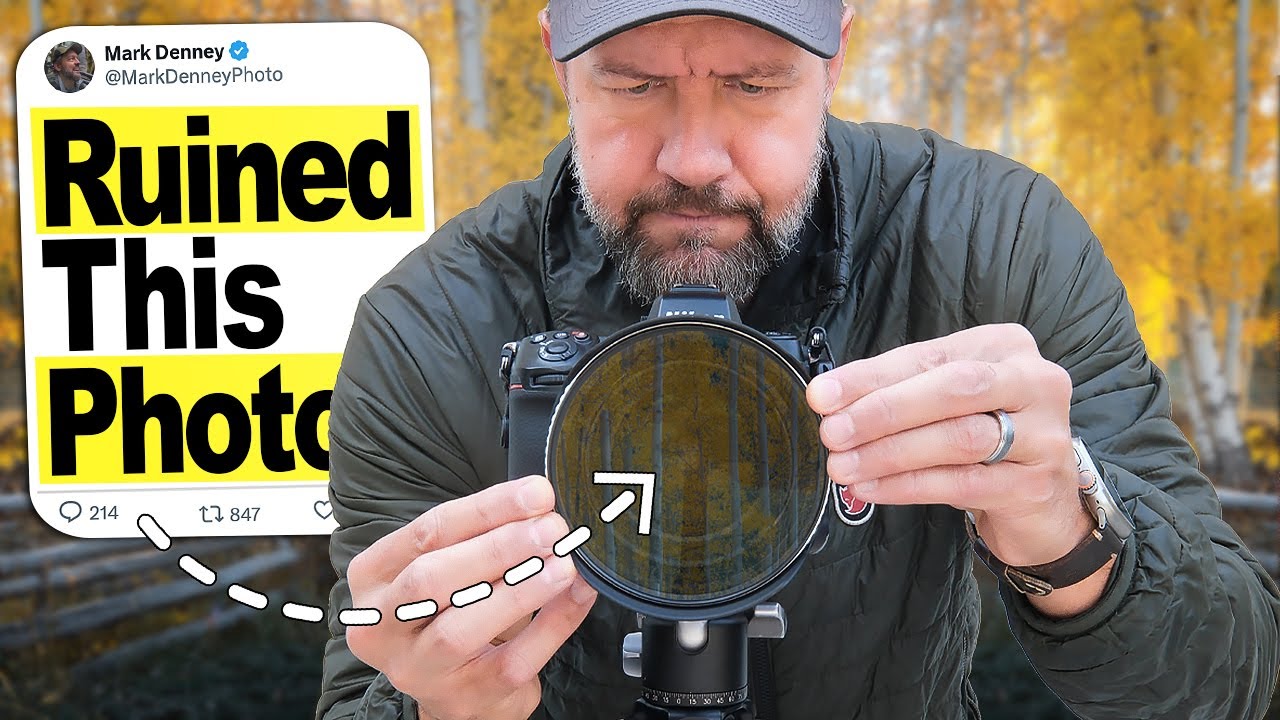
I’ll be honest: I am not primarily a landscape photographer. My wheelhouse is design work, composites, the occasional product shoot. But fall rolls around every year and something happens to me. I grab my camera, I drive somewhere with trees, and I try to make something that doesn’t look like a tourist snapshot. For years I leaned on my circular polarizer like it was a magic wand, cranking it all the way and assuming that more polarization meant better photos.

Adobe's Quiet Game-Changer: Taming Those Pesky White Halos in Lightroom

Adobe's Quiet Game-Changer: Taming Those Pesky White Halos in Lightroom

Adobe’s Quiet Game-Changer: Taming Those Pesky White Halos in Lightroom I’ve been editing photos long enough to know that sometimes the best features arrive without fanfare. Adobe’s latest Lightroom Classic update included something that doesn’t sound revolutionary on paper—some new sliders buried inside the AI masking tools—but trust me, if you’ve ever fought with white halos around mountain peaks or tree lines, you’re about to have a very good day.

Stop Fighting Lightroom's Auto Button - Let the AI Do the Heavy Lifting First

Stop Fighting Lightroom's Auto Button - Let the AI Do the Heavy Lifting First

There’s a certain type of editor who loves suffering. They open a raw file, every slider sitting at zero, and they start manually nudging exposure up by 0.35, then shadows up a little, then back down, then highlights, and forty-five minutes later they have something that looks roughly like what the AI would’ve given them in two seconds. I was that editor. I thought manually touching every slider meant I was being a real craftsman.

Get Low, Go Wide: Two Compositional Tricks That Change How Your Landscapes Hit

Get Low, Go Wide: Two Compositional Tricks That Change How Your Landscapes Hit

I spent a genuinely embarrassing amount of time wondering why my landscape shots looked flat. Same location as photographers I admired, similar gear, roughly similar light. The photos just sat there. Turns out I was committing the cardinal wide-angle sin: standing up like a normal human being and pointing my camera at things from eye level like I was taking a mugshot of the horizon. The foreground, which is literally the most interesting part of a wide-angle landscape, was barely there.

Lightroom's Radial Filter Is Doing Way More Work Than You Think

Lightroom's Radial Filter Is Doing Way More Work Than You Think

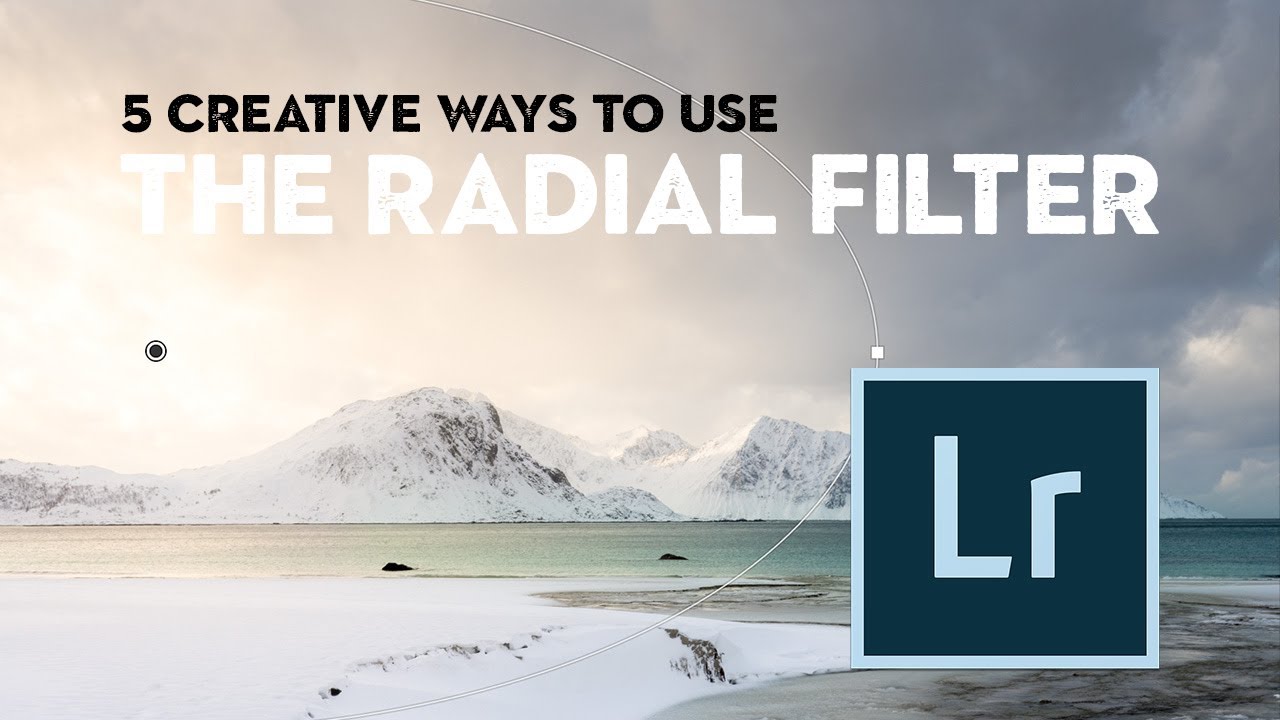
I’ll be honest with you. For an embarrassingly long time, I used Lightroom’s Radial Filter for exactly one thing: drawing a circle and darkening the outside of it. That’s it. That was my whole relationship with the tool. I was basically using a Swiss Army knife to open envelopes. Then I stumbled onto a tutorial by landscape photographer Nigel Danson where he runs through five distinct things you can do with the Radial Filter, and I had one of those “okay I’ve been doing this wrong” moments that I usually only get from accidentally breaking something expensive.

AI Snow Masking in Photoshop and Lightroom Just Changed How I Edit Winter Shots

AI Snow Masking in Photoshop and Lightroom Just Changed How I Edit Winter Shots

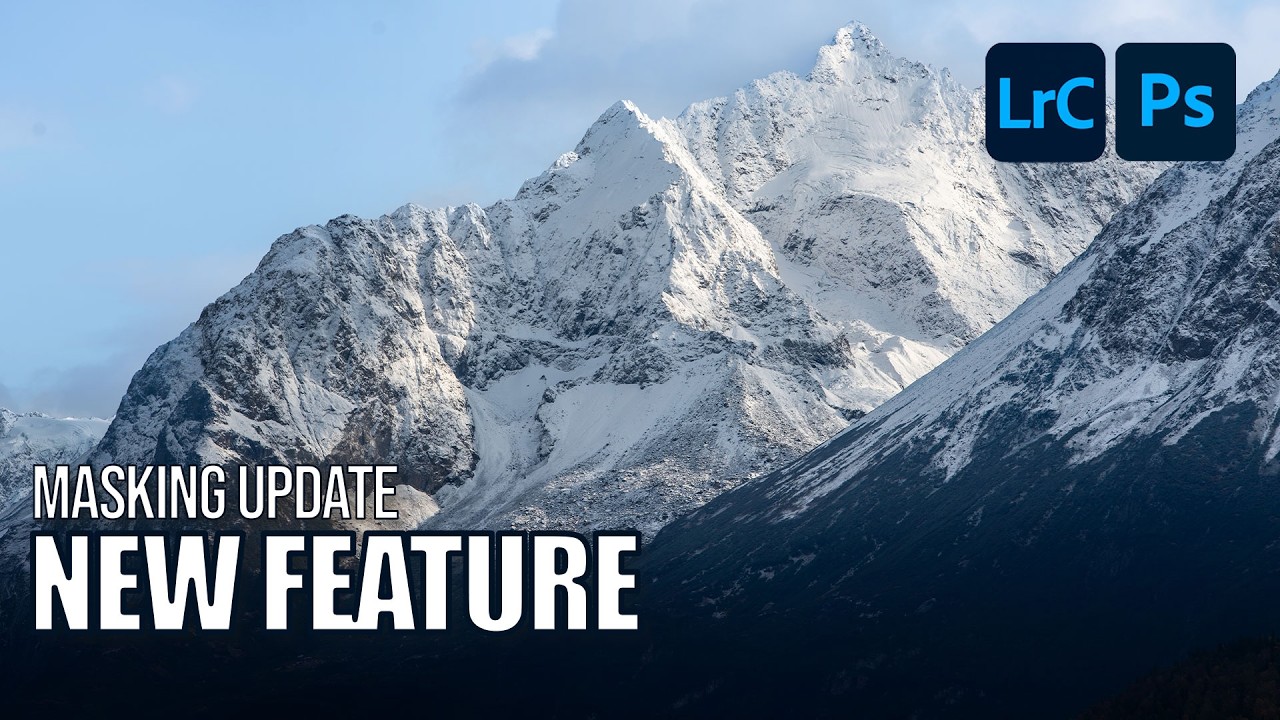
Winter landscape photos have always been a mild headache for me. Snow blows out highlights, the sky goes flat, and the trees end up looking like sad gray sticks. I’d usually spend way too long painting manual masks just to bring some texture back into the snow without torching everything else in the frame. Not anymore. Adobe just dropped an update to their AI Landscape masking tool, and it now detects snow as its own separate, editable region.

Black Mist Filters: The One Piece of Glass That Changed How I Think About Light

Black Mist Filters: The One Piece of Glass That Changed How I Think About Light

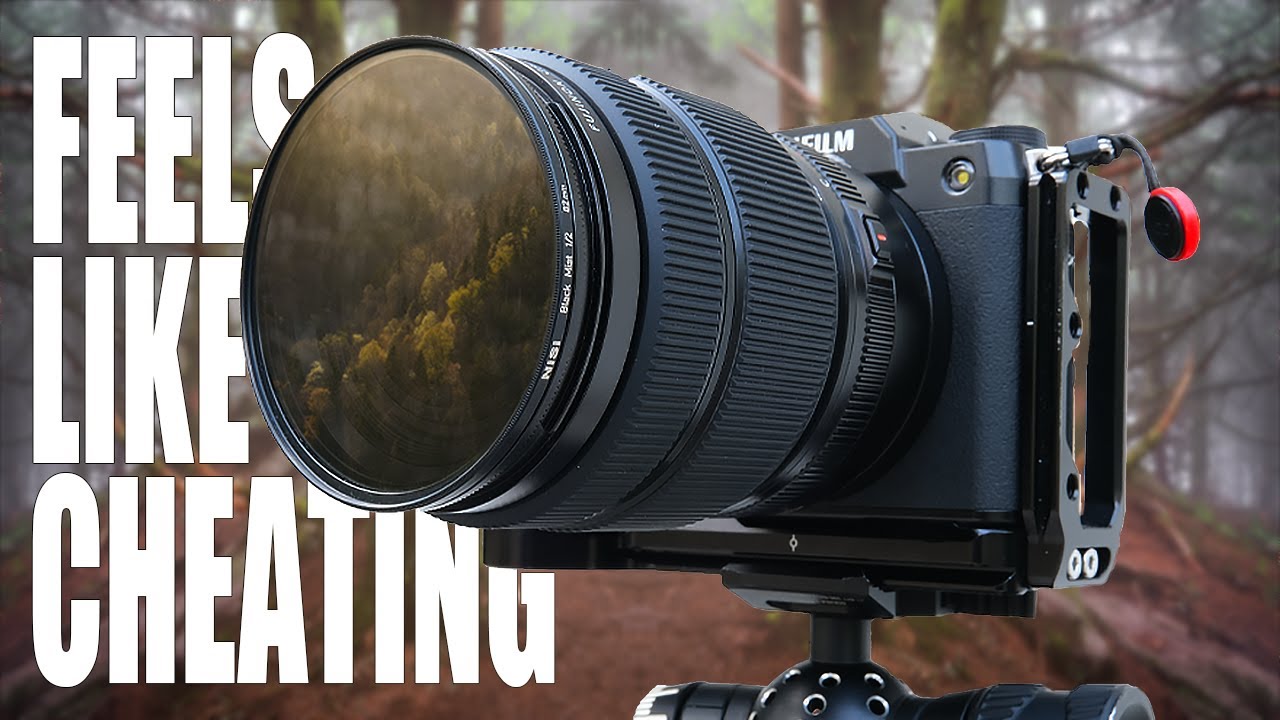
I’ve spent an embarrassing amount of time in Photoshop trying to manufacture atmosphere. Glows, diffusion, contrast lifts, lifted blacks, the Orton effect… you name it, I’ve layered it into a PSD at some point. And while you can absolutely get somewhere with that approach, there’s always been this nagging feeling that the result looks slightly cooked. Like a photo that’s trying too hard to feel dreamy. So when I came across Watch the full tutorial on YouTube from landscape photographer Mark Denney, I sat up a little straighter in my coffee shop chair.