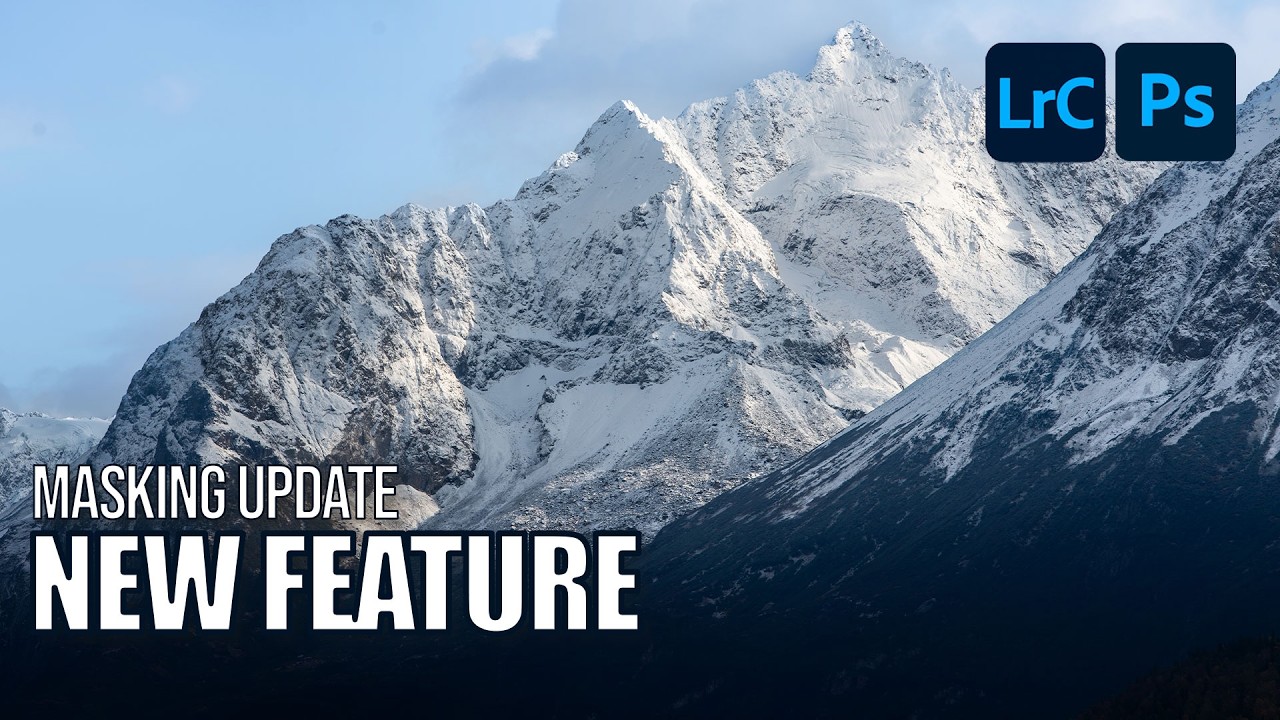
Winter landscape photos have always been a mild headache for me. Snow blows out highlights, the sky goes flat, and the trees end up looking like sad gray sticks. I’d usually spend way too long painting manual masks just to bring some texture back into the snow without torching everything else in the frame. Not anymore. Adobe just dropped an update to their AI Landscape masking tool, and it now detects snow as its own separate, editable region. That’s a bigger deal than it sounds.
In this Aaron Nace (PHLEARN) tutorial, Watch the full tutorial on YouTube, Aaron walks through the entire workflow in both Lightroom Classic and Photoshop’s Camera Raw. The technique is fast, non-destructive, and honestly kind of embarrassingly easy once you see it. Here’s the full breakdown so you can follow along without pausing every 10 seconds.
Step 1: Open Masking and Run the AI Landscape Detection
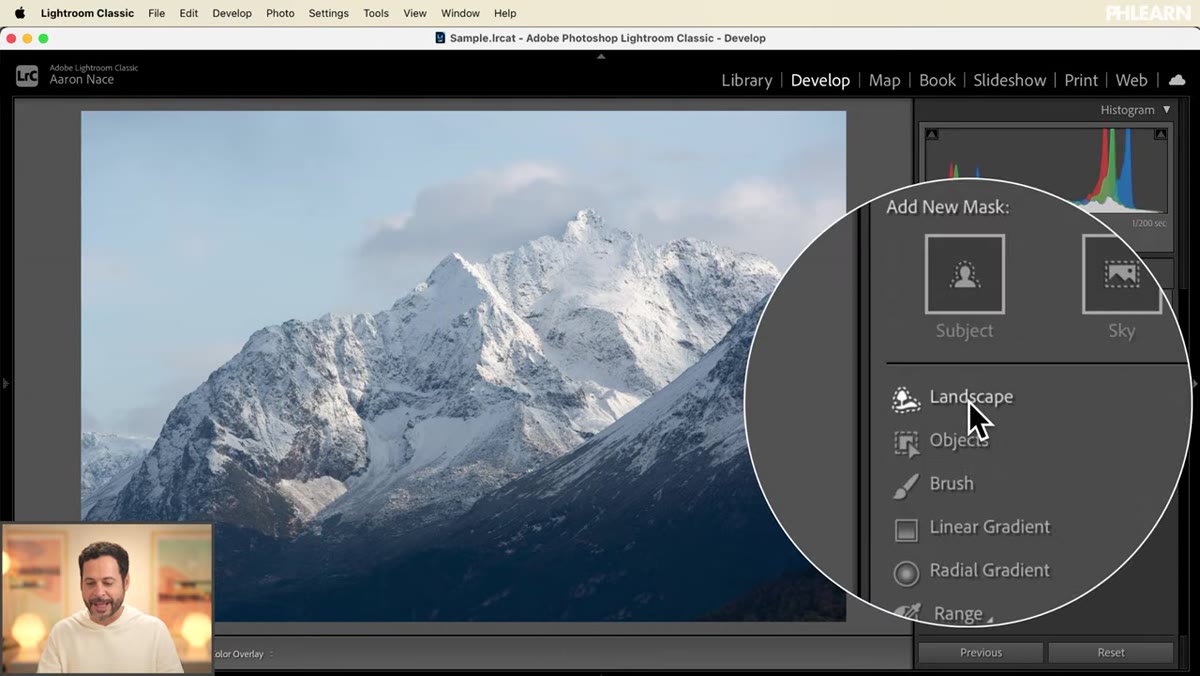 Masking panel open in Lightroom Develop module
Start in Lightroom Classic and head to the Develop module. Open your Masking panel, and you’ll see the “Landscape” option sitting right there. Click it and let the AI do its thing. In a few seconds it maps out your entire scene into distinct regions. With the updated version, one of those regions is now labeled Snow, sitting alongside Sky, Vegetation, and Mountains (or whatever terrain features are in your shot).
Masking panel open in Lightroom Develop module
Start in Lightroom Classic and head to the Develop module. Open your Masking panel, and you’ll see the “Landscape” option sitting right there. Click it and let the AI do its thing. In a few seconds it maps out your entire scene into distinct regions. With the updated version, one of those regions is now labeled Snow, sitting alongside Sky, Vegetation, and Mountains (or whatever terrain features are in your shot).
When the detection finishes, click “Create Masks” to generate each region as its own individual, editable mask. You’ll see them all listed and labeled in the panel. This is the foundation of the whole workflow. Each region is now independently adjustable, which means changes to your snow have zero impact on your sky and vice versa.
Step 2: Edit the Snow Mask - Highlights, Shadows, and Clarity
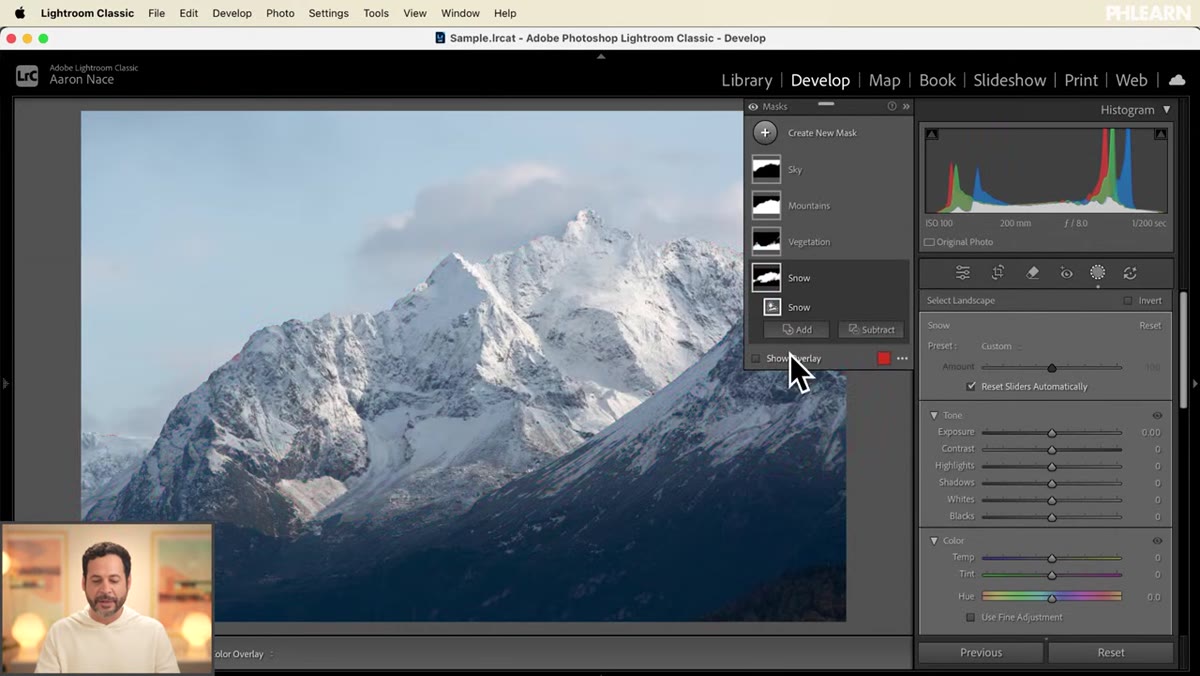 Snow mask selected with adjustment sliders visible
Select the Snow mask first. The most common issue with snow is that it’s overexposed, so pull the Highlights slider down to recover some of that blown-out detail. Then nudge Shadows up slightly to open up the darker areas within the snow, the crevices and drifts that give it actual shape. You can bump Exposure up a touch too if the overall snow area feels underlit after pulling the highlights.
Snow mask selected with adjustment sliders visible
Select the Snow mask first. The most common issue with snow is that it’s overexposed, so pull the Highlights slider down to recover some of that blown-out detail. Then nudge Shadows up slightly to open up the darker areas within the snow, the crevices and drifts that give it actual shape. You can bump Exposure up a touch too if the overall snow area feels underlit after pulling the highlights.
Here’s the move that makes the biggest difference though: scroll down to the Effects tab and crank up Clarity. This adds midtone contrast and edge definition, which in snow translates to visible texture, grain, and depth. The kind of detail that makes a snow photo look like it was taken by someone who actually knows what they’re doing versus someone who just pointed a camera at white stuff. Toggle the mask on and off to compare. The difference is dramatic.
Step 3: Adjust the Sky Mask for Color and Exposure
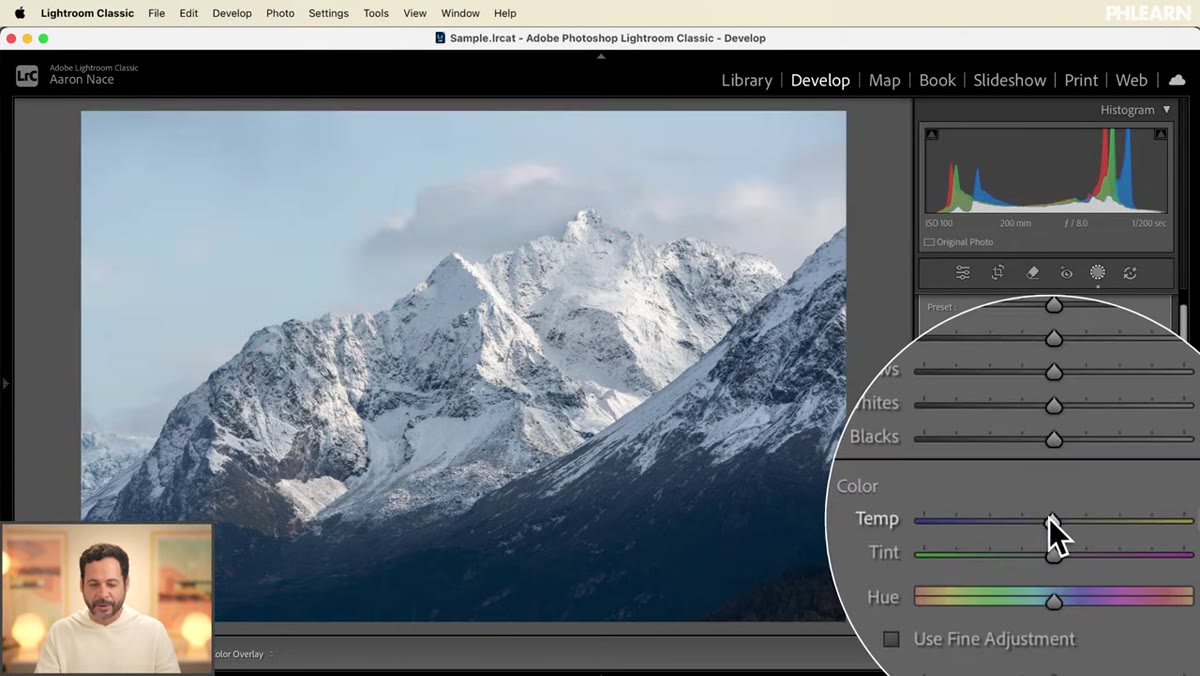 Sky mask selected, color temperature slider being moved
Switch over to the Sky mask. The main goal here is to punch up that blue. Drag the Color Temperature slider toward the cooler, blue end of the range. How far depends on your specific shot, but even a modest shift makes a real difference in separating the sky from the snow below it. A slight Exposure increase on the sky helps it feel present and luminous rather than washed out.
Sky mask selected, color temperature slider being moved
Switch over to the Sky mask. The main goal here is to punch up that blue. Drag the Color Temperature slider toward the cooler, blue end of the range. How far depends on your specific shot, but even a modest shift makes a real difference in separating the sky from the snow below it. A slight Exposure increase on the sky helps it feel present and luminous rather than washed out.
This is the kind of adjustment that used to require me to hand-paint a sky selection or use Select Subject and then clean up the edges around trees for 20 minutes. The AI handles all of that edge work automatically.
Step 4: Boost Saturation on the Vegetation Mask
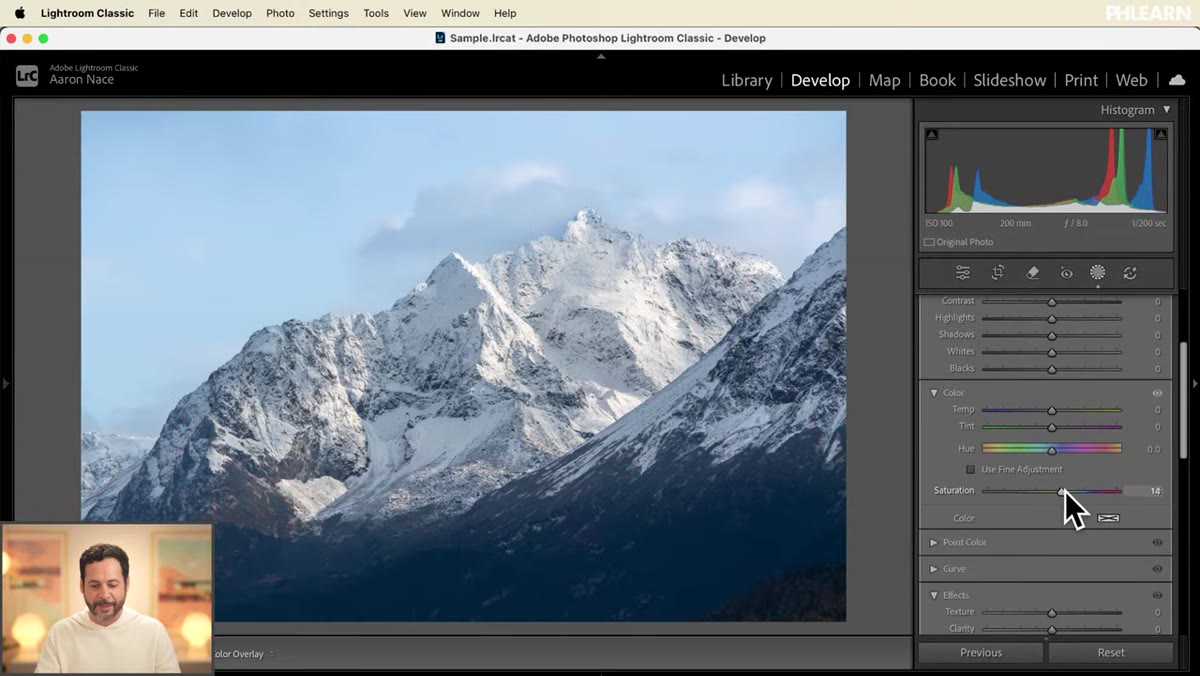 Vegetation mask selected, saturation being increased
Jump to the Vegetation mask. In a winter scene, trees and shrubs often look desaturated and dull against all that white. Pull the Saturation slider up, sometimes quite a bit. This pops the greens (or whatever color your foliage happens to be) and adds visual contrast against the snow. It’s a small adjustment that makes the whole composition feel more alive.
Vegetation mask selected, saturation being increased
Jump to the Vegetation mask. In a winter scene, trees and shrubs often look desaturated and dull against all that white. Pull the Saturation slider up, sometimes quite a bit. This pops the greens (or whatever color your foliage happens to be) and adds visual contrast against the snow. It’s a small adjustment that makes the whole composition feel more alive.
At this point, flip between your before and after. The combination of textured snow, a saturated sky, and punchy vegetation usually produces a result that would have taken significantly longer to achieve manually.
Step 5: Use the Same Workflow in Photoshop via Camera Raw
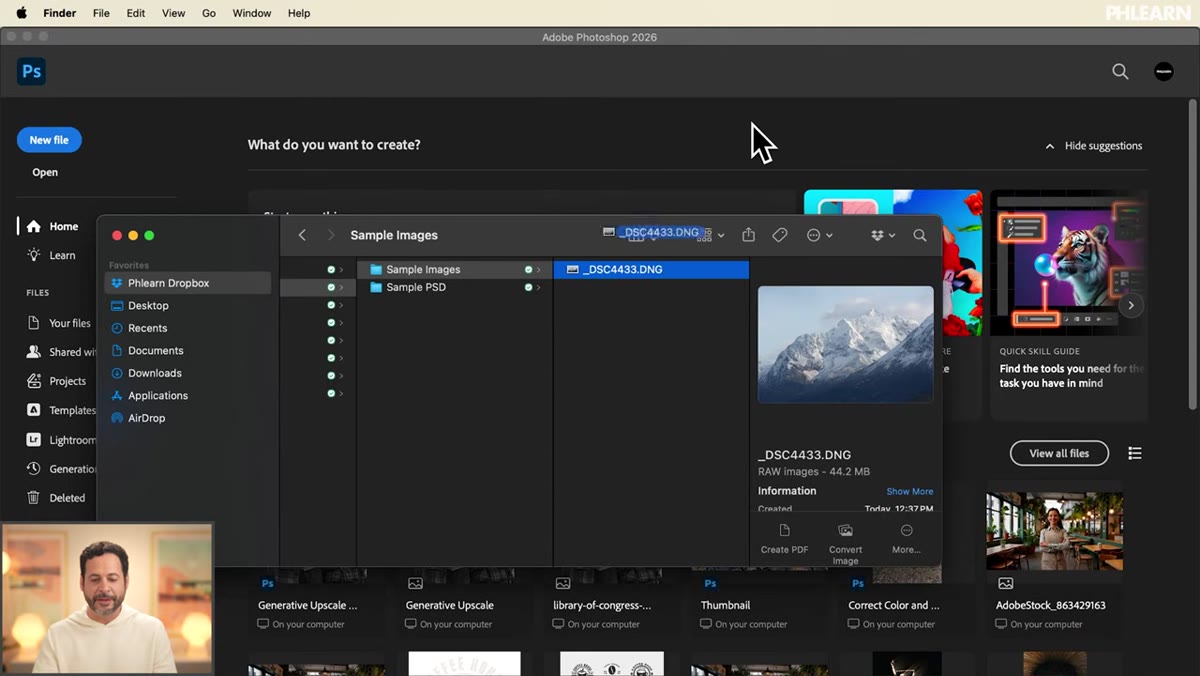 RAW file opened in Camera Raw inside Photoshop 2026
If you work in Photoshop rather than Lightroom, the exact same workflow applies. Drag a RAW file into Photoshop and it opens automatically in Camera Raw, which is Adobe’s full RAW editor built right into Photoshop. Navigate to the Masking tools in Camera Raw and click Landscape. Same AI detection, same Snow option, same resulting masks.
RAW file opened in Camera Raw inside Photoshop 2026
If you work in Photoshop rather than Lightroom, the exact same workflow applies. Drag a RAW file into Photoshop and it opens automatically in Camera Raw, which is Adobe’s full RAW editor built right into Photoshop. Navigate to the Masking tools in Camera Raw and click Landscape. Same AI detection, same Snow option, same resulting masks.
Make all your adjustments to Snow, Sky, and Vegetation the same way you would in Lightroom. When you’re done, click “Open as Object” instead of just “Open.” This is the key step that a lot of people skip.
Step 6: Open as Smart Object to Keep Everything Editable
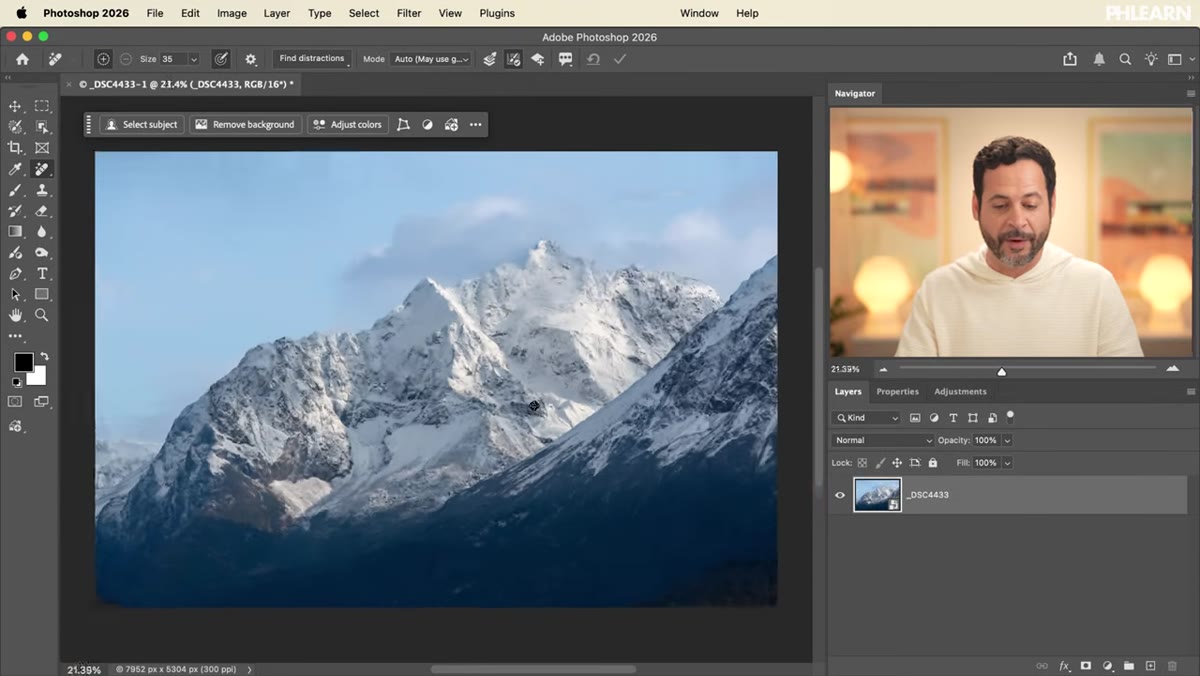 Smart Object layer in Photoshop, Camera Raw accessible via double-click
Opening as a Smart Object means your Camera Raw edits are stored non-destructively inside the layer. Double-click the layer thumbnail at any time and Camera Raw reopens with all your masks and settings fully intact. You can change the Clarity on the snow, tweak the sky temperature, dial back the vegetation saturation. Nothing is baked in.
Smart Object layer in Photoshop, Camera Raw accessible via double-click
Opening as a Smart Object means your Camera Raw edits are stored non-destructively inside the layer. Double-click the layer thumbnail at any time and Camera Raw reopens with all your masks and settings fully intact. You can change the Clarity on the snow, tweak the sky temperature, dial back the vegetation saturation. Nothing is baked in.
This is how I work on every single RAW file now after learning the hard way that flattening edits into a rasterized layer is basically a one-way door. Smart Objects are the difference between a file you can revisit in three months and a file you have to start from scratch when a client wants changes.
One Thing I’d Add: Stack It With Manual Local Adjustments
The AI Landscape masks are impressively accurate but they’re not always perfect, especially where snow meets rock or where a tree branch cuts across a bright sky. What I’ve started doing is using these AI masks as a base and then adding a Subtract brush to clean up any areas where the mask bleeds into something it shouldn’t touch. In Camera Raw, you can modify any AI-generated mask by painting additions or subtractions directly on top of it. It takes an extra 60 seconds and makes the result bulletproof.
Also worth noting: Aaron mentions in the tutorial that this feature works identically across Lightroom Classic, Lightroom desktop, and Lightroom mobile. So your phone workflow just got a meaningful upgrade too.
The bottom line here is that Adobe’s AI masking has crossed a threshold where it’s genuinely faster and more accurate than doing it by hand for most landscape scenarios. Snow detection specifically fills a gap that was legitimately annoying, and the Clarity trick on the snow mask alone is worth adding to your standard winter editing routine.
Watch the full tutorial on YouTube to see Aaron’s before and after comparisons in real time. Seeing the toggle is what sells it.
Comments (4)
Clear and practical. No fluff. Appreciate that.
Great article! I actually covered something related on my site — the business angle is really complementary to this.
Bookmarked. Coming back to this one for sure.
Finally someone explains this in a way that actually makes sense.
Leave a Comment