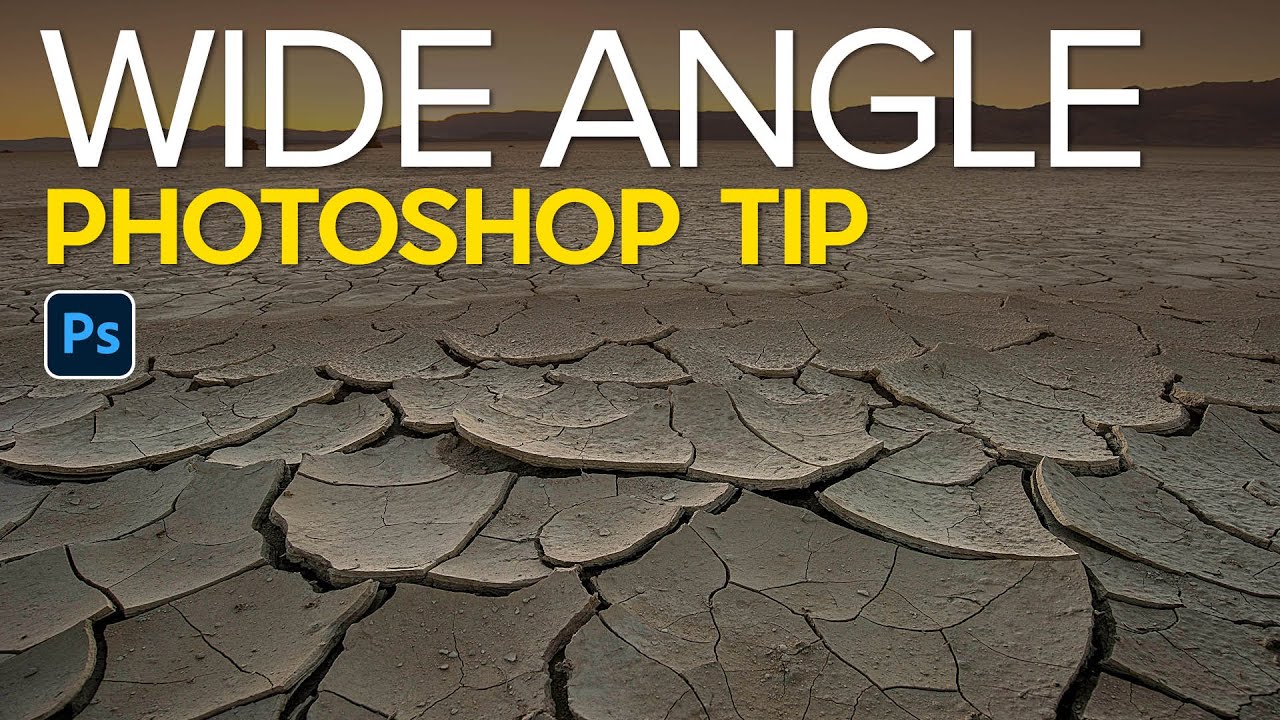
I spent a genuinely embarrassing amount of time wondering why my landscape shots looked flat. Same location as photographers I admired, similar gear, roughly similar light. The photos just sat there. Turns out I was committing the cardinal wide-angle sin: standing up like a normal human being and pointing my camera at things from eye level like I was taking a mugshot of the horizon. The foreground, which is literally the most interesting part of a wide-angle landscape, was barely there.
In this Matt Kloskowski tutorial, Watch the full tutorial on YouTube - he breaks down two ideas that sound almost too simple when you first hear them. One is something you do in the field. The other is a Photoshop move that rescues shots where the background got swallowed by the lens. Together they reframe how you think about focal length as a compositional tool rather than just a zoom control.
What I appreciate about the way Matt teaches this is that he shows the same scene twice, side by side, with minimal differences in focal length, and lets the visual difference do the arguing. No theoretical rambling. Just two photos that make the point undeniably.
Step 1: Compare the Same Scene at Two Camera Heights
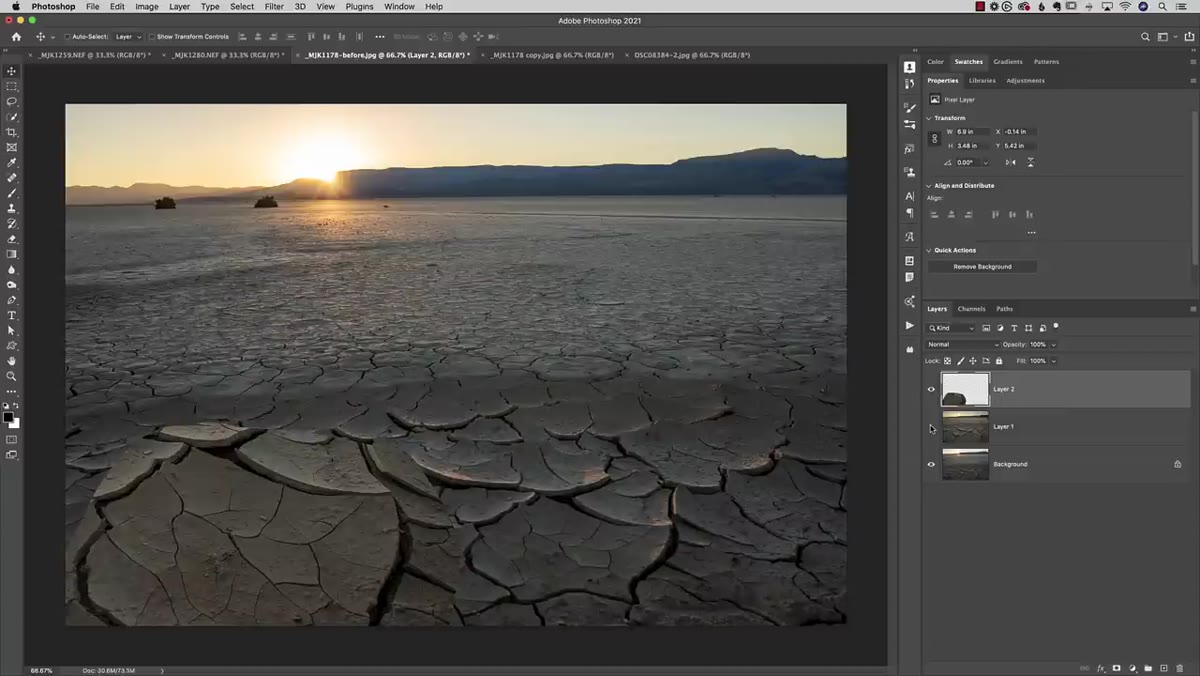
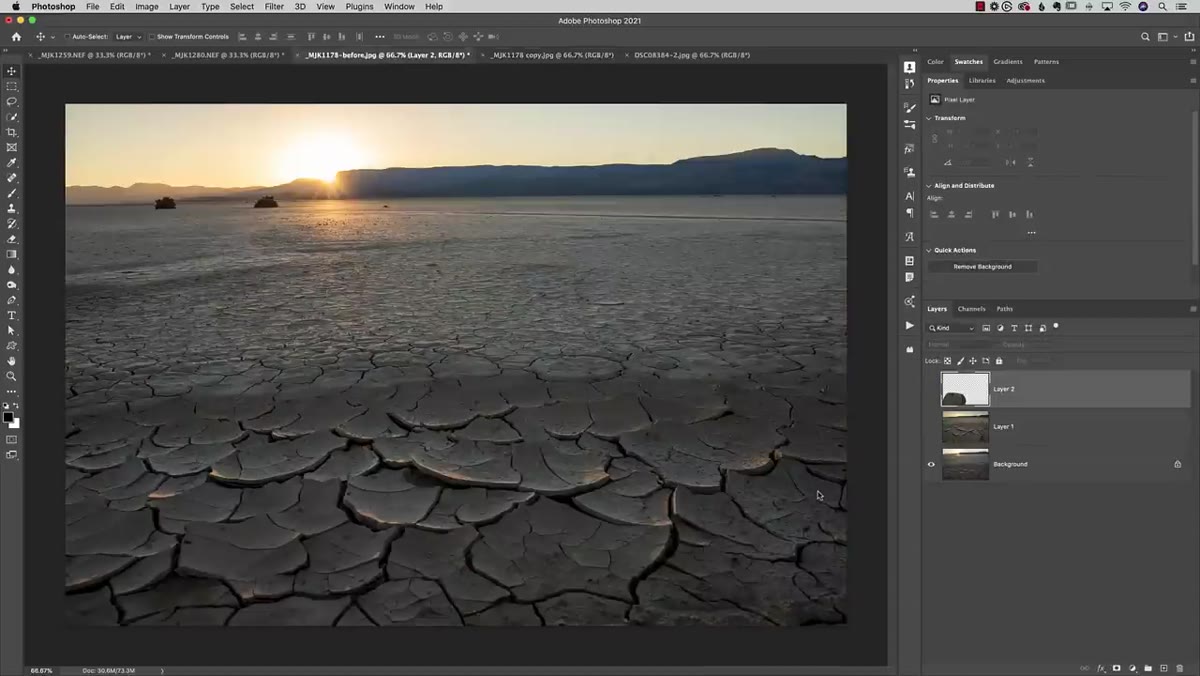 Two desert photos side by side at different camera heights
Matt opens with two shots of the same dry desert location. Tripod positions are nearly identical. Focal lengths are close, something in the 17-22mm range. The only meaningful variable is camera height and how close the camera is to the foreground subject. One photo has the camera higher, giving a more standard travel-photo feel. The other has the camera dropped low and pushed close to the cracked desert floor.
Two desert photos side by side at different camera heights
Matt opens with two shots of the same dry desert location. Tripod positions are nearly identical. Focal lengths are close, something in the 17-22mm range. The only meaningful variable is camera height and how close the camera is to the foreground subject. One photo has the camera higher, giving a more standard travel-photo feel. The other has the camera dropped low and pushed close to the cracked desert floor.
Put them side by side and the low shot makes the ground look enormous, textured, almost like a landscape unto itself. The higher shot makes the same ground look incidental. This is the whole lesson compressed into one comparison: wide-angle lenses exaggerate proximity. The closer something is to the lens, the more space it commands in the frame.
Step 2: Get Physically Closer to Your Foreground Subject
 Camera positioned low and close to dry desert floor
This is the in-camera technique. When your foreground is the point of the photo, treat it like the point of the photo. Get your camera down low, uncomfortably low. Get it close, uncomfortably close. Matt is shooting the cracked patterns of a dry desert lake bed. There is no dramatic mountain moment, no golden tower. The whole reason you visit a location like that is the texture right at your feet. So show it like you mean it.
Camera positioned low and close to dry desert floor
This is the in-camera technique. When your foreground is the point of the photo, treat it like the point of the photo. Get your camera down low, uncomfortably low. Get it close, uncomfortably close. Matt is shooting the cracked patterns of a dry desert lake bed. There is no dramatic mountain moment, no golden tower. The whole reason you visit a location like that is the texture right at your feet. So show it like you mean it.
With a wide-angle lens in the 16-24mm range, dropping even six inches can radically change how large and dominant the foreground reads. The lens is doing physics you cannot fake in post, at least not without a lot of work. A half-meter difference in height and distance can make the same rock or cracked earth look three times as significant in the frame. Practice this on your next shoot before you ever open Photoshop.
Step 3: Understand the Trade-Off: Foreground vs. Background
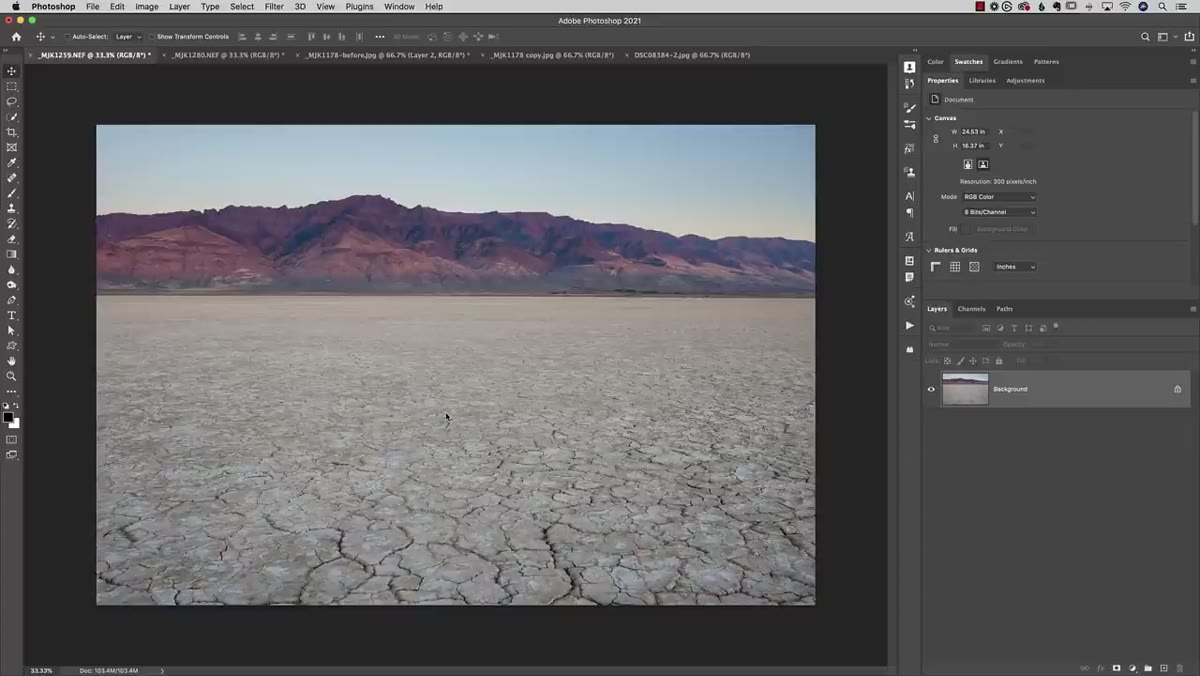 Wide shot with large foreground, distant mountains appearing small
Here is where Matt introduces the tension that makes this more than a one-liner tip. When you go wide and get low to magnify your foreground, you simultaneously shrink everything in the background. Mountains that looked imposing at 24mm look like a distant suggestion at 16mm. The lens compresses nothing. It actually stretches near things and diminishes far things at the same time.
Wide shot with large foreground, distant mountains appearing small
Here is where Matt introduces the tension that makes this more than a one-liner tip. When you go wide and get low to magnify your foreground, you simultaneously shrink everything in the background. Mountains that looked imposing at 24mm look like a distant suggestion at 16mm. The lens compresses nothing. It actually stretches near things and diminishes far things at the same time.
So the question becomes: what is the actual subject of this photograph? If the foreground is the whole reason you are there, going wide and low is correct and the small background is just honest reporting. But if you have something compelling in both the foreground and the distance, you have to make a choice or find a Photoshop workaround, which is where the tutorial goes next.
Step 4: Use Zoom and Height Together to Balance Foreground and Background
 Comparison of 16mm vs 24mm shot showing background size difference
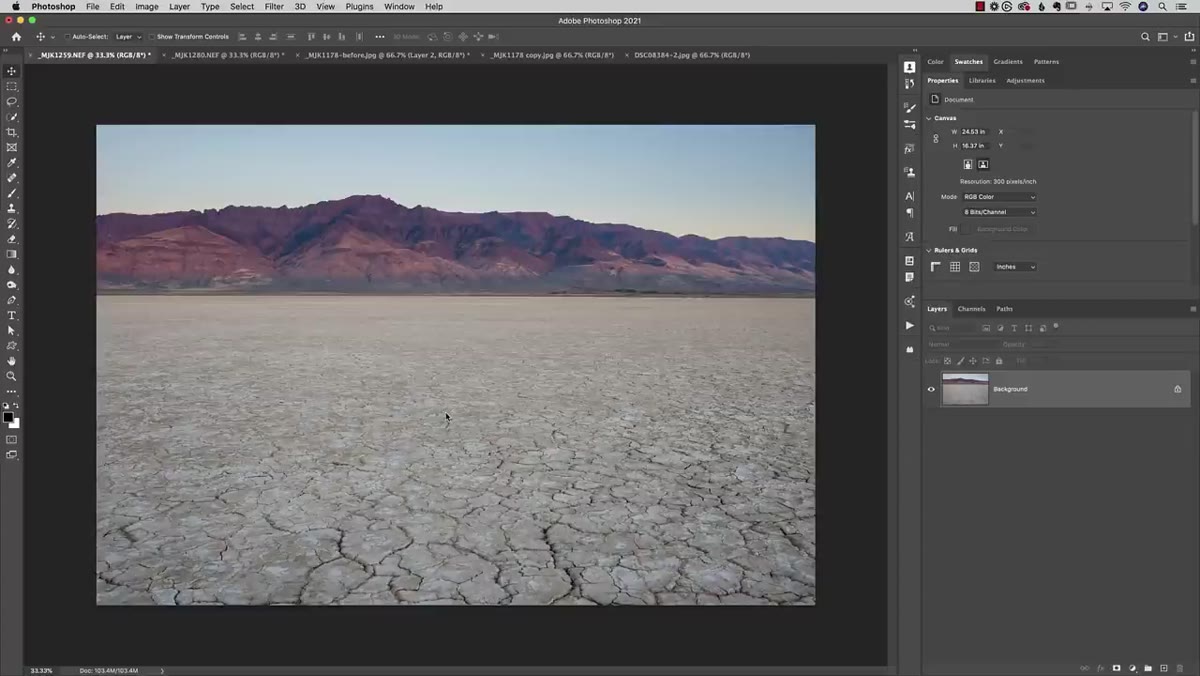
Matt’s second in-field comparison shows the same location shot at roughly 16mm versus 24mm, with the camera slightly higher in the longer shot. The result is that the background mountain range becomes noticeably bigger and more present. The foreground is still there but it yields some dominance. This is not a cheat or a compromise. It is compositional decision-making.
Comparison of 16mm vs 24mm shot showing background size difference
Matt’s second in-field comparison shows the same location shot at roughly 16mm versus 24mm, with the camera slightly higher in the longer shot. The result is that the background mountain range becomes noticeably bigger and more present. The foreground is still there but it yields some dominance. This is not a cheat or a compromise. It is compositional decision-making.
If your background matters as much as your foreground, zoom in a little and raise the camera slightly. You give up some of the wide-angle foreground drama but you bring the background into the conversation. Know before you shoot which element is carrying the photo, and set your focal length and camera height to match that priority.
Step 5: Bring the Photos into Photoshop for a Side-by-Side Evaluation
 Both photos copied onto separate layers in one Photoshop document
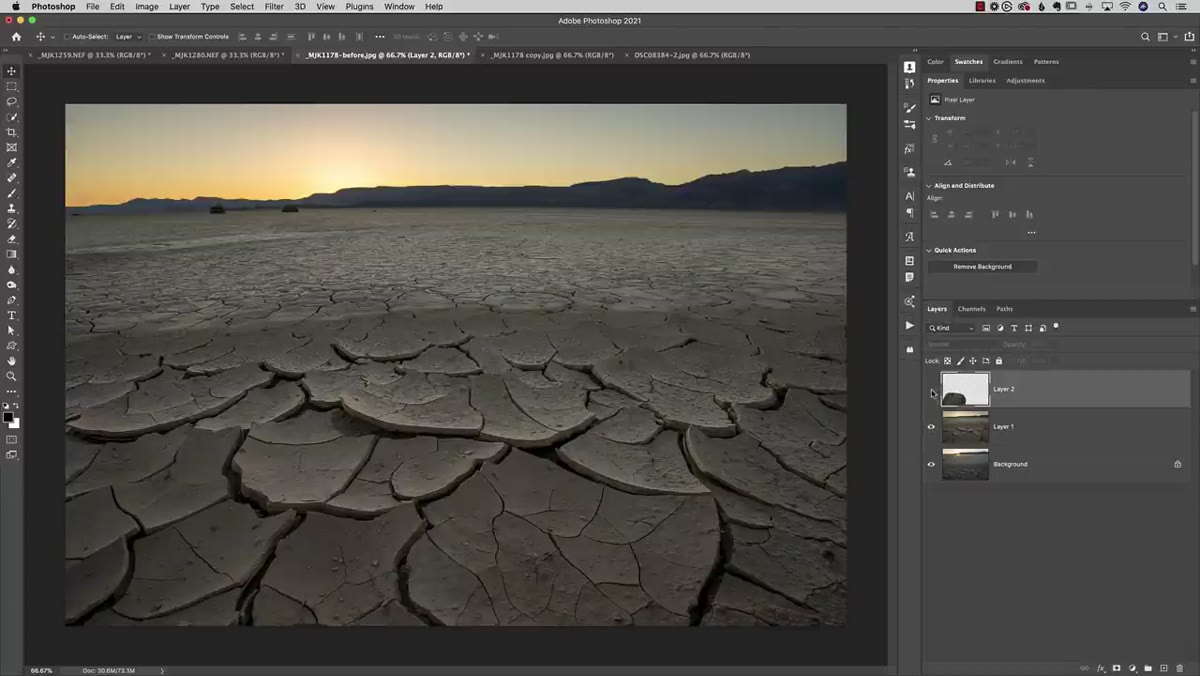
Matt’s Photoshop technique here is almost embarrassingly practical: copy and paste both shots into a single document as separate layers. Toggle between them or use layer opacity to compare exactly how each compositional choice played out. This is not a flashy technique. It is a discipline.
Both photos copied onto separate layers in one Photoshop document
Matt’s Photoshop technique here is almost embarrassingly practical: copy and paste both shots into a single document as separate layers. Toggle between them or use layer opacity to compare exactly how each compositional choice played out. This is not a flashy technique. It is a discipline.
Doing this comparison in Photoshop rather than just flipping between Lightroom previews lets you align the images and see specific areas of the frame with real precision. You can see that the patch of cracked earth covering maybe 15% of the frame in the higher shot fills nearly 40% in the lower shot. Numbers like that recalibrate your instincts for next time you are in the field.
One Thing I Would Add: Do This Comparison Before You Edit, Not After
I started doing a version of this comparison workflow when I was putting together composites for clients and I could not figure out why one shot always felt like the stronger base image even when the other had technically better light. The answer was almost always camera height and proximity to the nearest interesting element.
My extra step: before you commit to an edit, paste your top two or three candidates from a shoot into one Photoshop document and evaluate them at 100% zoom on the areas that matter most. It takes five minutes and it saves you from spending an hour editing the wrong frame. I have made that mistake more times than I want to count, including once on a deadline where the client asked why the foreground looked “kind of boring” and I had no good answer.
Wide-angle composition rewards commitment. Halfway down is not down. Somewhat close is not close. The lens only does the magic when you actually commit to the position.
The single most transferable idea from this tutorial is that focal length and camera height work together as one tool, not two. Changing one without the other only gets you halfway to the shot. When you are out with a wide-angle lens and something on the ground deserves attention, get all the way down and get genuinely close, then evaluate whether your background still has a role to play and adjust from there.
Watch the full tutorial on YouTube and pay close attention to the side-by-side comparisons. Seeing the same patch of earth at two different heights is more convincing than any amount of explanation.
Comments (2)
I tried this on a client project yesterday and the results were way better than expected.
Great breakdown. The step-by-step approach really helps.
Leave a Comment