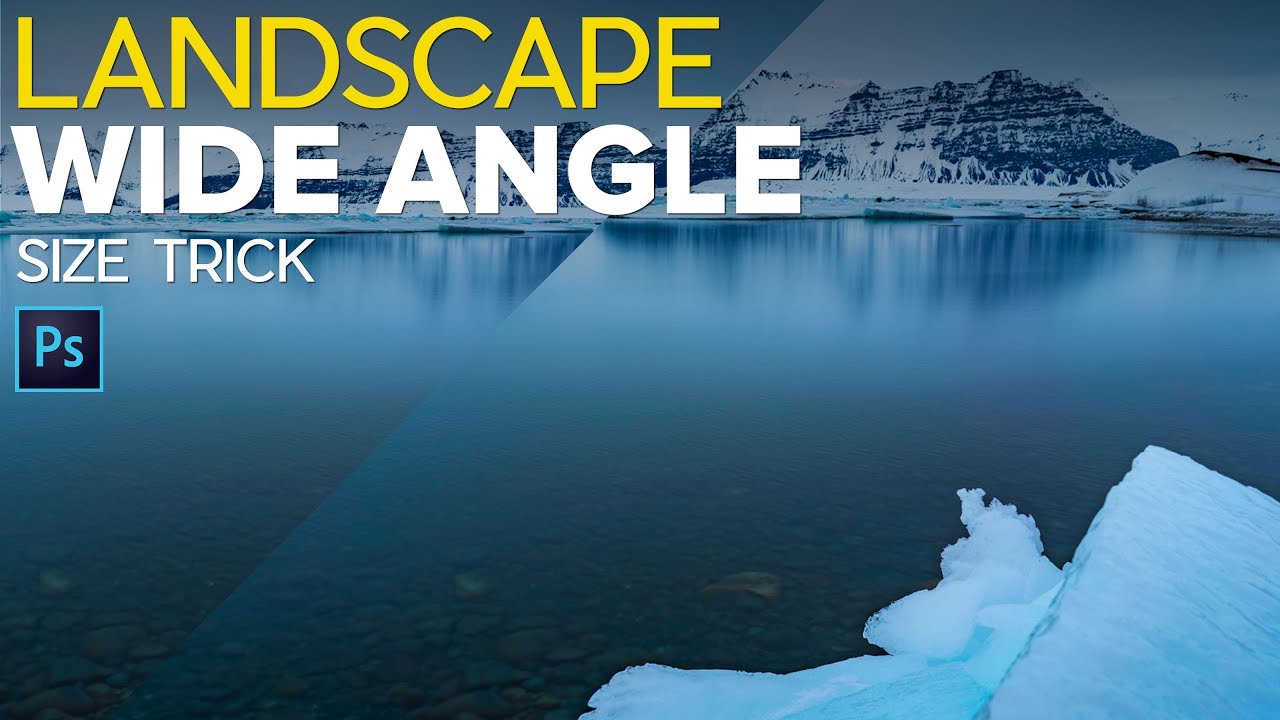
There’s a specific kind of disappointment that hits when you get home from a hike, pull up your photos, and realize that incredible mountain you were staring at all day looks like a small grey smudge in the background. You were right there. It was massive. And yet your wide-angle lens decided to shove it into the corner of the frame and make the dirt in the foreground the star of the show. I’ve delivered landscape edits to clients with that exact problem more times than I’d like to admit, usually spending way too long trying to fix it with dodging, burning, and sheer stubbornness.
In this Matt Kloskowski tutorial, Watch the full tutorial on YouTube, he walks through a deceptively simple technique that uses a feathered selection and free transform to scale up a background element, like a mountain or a moon, without it looking like you just slapped a cutout on top of your photo. What I like most about it is that Matt tested this on five random photos from his own library, not five hand-picked perfect demo images, and it worked almost every time. That kind of real-world reliability is what makes a technique worth actually learning.
The whole process takes maybe two minutes once you’ve done it once. Here’s exactly how it works.
Step 1: Make a Loose Selection Around Your Subject
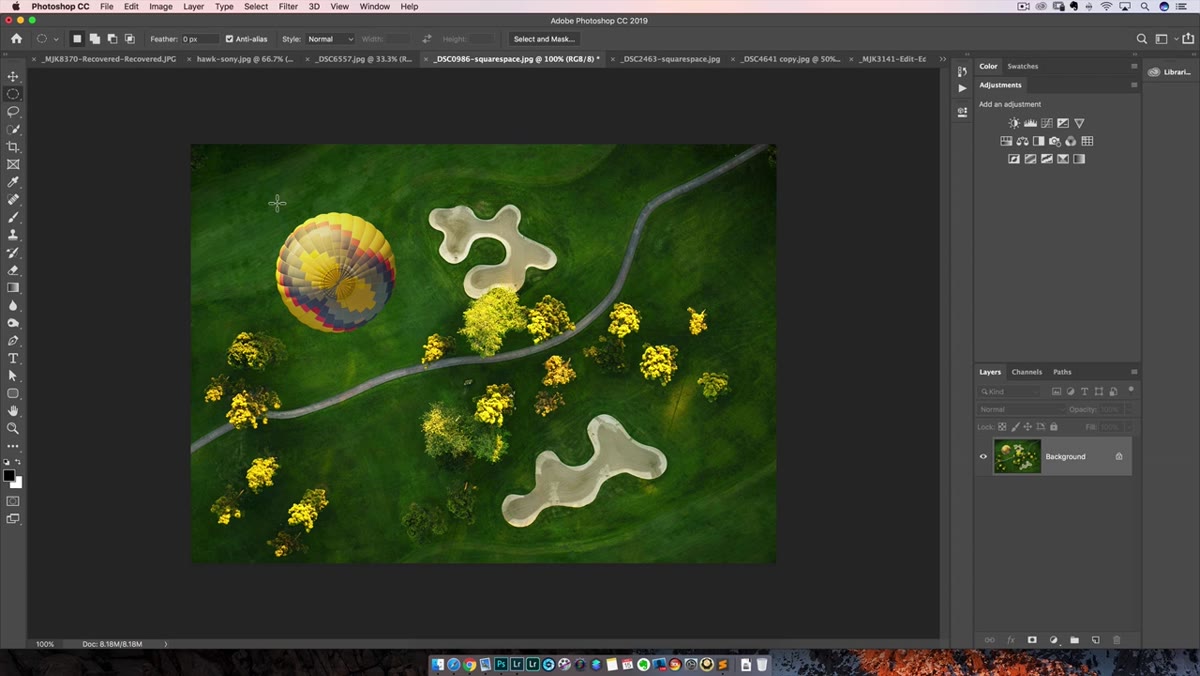 Elliptical Marquee tool drawing a wide selection around a mountain
Grab the Elliptical Marquee tool and draw a selection around whatever element you want to enlarge. The single most important thing here is to give it room to breathe. Don’t hug the edges of the subject tightly. You want a generous buffer of surrounding sky, water, or landscape inside your selection. If you click and drag but miss the center, hold the spacebar while still holding the mouse button and you can reposition the selection before letting go. That little spacebar trick alone has saved me from restarting selections more times than I can count.
Elliptical Marquee tool drawing a wide selection around a mountain
Grab the Elliptical Marquee tool and draw a selection around whatever element you want to enlarge. The single most important thing here is to give it room to breathe. Don’t hug the edges of the subject tightly. You want a generous buffer of surrounding sky, water, or landscape inside your selection. If you click and drag but miss the center, hold the spacebar while still holding the mouse button and you can reposition the selection before letting go. That little spacebar trick alone has saved me from restarting selections more times than I can count.
The shape doesn’t have to be perfect and it doesn’t have to be precise. You’re not trying to isolate the subject cleanly. You’re capturing it with plenty of surrounding context, which is what makes the next step actually work.
Step 2: Feather the Selection
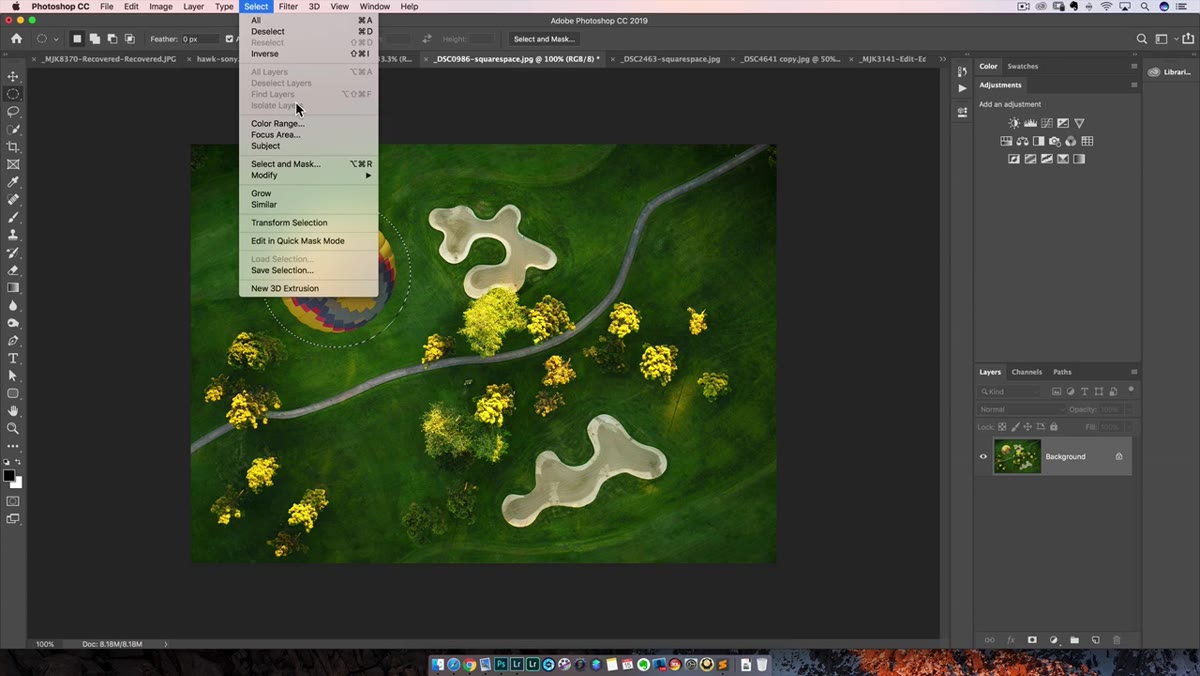 Feather dialog box open with 25 pixels entered
With your selection active, go to Select, then Modify, then Feather. Set the feather value to 25 pixels. This is Matt’s default starting point and it’s a solid one. What feathering does is soften the edge of your selection so that when you transform and move things, there’s no hard seam where the edited area meets the original photo. The blend just… happens naturally.
Feather dialog box open with 25 pixels entered
With your selection active, go to Select, then Modify, then Feather. Set the feather value to 25 pixels. This is Matt’s default starting point and it’s a solid one. What feathering does is soften the edge of your selection so that when you transform and move things, there’s no hard seam where the edited area meets the original photo. The blend just… happens naturally.
If you’re working with a very high resolution image, you might need to bump this number up. If your selection edge is sitting too close to your subject, a 25-pixel feather might start eating into the subject itself and you’ll see weird ghosting. The fix is always the same: redo the selection with more breathing room, then feather again.
Step 3: Copy the Selection to Its Own Layer
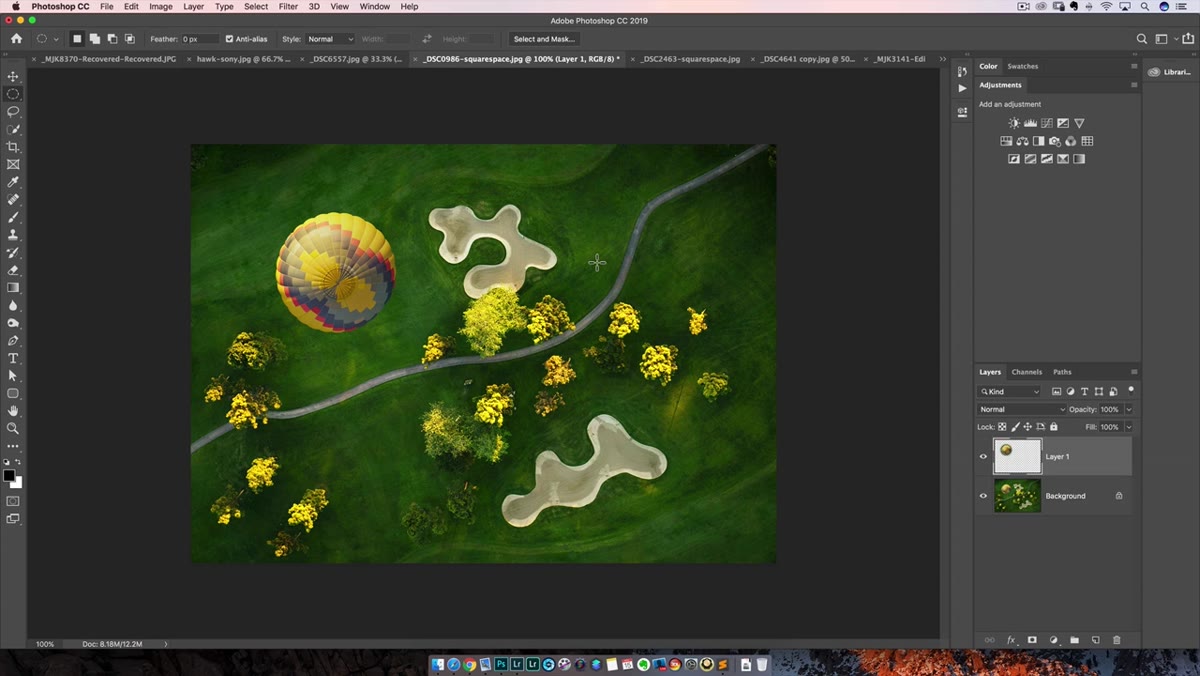 Layers panel showing a new layer created above the background
Hit Command + J (Mac) or Control + J (Windows). This duplicates just the selected area onto a new layer above your background. Critically, the original background stays completely intact underneath. This is not a cut. It’s a copy. And that distinction matters enormously because as you scale your subject up, the layer below needs to fill in any gaps around the edges with the original texture and detail. If you had cut instead of copied, you’d have a hole, and patching a hole in a landscape is a whole different kind of miserable afternoon.
Layers panel showing a new layer created above the background
Hit Command + J (Mac) or Control + J (Windows). This duplicates just the selected area onto a new layer above your background. Critically, the original background stays completely intact underneath. This is not a cut. It’s a copy. And that distinction matters enormously because as you scale your subject up, the layer below needs to fill in any gaps around the edges with the original texture and detail. If you had cut instead of copied, you’d have a hole, and patching a hole in a landscape is a whole different kind of miserable afternoon.
Toggle the background layer off if you want to see exactly what got grabbed. You’ll see the subject with a soft, feathered fade around it. Toggle it back on before you move to the next step.
Step 4: Free Transform and Scale Up
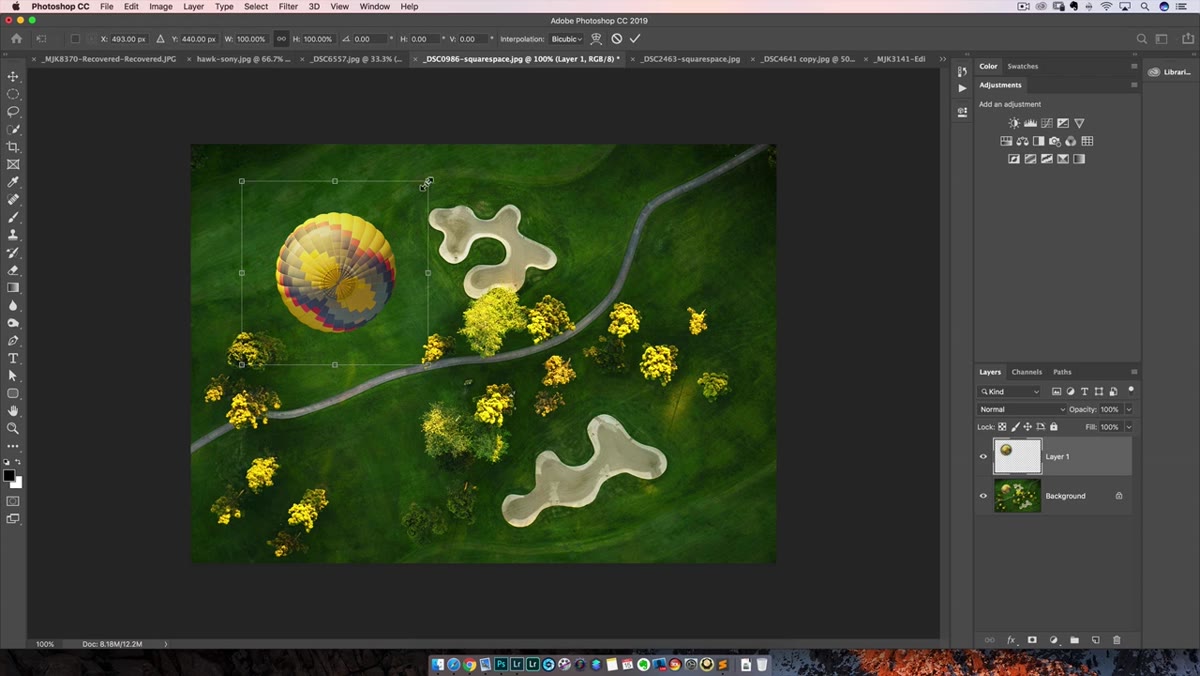 Free Transform handles visible around the mountain layer
Go to Edit, then Free Transform, or just hit Command + T (Mac) / Control + T (Windows). Grab any corner handle and drag outward to make your subject larger. In newer versions of Photoshop, proportional scaling is on by default, so you don’t need to hold Shift to keep things from stretching. If you’re on an older version, hold Shift while dragging to constrain proportions.
Free Transform handles visible around the mountain layer
Go to Edit, then Free Transform, or just hit Command + T (Mac) / Control + T (Windows). Grab any corner handle and drag outward to make your subject larger. In newer versions of Photoshop, proportional scaling is on by default, so you don’t need to hold Shift to keep things from stretching. If you’re on an older version, hold Shift while dragging to constrain proportions.
Move the scaled element around until it feels right compositionally. The feathered edges mean the blending happens automatically as you push the subject into different areas of the background. When you’re happy, press Enter or click the checkmark in the toolbar to commit the transformation.
Step 5: Clean Up the Edges with the Eraser
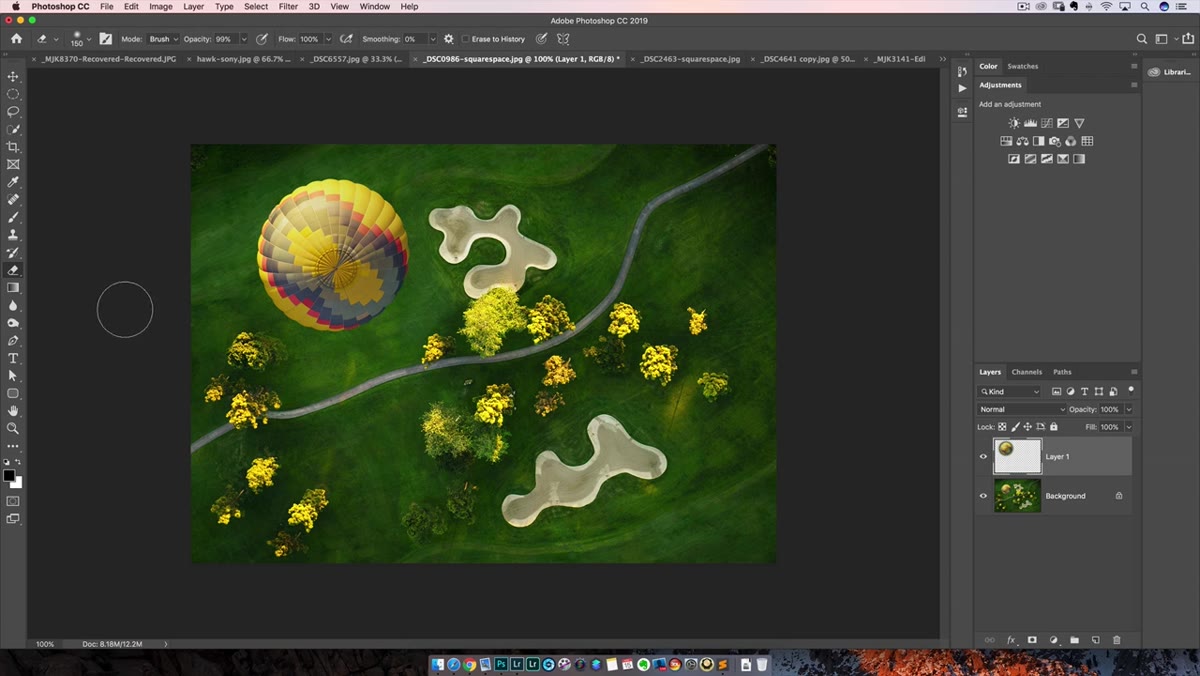 Eraser tool softening edges on the transformed layer
Press E to grab the Eraser tool. Set a large, soft brush with a low opacity, somewhere around 20 to 30 percent. This is where you clean up any areas where the scaled layer is overlapping foreground elements it shouldn’t be touching. Maybe the mountain is now encroaching on a tree line, or the bottom edge is bleeding into some grass. Light, patient passes with the eraser on the upper layer will knock those areas back without creating hard, obvious strokes.
Eraser tool softening edges on the transformed layer
Press E to grab the Eraser tool. Set a large, soft brush with a low opacity, somewhere around 20 to 30 percent. This is where you clean up any areas where the scaled layer is overlapping foreground elements it shouldn’t be touching. Maybe the mountain is now encroaching on a tree line, or the bottom edge is bleeding into some grass. Light, patient passes with the eraser on the upper layer will knock those areas back without creating hard, obvious strokes.
Work gradually here. A low-opacity eraser means you can always do another pass, but you can’t undo an erase that was too aggressive without stepping back through history.
My Caveat: Watch the Sky Gradients
I’ve used this technique a handful of times since watching this video and it works exactly as advertised on most landscape shots. Where it gets tricky is when the subject is sitting in front of a gradient sky that has obvious banding or color shifts. When you scale up a mountain, you’re also bringing with it a slice of whatever sky was immediately around it, and if that sky doesn’t match the surrounding gradient after you move the layer, the blend can look slightly off even with a 25-pixel feather.
My workaround is to do a quick Curves adjustment on the transformed layer clipped to match the sky tone, or in trickier cases, I’ll use a layer mask instead of the eraser for more controlled, non-destructive edge work. A mask lets you paint back detail if you go too far, which after a certain incident involving a deleted client project I won’t get into, is something I now treat as non-negotiable.
The takeaway here is that wide-angle lens distortion is a solvable problem and the solution doesn’t require anything exotic. A loose selection, a feather, a copy, and a free transform is genuinely all it takes to turn a flat, distant mountain into the commanding subject it should have been in the first place. Matt’s approach of testing it on real photos rather than curated demos is exactly the kind of honest tutorial that saves you from learning something in a vacuum and then discovering it falls apart on your actual work.
Watch the full tutorial on YouTube to see all five examples Matt works through, including the trickier ones that show you where the technique needs a little extra attention.
Comments
Leave a Comment