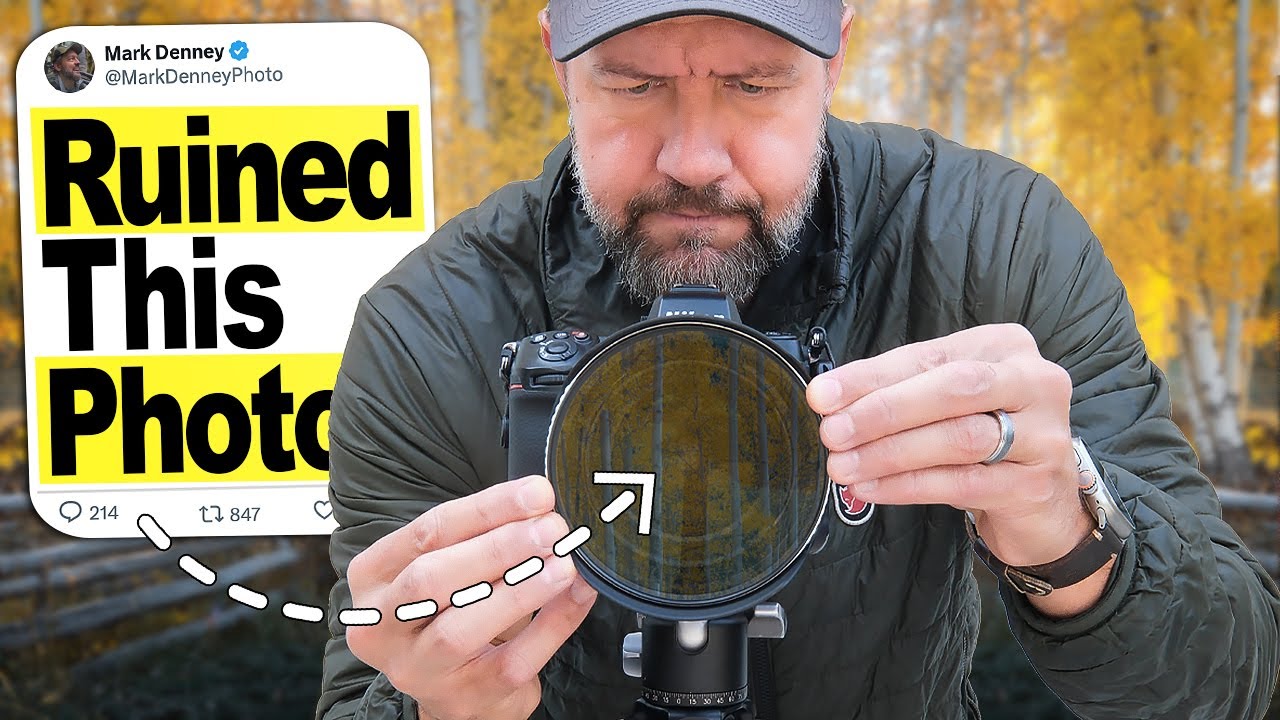
I’ll be honest: I am not primarily a landscape photographer. My wheelhouse is design work, composites, the occasional product shoot. But fall rolls around every year and something happens to me. I grab my camera, I drive somewhere with trees, and I try to make something that doesn’t look like a tourist snapshot. For years I leaned on my circular polarizer like it was a magic wand, cranking it all the way and assuming that more polarization meant better photos. Turns out I was doing it wrong the whole time, and so are most people.
In this Mark Denney tutorial, Watch the full tutorial on YouTube, Mark breaks down exactly why maxing out your circular polarizer (CPL) during fall shoots is quietly sabotaging your images. He’s a landscape photographer who spent years making this same mistake himself, and once he explains what to look for, you genuinely cannot unsee it. I watched this twice in a coffee shop and then immediately went back through a folder of old fall photos feeling mildly betrayed by my own past decisions.
The core issue is this: a circular polarizer is genuinely irreplaceable. It kills glare, deepens skies, cuts reflections off water and wet rocks, and boosts contrast in ways that no Lightroom slider can fully replicate after the fact. But like most powerful tools, there’s a wrong way to use it. And the wrong way is what almost everyone does by default.
Step 1: Understand What You’re Actually Losing at 100% Polarization
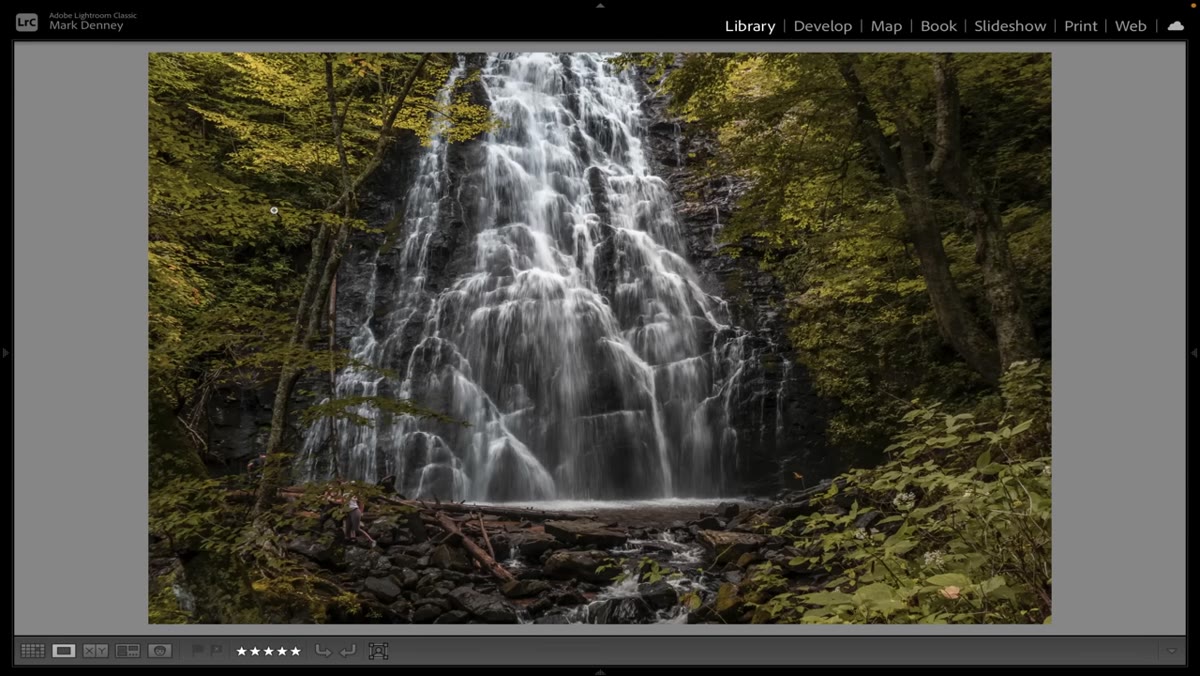 Toggling between no polarizer and full polarization on leaf foliage
Most photographers rotate their CPL until the reflections disappear completely. That feels like success. The image looks punchier, the colors pop, the glare is gone. Job done, right? Not quite. What you’re also removing is the natural sheen on leaves, that subtle light that bounces off the waxy surface of foliage and gives it a slightly luminous quality. It’s the difference between leaves that look alive and leaves that look like they’re made of construction paper. At full polarization, that sheen is completely stripped away, and the image starts to flatten in a way that’s hard to put your finger on until someone points it out.
Toggling between no polarizer and full polarization on leaf foliage
Most photographers rotate their CPL until the reflections disappear completely. That feels like success. The image looks punchier, the colors pop, the glare is gone. Job done, right? Not quite. What you’re also removing is the natural sheen on leaves, that subtle light that bounces off the waxy surface of foliage and gives it a slightly luminous quality. It’s the difference between leaves that look alive and leaves that look like they’re made of construction paper. At full polarization, that sheen is completely stripped away, and the image starts to flatten in a way that’s hard to put your finger on until someone points it out.
Mark demonstrates this with a waterfall shot from the Blue Ridge Mountains, toggling between polarized and unpolarized versions. Focus on the upper portions of the frame where light hits the canopy. With the CPL maxed out, the leaves look dense and saturated but weirdly lifeless. Dial it back and there’s a gentle glimmer there, a sense of three-dimensional space that the fully polarized version just doesn’t have.
Step 2: Watch What Over-Polarization Does to Your Shadows
 Shadow areas in woodland scene with 100% polarization applied
This one surprised me more than the leaf sheen issue. When you push polarization to maximum, shadow areas in woodland scenes go very dark, sometimes unnaturally dark. Forests already have deep shadows built in, especially in the middle of the day or under heavy canopy. Stack a fully dialed CPL on top of that and those shadows can turn into muddy, detail-less black holes that kill the tonal range of the image.
Shadow areas in woodland scene with 100% polarization applied
This one surprised me more than the leaf sheen issue. When you push polarization to maximum, shadow areas in woodland scenes go very dark, sometimes unnaturally dark. Forests already have deep shadows built in, especially in the middle of the day or under heavy canopy. Stack a fully dialed CPL on top of that and those shadows can turn into muddy, detail-less black holes that kill the tonal range of the image.
It’s a compounding problem: you lose the highlights (the leaf sheen) and you crush the shadows simultaneously. The result is a photo that looks high-contrast on a surface level but actually has less perceived depth than an unpolarized shot. Pay attention to the mid-tones and shadow areas in your frame before you commit to a polarization level. If the shadows are already heavy, back the filter off.
Step 3: Recognize the Wide-Angle Sky Problem
 Wide-angle sky showing uneven polarization banding across the frame
If you’re shooting with a wide-angle lens and there’s sky in your frame, over-polarization creates another specific headache. CPL filters polarize unevenly across a wide field of view. The effect is strongest at 90 degrees to the sun and weaker toward the edges of a wide frame. So if you max out the polarization, you end up with a sky that’s dramatically darkened in one section and noticeably lighter on the sides. It looks like a bad graduated filter was applied in post, except you can’t just delete a layer to fix it.
Wide-angle sky showing uneven polarization banding across the frame
If you’re shooting with a wide-angle lens and there’s sky in your frame, over-polarization creates another specific headache. CPL filters polarize unevenly across a wide field of view. The effect is strongest at 90 degrees to the sun and weaker toward the edges of a wide frame. So if you max out the polarization, you end up with a sky that’s dramatically darkened in one section and noticeably lighter on the sides. It looks like a bad graduated filter was applied in post, except you can’t just delete a layer to fix it.
The fix isn’t complicated but it requires you to pay attention: rotate the polarizer until you find a position that produces a natural, even look across the whole sky rather than chasing the maximum effect. Sometimes that means accepting a slightly less dramatic blue. That trade-off is almost always worth it.
Step 4: Find the Sweet Spot Instead of the Maximum
 Rotating the CPL filter slowly to demonstrate partial polarization
This is the actual technique shift Mark is pushing, and it’s simpler than it sounds. Instead of rotating your CPL until reflections and glare are completely gone, rotate it until the image looks natural but improved. That’s a subjective call, and it takes a few minutes of practice before it becomes intuitive, but the benchmark is: does the scene still look like it exists in the real world, or does it look digitally processed straight out of camera?
Rotating the CPL filter slowly to demonstrate partial polarization
This is the actual technique shift Mark is pushing, and it’s simpler than it sounds. Instead of rotating your CPL until reflections and glare are completely gone, rotate it until the image looks natural but improved. That’s a subjective call, and it takes a few minutes of practice before it becomes intuitive, but the benchmark is: does the scene still look like it exists in the real world, or does it look digitally processed straight out of camera?
Look for the point where glare is reduced but a little natural sheen remains on surfaces. Look for shadow areas that are dark but still hold some detail. Look for a sky that’s a richer blue but still grades evenly across the frame. That position, somewhere between zero and 100%, is almost always the better shot.
Step 5: Use the Polarizer as a Variable Tool, Not an On/Off Switch
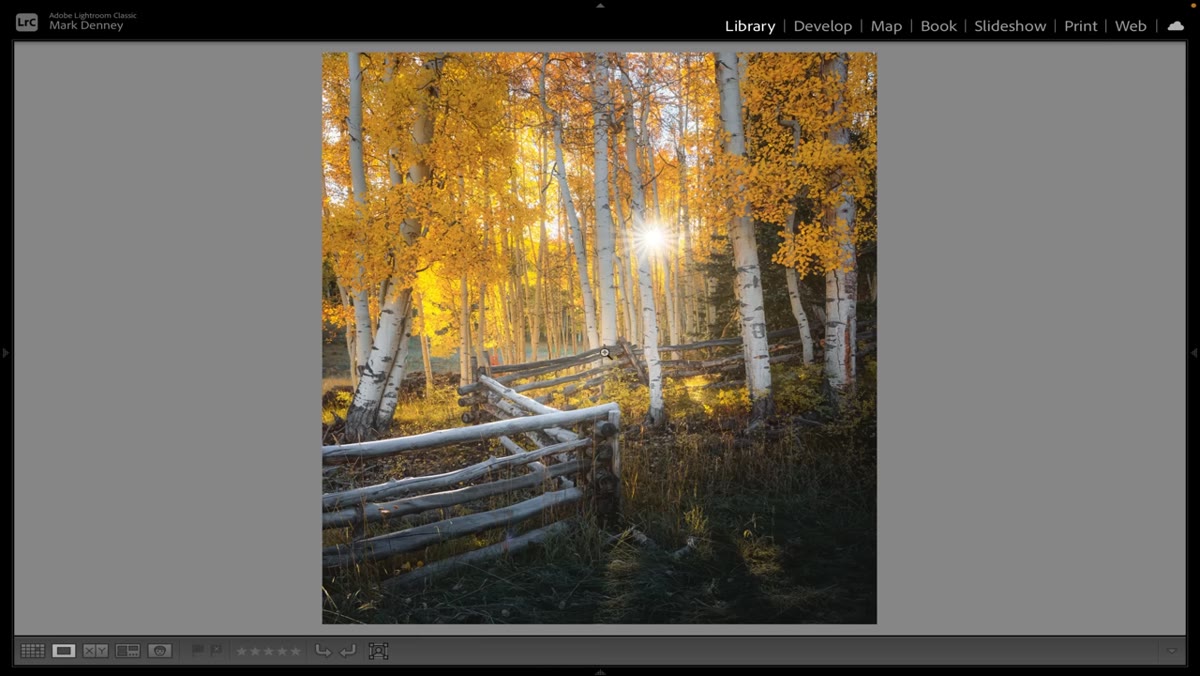 Side-by-side comparison of partial versus full polarization
The reframe that makes this whole thing click is treating the CPL like a dial rather than a switch. Most photographers mentally categorize it as “filter on” or “filter off.” But the actual creative range of a circular polarizer lives in the middle. Different lighting conditions, different times of day, different amounts of cloud cover, all of these change where the sweet spot lands. A scene with bright overhead sun is going to need less polarization than one with softer, diffused light. Water reflecting a cloudy sky might only need 30 or 40 percent.
Side-by-side comparison of partial versus full polarization
The reframe that makes this whole thing click is treating the CPL like a dial rather than a switch. Most photographers mentally categorize it as “filter on” or “filter off.” But the actual creative range of a circular polarizer lives in the middle. Different lighting conditions, different times of day, different amounts of cloud cover, all of these change where the sweet spot lands. A scene with bright overhead sun is going to need less polarization than one with softer, diffused light. Water reflecting a cloudy sky might only need 30 or 40 percent.
Get into the habit of checking the effect at multiple rotation points before you settle. Shoot a frame at what looks like the obvious setting, then dial back slightly and shoot again. Compare them on the back of your camera. Nine times out of ten, the dialed-back version has more dimension.
My Caveat: This Applies to Post-Processing Choices Too
The lesson I took from this tutorial extends into how I handle polarization-adjacent edits in Photoshop and Lightroom. I used to crank Dehaze, Clarity, and Vibrance in the same way I was cranking my CPL, all the way until everything looked “punchy.” The problem is identical: you strip out the natural variation in tone and sheen, you kill the shadows, and the image starts to look like a render rather than a photograph. Now I treat those sliders the same way Mark treats his polarizer. Find the point where the image looks like a better version of reality, not a departure from it.
The single most useful thing from this tutorial: the goal of a CPL is not maximum polarization. It’s optimal polarization. Those are almost never the same position on the filter.
Watch the full tutorial on YouTube to see Mark’s comparison shots side by side. The visual difference between maxed and dialed-back polarization is genuinely hard to fully appreciate without watching the toggle.
Comments (2)
Never thought of approaching it this way. Really creative.
Finally someone explains this in a way that actually makes sense.
Leave a Comment