How to Push a Branch (or Anything) Out of Your Subject's Space in Photoshop

How to Push a Branch (or Anything) Out of Your Subject's Space in Photoshop

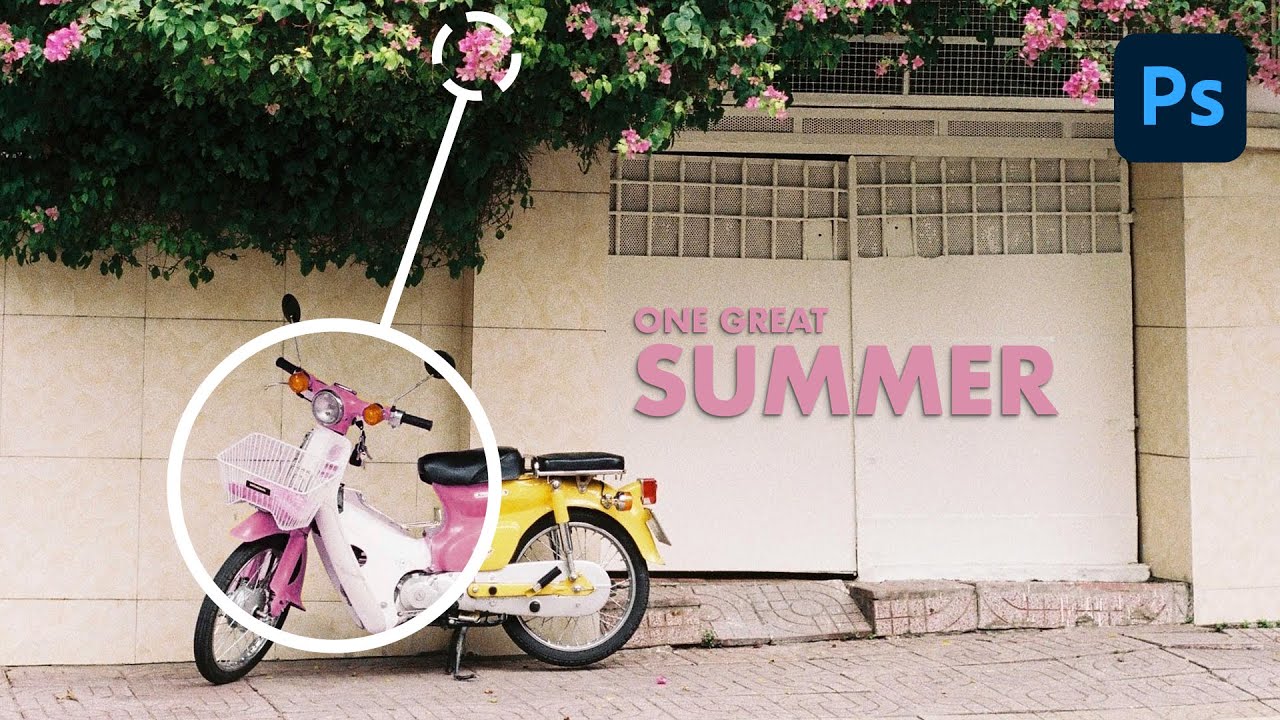
There’s a specific kind of frustration I feel when I nail a shot compositionally — good light, great subject, clean background — and then notice that some branch, pole, or random object is practically breathing on my subject. Not close enough to remove without wrecking the composition, but close enough to look like a mistake. I used to either crop aggressively (losing the frame I wanted) or spend 20 minutes cloning and healing until it looked almost right.

10 Photoshop Tips I Wish I'd Known Before I Wasted Years Doing Things the Hard Way

10 Photoshop Tips I Wish I'd Known Before I Wasted Years Doing Things the Hard Way

There’s a specific kind of pain that comes from watching someone else work in Photoshop and realizing they’re doing in three clicks what takes you fifteen. I’ve been there more times than I’d like to admit. Back when I was just starting to take freelance work seriously, a friend watched me edit over my shoulder for about two minutes before quietly asking if I’d ever heard of layer masks. Reader, I had not.

Stop Adjusting Black & White Sliders Blindly — Camera Raw Has a Better Way

Stop Adjusting Black & White Sliders Blindly — Camera Raw Has a Better Way

I used to convert images to black and white the same way I did everything else when I was starting out: wrong, but confidently. Desaturate the layer, maybe drag a few sliders around in Hue/Saturation, call it a day. The results looked flat, the contrast was muddy, and I had no way to go back and fix anything without starting over. I learned about non-destructive editing the hard way – the very hard way, involving a client project and a save that couldn’t be undone – and it changed how I approach basically everything in Photoshop now.

Flow vs. Opacity: The Brush Setting You're Probably Ignoring (And Why It's Costing You)

Flow vs. Opacity: The Brush Setting You're Probably Ignoring (And Why It's Costing You)

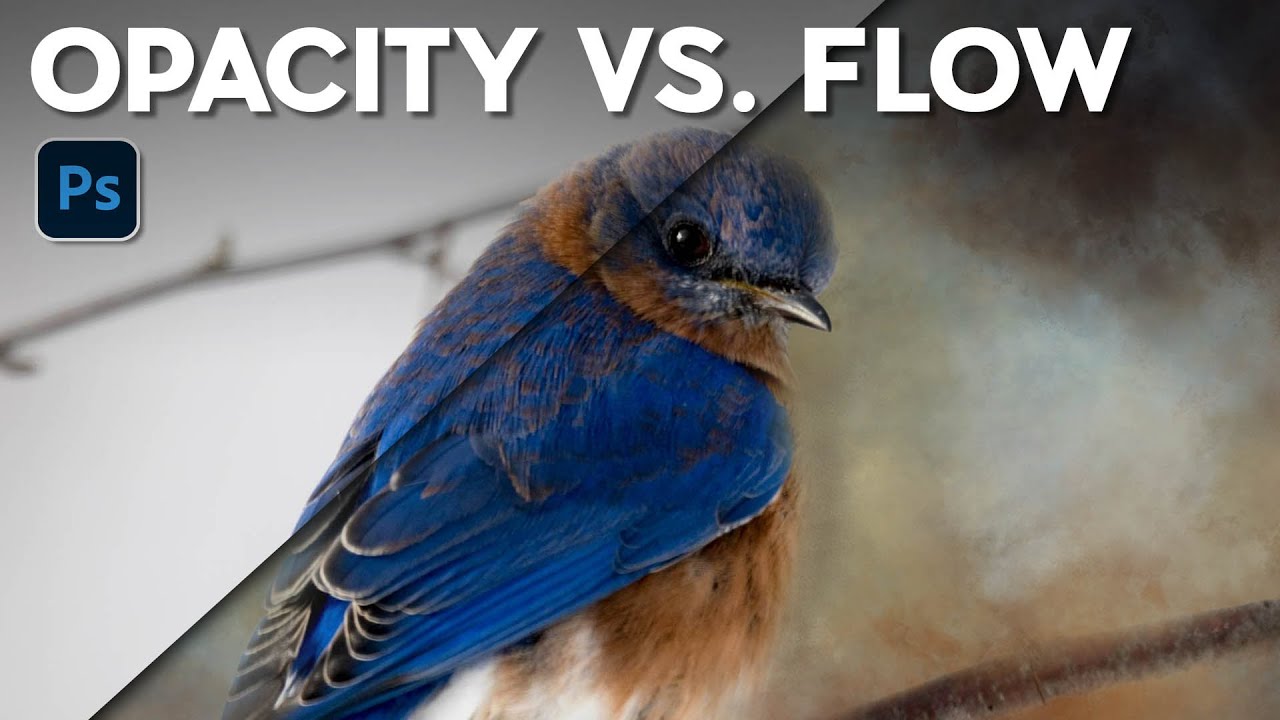
I spent an embarrassing amount of time early in my freelance career fighting with Photoshop’s brush tool. I’d lower the opacity to build up a soft mask, then wonder why my strokes looked choppy and inconsistent. I’d click, release, click again, and end up with these weird hard rings of buildup that looked nothing like the smooth, natural blending I was going for. Turns out I was using the wrong setting entirely, and nobody had ever taken five minutes to explain the difference.

The Photoshop Shortcuts That Actually Save Time (And the Ones You're Probably Ignoring)

The Photoshop Shortcuts That Actually Save Time (And the Ones You're Probably Ignoring)

I timed myself last Tuesday. Open file, adjust curves, mask the subject, flatten, export. Doing it the long way, clicking through menus like it was 2009, took me four minutes and eighteen seconds. Doing it with shortcuts took fifty-three seconds. That gap, multiplied across a full freelance workload, is the difference between finishing at 6pm or finishing at midnight, hunched over a laptop at a coffee shop while the barista gives you the “we’re closing soon” eyes.

Stop Repainting Objects by Hand — Use Photoshop's Hue/Saturation to Color Match in Minutes

Stop Repainting Objects by Hand — Use Photoshop's Hue/Saturation to Color Match in Minutes

Client sends you a product photo. The widget is blue. They want it pink. You open Photoshop, grab the Brush tool, and spend forty minutes hand-painting over it like some kind of digital house painter. The result looks okay at 50% zoom and terrible at 100%. I’ve been there more times than I’d like to admit, and for a while I thought that was just the job. Turns out there’s a smarter way, and it takes about five minutes once you know the workflow.

Blend If Is the Photoshop Feature I Wish I'd Found Three Years Earlier

Blend If Is the Photoshop Feature I Wish I'd Found Three Years Earlier

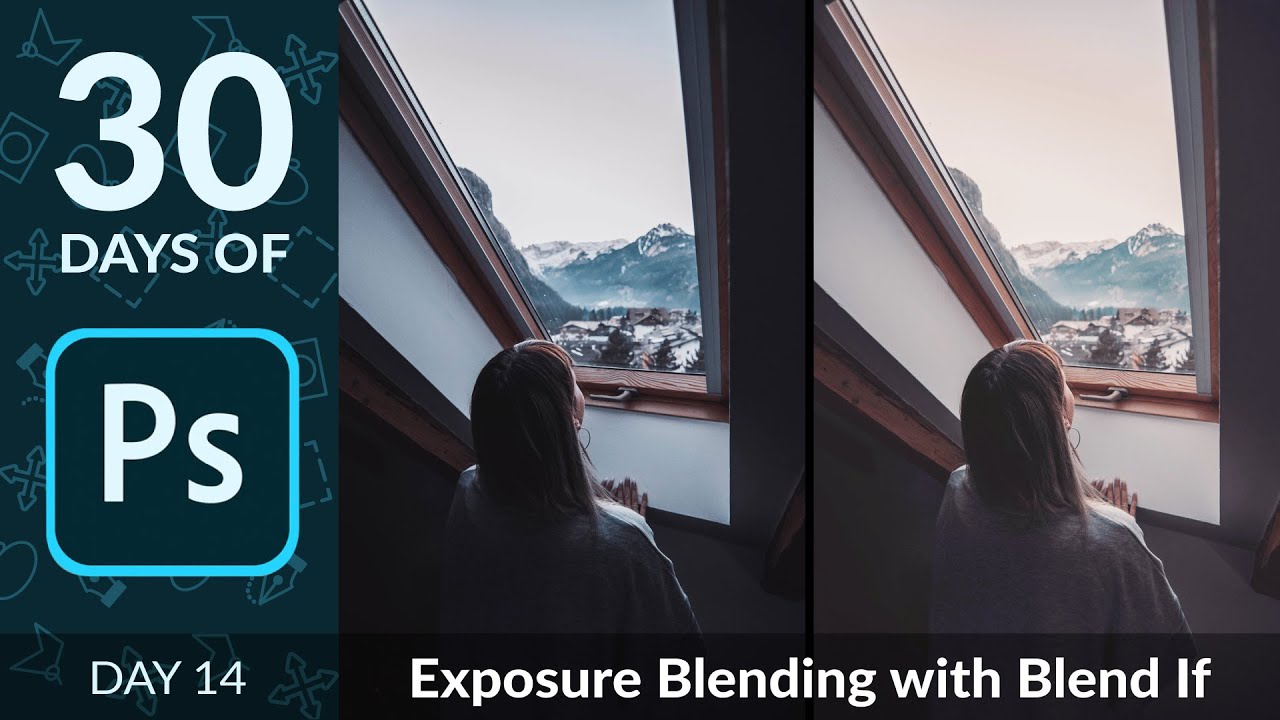
There’s a specific kind of frustration I know really well. You shoot a photo, or a client sends you one, and the sky is gorgeous but the foreground looks like it was taken inside a coal mine. Or the opposite: the subject is perfectly lit and the background is a blown-out white void. I spent an embarrassing amount of time masking around these problems by hand, painting on layer masks pixel by pixel like some kind of digital monk.

Three Photoshop Tricks Worth Stealing from Episode 277 (Edge Effects, Layer Style Shortcuts, and Preset Patterns)

Three Photoshop Tricks Worth Stealing from Episode 277 (Edge Effects, Layer Style Shortcuts, and Preset Patterns)

There’s a specific kind of frustration that comes from spending twenty minutes on a decorative edge treatment that should have taken two. I know it well. For a while, my go-to move was to mask everything by hand, paint around edges with a soft brush, and hope the result looked intentional rather than tired. It didn’t always. When I stumbled onto this episode of Photoshop User TV from KelbyOne, hosted by Dave Cross alongside Corey Barker and Pete Collins, I watched it mostly out of habit.

Adobe Snuck a Reflection Remover Into Camera Raw and It Actually Works

Adobe Snuck a Reflection Remover Into Camera Raw and It Actually Works

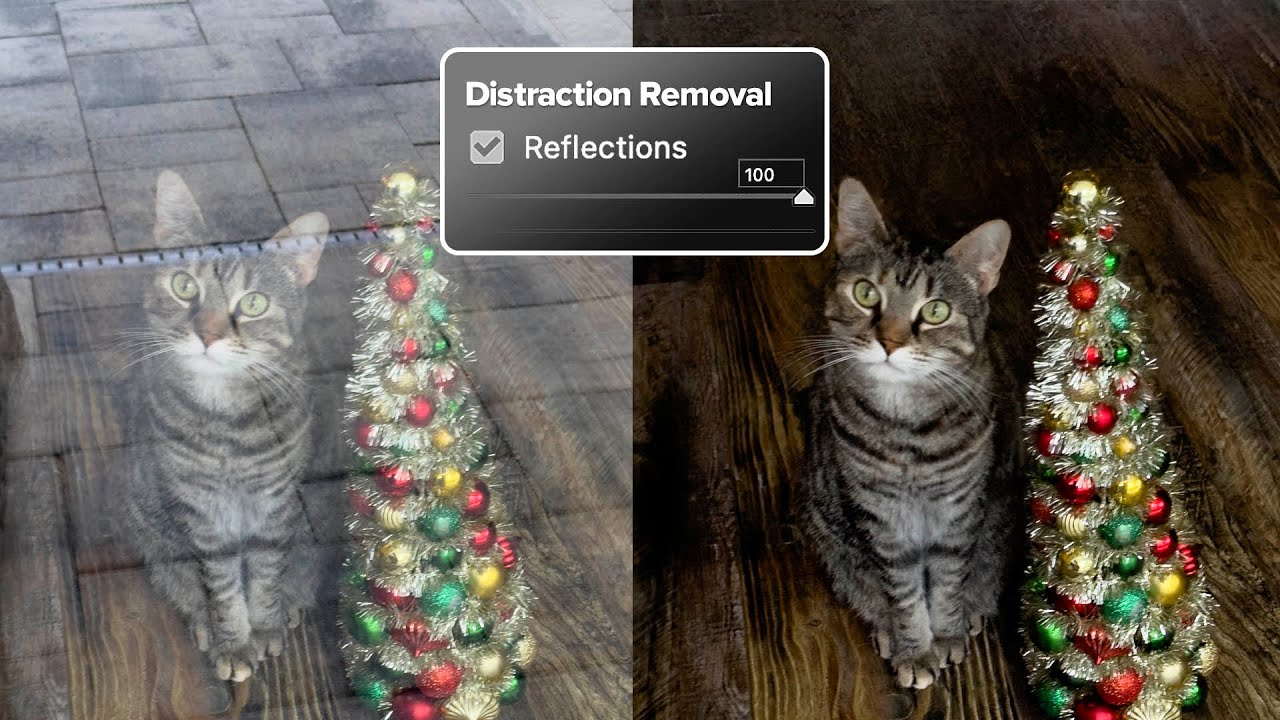
There’s a specific kind of photograph that lives rent-free in my head: the one that’s almost perfect. Good light, good composition, and then a big fat window reflection smeared right across the subject like the universe is personally trolling you. I’ve got a few of those buried in old client folders from my early freelance days, back when I was still figuring out that “I’ll fix it in post” is mostly a cope.

Stop Wasting AI Credits on Easy Fixes — The Clone Stamp Hack You're Probably Doing Wrong

Stop Wasting AI Credits on Easy Fixes — The Clone Stamp Hack You're Probably Doing Wrong

There’s a particular kind of freelance shame that comes from billing a client for a job you could have done faster with a tool you already own. I’ve been there more times than I’d like to admit. Lately I’ve noticed myself reaching for Photoshop’s Generative Fill on things that are genuinely too simple for it — small cracks in walls, stray wires, a smudge of graffiti on an otherwise clean background.

Stop Guessing If Your Buildings Are Straight — Use Photoshop's Grid Like This

Stop Guessing If Your Buildings Are Straight — Use Photoshop's Grid Like This

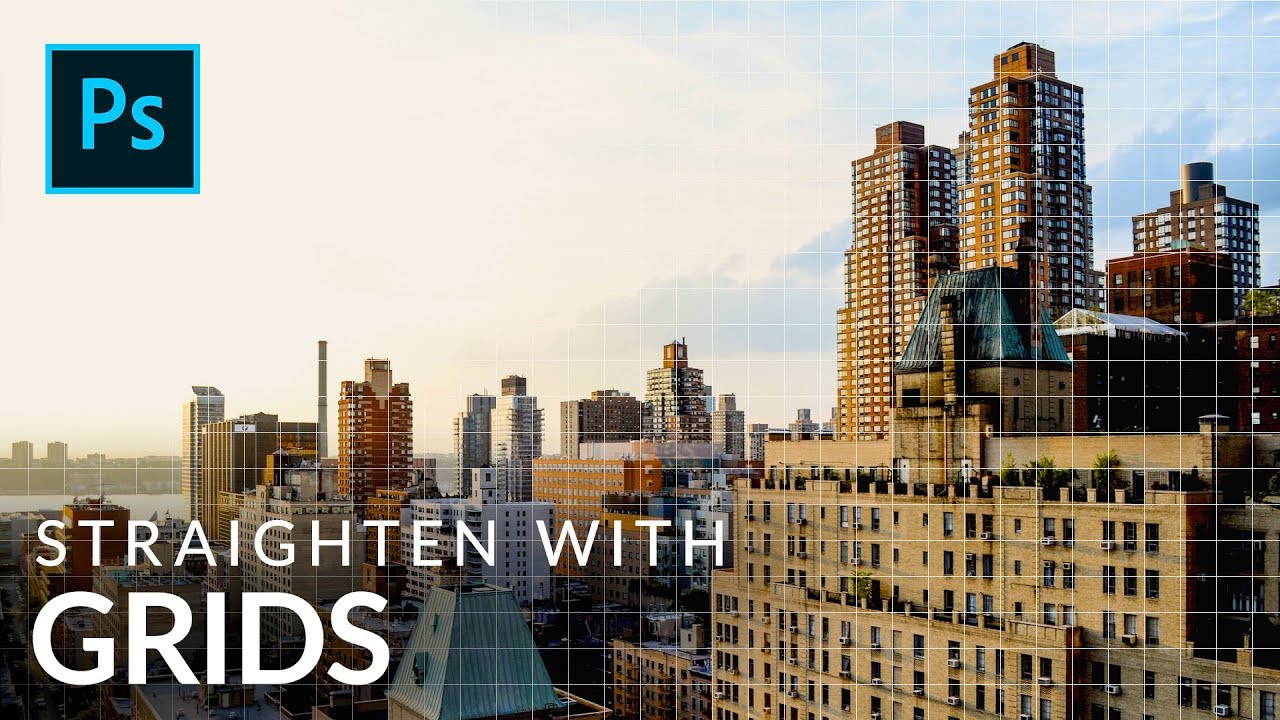
Architectural photography has this sneaky way of making you feel like everything looks fine until you slap a straight line next to it and realize your building is leaning like it lost a fight. I’ve handed off composites with slightly tilted structures more times than I’d like to admit, usually because I was eyeballing it and convinced myself it was “close enough.” Spoiler: clients notice. So when I came across this Aaron Nace (PHLEARN) tutorial on using Photoshop’s grid system to analyze and correct building lines, I sat up a little straighter in my coffee shop booth and paid attention.

Your Photoshop Workspace Is Slowing You Down (Here's How I Fixed Mine)

Your Photoshop Workspace Is Slowing You Down (Here's How I Fixed Mine)

I’m writing this from a coffee shop, which is my permanent office situation, so my screen real estate is already a joke. Thirteen-inch laptop, one external monitor when I remembered to pack the cable, and a guy next to me watching YouTube without headphones. Under these conditions, a bloated, default Photoshop workspace isn’t just annoying, it’s genuinely expensive. Slow workflows mean fewer projects, which means less money, which means I can’t afford the fancy oat milk latte.