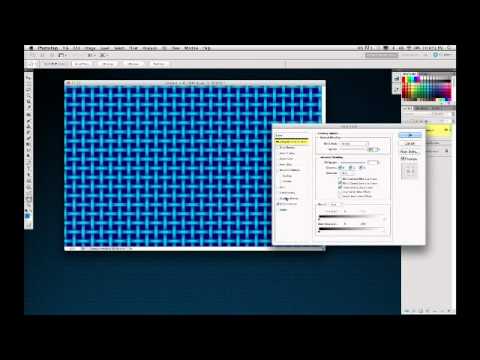
There’s a specific kind of frustration that comes from spending twenty minutes on a decorative edge treatment that should have taken two. I know it well. For a while, my go-to move was to mask everything by hand, paint around edges with a soft brush, and hope the result looked intentional rather than tired. It didn’t always. When I stumbled onto this episode of Photoshop User TV from KelbyOne, hosted by Dave Cross alongside Corey Barker and Pete Collins, I watched it mostly out of habit. What I got out of it was a tighter workflow for three things I do almost every week.
The episode originally aired in August 2011, which I know sounds like ancient history in Photoshop years. But the core techniques here, an edge effect you can pull off in minutes, a layer style shortcut that saves unnecessary clicking, and a smarter way to work with preset patterns, have not aged out. Photoshop’s underlying logic hasn’t changed enough to make any of this irrelevant. If anything, knowing these fundamentals makes the newer features land better because you understand what they’re built on.
Watch the full tutorial on YouTube
Here’s how each technique actually works.
Step 1: Open Your Image and Acknowledge the Horizon Problem
 Dave Cross opens a stock photo with a crooked horizon line
Dave opens a stock photo and immediately gets called out by Pete for a crooked horizon line. He leaves it uncorrected on purpose, mostly to be funny, but there’s actually something useful here. Before you do any edge work, look at your image critically. If the composition has structural issues, a decorative edge is going to highlight them, not hide them. Straighten your canvas first using the Crop tool’s Straighten option or the Ruler tool with Image > Image Rotation > Arbitrary. Then you’re ready to build something on top of a solid foundation.
Dave Cross opens a stock photo with a crooked horizon line
Dave opens a stock photo and immediately gets called out by Pete for a crooked horizon line. He leaves it uncorrected on purpose, mostly to be funny, but there’s actually something useful here. Before you do any edge work, look at your image critically. If the composition has structural issues, a decorative edge is going to highlight them, not hide them. Straighten your canvas first using the Crop tool’s Straighten option or the Ruler tool with Image > Image Rotation > Arbitrary. Then you’re ready to build something on top of a solid foundation.
Step 2: Set Up Your Layer Structure
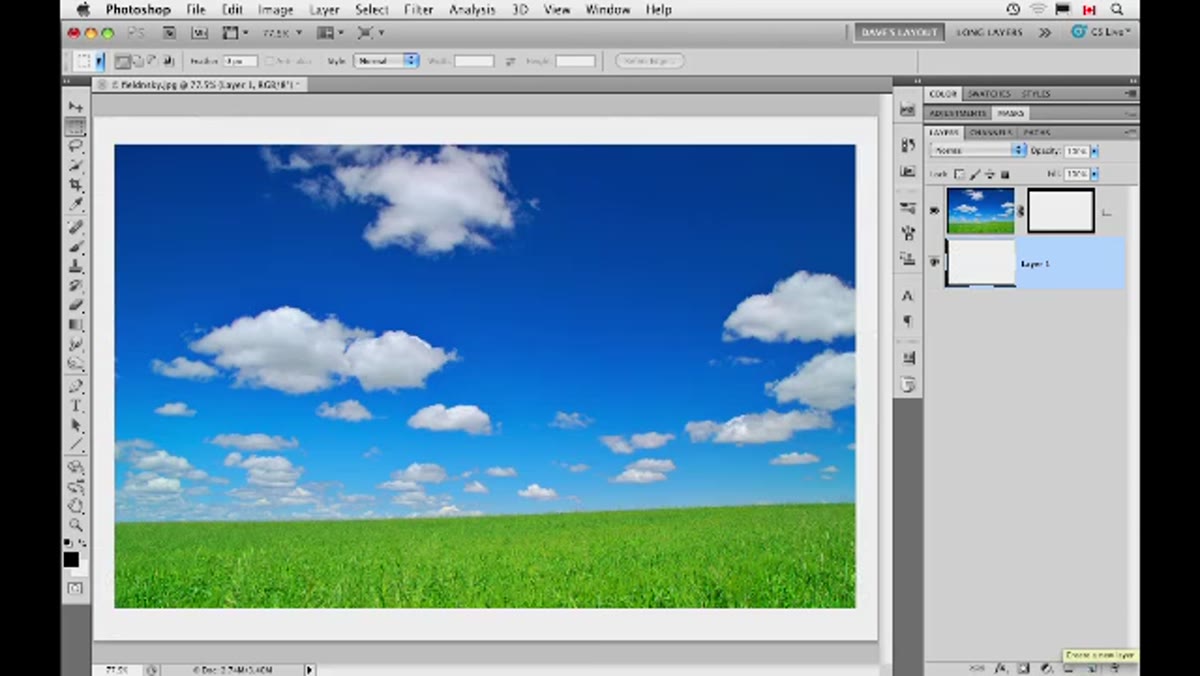
 Layers panel showing base image layer ready for edge treatment
The edge effect depends on having your image on a layer with a transparent background underneath it, not locked to the canvas. If you opened a JPEG, the Background layer is locked by default. Double-click it and rename it to convert it to a regular layer. Now you have room to work. Add a new blank layer below your image layer. This is where the effect will live, and keeping it separate means you can adjust or scrap it without touching your original image.
Layers panel showing base image layer ready for edge treatment
The edge effect depends on having your image on a layer with a transparent background underneath it, not locked to the canvas. If you opened a JPEG, the Background layer is locked by default. Double-click it and rename it to convert it to a regular layer. Now you have room to work. Add a new blank layer below your image layer. This is where the effect will live, and keeping it separate means you can adjust or scrap it without touching your original image.
Step 3: Create the Edge Effect with a Border Selection
 Rectangular Marquee tool active with feathered selection near image edge
Go to Select > All, then head into Select > Modify > Border. This lets you define how wide the border region of your selection will be. The exact pixel value depends on your image resolution, but something in the range of 30 to 60 pixels works well for a full-size photo. Once you have that border selection active, feather it. Go to Select > Modify > Feather and add enough feathering to soften the transition, somewhere around 10 to 20 pixels is a reasonable starting point. The goal is a gradual fade, not a hard line.
Rectangular Marquee tool active with feathered selection near image edge
Go to Select > All, then head into Select > Modify > Border. This lets you define how wide the border region of your selection will be. The exact pixel value depends on your image resolution, but something in the range of 30 to 60 pixels works well for a full-size photo. Once you have that border selection active, feather it. Go to Select > Modify > Feather and add enough feathering to soften the transition, somewhere around 10 to 20 pixels is a reasonable starting point. The goal is a gradual fade, not a hard line.
Step 4: Apply the Effect and Refine
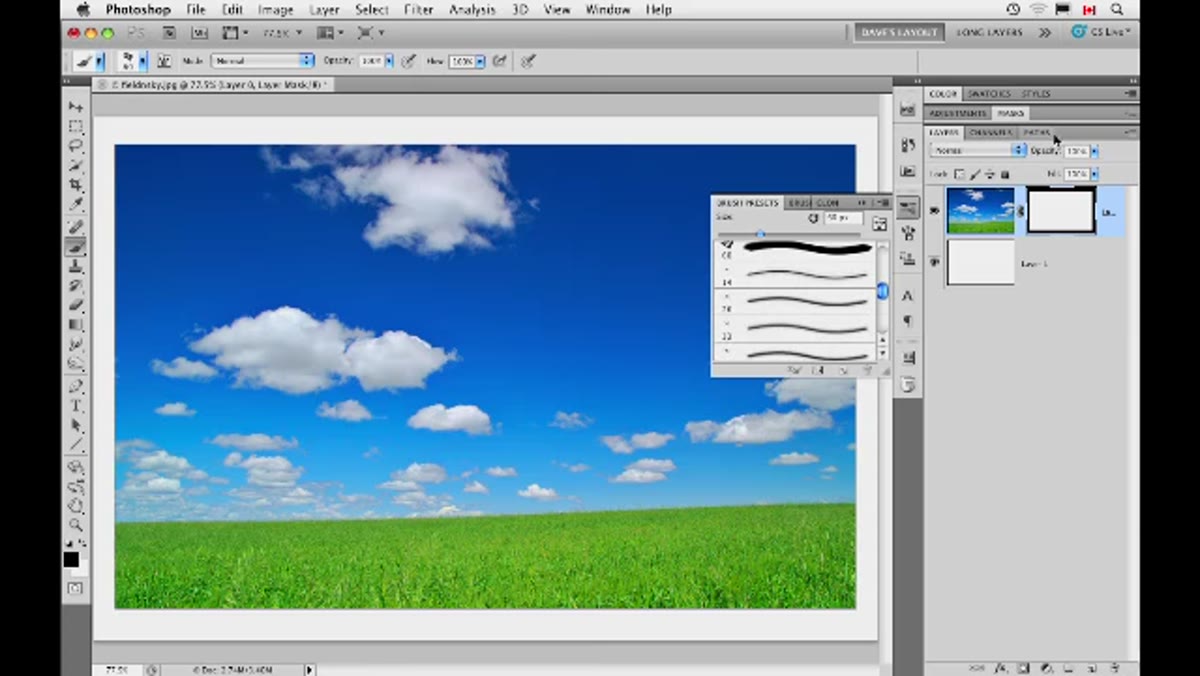 Feathered border selection filled, creating soft vignette edge on photo
With your feathered border selection active, make sure you’re on the correct layer, then fill or paint to create the edge. You can press Delete to cut away the edge of the image on that layer, leaving a soft, faded border that reveals the transparent layer underneath. From here, you can place a solid color layer or a textured fill beneath the image layer to show through that faded edge. The result looks like a darkroom print that’s been burned at the edges, or a deliberate artistic treatment, depending on what you put underneath.
Feathered border selection filled, creating soft vignette edge on photo
With your feathered border selection active, make sure you’re on the correct layer, then fill or paint to create the edge. You can press Delete to cut away the edge of the image on that layer, leaving a soft, faded border that reveals the transparent layer underneath. From here, you can place a solid color layer or a textured fill beneath the image layer to show through that faded edge. The result looks like a darkroom print that’s been burned at the edges, or a deliberate artistic treatment, depending on what you put underneath.
Step 5: Use the Layer Style Shortcut to Speed Up Your Workflow
 Double-click on layer thumbnail opening Layer Style dialog box
This is the one I immediately started using and haven’t stopped. Instead of going through the Layer menu to access Layer Styles, just double-click directly on the layer thumbnail in the Layers panel. The Layer Style dialog opens immediately. No menus, no submenus. If you’re applying styles repeatedly across multiple layers, this alone saves a surprising amount of time over the course of a project. One small but important note: double-click on the thumbnail itself, not on the layer name. Clicking the name puts you into rename mode, which is a different and mildly annoying outcome.
Double-click on layer thumbnail opening Layer Style dialog box
This is the one I immediately started using and haven’t stopped. Instead of going through the Layer menu to access Layer Styles, just double-click directly on the layer thumbnail in the Layers panel. The Layer Style dialog opens immediately. No menus, no submenus. If you’re applying styles repeatedly across multiple layers, this alone saves a surprising amount of time over the course of a project. One small but important note: double-click on the thumbnail itself, not on the layer name. Clicking the name puts you into rename mode, which is a different and mildly annoying outcome.
Step 6: Work Smarter with Preset Patterns
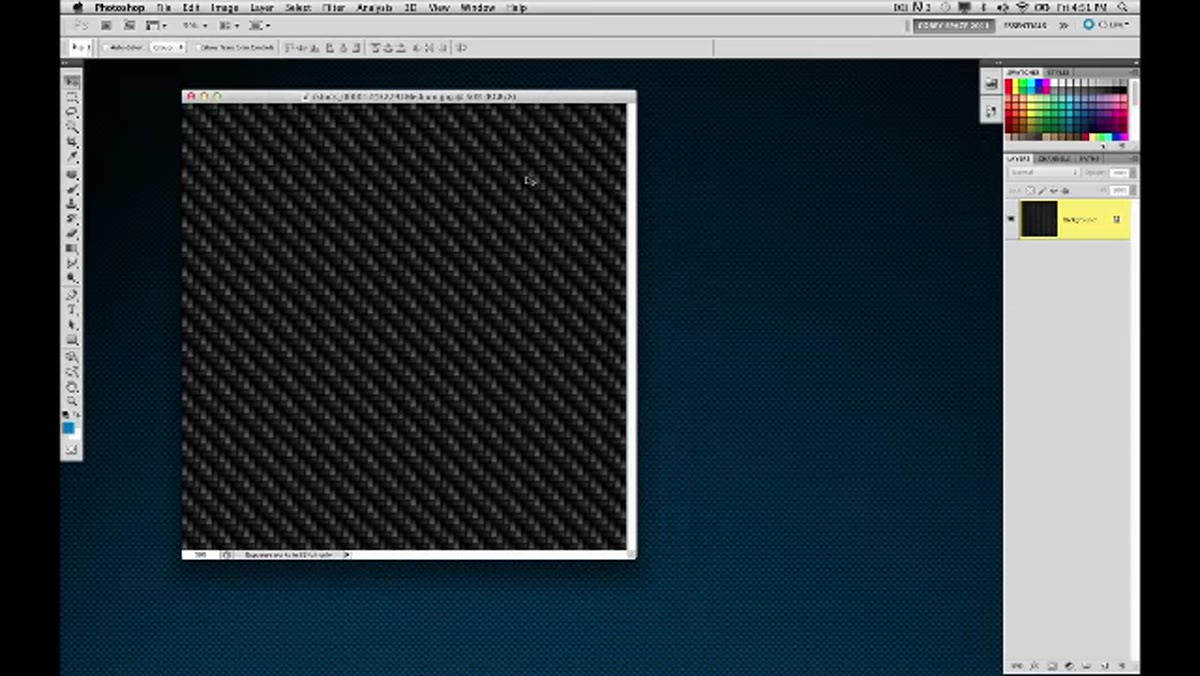 Pattern fill dialog showing preset pattern library options
The preset pattern tip is about changing how you browse and apply patterns rather than using them blindly from the default dropdown. When you’re in the Fill dialog (Edit > Fill, then choose Pattern from the Contents menu), you can load additional pattern sets using the gear icon in the pattern picker. More importantly, you can scale patterns directly in the dialog before committing. This means you don’t have to apply a pattern, hate the scale, undo it, and try again. Dial in the scale first, preview it on your canvas, and then commit. It’s a small adjustment to the order of operations that makes a real difference when you’re testing multiple pattern options.
Pattern fill dialog showing preset pattern library options
The preset pattern tip is about changing how you browse and apply patterns rather than using them blindly from the default dropdown. When you’re in the Fill dialog (Edit > Fill, then choose Pattern from the Contents menu), you can load additional pattern sets using the gear icon in the pattern picker. More importantly, you can scale patterns directly in the dialog before committing. This means you don’t have to apply a pattern, hate the scale, undo it, and try again. Dial in the scale first, preview it on your canvas, and then commit. It’s a small adjustment to the order of operations that makes a real difference when you’re testing multiple pattern options.
How I’d Push This Further
The edge effect from Step 3 and Step 4 becomes significantly more flexible if you convert your image layer to a Smart Object before you start. I learned this lesson the uncomfortable way after flattening a composite mid-project and losing the ability to go back. With a Smart Object, any masking or transformation you apply stays non-destructive. You can also use a layer mask instead of actually deleting pixels at the edge, which gives you a slider you can revisit anytime. Paint black on the mask with a large, soft brush along the edges of your image and you get essentially the same look with full reversibility. Combine that with the Layer Style shortcut to add a subtle drop shadow or inner glow on the same layer, and you’ve got a finished edge treatment that took maybe five minutes total.
The single most important thing I took from this tutorial is deceptively simple: the layer style double-click shortcut. It sounds trivial until you realize how many times a day you’re navigating that menu chain unnecessarily. The techniques build on each other once you see them in sequence, and Dave Cross has a way of explaining them that doesn’t waste your time. Worth watching the full episode for the pacing alone.
Watch the full tutorial on YouTube
Comments
Leave a Comment