
I’ll be honest with you. The first time someone told me Photoshop had shipped an AI fill tool that could generate entirely new content from a text prompt, I assumed it was the usual Adobe overpromise. I’ve been burned before. I sat through the Neural Filters rollout with genuine excitement and walked away using maybe one of them semi-regularly. So when Generative Fill started making the rounds in the beta version of Photoshop, I kept my expectations low and my skepticism high.
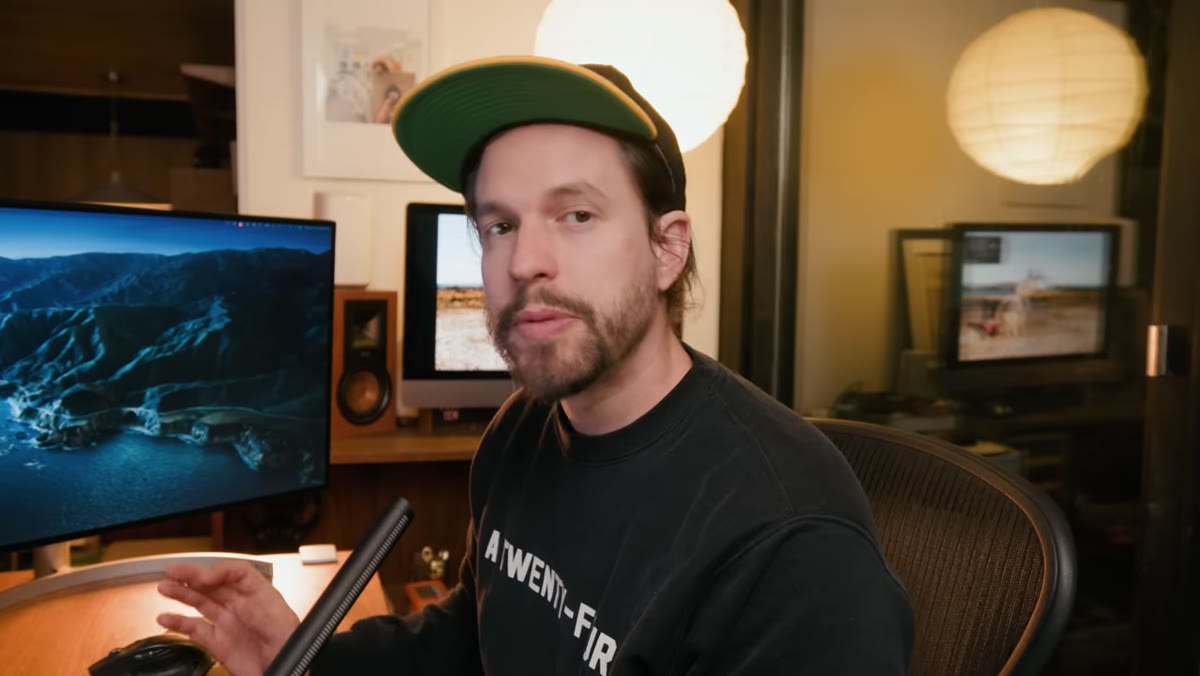
Then I actually watched it work. In Watch the full tutorial on YouTube, the team at Mango Street put Generative Fill through its paces in the most chaotic way possible, which turns out to be exactly the right way to stress-test a tool like this. Forget the polished demo reel. They used it on portraits, tattoos, wedding photos, and somehow a bootleg episode of Ted Lasso. What came out of that experiment tells you more about what the tool actually does than any official Adobe showcase would.
This is the kind of feature that changes how you budget your time on a job. Not because it replaces skill, but because it collapses the gap between “I have an idea” and “I can see if that idea works.” That alone is worth understanding properly.
Step 1: Access Generative Fill in the Photoshop Beta
 Photoshop beta interface open with Generative Fill visible
Generative Fill lives in the Photoshop beta, not the standard release version. If you haven’t already, you’ll need to grab the beta through the Creative Cloud desktop app. Look under “Beta Apps” in the left sidebar and install Photoshop (Beta). Once you’re in, the feature shows up in the contextual toolbar at the bottom of the screen whenever you have an active selection. That little “Generative Fill” button is where everything happens.
Photoshop beta interface open with Generative Fill visible
Generative Fill lives in the Photoshop beta, not the standard release version. If you haven’t already, you’ll need to grab the beta through the Creative Cloud desktop app. Look under “Beta Apps” in the left sidebar and install Photoshop (Beta). Once you’re in, the feature shows up in the contextual toolbar at the bottom of the screen whenever you have an active selection. That little “Generative Fill” button is where everything happens.
Step 2: Make a Selection Around the Area You Want to Change
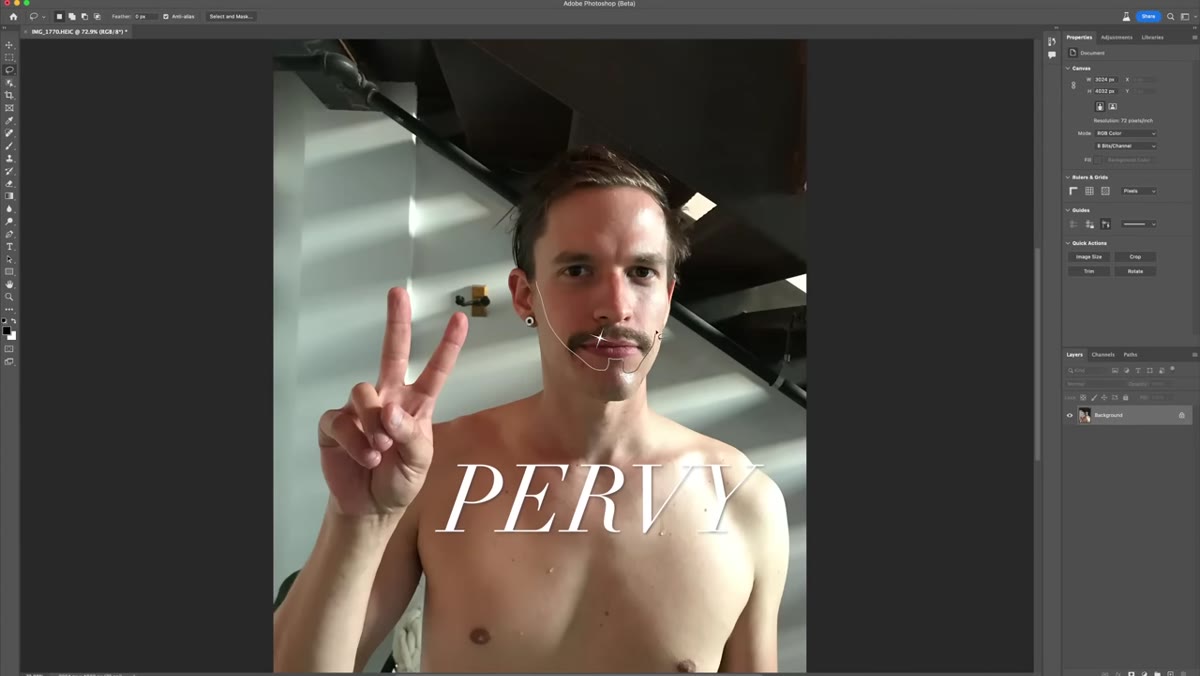 Selection active around a facial feature in portrait photo
This part is just regular Photoshop selection work. Use whatever method suits your image. The Lasso tool works well for organic shapes like facial features or clothing. For cleaner edges, try the Object Selection tool or even Quick Select. The AI does not require a perfect selection to produce good results, but a tighter, more intentional selection gives you more control over where the generated content lands.
Selection active around a facial feature in portrait photo
This part is just regular Photoshop selection work. Use whatever method suits your image. The Lasso tool works well for organic shapes like facial features or clothing. For cleaner edges, try the Object Selection tool or even Quick Select. The AI does not require a perfect selection to produce good results, but a tighter, more intentional selection gives you more control over where the generated content lands.
In the Mango Street demo, they’re working with portrait photos and making selections around specific features, including facial hair and eyes. The point is that the selection defines the canvas the AI is working within. Think of it less like a mask and more like a suggestion box.
Step 3: Type a Text Prompt and Generate
 Generative Fill prompt box open with text being entered
Once your selection is active, click “Generative Fill” in the contextual toolbar. A text input field appears. Type a description of what you want to appear in that space. Keep it specific but not over-written. “Full sleeve tattoo in the style of Adam Levine” works better than a paragraph. “Large expressive eyes, photorealistic” is specific without being a novel.
Generative Fill prompt box open with text being entered
Once your selection is active, click “Generative Fill” in the contextual toolbar. A text input field appears. Type a description of what you want to appear in that space. Keep it specific but not over-written. “Full sleeve tattoo in the style of Adam Levine” works better than a paragraph. “Large expressive eyes, photorealistic” is specific without being a novel.
Hit Generate and Photoshop will produce three variations. This is important to know going in: you’re not getting one result, you’re getting a shortlist. Adobe cycles through multiple outputs and presents them in the Properties panel, where you can flip between them. If none of the three land right, hit Generate again for three more. Each pass pulls from the same AI model but produces different results.
Step 4: Add New Elements to an Existing Scene
 New generated content appearing in portrait, blended into image
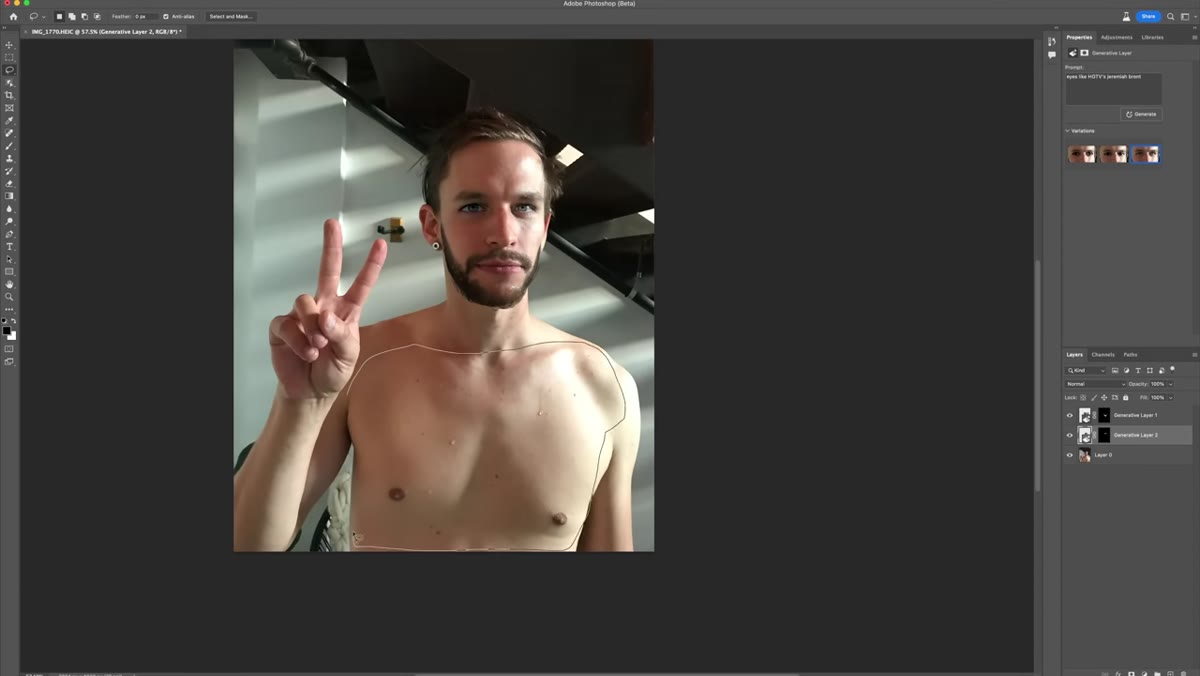
This is where things get genuinely impressive. Generative Fill isn’t limited to modifying what’s already in the photo. You can select an empty area of the image, write a prompt for something that wasn’t there before, and Photoshop will synthesize it in, matched to the light and perspective of the surrounding image. The Mango Street crew demonstrates this by adding tattoos to bare skin, generating entirely new facial features, and even dropping in new objects that didn’t exist in the original shot.
New generated content appearing in portrait, blended into image
This is where things get genuinely impressive. Generative Fill isn’t limited to modifying what’s already in the photo. You can select an empty area of the image, write a prompt for something that wasn’t there before, and Photoshop will synthesize it in, matched to the light and perspective of the surrounding image. The Mango Street crew demonstrates this by adding tattoos to bare skin, generating entirely new facial features, and even dropping in new objects that didn’t exist in the original shot.
The AI handles the blending automatically. It reads the surrounding pixels, samples the lighting direction and color temperature, and integrates the new content without you touching a brush. That said, complex edges or hard lighting scenarios can still produce weirdness, so budget a few minutes for touch-up work with the Healing Brush or Clone Stamp on anything going to a client.
Step 5: Remove People or Objects with an Empty Prompt
 Person being removed from wedding photo using Generative Fill
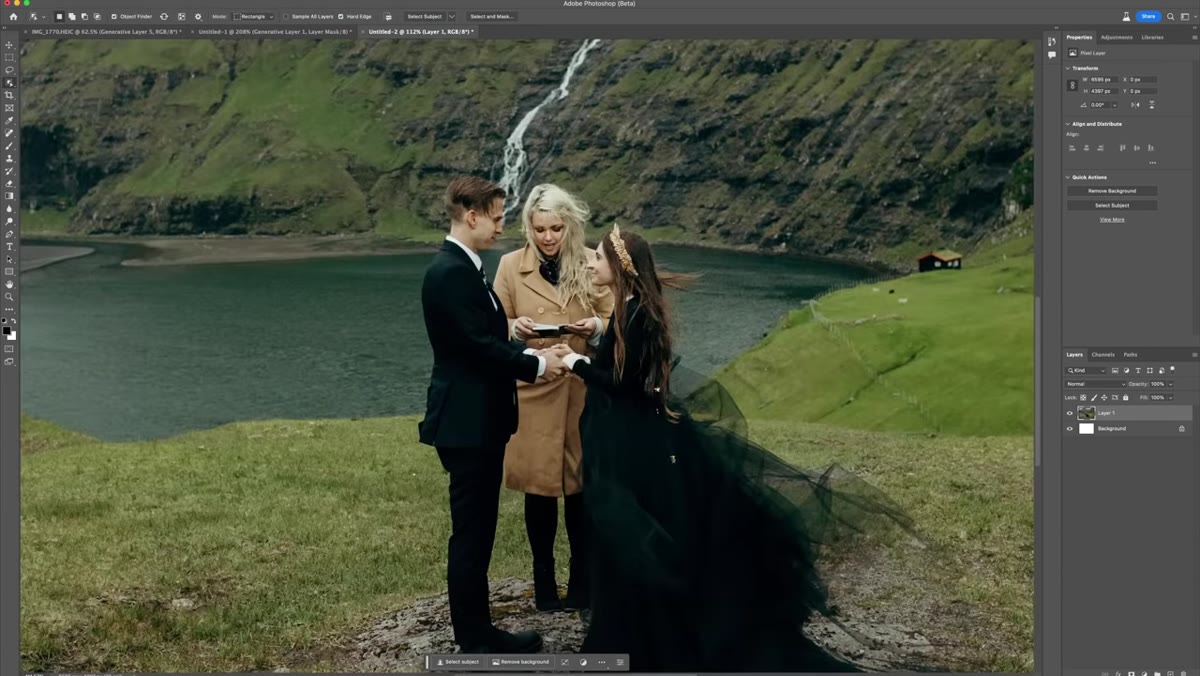
Here’s the feature that gets a reaction every time: you can use Generative Fill to remove objects from photos without typing anything at all. Select the thing you want gone, open the Generative Fill prompt, and leave it blank. Hit Generate. Photoshop reads what’s behind and around the selection and reconstructs the background as if the object was never there.
Person being removed from wedding photo using Generative Fill
Here’s the feature that gets a reaction every time: you can use Generative Fill to remove objects from photos without typing anything at all. Select the thing you want gone, open the Generative Fill prompt, and leave it blank. Hit Generate. Photoshop reads what’s behind and around the selection and reconstructs the background as if the object was never there.
The wedding photo example in the tutorial is a good illustration. Select a person standing at the edge of the frame, generate with an empty prompt, and Photoshop fills the gap with the appropriate background. It’s not magic, and it can struggle with complex textures or overlapping subjects, but for straightforward removals it is faster than anything else currently in the toolset. Content-Aware Fill is not even close by comparison.
Step 6: Cycle Through Variations and Commit
 Properties panel showing three generative fill variation thumbnails
After generating, you’ll see your three variations as thumbnails in the Properties panel. Click through them before committing. Sometimes the first one is the best. Sometimes the third one is the only one that looks real. Take the ten seconds to actually look at all of them. When you find the one you want, just click elsewhere or merge the layer to commit.
Properties panel showing three generative fill variation thumbnails
After generating, you’ll see your three variations as thumbnails in the Properties panel. Click through them before committing. Sometimes the first one is the best. Sometimes the third one is the only one that looks real. Take the ten seconds to actually look at all of them. When you find the one you want, just click elsewhere or merge the layer to commit.
It’s also worth knowing that Generative Fill creates a new generative layer automatically. This means your original pixels are untouched underneath. You can go back, reselect the layer, and generate again at any point. Treat it like a smart object workflow: non-destructive until you decide otherwise.
What I’d Add From My Own Experience
The Mango Street tutorial is a rapid-fire showcase, which is exactly what it should be. But when you’re using this on actual client work rather than demo chaos, one thing matters more than anything else: selection quality at transition edges.
I ran Generative Fill on a product photo last week, trying to replace a cluttered background behind a pair of shoes. The AI output was genuinely good, but the edge between the shoe sole and the new background had a faint halo that would’ve been invisible in a casual scroll and embarrassing in print. Spending two extra minutes refining the selection with Refine Edge before generating saved me ten minutes of cleanup after. The AI is doing a lot of heavy lifting. Give it clean data to start with.
Generative Fill is the first AI feature Adobe has shipped that I’ve actually rerouted my workflow around. Not because it does everything, but because the things it does well, it does fast enough to change how you explore ideas during a project. The gap between concept and visual proof just got a lot smaller.
Watch the full tutorial on YouTube to see all of these steps in action, including the parts where it goes beautifully wrong.
Comments (3)
Would love to see a follow-up going deeper into this topic.
Tried this technique this morning. Game changer for real.
Would love to see a follow-up going deeper into this topic.
Leave a Comment