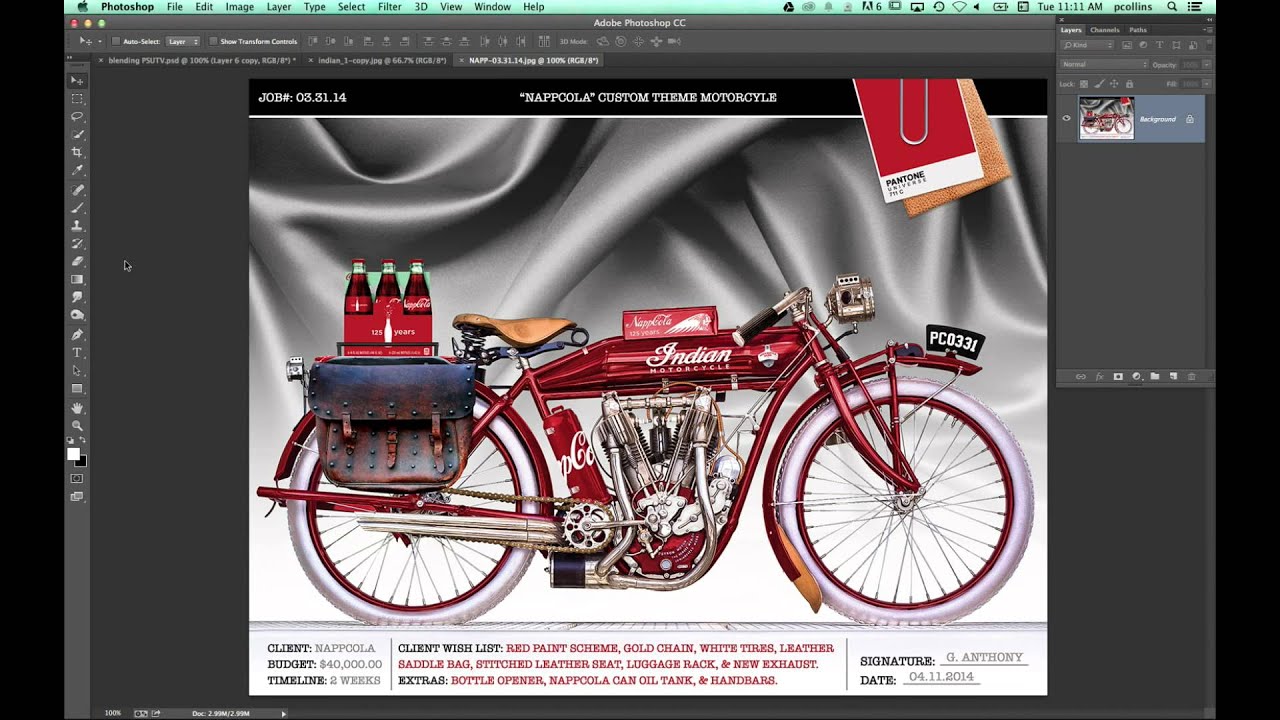
I used to think Photoshop’s animation features were a niche curiosity for people with too much time and too little After Effects. Then a client asked me for a motion graphic, I quoted them something embarrassingly ambitious, and I spent the next two days rediscovering tools that had been sitting in the Filter menu the whole time. Vanishing Point is one of those tools. On the surface it looks like a perspective correction utility, something you’d use to fix a crooked building facade. But hidden inside is a way to take a completely flat, two-dimensional image and map it into a 3D-feeling space you can actually animate through. It’s genuinely one of those features that makes you feel like you’ve been leaving money on the table.
In Watch the full tutorial on YouTube, Corey Barker from KelbyOne walks through a technique he taught live at Photoshop World that apparently dropped a few jaws in the room. The idea is simple in concept: use Vanishing Point to define a 3D plane from a 2D image, then use Photoshop’s video timeline and blend modes to animate a camera move through that space. The result looks like something out of a broadcast design package. The process is surprisingly approachable once you know the steps.
Step 1: Start With a 2D Image and Open Vanishing Point
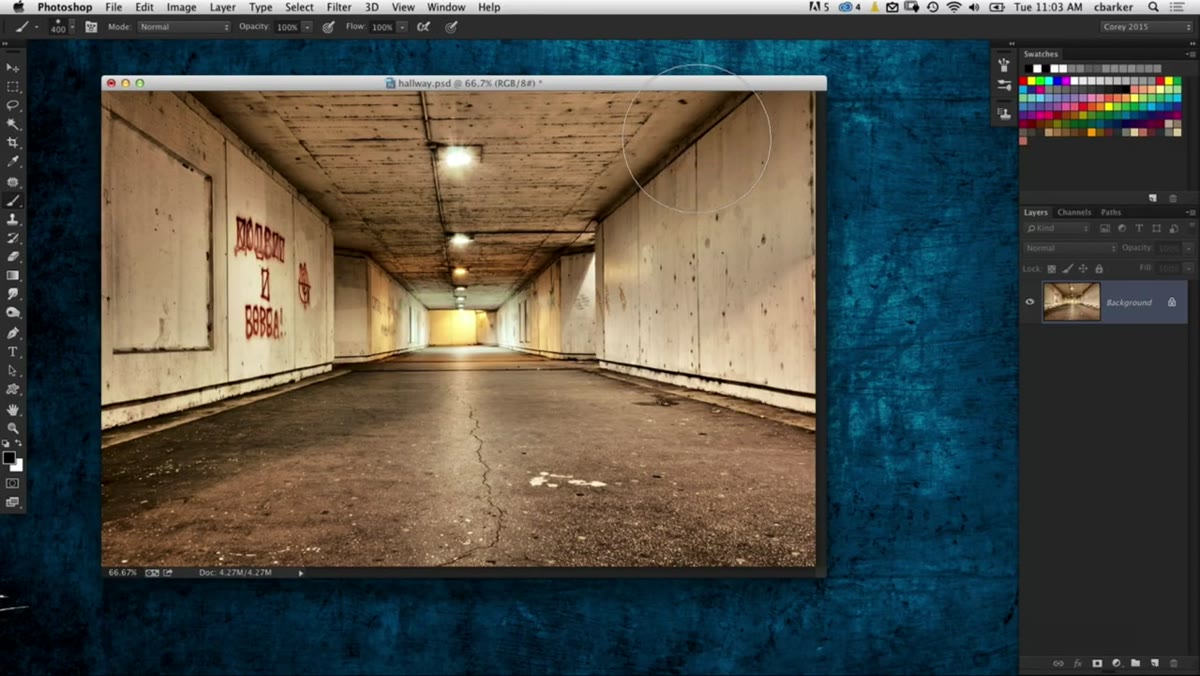 Vanishing Point filter selected from the Filter menu
You need a flat image to start with, something with strong perspective lines or a repeating pattern works best, think hallways, cityscapes, corridors, or tiled floors. Once you have your base image open, head to Filter > Vanishing Point. You’ll land in a large dialog that shows your full canvas. Zoom out inside the dialog if needed so you can see the whole image and have room to work around the edges.
Vanishing Point filter selected from the Filter menu
You need a flat image to start with, something with strong perspective lines or a repeating pattern works best, think hallways, cityscapes, corridors, or tiled floors. Once you have your base image open, head to Filter > Vanishing Point. You’ll land in a large dialog that shows your full canvas. Zoom out inside the dialog if needed so you can see the whole image and have room to work around the edges.
The goal here isn’t to use Vanishing Point the way most tutorials describe it, for retouching in perspective. You’re using it as a plane-definition tool. The planes you draw here will tell Photoshop how the 3D space is oriented.
Step 2: Define Your Perspective Planes
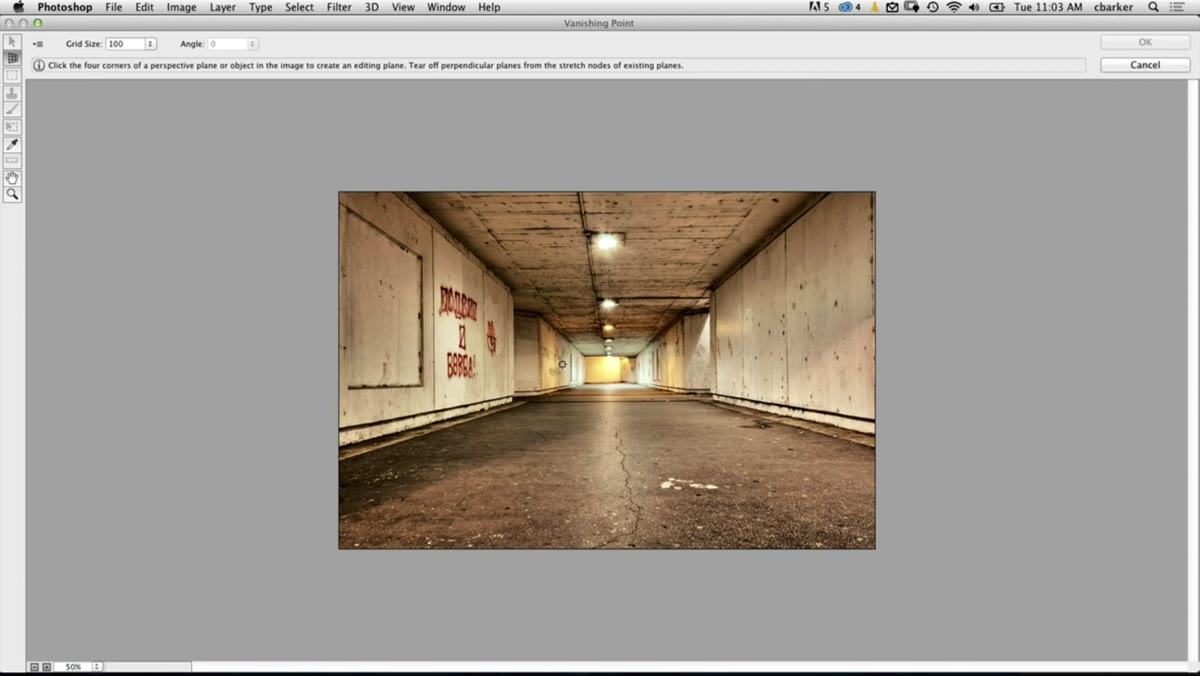 User drawing the first perspective plane grid over the image
Select the Create Plane tool (it’s the default when the dialog opens, looks like a grid) and click four corners to define your first perspective plane. You want to follow the natural vanishing lines of your image. If you’re working with a hallway, click the four corners of the floor, wall, or ceiling that has the strongest perspective. A blue grid means Photoshop is happy with the geometry. A red or yellow grid means the perspective math isn’t working, adjust your corner points until it turns blue.
User drawing the first perspective plane grid over the image
Select the Create Plane tool (it’s the default when the dialog opens, looks like a grid) and click four corners to define your first perspective plane. You want to follow the natural vanishing lines of your image. If you’re working with a hallway, click the four corners of the floor, wall, or ceiling that has the strongest perspective. A blue grid means Photoshop is happy with the geometry. A red or yellow grid means the perspective math isn’t working, adjust your corner points until it turns blue.
From that first plane, you can extend additional planes by holding Ctrl (Cmd on Mac) and dragging from the edge handle of an existing plane. This lets you wrap the 3D space around corners, onto adjacent walls, floors, and ceilings. Take your time here. The quality of what comes next depends entirely on how well these planes match the actual perspective in your image.
Step 3: Set Up Your Document for Animation
 Photoshop timeline panel open with video document settings visible
Once you’ve defined your planes and hit OK, you’ll be back in the main Photoshop workspace. Now it’s time to set up the timeline. Go to Window > Timeline and open the panel. If it gives you the option, choose “Create Video Timeline” rather than frame animation. You’ll want your document set up for video from the start, so if you haven’t already, check that your canvas is at a standard video resolution like 1920x1080 at 72ppi.
Photoshop timeline panel open with video document settings visible
Once you’ve defined your planes and hit OK, you’ll be back in the main Photoshop workspace. Now it’s time to set up the timeline. Go to Window > Timeline and open the panel. If it gives you the option, choose “Create Video Timeline” rather than frame animation. You’ll want your document set up for video from the start, so if you haven’t already, check that your canvas is at a standard video resolution like 1920x1080 at 72ppi.
The timeline is where the animation magic actually happens. Each layer in your document gets its own track, and you can keyframe position, opacity, and style over time. This is the mechanism you’ll use to simulate that camera push through the 3D space.
Step 4: Duplicate and Scale Your Layers Over Time
 Animation keyframes being set on layer position in the timeline
Here’s where the illusion comes together. The technique works by animating the scale of your Vanishing Point result over time. When you scale up a perspective-mapped image, it creates the visual sensation of moving forward through the space. Start by placing a keyframe at the beginning of your timeline for the layer’s position or transform. Then move the playhead to the end of the timeline and scale your layer up significantly, anywhere from 150% to 300% depending on how dramatic you want the push to feel.
Animation keyframes being set on layer position in the timeline
Here’s where the illusion comes together. The technique works by animating the scale of your Vanishing Point result over time. When you scale up a perspective-mapped image, it creates the visual sensation of moving forward through the space. Start by placing a keyframe at the beginning of your timeline for the layer’s position or transform. Then move the playhead to the end of the timeline and scale your layer up significantly, anywhere from 150% to 300% depending on how dramatic you want the push to feel.
Photoshop will interpolate between those two keyframes and generate the in-between frames automatically. Hit the spacebar to preview it and you’ll see what looks like a slow camera push through a 3D environment, built entirely from a flat image.
Step 5: Apply Blend Modes to Sell the Effect
 Blend mode dropdown on a layer set to Screen or Multiply
Blend modes are what take this from “cool trick” to “actually usable.” Depending on your image and the mood you’re going for, try setting the animated layer to Screen if you want a bright, glowing fly-through effect, or Multiply if you want the tones to deepen and the space to feel more immersive. Overlay and Soft Light can both work well for adding texture and contrast without completely flattening the image.
Blend mode dropdown on a layer set to Screen or Multiply
Blend modes are what take this from “cool trick” to “actually usable.” Depending on your image and the mood you’re going for, try setting the animated layer to Screen if you want a bright, glowing fly-through effect, or Multiply if you want the tones to deepen and the space to feel more immersive. Overlay and Soft Light can both work well for adding texture and contrast without completely flattening the image.
The real move here is duplicating your animated layer and stacking multiple copies with slightly offset timing and different blend modes. This builds up a sense of depth and optical layering that makes the motion feel richer than a single scaling layer ever could.
What I’d Add: Pair This With Smart Objects
Before you start scaling and keyframing anything, convert your base layer to a Smart Object. I learned this one the expensive way on a client project where I had to rebuild a composite from scratch because I’d been transforming a regular pixel layer and the quality had degraded past saving. With a Smart Object, you can scale up 300% and back down without touching the underlying pixels. It also means you can double-click and edit the source image at any point without breaking your animation setup.
It also opens up the option of using Smart Filters, so if you want to add a slight blur at the end of the push to simulate depth of field or motion blur, you can dial that in non-destructively and tweak it without redoing your keyframes.
The biggest thing this technique taught me is that Photoshop’s animation tools are way more capable than most people give them credit for. You don’t need After Effects or Cinema 4D to produce a compelling motion graphic. Sometimes the tool you’ve already paid for and stare at every day has exactly what you need, you just haven’t opened that particular menu yet.
Watch the full tutorial on YouTube and see Corey Barker walk through the whole thing live. It’s one of those tutorials where the technique clicks faster when you see it in motion, which, fittingly, is kind of the whole point.
Comments
Leave a Comment