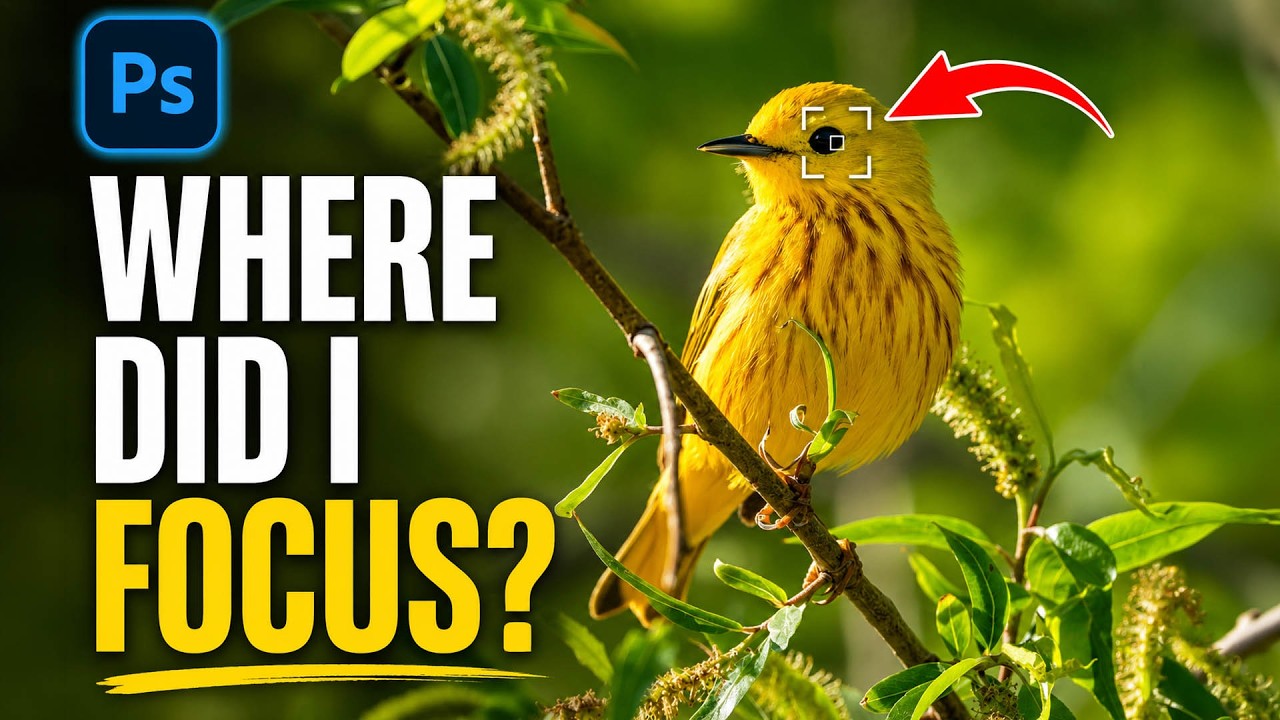
I’ll be honest about something embarrassing. I once delivered a batch of bird photos to a client, convinced I had nailed the focus on every single shot. Spoiler: I had not. The camera had decided a patch of blurry background grass was far more interesting than the actual bird, and I only found out after the client did. If I’d had a way to verify focus points inside my raw editor before exporting, that conversation never happens. So when I came across this Matt Kloskowski tutorial covering new Camera Raw features from the July 2026 update, the focus point overlay feature alone made me stop and rewatch it twice.
Watch the full tutorial on YouTube
Matt is pretty upfront that these additions are incremental rather than earth-shattering, and I respect the honesty. If you’re a Lightroom-first person, he specifically says don’t try to run a hybrid workflow between the two apps, and having attempted something similar once, I can confirm it is exactly as miserable as it sounds. But if you’re already living in Photoshop and Camera Raw full-time, or even if you bounce between Bridge and Camera Raw regularly, these two features are worth knowing. Let’s walk through them.
Step 1: Open Your Raw File in Camera Raw
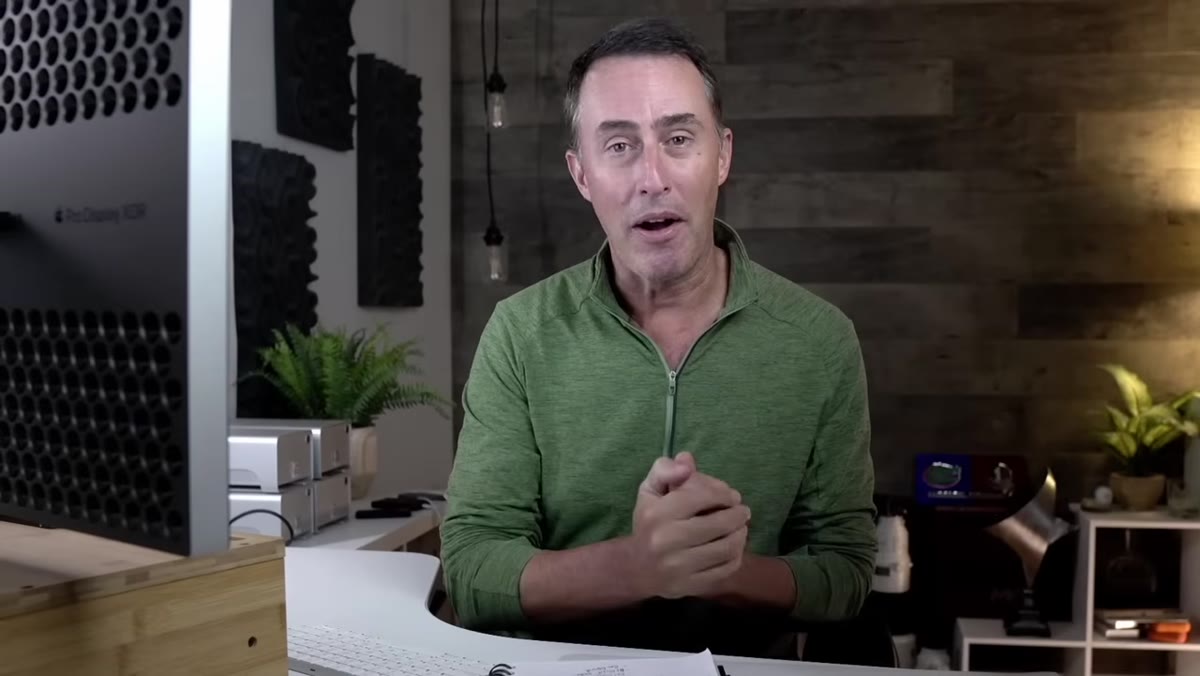 Camera Raw interface open with a bird photo loaded
Before anything else, you need a raw file open in Camera Raw. If you’re working from Bridge, select your image and hit Enter. If you’re opening from Photoshop, go to File > Open and select a raw file, and Camera Raw launches automatically. This works best with photos shot in a format that embeds focus point metadata, so if you’re shooting JPEG-only, your mileage may vary depending on your camera manufacturer.
Camera Raw interface open with a bird photo loaded
Before anything else, you need a raw file open in Camera Raw. If you’re working from Bridge, select your image and hit Enter. If you’re opening from Photoshop, go to File > Open and select a raw file, and Camera Raw launches automatically. This works best with photos shot in a format that embeds focus point metadata, so if you’re shooting JPEG-only, your mileage may vary depending on your camera manufacturer.
Make sure you’re on an updated version of Photoshop from July 2026 or later, because these features are genuinely new additions. If you open the right-click menu and don’t see the focus point option I’m about to describe, a quick trip to the Creative Cloud desktop app to check for updates will sort you out.
Step 2: Reveal Your Focus Points With a Right-Click
 Right-click context menu open over the photo in Camera Raw
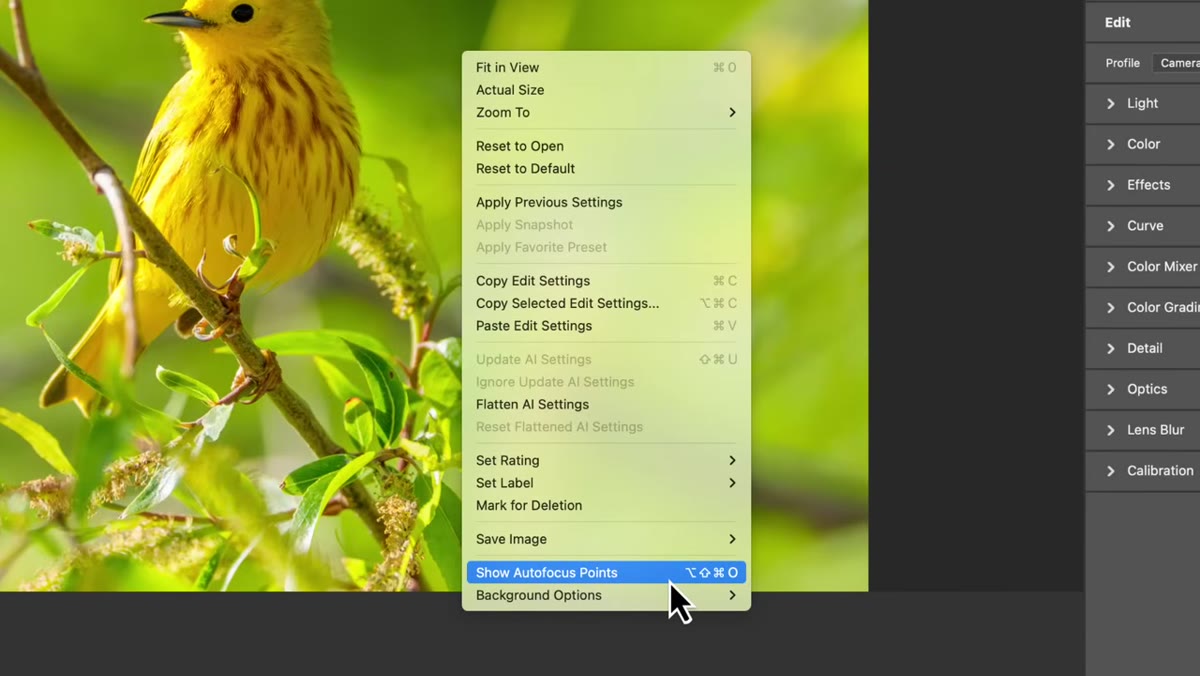
This is the one that made me do a double-take. Right-click anywhere on the image inside Camera Raw, and scroll toward the bottom of the context menu that appears. You’ll see a “Show Focus Point” option sitting there like it’s always been there, which, for the record, it has not. Click it.
Right-click context menu open over the photo in Camera Raw
This is the one that made me do a double-take. Right-click anywhere on the image inside Camera Raw, and scroll toward the bottom of the context menu that appears. You’ll see a “Show Focus Point” option sitting there like it’s always been there, which, for the record, it has not. Click it.
Camera Raw will overlay the focus point directly on your image, showing you exactly where your camera locked on. For portrait and wildlife shooters especially, this is huge. You can verify in seconds whether you got the eye, the face, or whether your autofocus decided a fence post was the real subject. There’s a keyboard shortcut listed in the menu too, though Matt admits even he finds it easier to just right-click. I’m with him on that one. Once you’ve confirmed your focus, right-click again and toggle it off. Leaving it on while you edit is distracting, and the overlay isn’t something you want baked into any export.
Step 3: Navigate to the Masking Panel for the Gradient Feature
 Masking panel open in Camera Raw interface
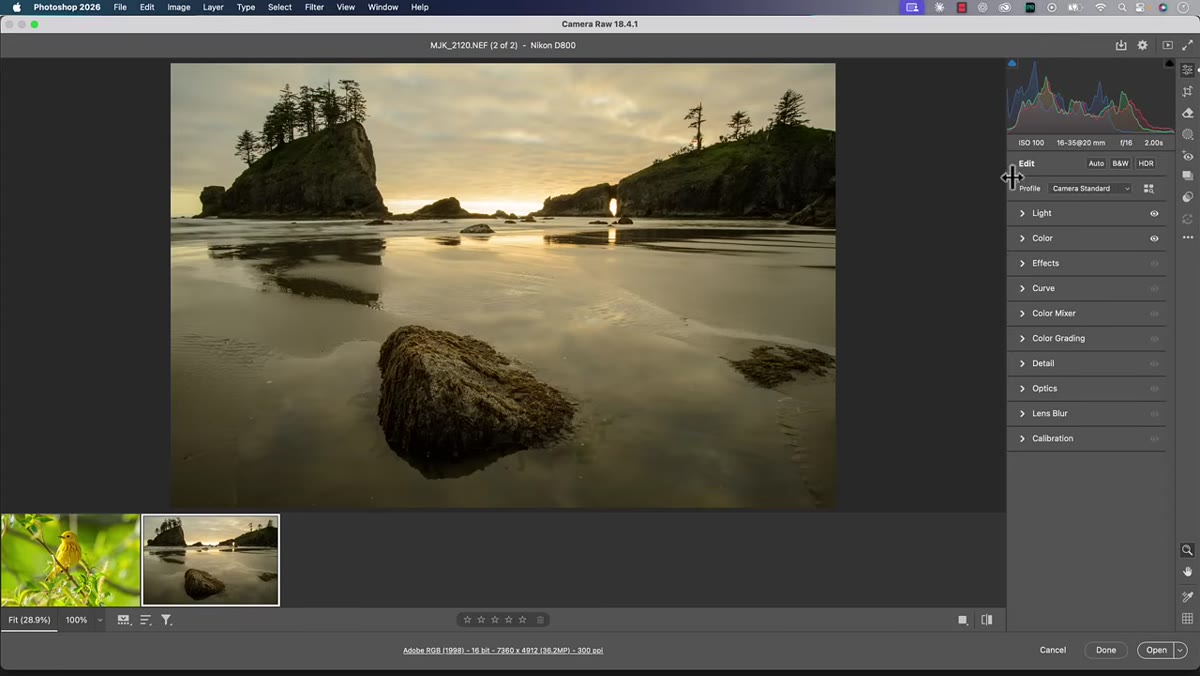
Switch to a photo you actually want to apply a gradient mask to, then open the Masking panel. In Camera Raw, this is the icon that looks like a dotted circle, sitting in the right-hand toolbar. Click it to expand your masking options. You’ll see the full list of mask types including Linear Gradient, Radial Gradient, Luminance Range, and so on.
Masking panel open in Camera Raw interface
Switch to a photo you actually want to apply a gradient mask to, then open the Masking panel. In Camera Raw, this is the icon that looks like a dotted circle, sitting in the right-hand toolbar. Click it to expand your masking options. You’ll see the full list of mask types including Linear Gradient, Radial Gradient, Luminance Range, and so on.
If you’ve used Camera Raw’s masking tools before, this panel will look familiar. The new bidirectional gradient option lives inside Linear Gradient rather than being a separate tool, so don’t go hunting for it at the top level. Select Linear Gradient to proceed.
Step 4: Draw a Linear Gradient Mask on the Image
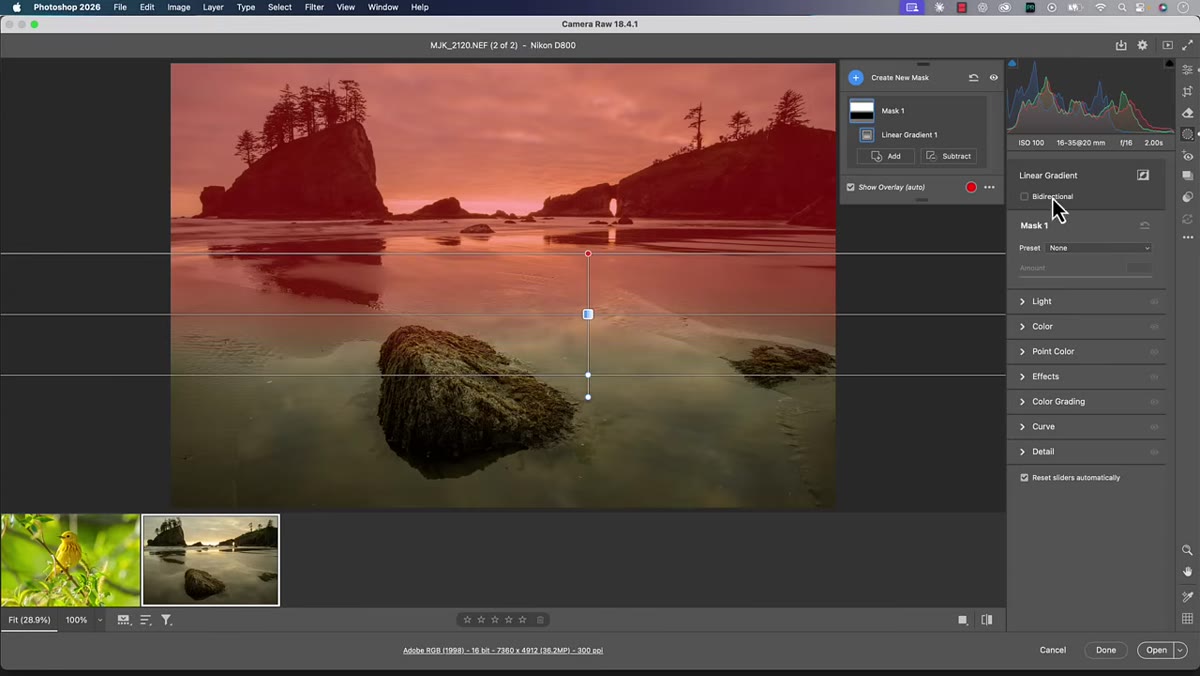 Linear gradient being dragged across a photo in Camera Raw
Click and drag across your image to place a linear gradient mask. The direction and length of your drag determine the transition zone. A short drag creates a sharp transition; a longer drag creates a softer, more gradual fade. For a sky-to-ground edit, you’d typically drag from the top of the frame downward, or slightly angled if your horizon isn’t level.
Linear gradient being dragged across a photo in Camera Raw
Click and drag across your image to place a linear gradient mask. The direction and length of your drag determine the transition zone. A short drag creates a sharp transition; a longer drag creates a softer, more gradual fade. For a sky-to-ground edit, you’d typically drag from the top of the frame downward, or slightly angled if your horizon isn’t level.
At this point in earlier versions of Camera Raw, you were locked in. You had one direction, one transition, done. If you wanted to protect both edges of a subject, you were cobbling something together with multiple masks and intersect logic, which works but requires extra steps and a decent amount of patience.
Step 5: Enable the Bidirectional Gradient Option
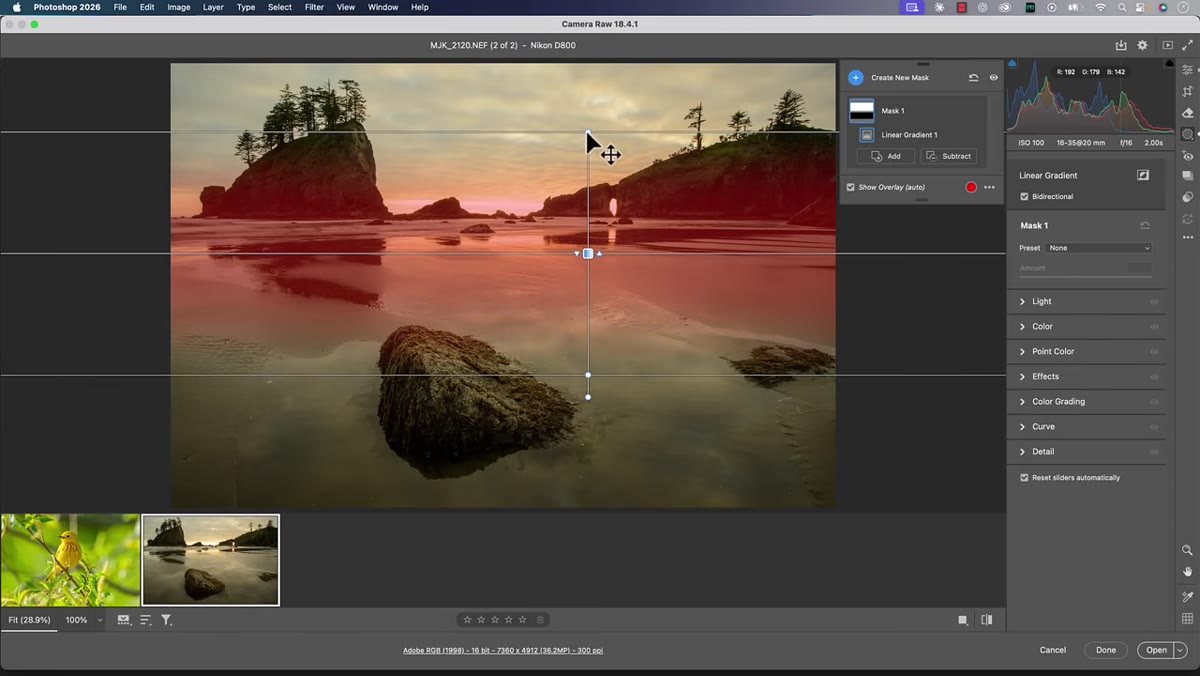 Bidirectional gradient toggle visible in the mask options panel
Once your gradient is placed, look at the mask options panel on the right side. You’ll see the new bidirectional toggle. Flip it on, and the gradient now fades in from both ends toward the center, rather than transitioning in one direction only. The result is a mask that’s essentially symmetrical, protecting the center of your frame while allowing adjustments to fall off toward both edges simultaneously.
Bidirectional gradient toggle visible in the mask options panel
Once your gradient is placed, look at the mask options panel on the right side. You’ll see the new bidirectional toggle. Flip it on, and the gradient now fades in from both ends toward the center, rather than transitioning in one direction only. The result is a mask that’s essentially symmetrical, protecting the center of your frame while allowing adjustments to fall off toward both edges simultaneously.
This is genuinely useful for things like horizon edits where you want to darken the sky and the foreground simultaneously while leaving a centered subject relatively unaffected. Previously you’d have layered two gradients, which is doable, but this single bidirectional mask keeps your panel clean and your workflow faster. Adjust the gradient handles to control where the transitions hit, and then apply whatever exposure, contrast, or color adjustments your image needs through the mask.
A Note on When Camera Raw Features Actually Change Your Workflow
I want to be straight with you here, because I think the temptation when new features drop is to treat them like mandatory upgrades. The focus point overlay is genuinely useful if you shoot fast-moving subjects, wildlife, or anything where autofocus reliability matters. For landscape or still life work where you’re manually confirming focus at the time of capture, it’s a nice-to-have rather than essential.
The bidirectional gradient is the one I see becoming a regular part of my toolkit faster. I’ve done enough “darken the sky and the foreground, leave the subject alone” edits to know that the old two-gradient workaround works fine but costs time. Anything that trims steps out of a repetitive process earns its place. My one caveat is that complex, irregular subjects still benefit from a luminance range or subject-based mask rather than any gradient approach, bidirectional or not. Gradients work beautifully on photos with clear horizontal or vertical structure. When the light is chaotic, reach for a different tool.
Both of these features are small additions that solve specific, real problems rather than being flashy overhauls. The focus point overlay is the kind of thing that should have existed years ago, and the bidirectional gradient is a genuine workflow shortcut for anyone doing environmental light adjustments. Neither one is going to make Lightroom users abandon ship, as Matt himself points out, but if Camera Raw is already your home base, they’re worth knowing cold.
Watch the full tutorial on YouTube to see Matt walk through both features on actual photos, including his notes on the bird photography workflow that ties directly into why focus point verification matters.
Comments
Leave a Comment