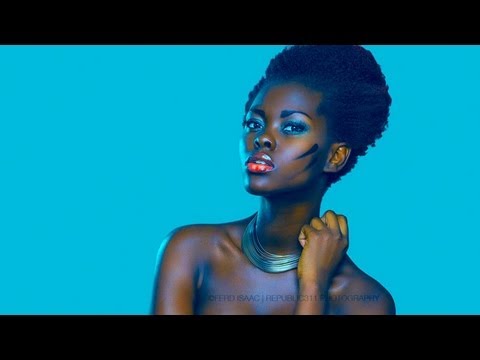
There’s a specific kind of frustration that hits when you’re trying to do a simple color grade and your image starts looking like a fever dream. You pull one curve, the colors shift, the luminosity goes sideways, and suddenly your subject looks like they’re standing under a blacklight at a 1990s roller rink. I spent an embarrassing amount of time thinking I was just bad at curves. Turns out I was working in the wrong color mode entirely. In this Aaron Nace (PHLEARN) tutorial on Watch the full tutorial on YouTube, he breaks down the difference between RGB and LAB color modes using a real image, and it immediately reframed how I think about color editing.
The core problem with RGB isn’t that it’s bad. It’s that the three channels (Red, Green, Blue) each carry both color information AND luminosity information. So when you touch one channel to shift a hue, you’re also nudging brightness and contrast whether you want to or not. LAB mode separates those two things completely. One channel handles lightness, two channels handle color. That separation is what makes LAB so powerful for targeted color work, and once you understand it, you’ll reach for it constantly.
Step 1: Identify Your Current Color Mode
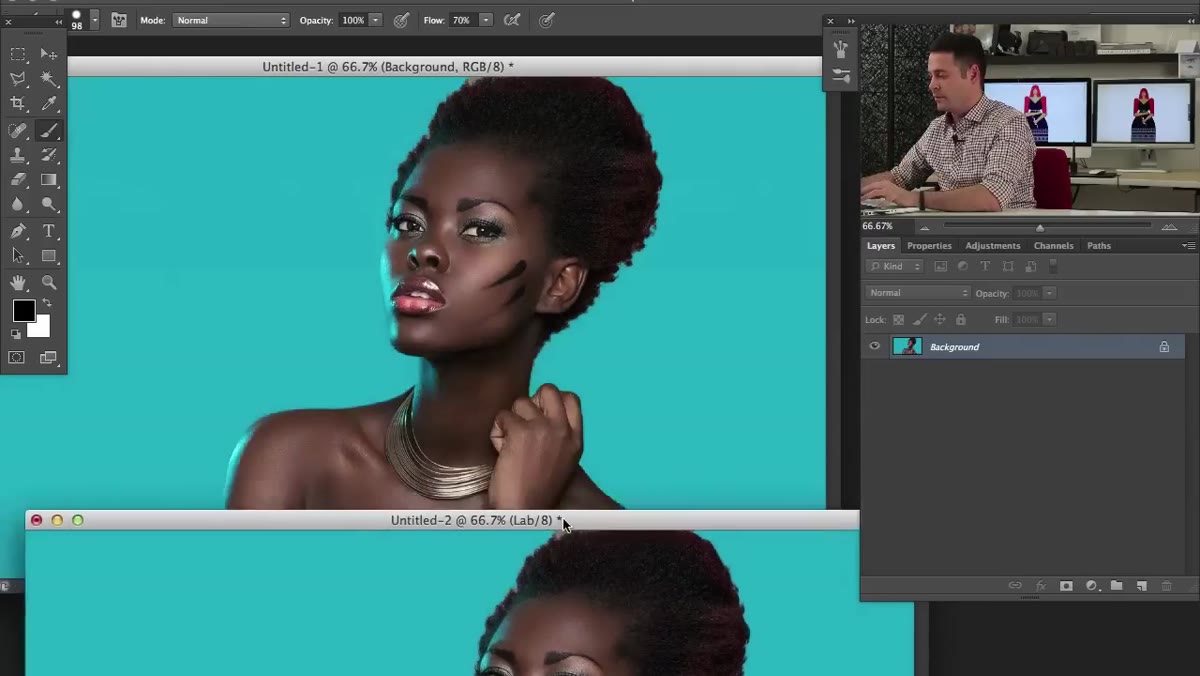
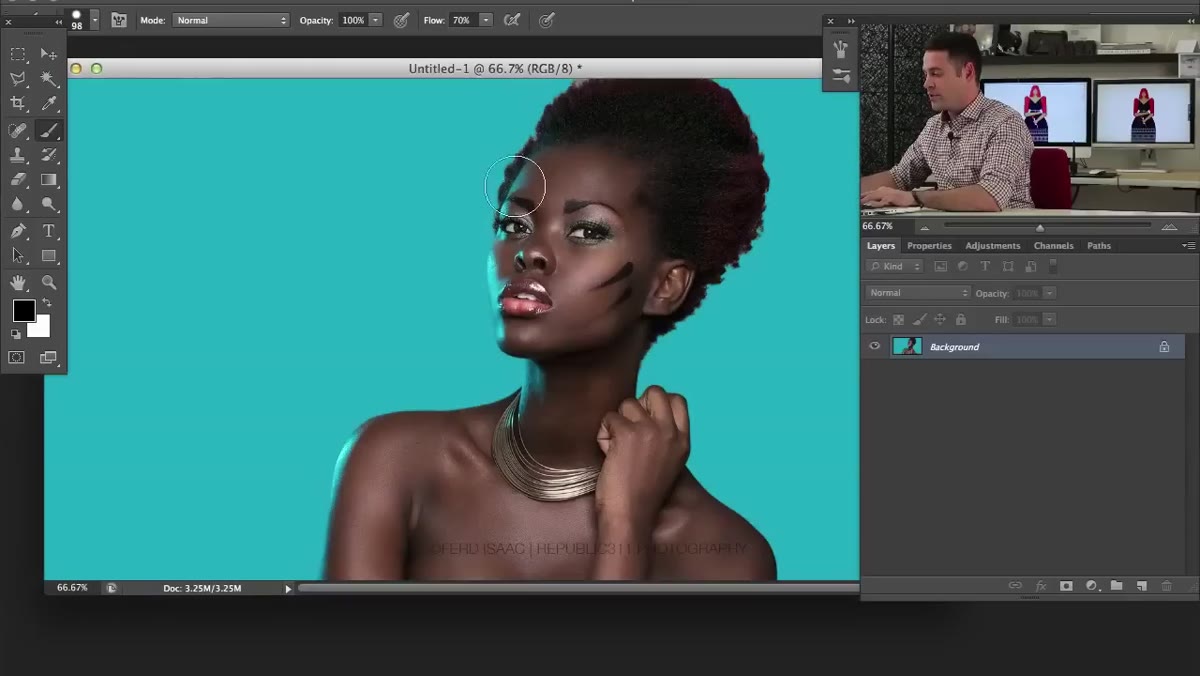 Photoshop title bar showing RGB and 8-bit labels
When you open an image in Photoshop, look up at the title bar at the top of your document window. You’ll see the filename followed by two pieces of information: the color mode (probably RGB) and the bit depth (probably 8). Most working files come in as RGB/8, which is completely fine for the majority of editing tasks. The point here is just to know where you’re starting before you make any changes.
Photoshop title bar showing RGB and 8-bit labels
When you open an image in Photoshop, look up at the title bar at the top of your document window. You’ll see the filename followed by two pieces of information: the color mode (probably RGB) and the bit depth (probably 8). Most working files come in as RGB/8, which is completely fine for the majority of editing tasks. The point here is just to know where you’re starting before you make any changes.
Step 2: Understand Why RGB Curves Can Go Wrong
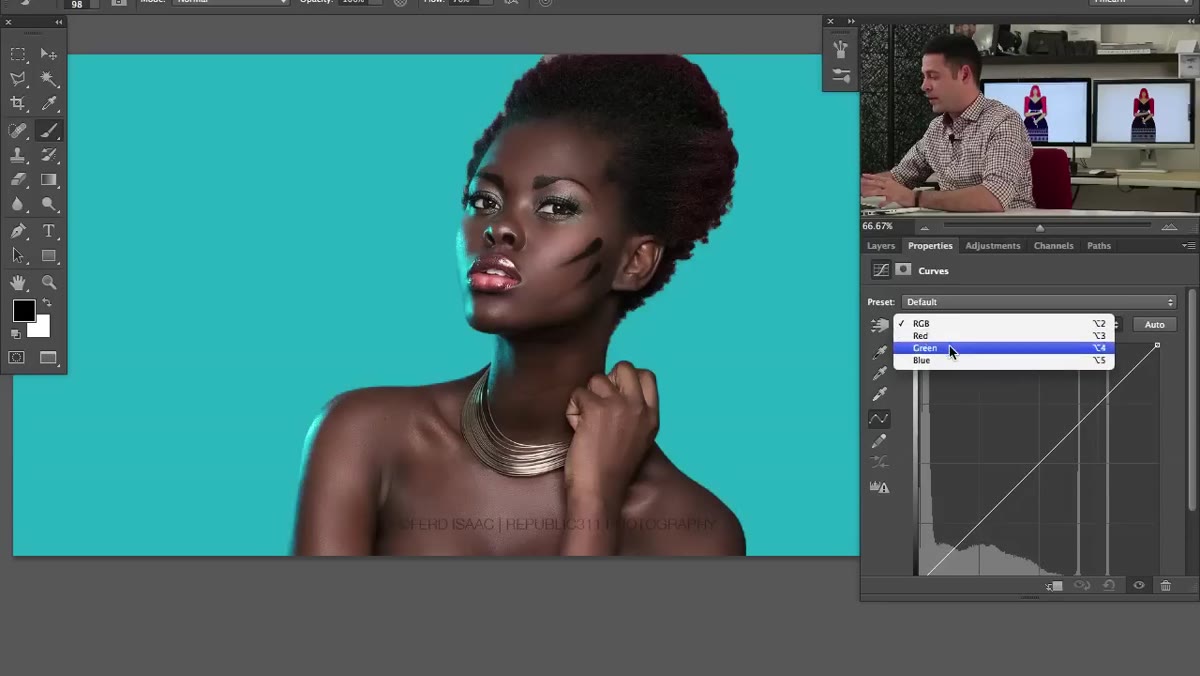 Curves panel open showing Red, Green, Blue channel options
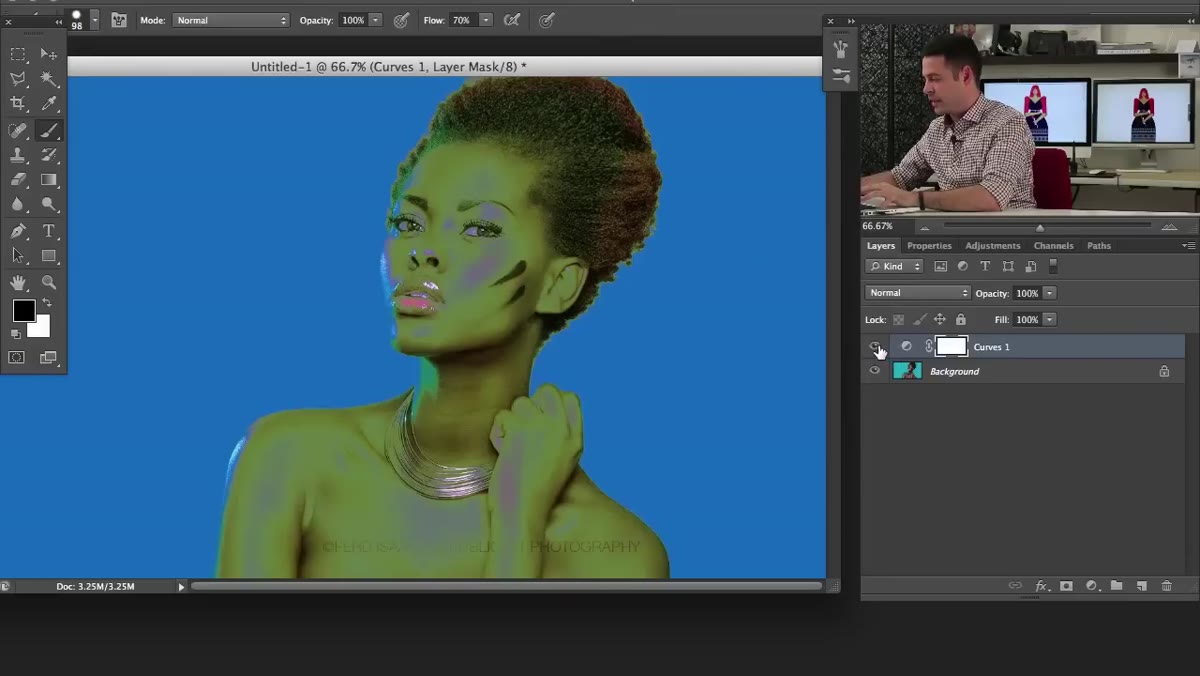
Open a Curves adjustment layer via the Adjustments panel or through Layer > New Adjustment Layer > Curves. In the Curves panel, you’ll see a dropdown that defaults to RGB, with individual Red, Green, and Blue channel options below it. Try pulling the Red channel down: you’ll add cyan. Pull it up: you get more red. Looks straightforward enough. But start moving the Green channel significantly and something starts to look off fast. The colors change, but so does the overall tonal quality of the image. That’s because in RGB, every color channel is also contributing to how light or dark your image looks. You’re not just changing hue, you’re changing exposure in specific areas simultaneously. It’s a coupled system, and that coupling is the source of the frustration.
Curves panel open showing Red, Green, Blue channel options
Open a Curves adjustment layer via the Adjustments panel or through Layer > New Adjustment Layer > Curves. In the Curves panel, you’ll see a dropdown that defaults to RGB, with individual Red, Green, and Blue channel options below it. Try pulling the Red channel down: you’ll add cyan. Pull it up: you get more red. Looks straightforward enough. But start moving the Green channel significantly and something starts to look off fast. The colors change, but so does the overall tonal quality of the image. That’s because in RGB, every color channel is also contributing to how light or dark your image looks. You’re not just changing hue, you’re changing exposure in specific areas simultaneously. It’s a coupled system, and that coupling is the source of the frustration.
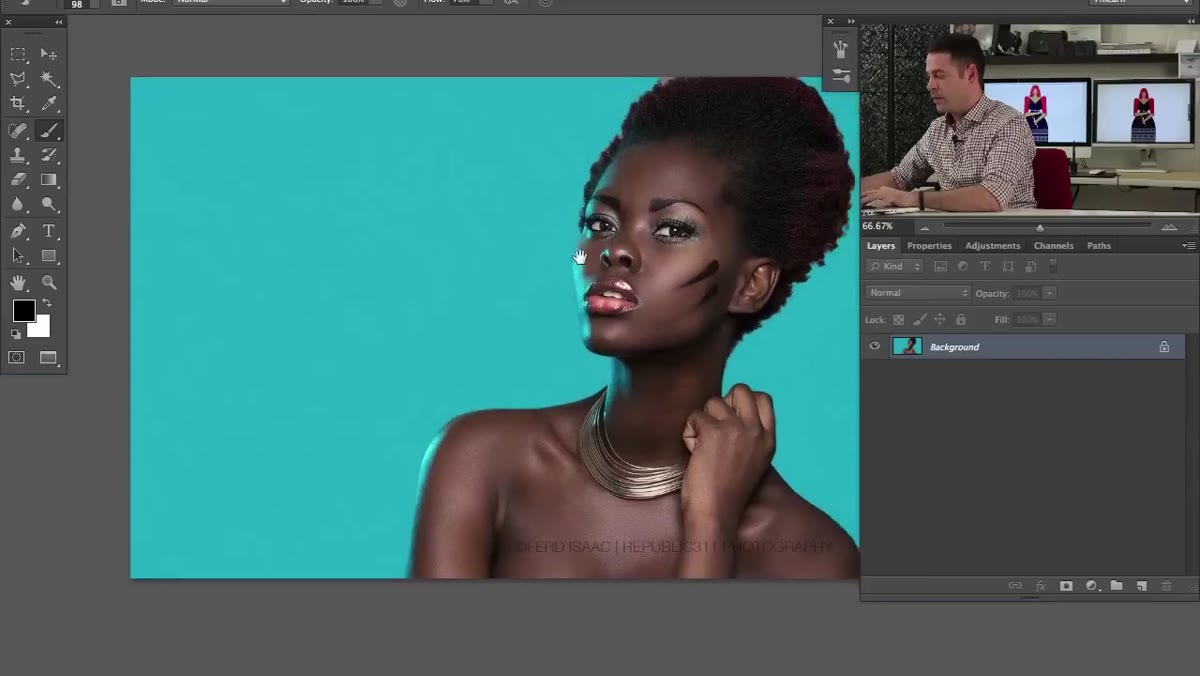
Step 3: Duplicate the Layer to a New Document
 Duplicate Layer dialog with New Document selected
Before switching color modes, you need to work on a copy of your image. Right-click your background layer in the Layers panel and choose Duplicate Layer. In the dialog that appears, change the Document dropdown from your current file to New. This creates a fresh document with just your image layer, separate from your original. This is the document where you’ll switch to LAB mode. It’s a good habit anyway: never convert your working file’s color mode mid-project without a backup.
Duplicate Layer dialog with New Document selected
Before switching color modes, you need to work on a copy of your image. Right-click your background layer in the Layers panel and choose Duplicate Layer. In the dialog that appears, change the Document dropdown from your current file to New. This creates a fresh document with just your image layer, separate from your original. This is the document where you’ll switch to LAB mode. It’s a good habit anyway: never convert your working file’s color mode mid-project without a backup.
Step 4: Convert the Document to LAB Mode
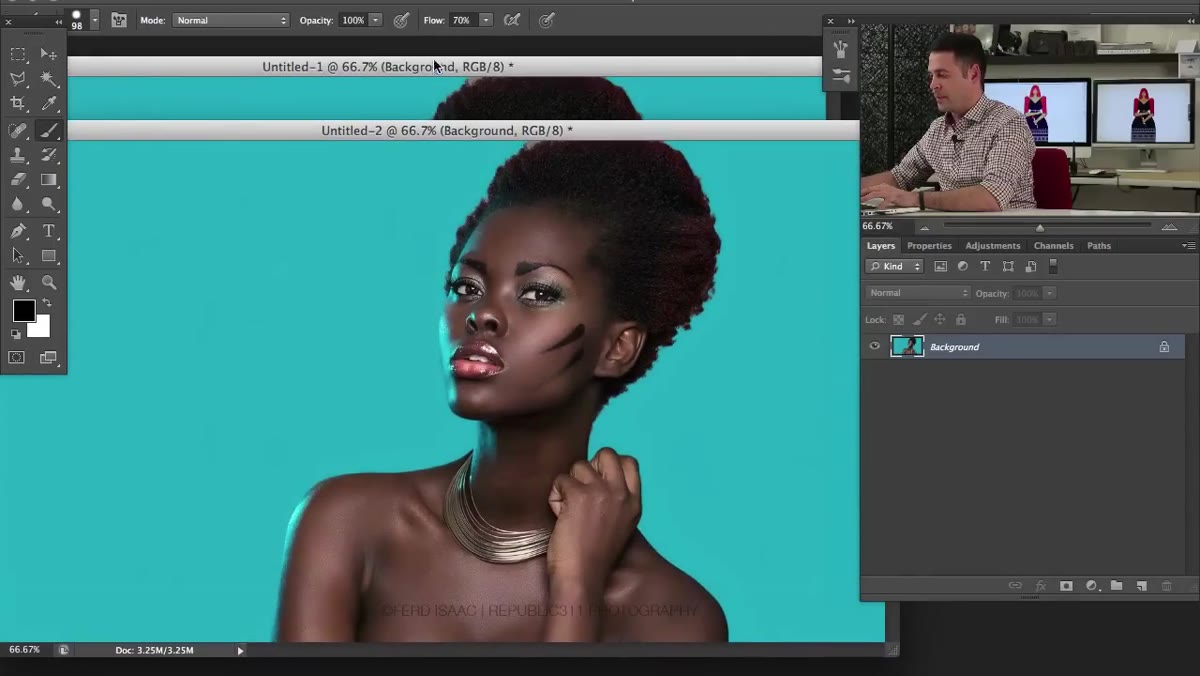 Image menu open with Mode submenu showing LAB Color option
With your new document active, go to Image > Mode > Lab Color. The image will look identical to what you had before. Nothing visually changes at this point, which is the part that trips people up. The change is structural, not visual. LAB stands for Lightness, A, and B. The Lightness channel (L) carries all the luminosity data. The A channel handles the green-to-red color range. The B channel handles the blue-to-yellow color range. Color and brightness are now completely separate systems, and that changes everything about how your curves behave.
Image menu open with Mode submenu showing LAB Color option
With your new document active, go to Image > Mode > Lab Color. The image will look identical to what you had before. Nothing visually changes at this point, which is the part that trips people up. The change is structural, not visual. LAB stands for Lightness, A, and B. The Lightness channel (L) carries all the luminosity data. The A channel handles the green-to-red color range. The B channel handles the blue-to-yellow color range. Color and brightness are now completely separate systems, and that changes everything about how your curves behave.
Step 5: Open Curves in LAB Mode and Compare
 Curves panel in LAB mode showing L, a, b channel options
Add a new Curves adjustment layer the same way you did in RGB. Open the Curves panel and click the channel dropdown. Instead of Red, Green, and Blue, you’ll now see L, a, and b. Click on the “a” channel. This controls the green-to-red axis. Pull the curve up and your image shifts toward red/magenta. Pull it down and it shifts toward green. But here’s what’s different: the luminosity of your image stays stable. You’re moving color without accidentally rewriting your exposure. Do the same on the “b” channel (blue to yellow) and you get the same clean, isolated result. The image shifts in hue, but the brightness relationships between your shadows, midtones, and highlights stay intact. That’s the thing RGB couldn’t give you.
Curves panel in LAB mode showing L, a, b channel options
Add a new Curves adjustment layer the same way you did in RGB. Open the Curves panel and click the channel dropdown. Instead of Red, Green, and Blue, you’ll now see L, a, and b. Click on the “a” channel. This controls the green-to-red axis. Pull the curve up and your image shifts toward red/magenta. Pull it down and it shifts toward green. But here’s what’s different: the luminosity of your image stays stable. You’re moving color without accidentally rewriting your exposure. Do the same on the “b” channel (blue to yellow) and you get the same clean, isolated result. The image shifts in hue, but the brightness relationships between your shadows, midtones, and highlights stay intact. That’s the thing RGB couldn’t give you.
Step 6: Use the L Channel for Luminosity-Only Edits
 LAB mode Lightness channel selected in Curves panel
The Lightness channel is its own tool entirely. If you want to adjust contrast or brightness without touching your colors at all, work exclusively in the L channel. Pull an S-curve on L and your contrast increases while your colors stay exactly where they are. In RGB, pulling an S-curve on the composite channel will often shift your colors slightly, especially in saturated areas. In LAB, those two concerns are just separate conversations happening in separate rooms.
LAB mode Lightness channel selected in Curves panel
The Lightness channel is its own tool entirely. If you want to adjust contrast or brightness without touching your colors at all, work exclusively in the L channel. Pull an S-curve on L and your contrast increases while your colors stay exactly where they are. In RGB, pulling an S-curve on the composite channel will often shift your colors slightly, especially in saturated areas. In LAB, those two concerns are just separate conversations happening in separate rooms.
What I’d Add: LAB Is a Round-Trip Tool, Not a New Home
I’ll be honest, I don’t edit everything in LAB. My whole workflow is RGB, and converting back and forth has real costs if you’re not careful (particularly with any layer effects or blend modes that behave differently in LAB space). The way I use LAB in practice is more like a pit stop. Do the color work in LAB, flatten the result, convert back to RGB, and keep going. It’s also worth noting that not every Photoshop filter is available in LAB mode, so if you need to run a Smart Sharpen or certain blend modes, you’ll need to be back in RGB.
The real value isn’t replacing RGB. It’s having a second room to work in when RGB starts fighting you. I spent three days on a composite once, trying to color match two images using RGB curves and masks, and getting nowhere clean. A friend looked over my shoulder, suggested I try LAB for the color pass, and I had it solved in twenty minutes. Felt great. Also terrible.
If you take one thing from this: RGB combines color and brightness into the same channels, which makes precise color editing harder than it needs to be. LAB separates them completely, giving you clean control over hue without accidentally wrecking your exposure. It’s not a replacement for RGB, but it’s the right tool for a specific, common problem.
Watch the full tutorial on YouTube to see Aaron walk through both modes side by side with a real image, including the moment where the RGB curves go visibly wrong and the LAB version handles it cleanly.
Comments (2)
I've watched a dozen tutorials on this and yours is the clearest by far.
I've watched a dozen tutorials on this and yours is the clearest by far.
Leave a Comment