How to Make Dramatic Black & White Photos in Photoshop (Without Guessing)

How to Make Dramatic Black & White Photos in Photoshop (Without Guessing)

There’s a particular kind of black and white photo that stops you mid-scroll. Deep shadows, bright highlights, real tension between the two. Then there’s the other kind, which is just a color photo with the saturation turned off and a vague sense of disappointment. For a long time, most of what I was producing fell into that second category. I’d desaturate, maybe nudge the contrast slider, call it done. The results looked flat, lifeless, and honestly kind of embarrassing given how much time I’d spent on them.

Paint Realistic Eye Makeup in Photoshop Using Actual Makeup Artist Principles

Paint Realistic Eye Makeup in Photoshop Using Actual Makeup Artist Principles

I do a lot of portrait retouching. Skin cleanup, dodging and burning, the occasional dramatic color grade. But for years, whenever a client asked me to “add some makeup” to a shot, I’d fumble around with a brush tool, slap some color on a normal layer, and wonder why it looked like I’d painted the model’s face with Microsoft Paint. Which, yes, I have experience with. It wasn’t pretty. The real problem wasn’t the tools.

Lifting the Blacks: How to Nail That Moody Dark Film Look in Photoshop

Lifting the Blacks: How to Nail That Moody Dark Film Look in Photoshop

Client work has a way of forcing you to learn things fast. I spent an embarrassing amount of time trying to fake that moody, washed-out film look by just dragging the exposure slider down and hoping for the best. The result was always the same: muddy, flat, and nothing like the cinematic shadow work I was going for. The problem wasn’t my eye. It was that I was using the wrong tool for the job.

Stop Guessing If Your Buildings Are Straight — Use Photoshop's Grid Like This

Stop Guessing If Your Buildings Are Straight — Use Photoshop's Grid Like This

Architectural photography has this sneaky way of making you feel like everything looks fine until you slap a straight line next to it and realize your building is leaning like it lost a fight. I’ve handed off composites with slightly tilted structures more times than I’d like to admit, usually because I was eyeballing it and convinced myself it was “close enough.” Spoiler: clients notice. So when I came across this Aaron Nace (PHLEARN) tutorial on using Photoshop’s grid system to analyze and correct building lines, I sat up a little straighter in my coffee shop booth and paid attention.

How to Slap Any Image onto a Building (and Actually Make It Look Real) with Photoshop's Vanishing Point

How to Slap Any Image onto a Building (and Actually Make It Look Real) with Photoshop's Vanishing Point

A friend of mine once spent three days building a composite where he placed a graphic onto the side of a building. Manually warped it. Nudged every corner point. Matched the lighting. It looked… fine. Plausible. Then someone in his feedback thread said “couldn’t you just use Vanishing Point for that?” and his soul briefly left his body. I watched this happen in real time. I also had no idea what Vanishing Point was, so I stayed quiet and nodded like I absolutely knew.

Build a Repeating Lightning Bolt Background in Photoshop (The Step-and-Repeat Method)

Build a Repeating Lightning Bolt Background in Photoshop (The Step-and-Repeat Method)

There’s a specific kind of panic that hits when a client asks for “something more interesting” in the background of a portrait shot that’s already been edited, color-graded, and basically signed off. You don’t want to blow up the existing work. You just need to add a layer of visual energy without rebuilding the whole thing from scratch. This is exactly the situation Aaron Nace tackles in this PHLEARN tutorial, and the approach he takes is genuinely clever.

Stop Fighting Your Colors: How Color Range Masking Gives You Surgical Control

Stop Fighting Your Colors: How Color Range Masking Gives You Surgical Control

There’s a specific flavor of frustration I know too well: you brighten a photo, and suddenly everything looks like it’s been left out in the Texas sun for three days. The thing you actually wanted to pop, say a product, a piece of clothing, a neon sign, gets lost in the wash because you were editing the whole image instead of just the part that needed it. For a long time, my answer was to mess around with the HSL panel, nudge a slider, and hope for the best.

Stop Guessing Your Exposure: A Camera Raw Workflow That Actually Works

Stop Guessing Your Exposure: A Camera Raw Workflow That Actually Works

Exposure problems are the dirty secret of a lot of client work. You get a great shot, the composition is solid, the subject looks fantastic, and then you open it in Photoshop and realize half the image is either blown out or buried in shadows. I’ve been there more times than I care to admit. The temptation is to reach for Curves or Levels and start dragging things around until it looks “good enough” — which usually means you’ve overcorrected the highlights trying to save the shadows, or vice versa.

Build a Photoshop Photo Book Template That Actually Saves You Time (Scott Kelby Method)

Build a Photoshop Photo Book Template That Actually Saves You Time (Scott Kelby Method)

Client photo books used to wreck my workflow. Not the creative part, I enjoy that. The part where you build twelve nearly-identical pages and have to manually swap out every image, resize it, reposition it, and pray nothing shifts. I burned more hours than I’ll admit before I stumbled across a smarter approach. In this Scott Kelby tutorial from his three-part photo book series, Kelby walks through building photo book pages directly in Photoshop CS4.

The Hidden Photoshop Filter That Cleans Dirty Studio Backdrops in About 30 Seconds

The Hidden Photoshop Filter That Cleans Dirty Studio Backdrops in About 30 Seconds

If you shoot portraits on seamless paper, you already know the betrayal. The backdrop looks pristine when you hang it. By the end of a two-hour shoot, it looks like a crime scene. Footprints, scuff marks, mysterious dark smears, wrinkles that catch light in the worst way possible. I’ve spent genuinely embarrassing amounts of time trying to patch and clone-stamp my way through dirty backgrounds, session by session, thinking that was just the cost of doing business.

Rescuing a Wrecked Brochure Photo in Photoshop: A Real-World Walkthrough

Rescuing a Wrecked Brochure Photo in Photoshop: A Real-World Walkthrough

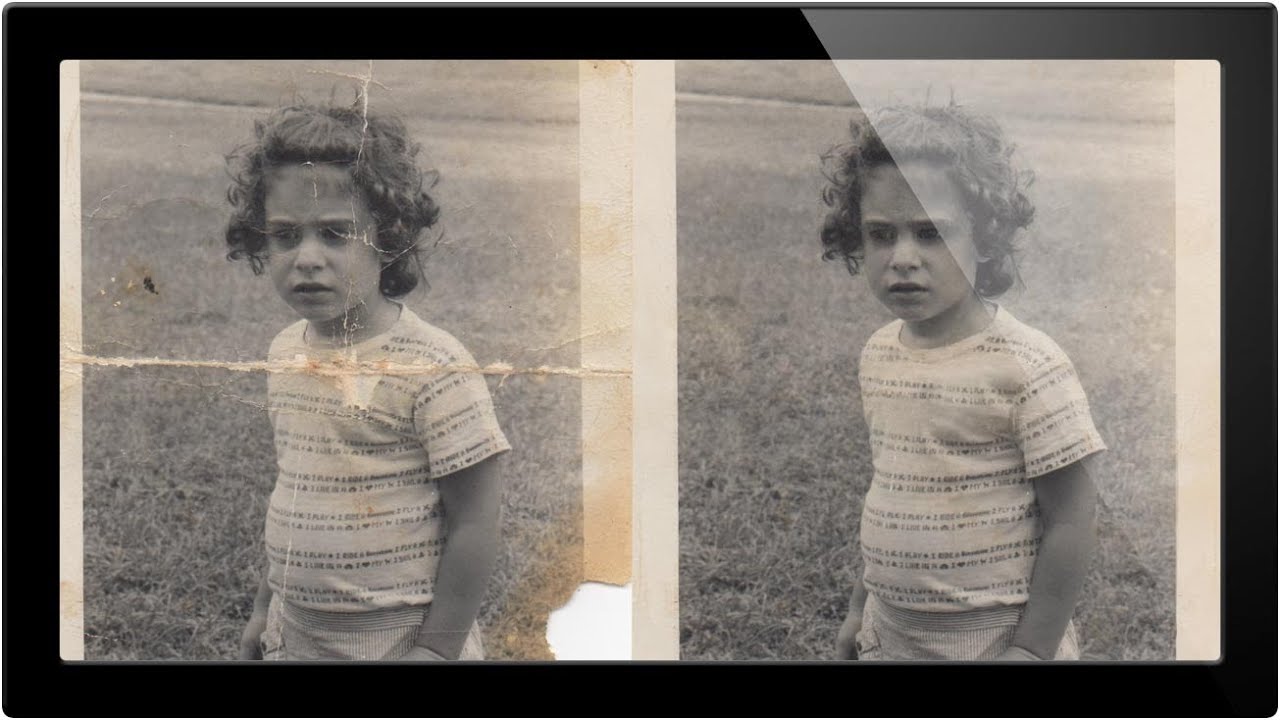
Client sends you a photo taken on an iPhone, under bad lighting, of a bent, faded, color-cast piece of paper. No raw file. No scanner. Just that. If you’ve been doing design or photo work for any length of time, you’ve been here. I’ve been here more times than I’d like to admit, usually sitting in a coffee shop trying to work miracles on someone’s terrible source material before a deadline hits.

AI Snow Masking in Photoshop and Lightroom Just Changed How I Edit Winter Shots

AI Snow Masking in Photoshop and Lightroom Just Changed How I Edit Winter Shots

Winter landscape photos have always been a mild headache for me. Snow blows out highlights, the sky goes flat, and the trees end up looking like sad gray sticks. I’d usually spend way too long painting manual masks just to bring some texture back into the snow without torching everything else in the frame. Not anymore. Adobe just dropped an update to their AI Landscape masking tool, and it now detects snow as its own separate, editable region.