There’s a specific kind of frustration that lives in the gap between “I just want to delete this thing from my photo” and “Photoshop has added a mysterious object to my photo instead of deleting it.” I’ve burned through generative credits on this exact problem more times than I’d like to admit. You make a selection, leave the prompt blank, click Generate, and instead of a clean background you get… a slightly different version of the thing you were trying to remove. Sometimes a worse one. It’s the Photoshop equivalent of asking someone to move a box and watching them hand you a different, heavier box.
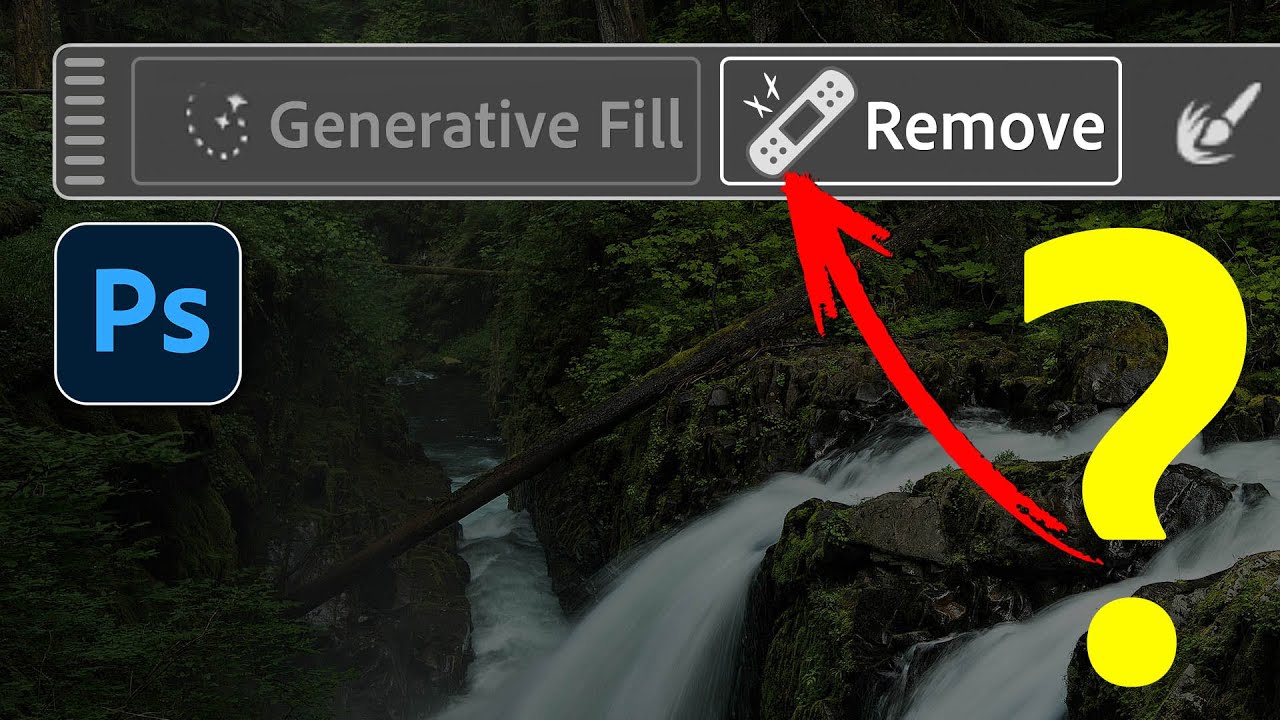
Adobe’s July 2025 update is a quiet one. It’s not the kind of release that gets a flashy event or a mile-long changelog. But in this Matt Kloskowski tutorial breaking down what’s new, one feature stood out immediately as something I’d genuinely been waiting for: a dedicated Remove button that handles object removal as its own specific task, separate from Generative Fill. Matt frames the update as a review of Photoshop’s distraction-removal workflow, which is a smart approach because the new button only makes sense in context of everything that came before it.
The update also includes some improvements to the Remove Tool’s underlying model, even if those aren’t visually obvious. Think of it as a quieter engine upgrade under the hood. Here’s how the whole workflow looks now, from selection to clean result.
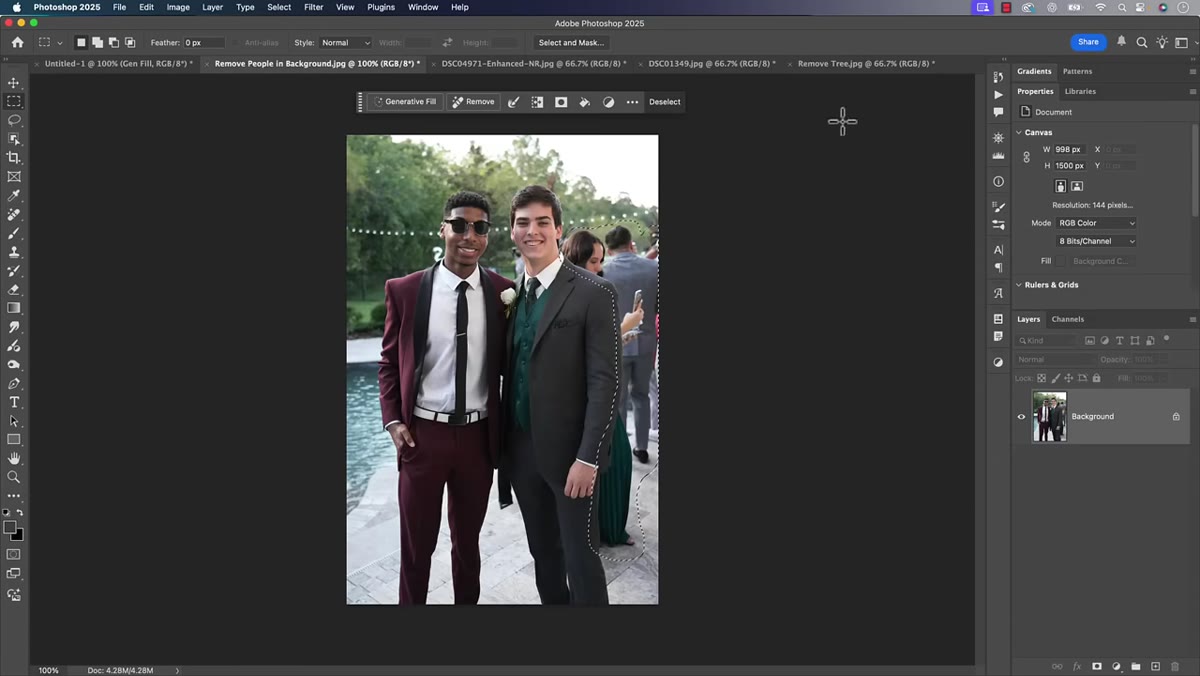
Step 1: Choose Your Photo and Identify What Needs to Go
 Landscape photo open in Photoshop with distracting element visible
Before you touch any tools, get clear on what you’re removing. Matt works through a couple of examples, including a stock photo with a suitcase sitting in frame. The principle applies to anything: a tourist in your travel shot, a power line cutting through a landscape, a coffee cup that snuck into a product photo because you were, honestly, just tired.
Landscape photo open in Photoshop with distracting element visible
Before you touch any tools, get clear on what you’re removing. Matt works through a couple of examples, including a stock photo with a suitcase sitting in frame. The principle applies to anything: a tourist in your travel shot, a power line cutting through a landscape, a coffee cup that snuck into a product photo because you were, honestly, just tired.
The point is that every method covered here starts in the same place: identify the distraction, then decide how to isolate it. The selection comes next, and your selection quality matters more than which removal method you use.
Step 2: Make a Selection Around the Object
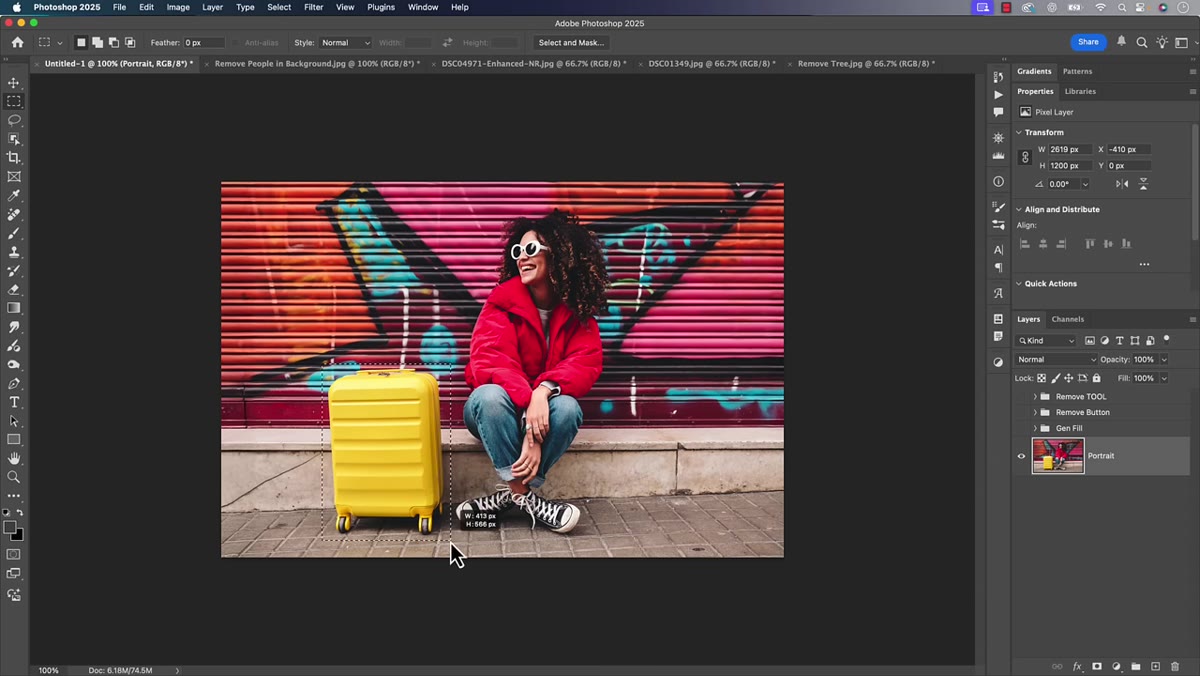 Selection marquee drawn around the suitcase object
Use whatever selection tool fits the shape. For something with a reasonably clear edge, the Object Selection tool is fast. Click and drag a rough box around the subject and let Photoshop do the edge-finding work. For trickier shapes, Quick Select or even a manual lasso gets the job done. The exact tool matters less than getting a clean selection that covers the full object without eating too far into the surrounding background.
Selection marquee drawn around the suitcase object
Use whatever selection tool fits the shape. For something with a reasonably clear edge, the Object Selection tool is fast. Click and drag a rough box around the subject and let Photoshop do the edge-finding work. For trickier shapes, Quick Select or even a manual lasso gets the job done. The exact tool matters less than getting a clean selection that covers the full object without eating too far into the surrounding background.
Once your selection is active, the Contextual Taskbar appears at the bottom of the canvas. If it’s not showing up, go to Window and turn on Taskbar. That’s where the action happens.
Step 3: Understand Why Generative Fill Alone Falls Short
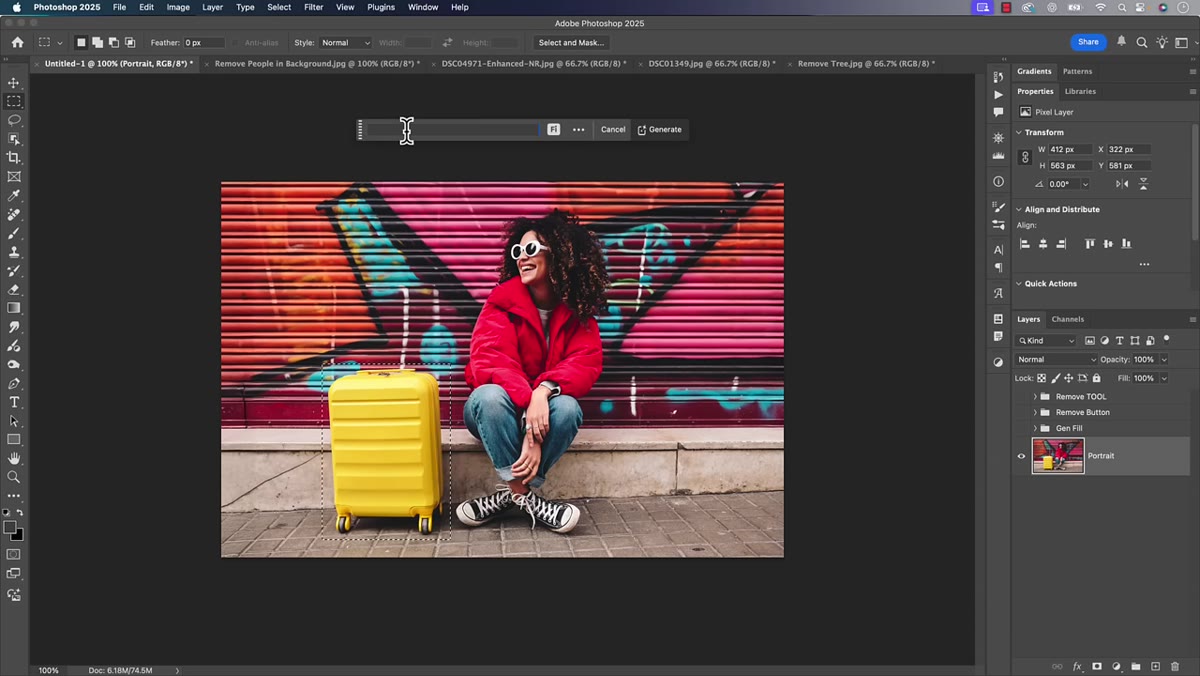 Generative Fill prompt box open with empty text field
This is the old workflow, and it’s worth knowing why it was annoying. With a selection active, clicking Generative Fill and leaving the prompt blank was the community-discovered trick for removing objects. The logic: an empty prompt tells Photoshop you want the area filled with context, not a new object. Except it didn’t always work that way.
Generative Fill prompt box open with empty text field
This is the old workflow, and it’s worth knowing why it was annoying. With a selection active, clicking Generative Fill and leaving the prompt blank was the community-discovered trick for removing objects. The logic: an empty prompt tells Photoshop you want the area filled with context, not a new object. Except it didn’t always work that way.
Matt points out that Photoshop would sometimes interpret that blank prompt as “fill this with something plausible,” and you’d end up with a hallucinated version of whatever you were trying to erase. Beyond the unpredictable results, every attempt burned a generative credit. Run through a few failed tries and you’ve spent real credit budget on a result you’re undoing anyway.
Step 4: Use the New Remove Button Instead
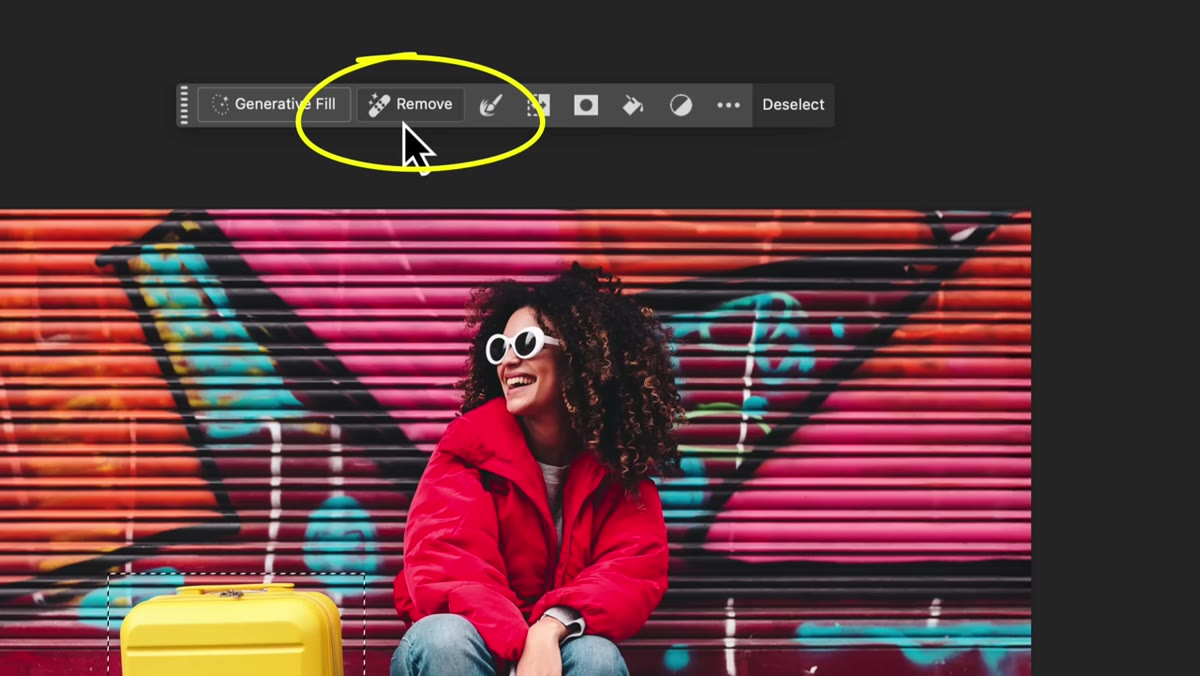 New Remove button highlighted in the Contextual Taskbar
Here’s the actual new thing. Right there in the Contextual Taskbar, next to Generative Fill, there’s now a dedicated Remove button. No prompt box. No guessing. You click it, and Photoshop knows the intent is specifically to erase the selected object and reconstruct the background behind it.
New Remove button highlighted in the Contextual Taskbar
Here’s the actual new thing. Right there in the Contextual Taskbar, next to Generative Fill, there’s now a dedicated Remove button. No prompt box. No guessing. You click it, and Photoshop knows the intent is specifically to erase the selected object and reconstruct the background behind it.
This is a meaningful distinction from a technical standpoint. The Remove button uses a different process than Generative Fill, one aimed purely at deletion rather than content generation. Matt notes that, as far as he understands it, this method does not draw from your generative credits, though he flags that you should verify that through Adobe’s own documentation since that kind of thing can change. The results he shows are clean and fast, and from my own testing after watching this, I’d say the button handles mid-complexity backgrounds better than the old blank-prompt workaround.
Step 5: Know When the Remove Tool (the Brush) Still Has a Role
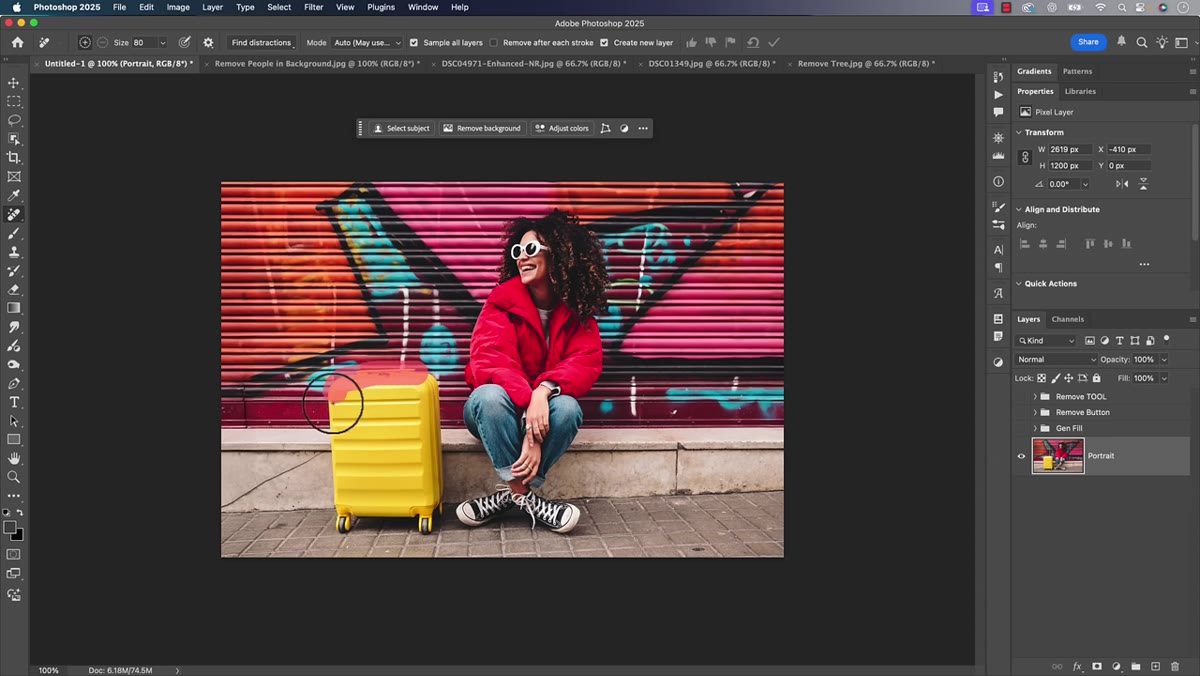 Remove Tool brush being painted over an object manually
The Remove Tool, which has been in Photoshop for a while, works differently. Instead of a selection, you paint directly over the area you want gone, using a brush. Outline the object, close the stroke, and Photoshop removes it. It’s more intuitive for irregular shapes where making a clean selection is tedious.
Remove Tool brush being painted over an object manually
The Remove Tool, which has been in Photoshop for a while, works differently. Instead of a selection, you paint directly over the area you want gone, using a brush. Outline the object, close the stroke, and Photoshop removes it. It’s more intuitive for irregular shapes where making a clean selection is tedious.
What’s new here is under the hood, not in the interface. The AI model powering the Remove Tool has been updated, even though the options panel looks identical to before. You’re not going to see a “New Model” label anywhere. You’ll just notice the results handling edge detail and background reconstruction a bit more cleanly than previous versions. The Generative AI checkbox in the tool options is still there, and toggling it on hands the heavy lifting to the AI model rather than the older content-aware approach.
A Note From Someone Who Has Removed Way Too Many Things the Hard Way
I spent a solid chunk of time last year manually cloning out distractions in landscape shots because I didn’t trust the automated tools to handle textured backgrounds like grass or water. And honestly, for a while, that skepticism was warranted. The results were patchy enough that fixing the AI removal took almost as long as just doing it by hand.
The Remove button changes that calculus at least a little. It’s not magic, and complex backgrounds with repeating patterns can still trip it up. But for the everyday task of pulling a person, a sign, or a piece of gear out of a photo, this is now the first thing I reach for. I still keep the Clone Stamp in my back pocket for the spots where AI reconstruction guesses wrong. Think of the Remove button as a first pass that handles 80 percent of cases cleanly, and the manual tools as your cleanup crew for the remaining 20.
The single most useful thing to take from this update is simple: stop using blank Generative Fill prompts to remove objects. Adobe built a dedicated button for that job, it does it better, and it probably isn’t costing you credits in the process. That’s a meaningful quality-of-life improvement dressed up in a modest update.
Watch the full tutorial on YouTube to see Matt walk through the before-and-after comparisons on real photos, including how the update fits into a broader distraction-removal workflow.
Comments (2)
Would love to see a follow-up going deeper into this topic.
Love how you break down complex stuff into manageable steps.
Leave a Comment