
For an embarrassingly long time, I was treating Flow and Opacity like they were basically the same thing. Same neighborhood, different house. I’d bump one up, leave the other wherever it landed, and wonder why my brush work looked either muddy or weirdly flat depending on the day. It wasn’t until I sat down with this Aaron Nace tutorial from PHLEARN that I realized I’d been misunderstanding one of the most fundamental brush settings in Photoshop for years. Watch the full tutorial on YouTube if you want to follow along visually, but I’m going to break it down step by step here so you can actually apply it without pausing and rewinding forty times.
The distinction matters more than you’d think. If you’re doing any kind of digital painting, compositing, or even just masking work, the wrong setting at the wrong time can make your strokes behave in ways that feel completely broken. Flow behaves like real media. Opacity behaves like a computer. Once that clicks, you’ll stop fighting your brush and start using it.
Aaron does something smart in the tutorial: he grabs an actual physical marker and paper before touching Photoshop. It sounds hokey but it genuinely works as an explanation tool, so I’m going to follow his lead and start analog before going digital.
Step 1: Understand What Flow Actually Does
 Physical marker building up ink on paper with repeated strokes
Think about how a real marker behaves on paper. If you go over the same spot repeatedly without lifting the marker, the ink builds. Each pass adds more pigment on top of what’s already there. That’s Flow in Photoshop. With Flow turned down, say to 20%, your brush deposits a small amount of color with each stroke cycle. But if you keep your mouse button held down and drag back over the same area, it keeps building. More passes, more coverage. It mimics the physical logic of ink or paint accumulating on a surface.
Physical marker building up ink on paper with repeated strokes
Think about how a real marker behaves on paper. If you go over the same spot repeatedly without lifting the marker, the ink builds. Each pass adds more pigment on top of what’s already there. That’s Flow in Photoshop. With Flow turned down, say to 20%, your brush deposits a small amount of color with each stroke cycle. But if you keep your mouse button held down and drag back over the same area, it keeps building. More passes, more coverage. It mimics the physical logic of ink or paint accumulating on a surface.
This is why Flow is the go-to setting for digital painters and anyone doing careful, gradual blending work. You get control over buildup in a way that feels intuitive because it mirrors how real tools actually behave.
Step 2: Understand What Opacity Actually Does
 Diagram of 50% opacity brush not building up on single stroke
Opacity is a different animal entirely. It doesn’t care how many times you drag back over an area during a single stroke. Set it to 50% and make a brushstroke, and that stroke will be exactly 50% transparent, full stop. You can scrub back and forth over the same pixel a hundred times within that one click-and-drag and it will not get darker. The software is treating your entire stroke as one event, and it caps the opacity at whatever percentage you set.
Diagram of 50% opacity brush not building up on single stroke
Opacity is a different animal entirely. It doesn’t care how many times you drag back over an area during a single stroke. Set it to 50% and make a brushstroke, and that stroke will be exactly 50% transparent, full stop. You can scrub back and forth over the same pixel a hundred times within that one click-and-drag and it will not get darker. The software is treating your entire stroke as one event, and it caps the opacity at whatever percentage you set.
The only way to add more density is to release the mouse button, lift your stylus, or otherwise end the stroke and start a new one. Then Photoshop treats it as a fresh event and layers another 50% on top of what’s already there. It’s a fundamentally digital way of thinking about paint, and once you understand that, the setting stops feeling arbitrary.
Step 3: Open Photoshop and Locate Both Settings
 Photoshop toolbar showing Opacity and Flow fields both at 100%
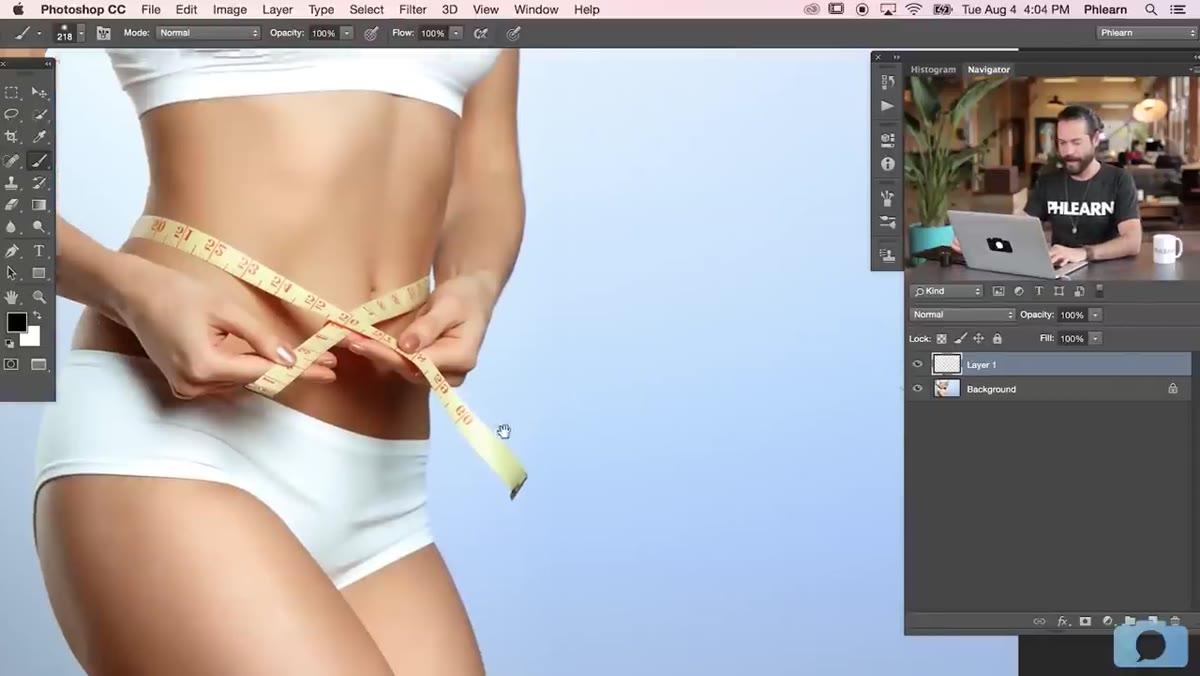
Grab your Brush tool (B is the shortcut, and if you’re not using keyboard shortcuts you and I need to have a conversation) and look at the top options bar. You’ll see Opacity and Flow sitting right there. By default, both are at 100%. That’s why most beginners never notice a difference between them at first: when both are maxed out, the behavior is identical. The difference only shows up when you start pulling those numbers down.
Photoshop toolbar showing Opacity and Flow fields both at 100%
Grab your Brush tool (B is the shortcut, and if you’re not using keyboard shortcuts you and I need to have a conversation) and look at the top options bar. You’ll see Opacity and Flow sitting right there. By default, both are at 100%. That’s why most beginners never notice a difference between them at first: when both are maxed out, the behavior is identical. The difference only shows up when you start pulling those numbers down.
Worth noting: you can control both settings simultaneously, and they stack. A brush at 50% Opacity and 50% Flow behaves differently from one at 50% Opacity alone or 50% Flow alone. We’ll get to the practical implications of that in a second.
Step 4: Test Flow in Action on a New Layer
 New blank layer created in Layers panel ready for brush test
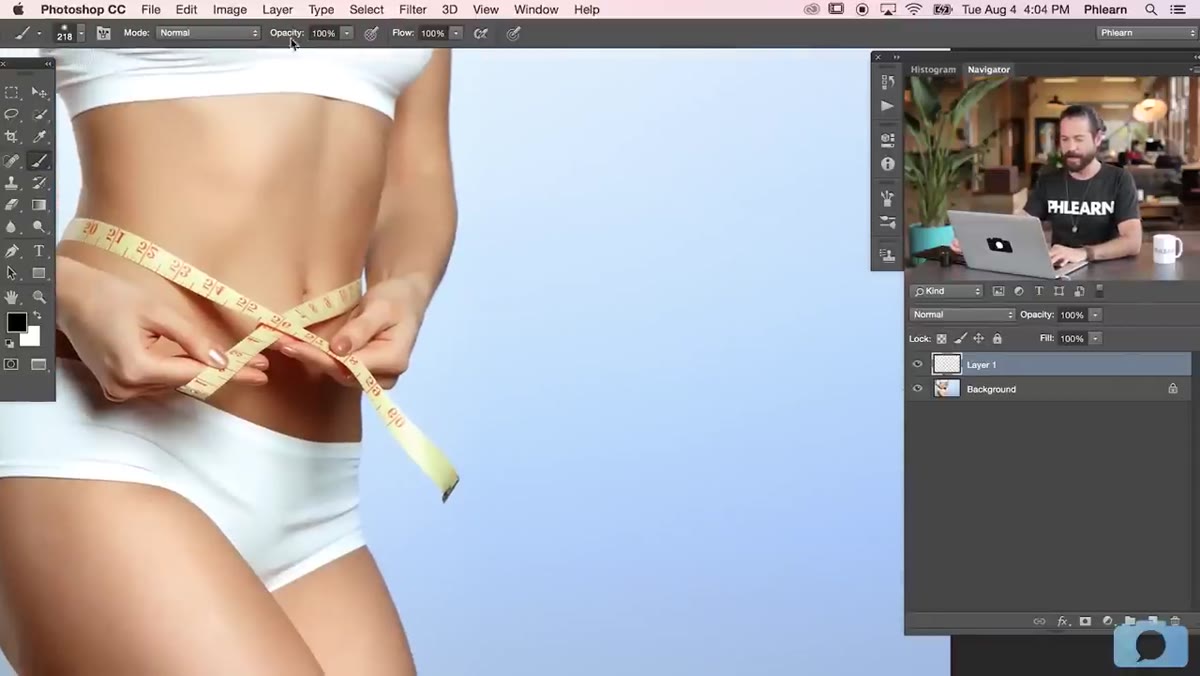
Create a new blank layer so you’re not painting directly on anything important. With your brush set to 100% Opacity and a low Flow, say around 20%, pick a color and hold your mouse button down while dragging over the same spot multiple times without releasing. Watch the stroke build up gradually with each pass. That’s the behavior. Now try it with Flow at 100% and Opacity at 20%. Make one long stroke, drag back over it without releasing, and notice nothing gets darker. That’s the contrast Aaron is illustrating and it’s genuinely one of those moments where something clicks.
New blank layer created in Layers panel ready for brush test
Create a new blank layer so you’re not painting directly on anything important. With your brush set to 100% Opacity and a low Flow, say around 20%, pick a color and hold your mouse button down while dragging over the same spot multiple times without releasing. Watch the stroke build up gradually with each pass. That’s the behavior. Now try it with Flow at 100% and Opacity at 20%. Make one long stroke, drag back over it without releasing, and notice nothing gets darker. That’s the contrast Aaron is illustrating and it’s genuinely one of those moments where something clicks.
If you’re working on a tablet with a stylus, Flow pairs really well with pen pressure settings because the buildup behavior feels very close to working with actual brush and ink.
Step 5: Test Opacity in Action and Compare
 Brush tool active with opacity set low, demonstrating single-stroke cap
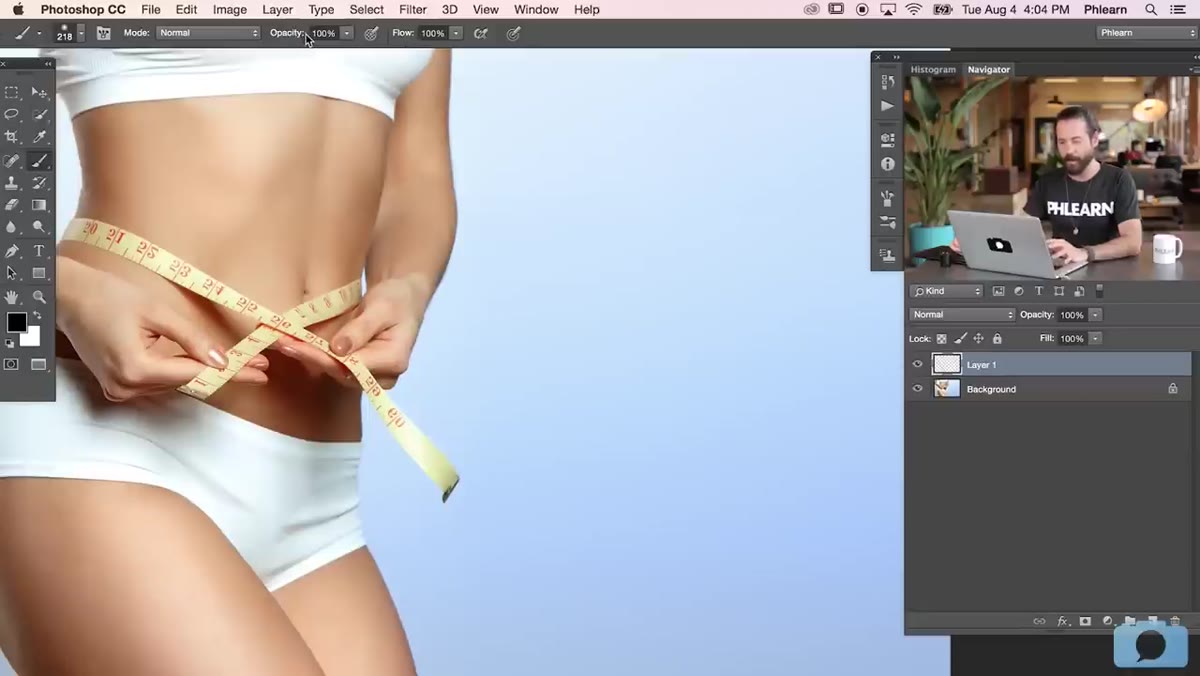
On a fresh layer, set Opacity to 50% and Flow back to 100%. Make a stroke. Now, without releasing your mouse or stylus, drag back over that exact stroke. It should look completely unchanged because you’re still inside the same stroke event. Now release, then click and drag over the same area again. You’ll see it gets slightly darker because Photoshop is treating that second click as a new stroke layered on top of the first.
Brush tool active with opacity set low, demonstrating single-stroke cap
On a fresh layer, set Opacity to 50% and Flow back to 100%. Make a stroke. Now, without releasing your mouse or stylus, drag back over that exact stroke. It should look completely unchanged because you’re still inside the same stroke event. Now release, then click and drag over the same area again. You’ll see it gets slightly darker because Photoshop is treating that second click as a new stroke layered on top of the first.
This makes Opacity ideal for situations where you want consistent, predictable transparency across a single stroke, like painting a soft shadow that you want uniformly translucent rather than gradually built up.
Where This Actually Comes Up in Real Work
I use Flow almost exclusively when I’m painting on layer masks. When I’m trying to gradually reveal or hide part of an image, the buildup behavior of Flow gives me way more control than Opacity does. I can make multiple light passes with a soft brush and sneak up on the edge I want, rather than committing to a specific transparency value in one go.
Opacity earns its place when I’m working with textures or overlays where I need the transparency to stay consistent across the whole stroke. Blending modes plus a low Opacity brush is a combo I use constantly for color grading work.
The broader lesson from Aaron’s tutorial is this: Photoshop’s defaults are not always your friends. Most people never touch Flow because it starts at 100% and nothing seems broken. But dropping Flow to somewhere between 15 and 40% and keeping Opacity at 100% opens up a much more organic, controlled painting experience. It’s one of those tiny setting changes that quietly makes everything better.
If you’ve been getting weird, flat-looking brush results or struggling to blend smoothly, this is probably part of the reason. Watch the full tutorial on YouTube and spend ten minutes actually testing both settings side by side. It’s the kind of thing that’s much faster to feel than to read about.
Comments (2)
Tried this technique this morning. Game changer for real.
Tried this technique this morning. Game changer for real.
Leave a Comment