Lightroom First, Photoshop Second: Why Your Edit Order Is Wrecking Your Photos

Lightroom First, Photoshop Second: Why Your Edit Order Is Wrecking Your Photos

There’s a version of me from a few years ago who would open every photo straight in Photoshop. Raw file, JPEG, screenshot of a meme — didn’t matter. Photoshop was the big tool, so obviously that’s where the real work happened, right? Wrong. It took embarrassingly long for me to figure out that jumping past Lightroom (or Camera Raw) wasn’t a power move. It was leaving quality on the table before I’d even started.
Building Rain From Scratch in Photoshop: What I Learned From Aaron Nace's Motorcycle Edit

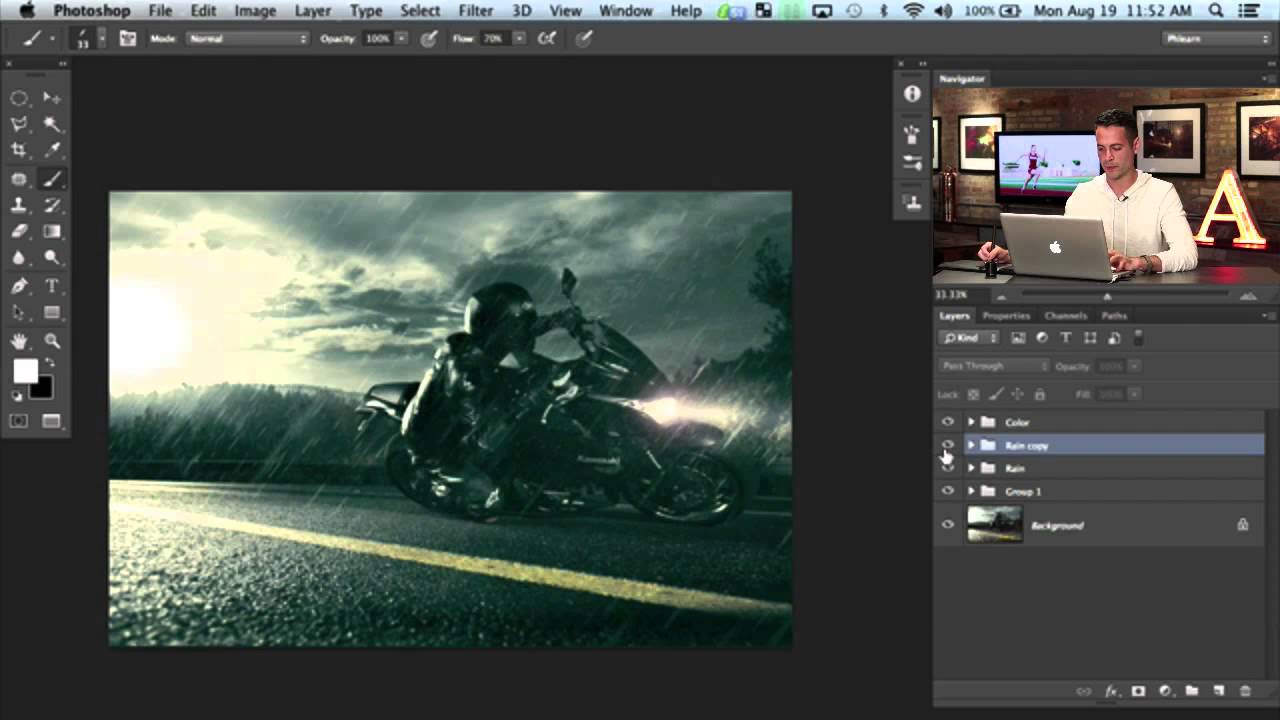
Building Rain From Scratch in Photoshop: What I Learned From Aaron Nace's Motorcycle Edit

There’s a specific kind of frustration that comes from spending an afternoon on a composite that still looks fake, and you can’t quite put your finger on why. For me, it’s usually the atmosphere. The subject is sharp, the lighting is close enough, but the scene feels like a cutout dropped onto a background. Rain, when it’s done right, is one of the fastest ways to sell a scene as real.

How to Make Dramatic Black & White Photos in Photoshop (Without Guessing)

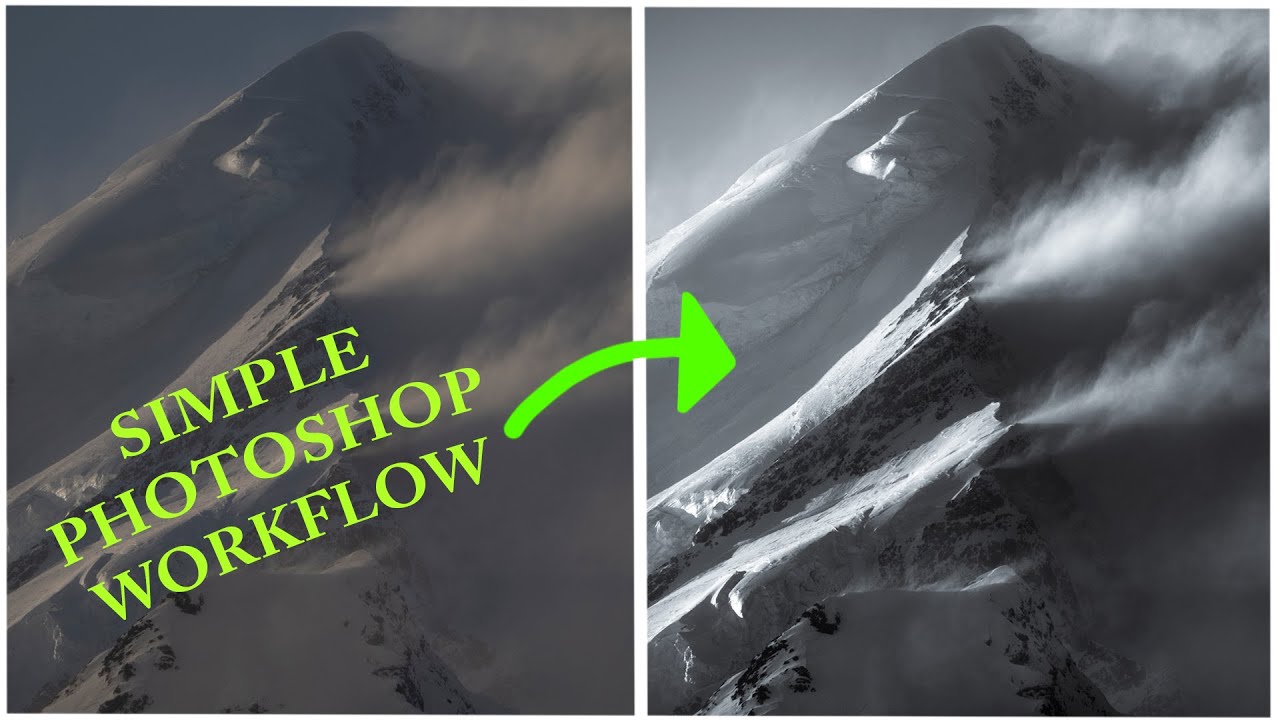
How to Make Dramatic Black & White Photos in Photoshop (Without Guessing)

There’s a particular kind of black and white photo that stops you mid-scroll. Deep shadows, bright highlights, real tension between the two. Then there’s the other kind, which is just a color photo with the saturation turned off and a vague sense of disappointment. For a long time, most of what I was producing fell into that second category. I’d desaturate, maybe nudge the contrast slider, call it done. The results looked flat, lifeless, and honestly kind of embarrassing given how much time I’d spent on them.

Build a Repeating Lightning Bolt Background in Photoshop (The Step-and-Repeat Method)

Build a Repeating Lightning Bolt Background in Photoshop (The Step-and-Repeat Method)

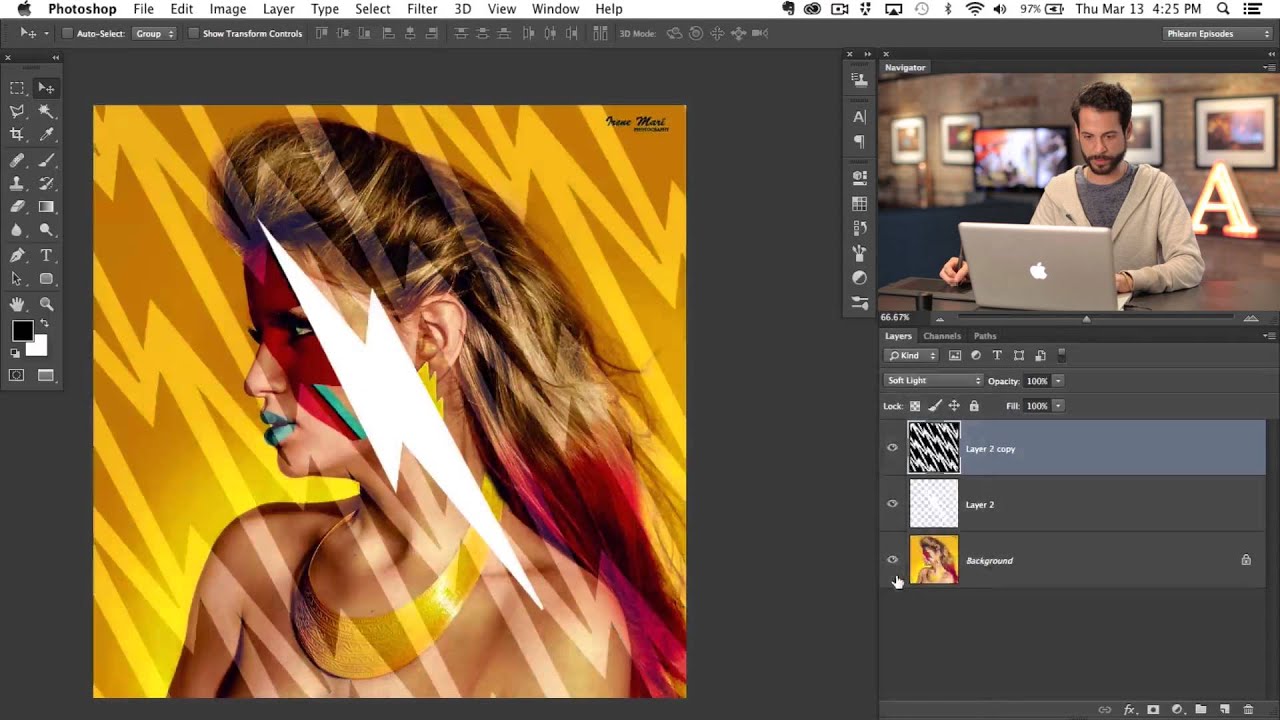
There’s a specific kind of panic that hits when a client asks for “something more interesting” in the background of a portrait shot that’s already been edited, color-graded, and basically signed off. You don’t want to blow up the existing work. You just need to add a layer of visual energy without rebuilding the whole thing from scratch. This is exactly the situation Aaron Nace tackles in this PHLEARN tutorial, and the approach he takes is genuinely clever.

Content Aware Scale: The Photoshop Feature I Keep Forgetting I Need (Until I Desperately Need It)

Content Aware Scale: The Photoshop Feature I Keep Forgetting I Need (Until I Desperately Need It)

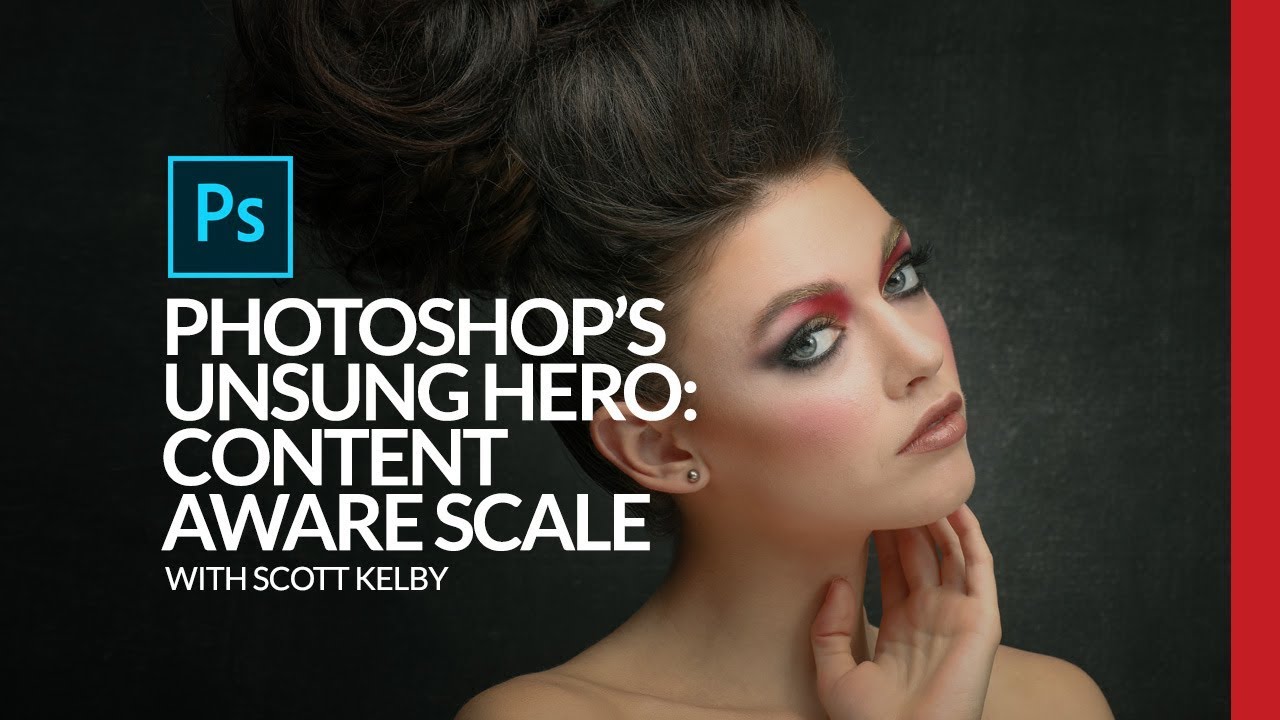
There’s a specific kind of design panic that hits when you’re building a thumbnail, a print layout, or a client deliverable and the photo just doesn’t fit the canvas the way you need it to. The subject is dead center, you need room on one side for text, and if you just scale the whole image you’ll either crop something important or squash the person in the frame into a funhouse mirror version of themselves.

Stop Fighting Your Colors: How Color Range Masking Gives You Surgical Control

Stop Fighting Your Colors: How Color Range Masking Gives You Surgical Control

There’s a specific flavor of frustration I know too well: you brighten a photo, and suddenly everything looks like it’s been left out in the Texas sun for three days. The thing you actually wanted to pop, say a product, a piece of clothing, a neon sign, gets lost in the wash because you were editing the whole image instead of just the part that needed it. For a long time, my answer was to mess around with the HSL panel, nudge a slider, and hope for the best.

Stop Guessing Your Exposure: A Camera Raw Workflow That Actually Works

Stop Guessing Your Exposure: A Camera Raw Workflow That Actually Works

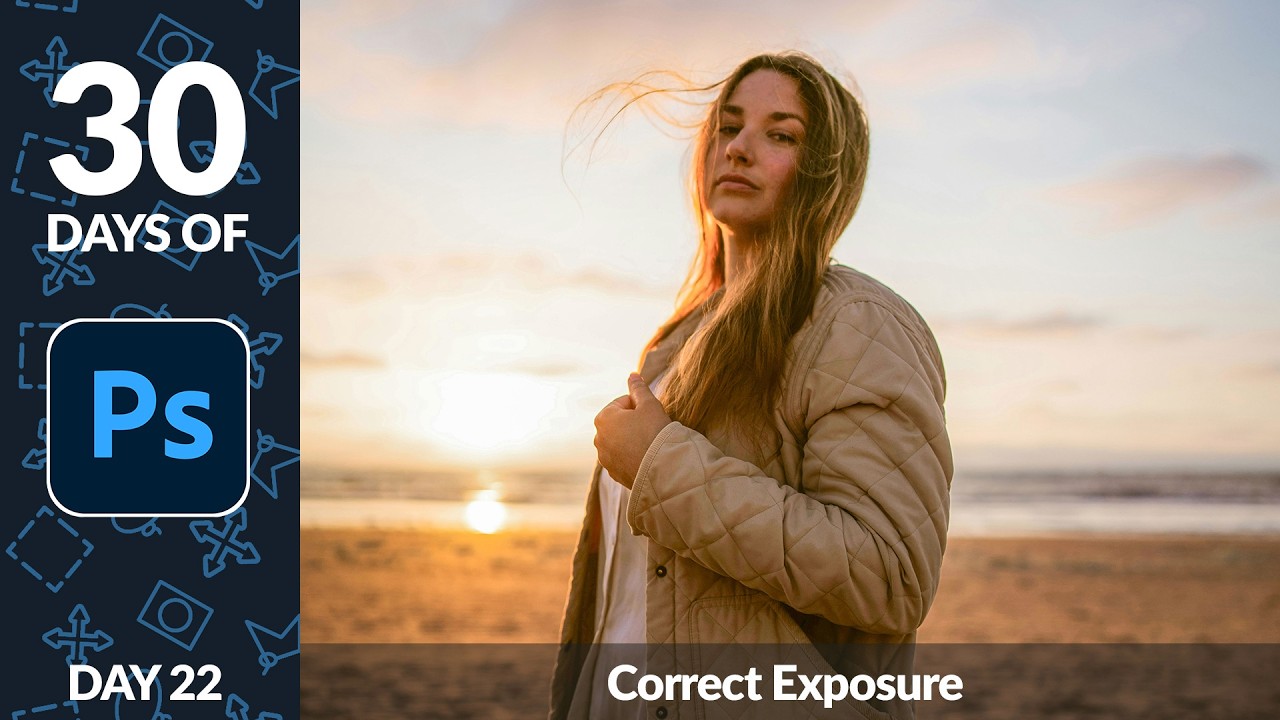
Exposure problems are the dirty secret of a lot of client work. You get a great shot, the composition is solid, the subject looks fantastic, and then you open it in Photoshop and realize half the image is either blown out or buried in shadows. I’ve been there more times than I care to admit. The temptation is to reach for Curves or Levels and start dragging things around until it looks “good enough” — which usually means you’ve overcorrected the highlights trying to save the shadows, or vice versa.

Two-Layer Vignettes in Photoshop: The Technique That Makes Your Subject Pop

Two-Layer Vignettes in Photoshop: The Technique That Makes Your Subject Pop

I used to add vignettes the lazy way. Throw a black-to-transparent radial gradient on top, drop the opacity to taste, call it a day. It worked well enough for meme graphics back when I was just making stuff for friends’ band pages, but the moment I started doing actual client work, that flat gradient approach looked exactly like what it was: a shortcut. The edges felt pasted on. Photographers noticed. Art directors noticed.

The 5-Minute Dreamy Photo Effect That Actually Works (No Orton Effect Required)

The 5-Minute Dreamy Photo Effect That Actually Works (No Orton Effect Required)

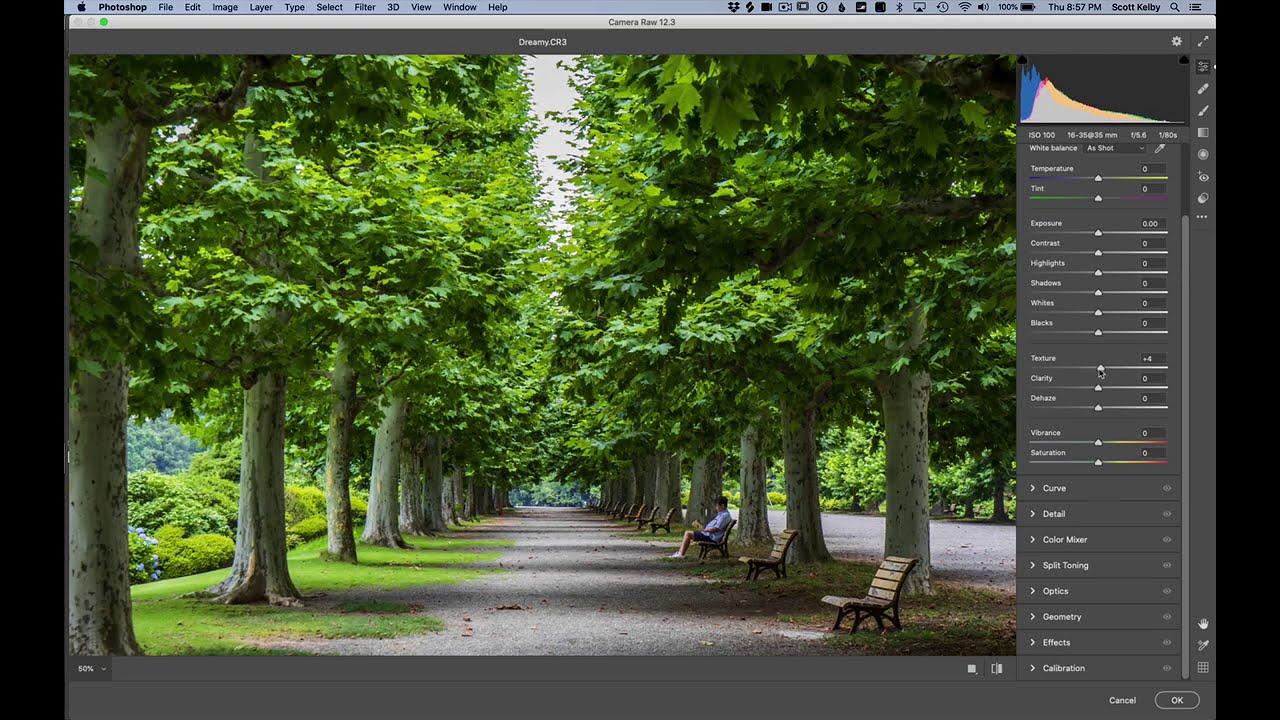
There’s a certain kind of client request that used to make me quietly groan into my coffee. “Can you make it look… softer? Like dreamy? You know, that look?” I did not always know that look. And my first instinct was usually to reach for some overcomplicated multi-layer Orton effect tutorial I’d bookmarked three years ago and never fully understood. Twenty minutes later I’d have something that looked like a fever dream, not a photograph.

Photoshop Filters Are Not Magic Buttons (But They Kind of Are If You Use Them Right)

Photoshop Filters Are Not Magic Buttons (But They Kind of Are If You Use Them Right)

My dog Pixel is a 40-pound chaos agent who has, on more than one occasion, walked across my keyboard mid-project. One afternoon she stepped on something during a portrait retouch and suddenly the whole image had this soft, diffused glow I hadn’t seen before. I looked down. She’d triggered Filter > Blur > Gaussian Blur, set to around 4.5 pixels, blended at 60% opacity through a luminosity blend mode I’d accidentally left active.

Adobe's Experimental Camera App Is About to Change How You Shoot (And Edit)

Adobe's Experimental Camera App Is About to Change How You Shoot (And Edit)

The Camera App That Thinks Like Photoshop I’ve been watching Adobe quietly build something interesting in their labs, and I think we’re about to see a real shift in how photographers approach image capture. Project Indigo—their experimental camera application—is rolling out with enough AI smarts to make even desktop Photoshop users sit up and pay attention. Here’s the thing: we’ve all been conditioned to think of photo cleanup as a post-production task.

Sky Replacement in Photoshop: What Every Single Setting Actually Does

Sky Replacement in Photoshop: What Every Single Setting Actually Does

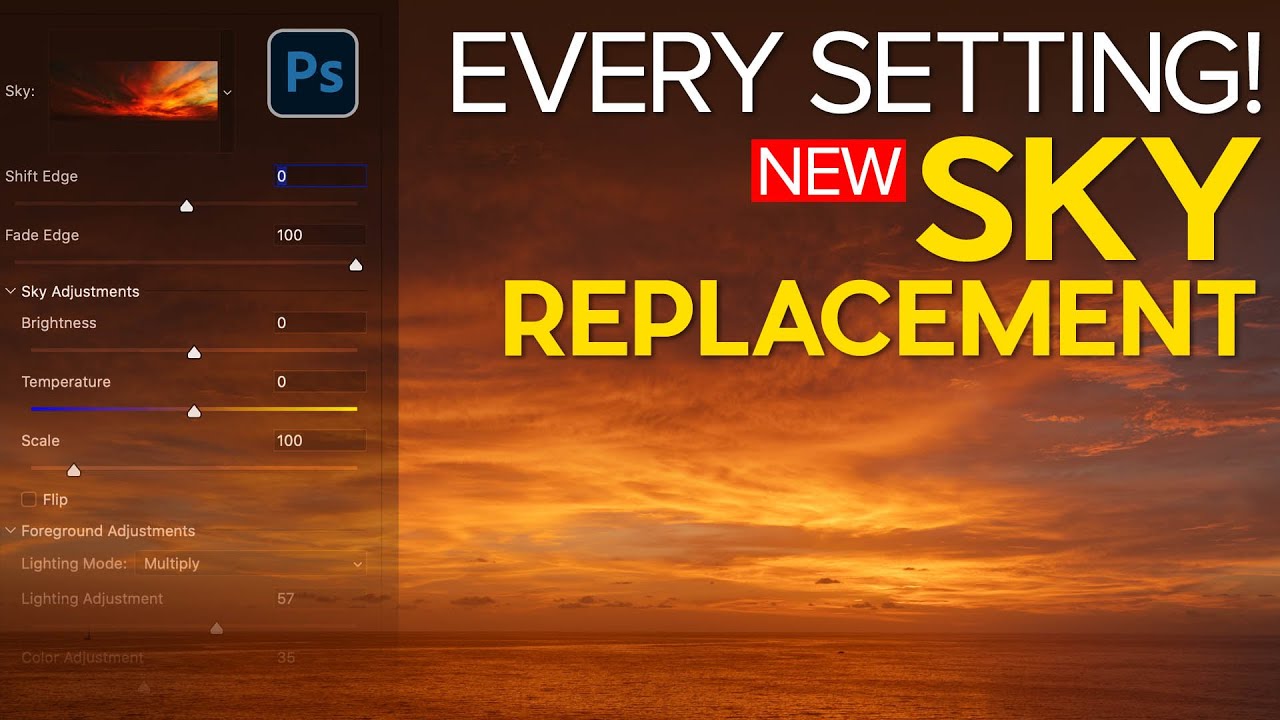
There’s a specific kind of frustration that hits when you know a tool exists, you’ve poked at it a few times, and it still produces results that look like a bad green-screen audition. Sky Replacement in Photoshop is exactly that tool for a lot of people. The feature showed up in Photoshop and everyone got excited, slapped a dramatic sunset behind a gray overcast shot, and then quietly closed the file when the edges looked like someone cut them out with kindergarten scissors.