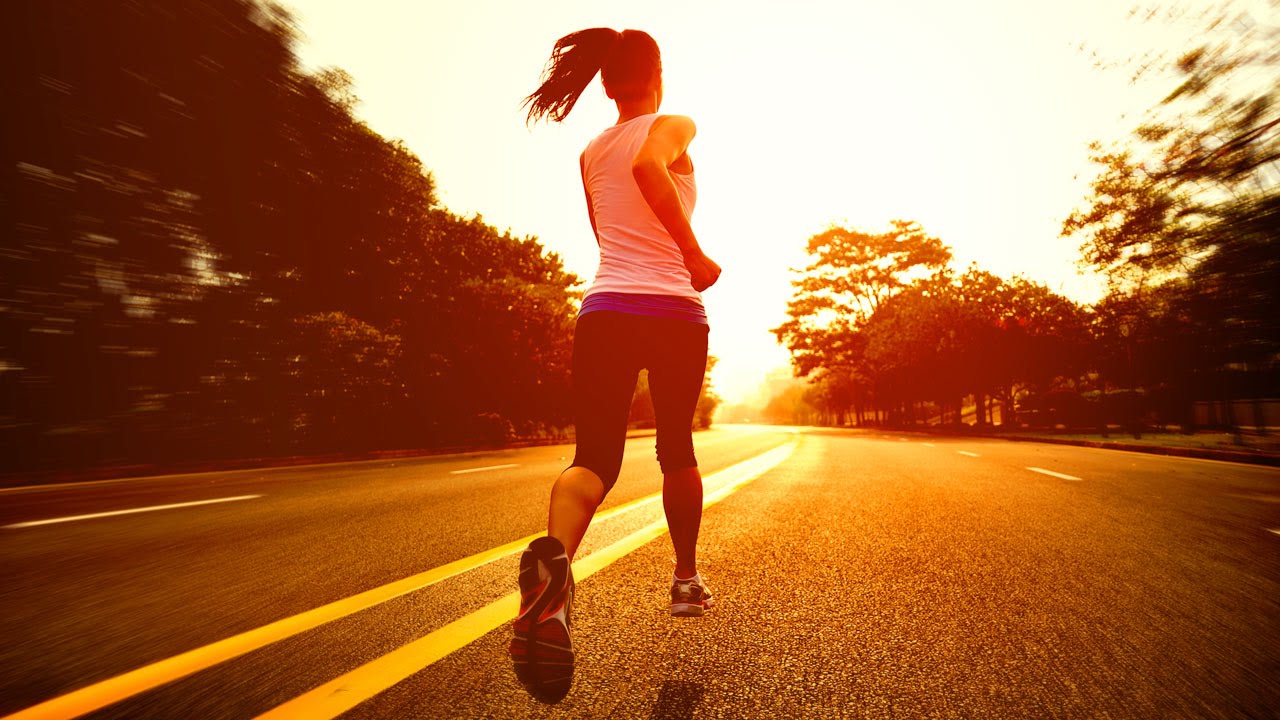
There’s a specific kind of client email that used to stress me out. The one that goes: “We love this shot but can it feel more… golden hour?” And the photo in question was taken at 2pm in flat Texas sunlight. Not exactly magic hour material. For years I’d either reshoot or apologize. Then I started actually learning what’s possible with Photoshop’s adjustment layers and gradient tools, and that panic evaporated.
In this Aaron Nace (PHLEARN) tutorial, Watch the full tutorial on YouTube, Aaron walks through a technique for baking a warm, cinematic sunset look into an existing photo. He uses Levels adjustment layers, the Gradient tool, and a Radial Blur to push an ordinary backlit photo into something that looks like it belongs on a magazine cover. The result has that romantic, slightly hazy golden quality that photographers spend entire evenings chasing.
The key thing I want to flag before you dive in: this effect doesn’t work on every photo. Aaron is upfront about it, and so am I. You need the right raw material to make this believable. Once you know what to look for, though, you’ll start spotting usable images everywhere.
Step 1: Pick the Right Photo
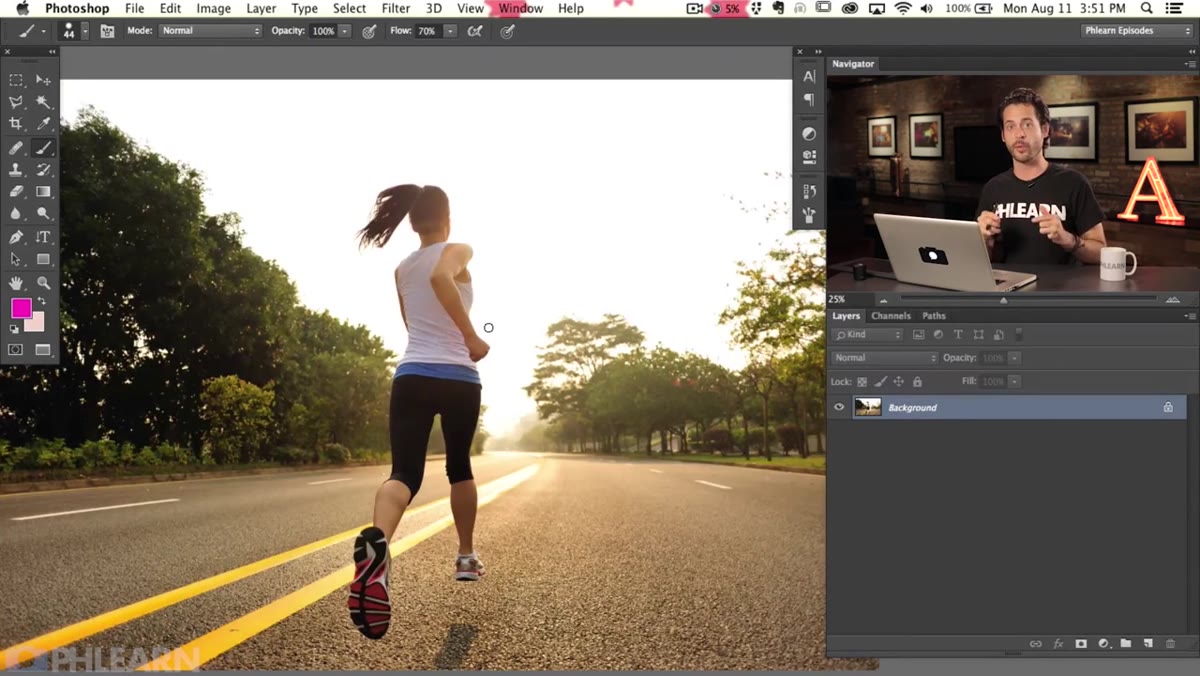 Aaron pointing out the sun position and shadow on the subject
Before you touch a single slider, you need to audit your image. Aaron explains this clearly, and it’s worth internalizing. The technique works best on backlit or side-lit images where the light source (ideally the sun) is low in the frame and sitting behind or beside your subject. If the sun is high and overhead, the effect reads as fake because warm golden light just doesn’t come from directly above. You also want to see a shadow falling in front of your subject, which confirms the light is coming from behind. Front-lit photos where the sun is behind the camera won’t sell the illusion no matter how much you push the sliders.
Aaron pointing out the sun position and shadow on the subject
Before you touch a single slider, you need to audit your image. Aaron explains this clearly, and it’s worth internalizing. The technique works best on backlit or side-lit images where the light source (ideally the sun) is low in the frame and sitting behind or beside your subject. If the sun is high and overhead, the effect reads as fake because warm golden light just doesn’t come from directly above. You also want to see a shadow falling in front of your subject, which confirms the light is coming from behind. Front-lit photos where the sun is behind the camera won’t sell the illusion no matter how much you push the sliders.
Step 2: Darken the Image with a Levels Adjustment Layer
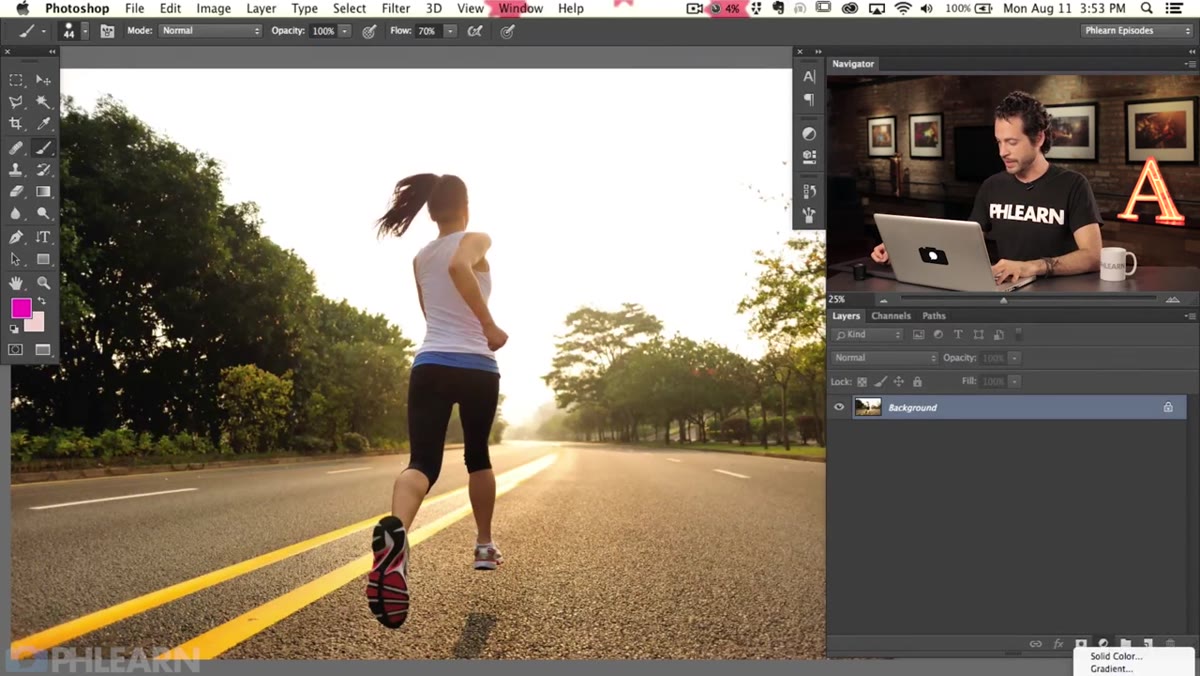 Levels panel open with the dark point slider being dragged right
Add a Levels adjustment layer by going to Layer > New Adjustment Layer > Levels, or clicking the half-circle icon at the bottom of the Layers panel. Inside the Levels dialog you’ll see a histogram with three sliders underneath: shadows (left), midtones (middle), and highlights (right). For this effect, grab the left shadow slider and drag it to the right. You’re deliberately crushing the shadows here, making the dark areas of the image go quite a bit darker. This feels counterintuitive because most of us are trained to preserve detail, but the loss of shadow detail is exactly what gives sunset photos that moody, slightly overexposed-against-the-light look. Don’t lock yourself into one value. Aaron’s point is that these are non-destructive adjustment layers, so you can always come back and tweak.
Levels panel open with the dark point slider being dragged right
Add a Levels adjustment layer by going to Layer > New Adjustment Layer > Levels, or clicking the half-circle icon at the bottom of the Layers panel. Inside the Levels dialog you’ll see a histogram with three sliders underneath: shadows (left), midtones (middle), and highlights (right). For this effect, grab the left shadow slider and drag it to the right. You’re deliberately crushing the shadows here, making the dark areas of the image go quite a bit darker. This feels counterintuitive because most of us are trained to preserve detail, but the loss of shadow detail is exactly what gives sunset photos that moody, slightly overexposed-against-the-light look. Don’t lock yourself into one value. Aaron’s point is that these are non-destructive adjustment layers, so you can always come back and tweak.
Step 3: Lift the Whites with a Second Levels Layer
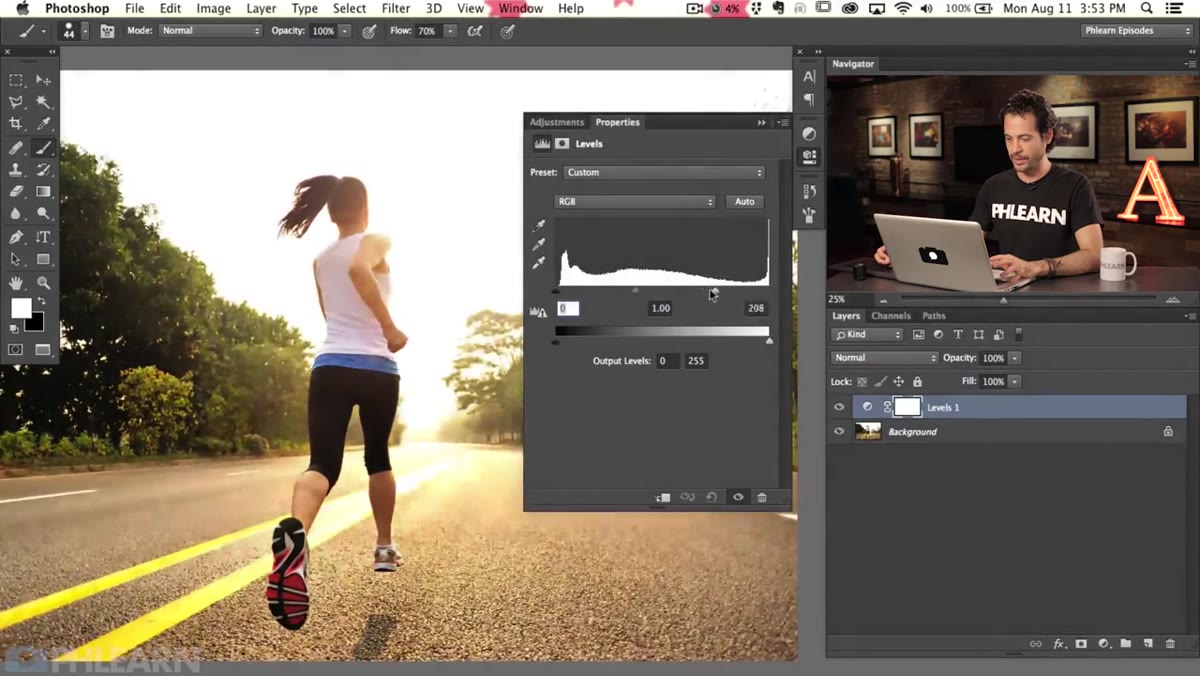 Highlight slider in Levels being pulled left to blow out the brights
Add a second Levels adjustment layer above the first. This time, work on the opposite end of the tonal range. Grab the white point slider on the right side of the histogram and drag it toward the left. This blows out the highlights a bit, creating that hazy, overexposed glow you see when a camera is pointed toward a bright sun. The combination of darker shadows and brighter highlights increases the contrast in a specific, directional way that mimics how cameras actually behave when shooting into light. Using two separate Levels layers instead of doing it all in one gives you more independent control over each end of the tonal range later.
Highlight slider in Levels being pulled left to blow out the brights
Add a second Levels adjustment layer above the first. This time, work on the opposite end of the tonal range. Grab the white point slider on the right side of the histogram and drag it toward the left. This blows out the highlights a bit, creating that hazy, overexposed glow you see when a camera is pointed toward a bright sun. The combination of darker shadows and brighter highlights increases the contrast in a specific, directional way that mimics how cameras actually behave when shooting into light. Using two separate Levels layers instead of doing it all in one gives you more independent control over each end of the tonal range later.
Step 4: Add Warm Color with the Gradient Tool
 Aaron selecting the Gradient tool from the toolbar
Create a new blank layer above your adjustment layers. Grab the Gradient tool (G) and open the gradient picker in the options bar. You want to build a warm sunset gradient, which means pulling in deep oranges, reds, and yellows. Set your gradient to go from a rich warm orange or amber at the light source end of the image to transparent on the opposite side. Apply the gradient so it radiates from the area where your light source sits in the frame. Change the blending mode of this gradient layer to something like Screen or Soft Light, depending on how intense you want the color cast. Soft Light gives you a more subtle integration, while Screen will push the warmth harder. Dial back the opacity until it feels like light rather than a paint spill.
Aaron selecting the Gradient tool from the toolbar
Create a new blank layer above your adjustment layers. Grab the Gradient tool (G) and open the gradient picker in the options bar. You want to build a warm sunset gradient, which means pulling in deep oranges, reds, and yellows. Set your gradient to go from a rich warm orange or amber at the light source end of the image to transparent on the opposite side. Apply the gradient so it radiates from the area where your light source sits in the frame. Change the blending mode of this gradient layer to something like Screen or Soft Light, depending on how intense you want the color cast. Soft Light gives you a more subtle integration, while Screen will push the warmth harder. Dial back the opacity until it feels like light rather than a paint spill.
Step 5: Apply a Radial Blur to Simulate Light Rays
 The radial blur filter dialog with zoom method selected
This is the step that moves the image from “nice color grade” to “cinematic.” Duplicate your gradient layer or create a merged copy of the visible image at the top of your stack. Go to Filter > Blur > Radial Blur. In the dialog, set the Blur Method to Zoom (not Spin) and push the Amount fairly high, somewhere in the range of 60 to 100 depending on your image. The center point in the Radial Blur dialog can be repositioned by clicking and dragging, so move it to match the location of your light source in the frame. Hit OK. The result is a burst of light rays streaking outward from that center point. Set this layer to Screen mode so only the bright areas contribute, and lower the opacity to taste. This single filter is responsible for about 80% of the “wow” reaction when people see the final image.
The radial blur filter dialog with zoom method selected
This is the step that moves the image from “nice color grade” to “cinematic.” Duplicate your gradient layer or create a merged copy of the visible image at the top of your stack. Go to Filter > Blur > Radial Blur. In the dialog, set the Blur Method to Zoom (not Spin) and push the Amount fairly high, somewhere in the range of 60 to 100 depending on your image. The center point in the Radial Blur dialog can be repositioned by clicking and dragging, so move it to match the location of your light source in the frame. Hit OK. The result is a burst of light rays streaking outward from that center point. Set this layer to Screen mode so only the bright areas contribute, and lower the opacity to taste. This single filter is responsible for about 80% of the “wow” reaction when people see the final image.
What I’d Do Differently (From My Own Projects)
Aaron keeps everything on adjustment layers and separate gradient layers, which is exactly right. But I’d add one extra step he doesn’t cover here: I’d mask the Radial Blur layer to keep the light rays from streaking across the subject’s face. A simple layer mask with a soft brush painted black over the subject’s skin tones will keep the person looking clean while the environment goes full golden chaos around them. I’ve sent photos to clients where the light rays were dragging across someone’s face and it looked like they’d been scratched on a film negative. A two-minute masking pass fixes that completely.
The single most important idea in this whole technique is image selection. No amount of sliders will save a flat, front-lit photo. But when you start with the right raw material, a backlit subject with visible warm light and a low sun, Photoshop gives you enough tools to take that 70% of the way to golden hour in about fifteen minutes. Levels for tonal drama, a warm gradient for color, and a Radial Blur for the light-ray magic. That’s the whole recipe.
Watch the full tutorial on YouTube and follow along with Aaron’s original source image to see how each step lands before you apply it to your own work.
Comments
Leave a Comment