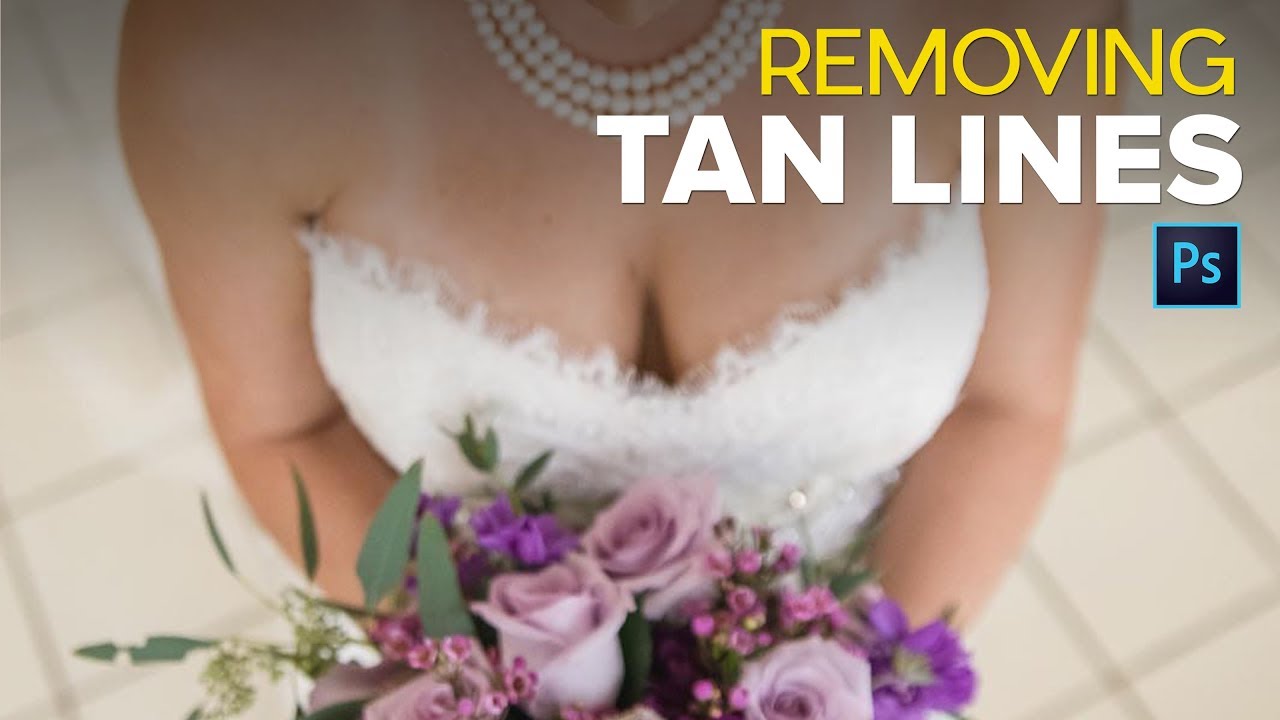
Tan lines are one of those problems nobody thinks about until the photos come back and suddenly there’s a perfectly geometric stripe across someone’s shoulder that screams “I wore a tank top to the beach three days before my wedding.” I’ve had clients hand me images from bachelorette weekends, beach vacations, and outdoor engagement shoots where the tanning situation was, let’s say, enthusiastically visible. It’s a more common retouch request than most people realize, and if you don’t have a reliable method, you end up spending way too long pushing pixels around hoping nobody notices the patchy mess you left behind.
In this Matt Kloskowski tutorial, Watch the full tutorial on YouTube, he walks through a curves-based darkening technique using layer masks and soft brush painting to even out the lighter, untanned skin. It’s non-destructive, adjustable after the fact, and honestly pretty elegant once you see the logic behind it. Here’s how the whole thing works, step by step.
Step 1: Add a Curves Adjustment Layer
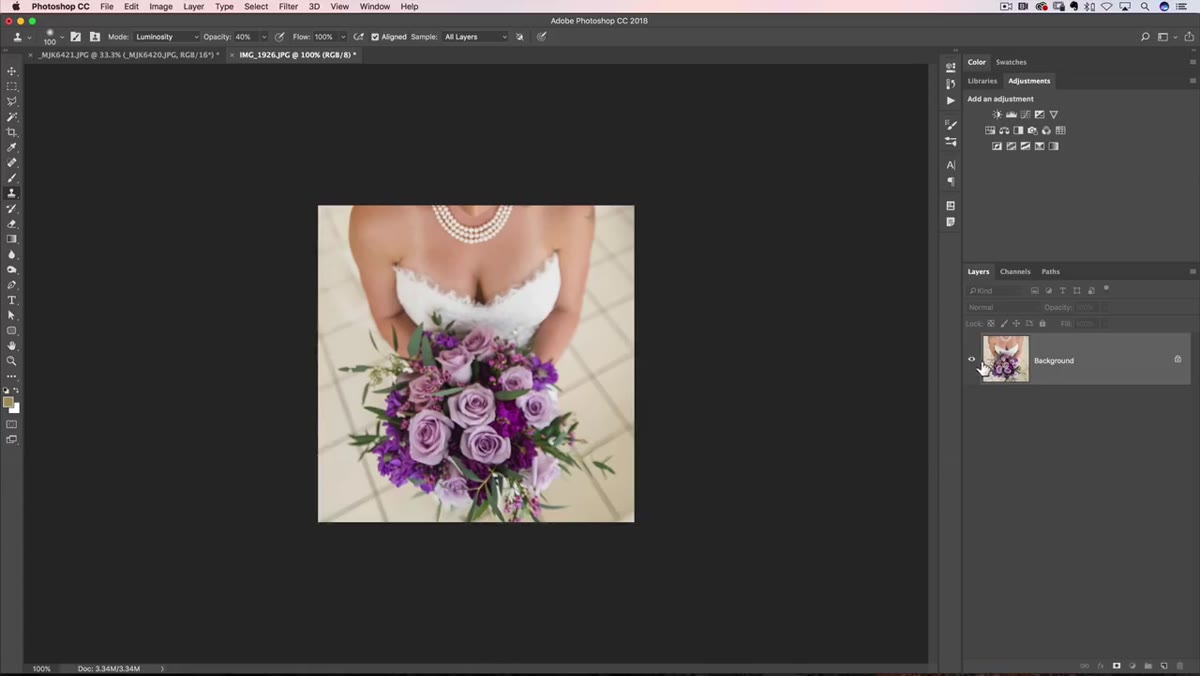 Adding a Curves adjustment layer from the Adjustments panel
Open your photo and head to the Adjustments panel. If you don’t see it on your screen, go to Window and select Adjustments to bring it up. From there, click the Curves icon to add a Curves adjustment layer. Once it’s open, grab the curve line and drag it downward to darken the image. You don’t need to dial in a precise value at this stage, just enough that you can clearly see the image getting darker. You’re setting up the darkening effect you’ll selectively apply, so make it obvious enough to be useful.
Adding a Curves adjustment layer from the Adjustments panel
Open your photo and head to the Adjustments panel. If you don’t see it on your screen, go to Window and select Adjustments to bring it up. From there, click the Curves icon to add a Curves adjustment layer. Once it’s open, grab the curve line and drag it downward to darken the image. You don’t need to dial in a precise value at this stage, just enough that you can clearly see the image getting darker. You’re setting up the darkening effect you’ll selectively apply, so make it obvious enough to be useful.
Step 2: Invert the Layer Mask to Black
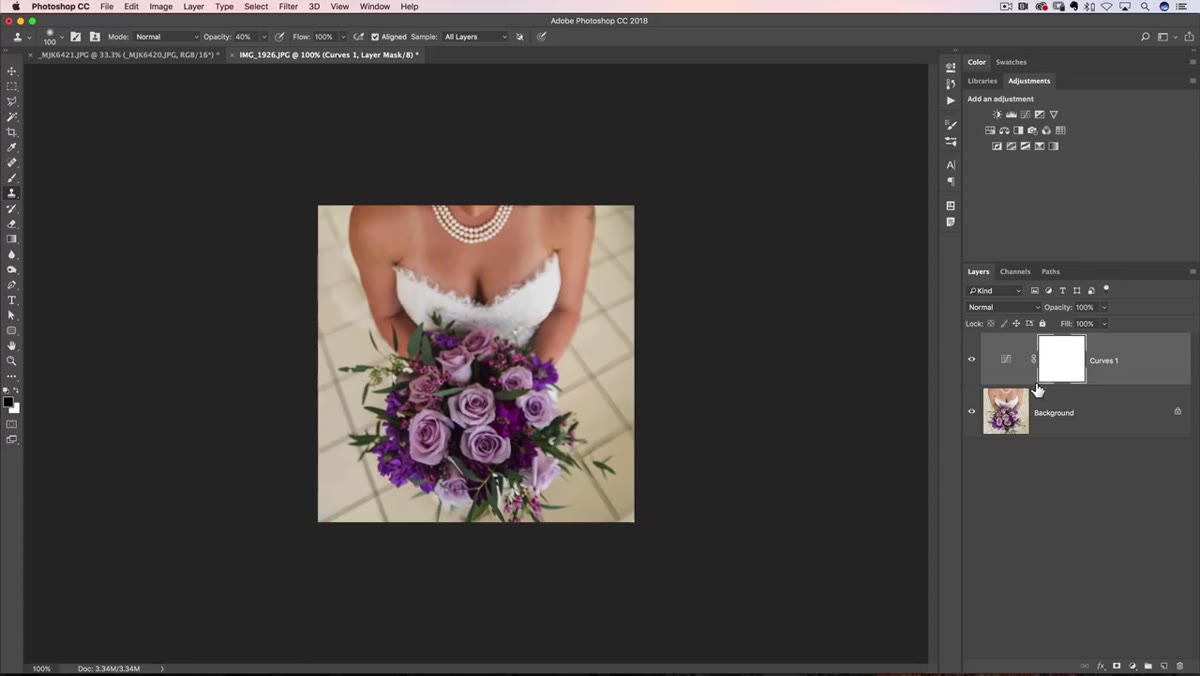 Layer mask inverted to black, hiding the curves adjustment
Here’s where the non-destructive magic happens. By default, the Curves adjustment layer comes with a white layer mask, meaning the adjustment is visible across the entire image. You don’t want that. Press Command+I on Mac or Ctrl+I on PC to invert the mask from white to black. This hides the entire Curves adjustment, so your image looks completely unchanged. You haven’t lost anything, you’ve just hidden the darkening effect behind a black mask and now you get to choose exactly where it shows up.
Layer mask inverted to black, hiding the curves adjustment
Here’s where the non-destructive magic happens. By default, the Curves adjustment layer comes with a white layer mask, meaning the adjustment is visible across the entire image. You don’t want that. Press Command+I on Mac or Ctrl+I on PC to invert the mask from white to black. This hides the entire Curves adjustment, so your image looks completely unchanged. You haven’t lost anything, you’ve just hidden the darkening effect behind a black mask and now you get to choose exactly where it shows up.
Step 3: Set Up Your Brush for Soft Painting
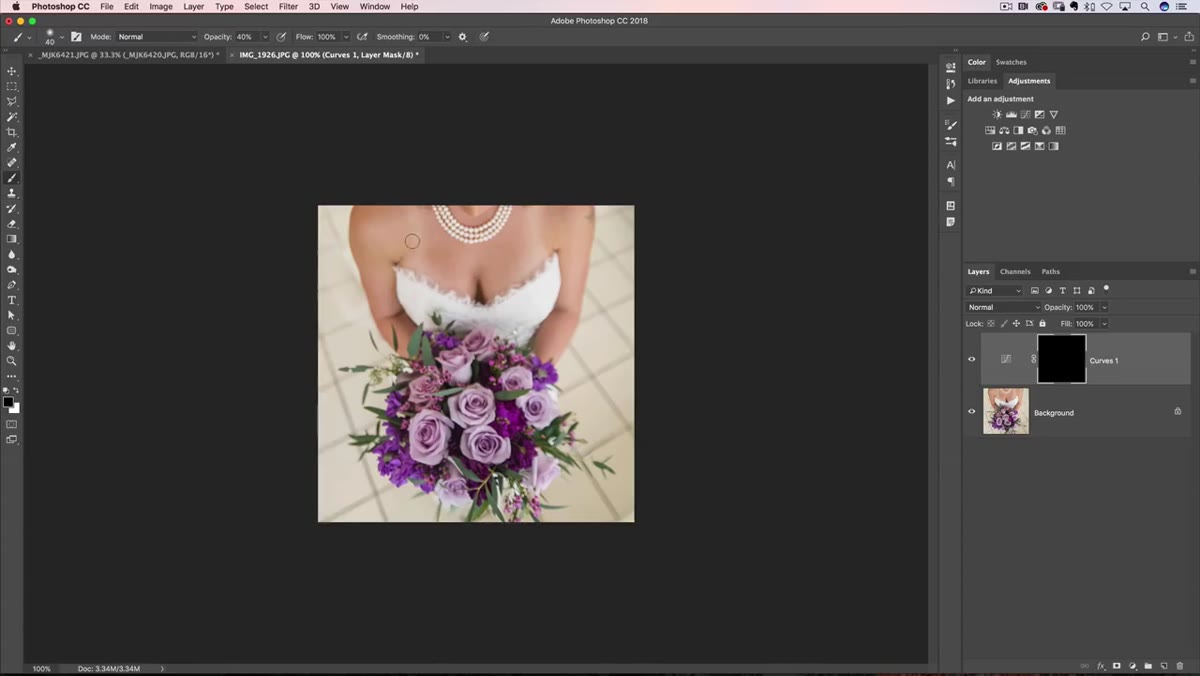 Brush tool selected with opacity at 60% and hardness at zero
Hit B to grab the Brush tool. Before you touch the image, get your settings right. Press the number 6 on your keyboard to set the brush opacity to 60%. A lower opacity like this lets you build up the effect gradually rather than slamming it on in one stroke, which almost always looks unnatural on skin. Then check your brush hardness in the options bar and make sure it’s all the way down to zero. A soft-edged brush is critical here because hard-edged strokes on skin transitions look like you drew on someone with a marker. Finally, make sure your foreground color is set to white, since painting white onto a black mask reveals the adjustment underneath.
Brush tool selected with opacity at 60% and hardness at zero
Hit B to grab the Brush tool. Before you touch the image, get your settings right. Press the number 6 on your keyboard to set the brush opacity to 60%. A lower opacity like this lets you build up the effect gradually rather than slamming it on in one stroke, which almost always looks unnatural on skin. Then check your brush hardness in the options bar and make sure it’s all the way down to zero. A soft-edged brush is critical here because hard-edged strokes on skin transitions look like you drew on someone with a marker. Finally, make sure your foreground color is set to white, since painting white onto a black mask reveals the adjustment underneath.
Step 4: Paint Over the Tan Line Area
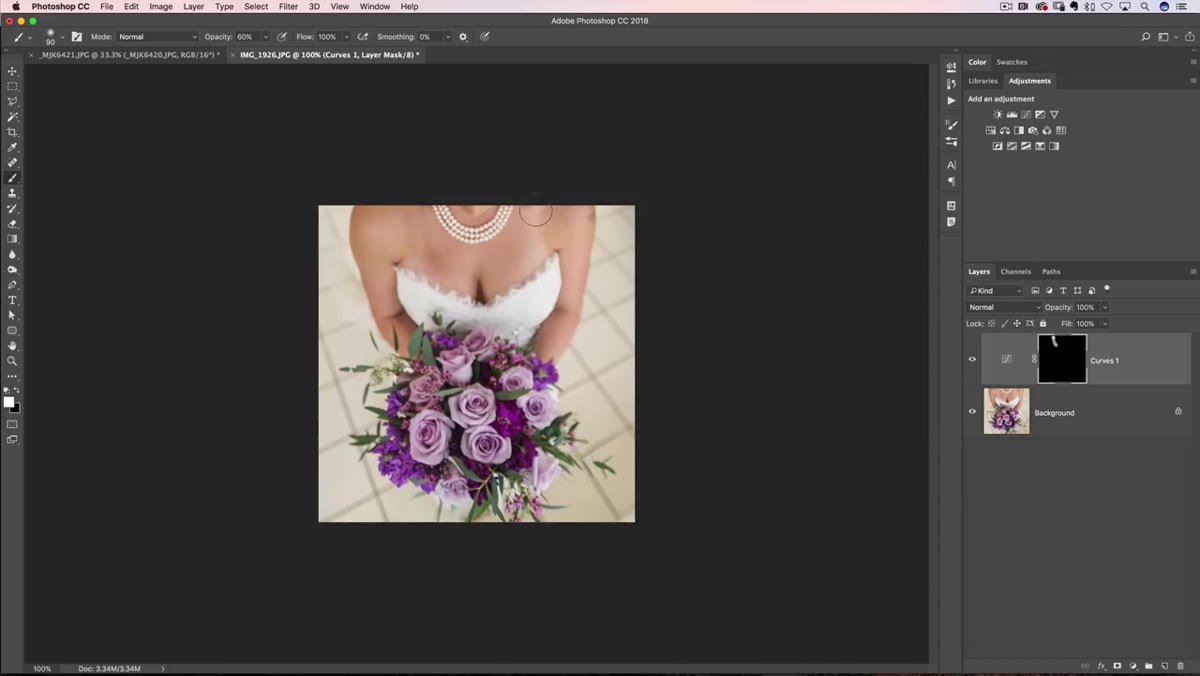 Painting white over the tan line area to darken lighter skin
Now start brushing over the lighter, untanned skin area where the tan line is. Use a brush size large enough to cover the zone comfortably, you can resize on the fly with the left and right bracket keys. Because you’re painting at 60% opacity, each stroke adds a little more of the darkening effect rather than hitting full strength immediately. Build it up with multiple passes until the lighter skin starts to match the surrounding tanned skin more closely. Work slowly. The whole point of this technique is control, so resist the urge to scribble over everything at once.
Painting white over the tan line area to darken lighter skin
Now start brushing over the lighter, untanned skin area where the tan line is. Use a brush size large enough to cover the zone comfortably, you can resize on the fly with the left and right bracket keys. Because you’re painting at 60% opacity, each stroke adds a little more of the darkening effect rather than hitting full strength immediately. Build it up with multiple passes until the lighter skin starts to match the surrounding tanned skin more closely. Work slowly. The whole point of this technique is control, so resist the urge to scribble over everything at once.
Step 5: Clean Up Bleed with a Black Brush
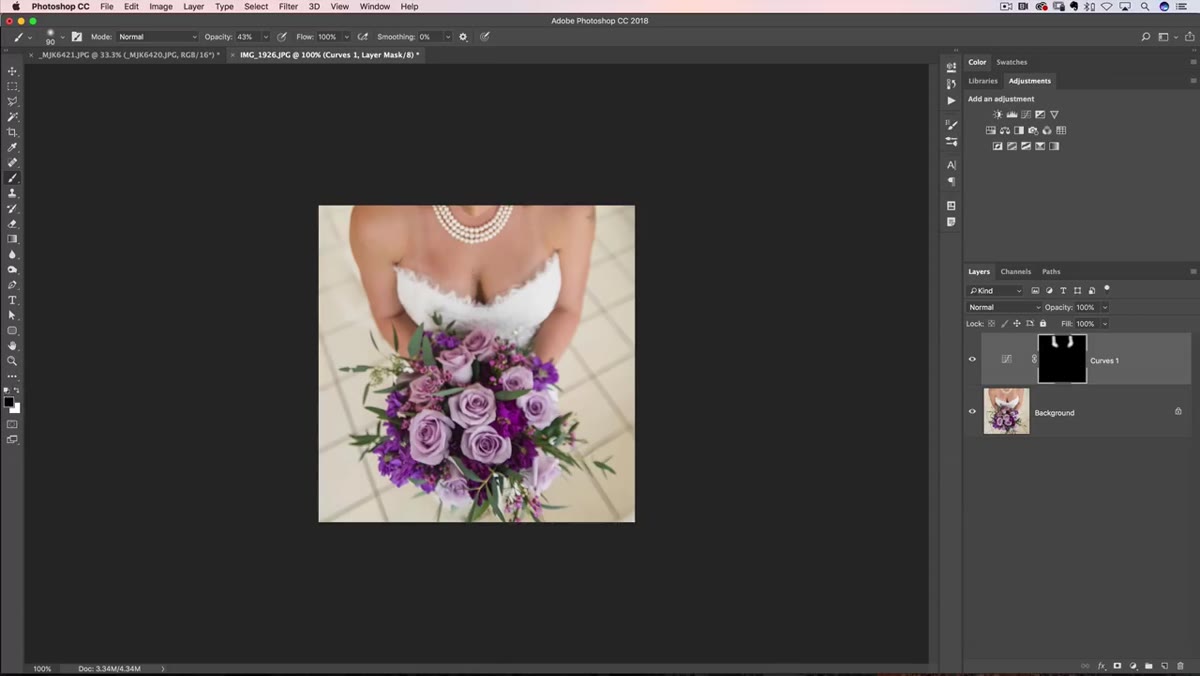 Switching to black brush to clean up edges of the painted mask
When you’re painting over tan lines, you will inevitably brush into areas you didn’t mean to affect. The fix is quick. Press X to flip your foreground color from white to black, shrink your brush down with the left bracket key, and paint back over any areas where the darkening has bled into skin that didn’t need it. You’re essentially erasing portions of your mask to protect those areas. This back-and-forth between white and black on the mask is the core workflow for this kind of retouch, and once it clicks it becomes second nature. Think of it like using a real-world correction fluid over a pencil drawing.
Switching to black brush to clean up edges of the painted mask
When you’re painting over tan lines, you will inevitably brush into areas you didn’t mean to affect. The fix is quick. Press X to flip your foreground color from white to black, shrink your brush down with the left bracket key, and paint back over any areas where the darkening has bled into skin that didn’t need it. You’re essentially erasing portions of your mask to protect those areas. This back-and-forth between white and black on the mask is the core workflow for this kind of retouch, and once it clicks it becomes second nature. Think of it like using a real-world correction fluid over a pencil drawing.
Step 6: Revisit the Curve to Match Skin Tone
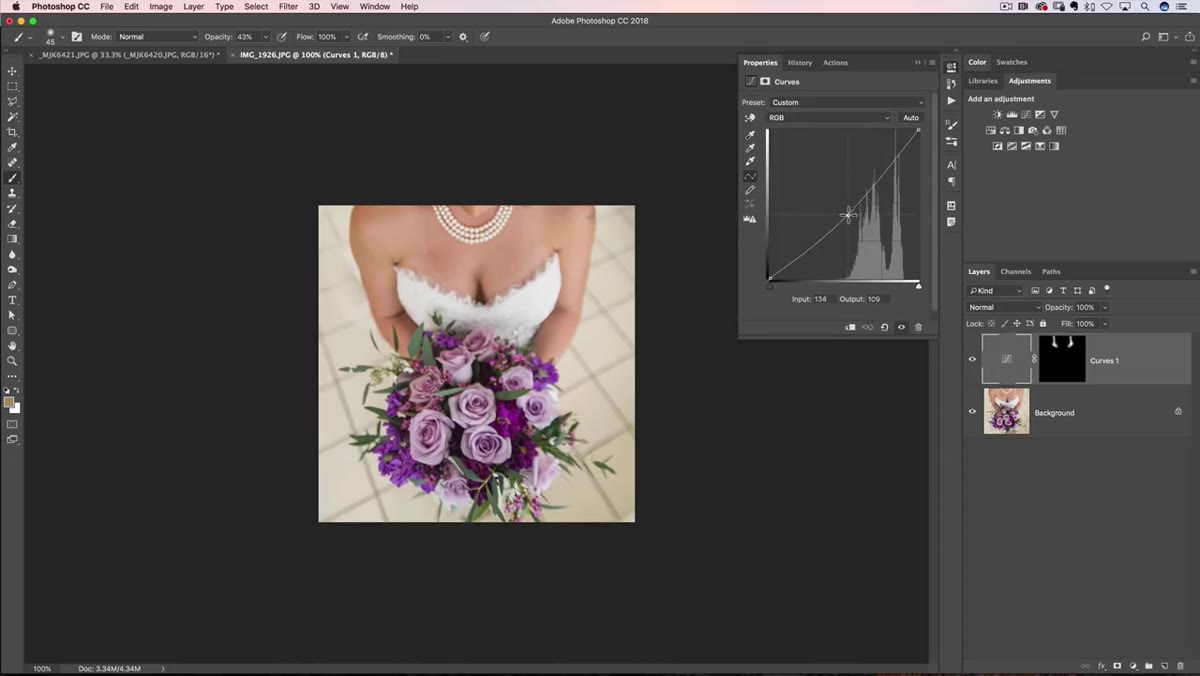 Double-clicking the curves layer to re-adjust the darkening amount
After you’ve painted in the effect and cleaned up the edges, toggle the Curves layer on and off to compare. If the darkening is too heavy or too subtle overall, double-click the Curves adjustment layer thumbnail to reopen it and nudge the curve up or down. This is one of the real advantages of the non-destructive approach: nothing is baked in. You can always go back and fine-tune. Matt also flags a specific gotcha worth knowing: if the person has any sunburn mixed into their tan, the standard darkening approach can push the skin toward an unnatural red. In that case, you may need to adjust the individual color channels in the Curves dialog (particularly pulling the red channel down slightly) to keep the skin looking believable.
Double-clicking the curves layer to re-adjust the darkening amount
After you’ve painted in the effect and cleaned up the edges, toggle the Curves layer on and off to compare. If the darkening is too heavy or too subtle overall, double-click the Curves adjustment layer thumbnail to reopen it and nudge the curve up or down. This is one of the real advantages of the non-destructive approach: nothing is baked in. You can always go back and fine-tune. Matt also flags a specific gotcha worth knowing: if the person has any sunburn mixed into their tan, the standard darkening approach can push the skin toward an unnatural red. In that case, you may need to adjust the individual color channels in the Curves dialog (particularly pulling the red channel down slightly) to keep the skin looking believable.
What I’d Add: The Hue/Saturation Backup Plan
The Curves method does a solid job on the luminosity side of the problem, meaning it handles the light-versus-dark difference well. But tan lines aren’t just about brightness. They often involve a color shift too, where the paler area looks slightly more pink or gray compared to the warmer tanned skin next to it. When that’s the case, I’ll stack a Hue/Saturation adjustment layer on top, clip it to a group with my curves layer, and nudge the Saturation and Hue sliders very slightly toward the warmer tones in the tanned skin. It’s a subtle addition but it can close the gap when the Curves layer alone still looks a little off. Like most skin retouching, it’s rarely one tool that does the whole job.
The biggest takeaway from this technique is the mask logic: create the adjustment first, hide it completely, then reveal it only where you need it by painting on the mask. That workflow applies to a dozen different retouching problems beyond tan lines, so if you walk away with nothing else, walk away with that mental model. It’s one of those foundational approaches that keeps paying off.
Watch the full tutorial on YouTube to see Matt work through it directly on the photo, including how he handles the tricky sunburn scenario that can trip this technique up.
Comments
Leave a Comment