
Product shots are one of those things that separate the designers who can charge real money from the ones still quoting $50 for a full brand package. I know because I spent an embarrassingly long time in the second camp, faking studio-quality results with flat, lifeless images that screamed “photographed on a kitchen table.” When a client hands you a physical product and says “make it look good,” you need a repeatable system, not a prayer.
In this KelbyOne tutorial from Photoshop User TV Episode 177, Scott Kelby walks through exactly that kind of system using a pair of sunglasses shot on a black background. It sounds simple, and the final image looks simple, which is the whole point. The setup underneath is more involved than it appears, and the Photoshop work is what ties it all together. Watch the full tutorial on YouTube if you want to follow along with the actual footage, but everything you need to replicate the technique is broken down below.
Step 1: Start with the Final Image in Mind
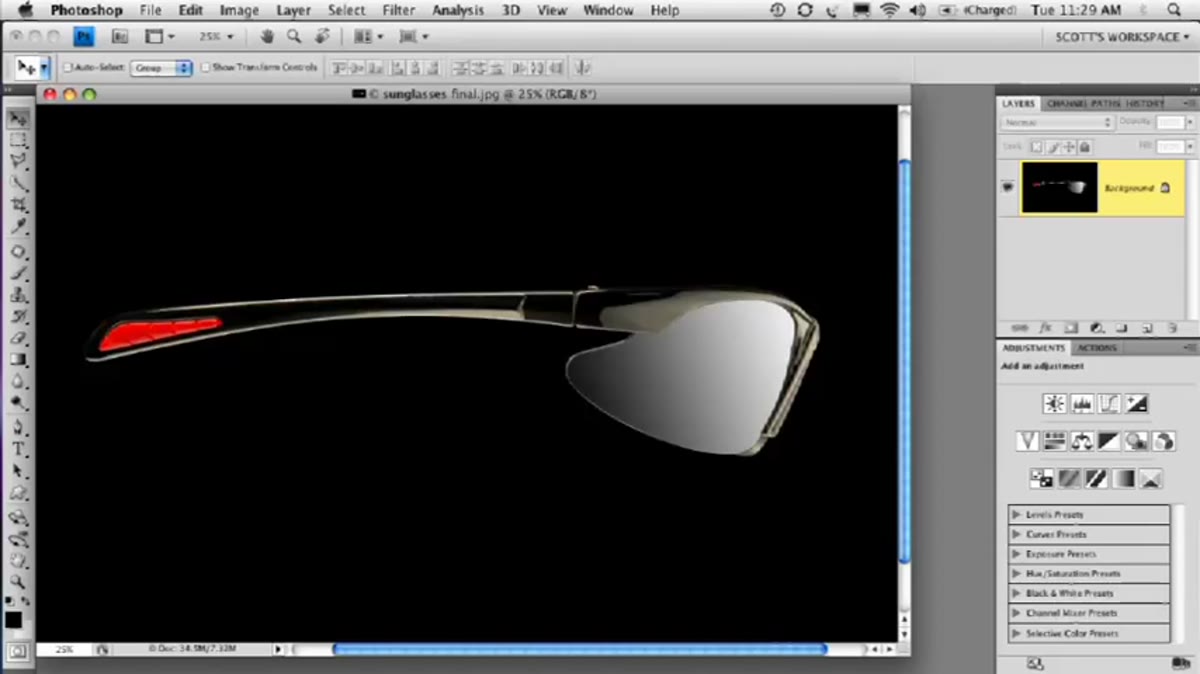
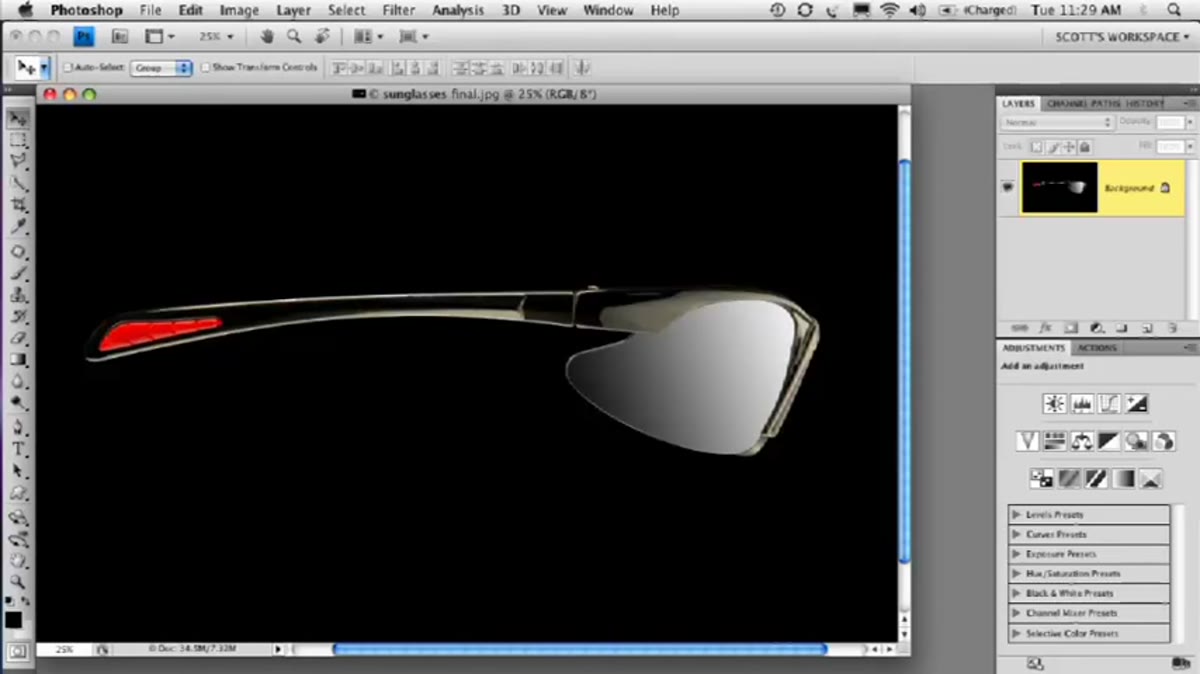
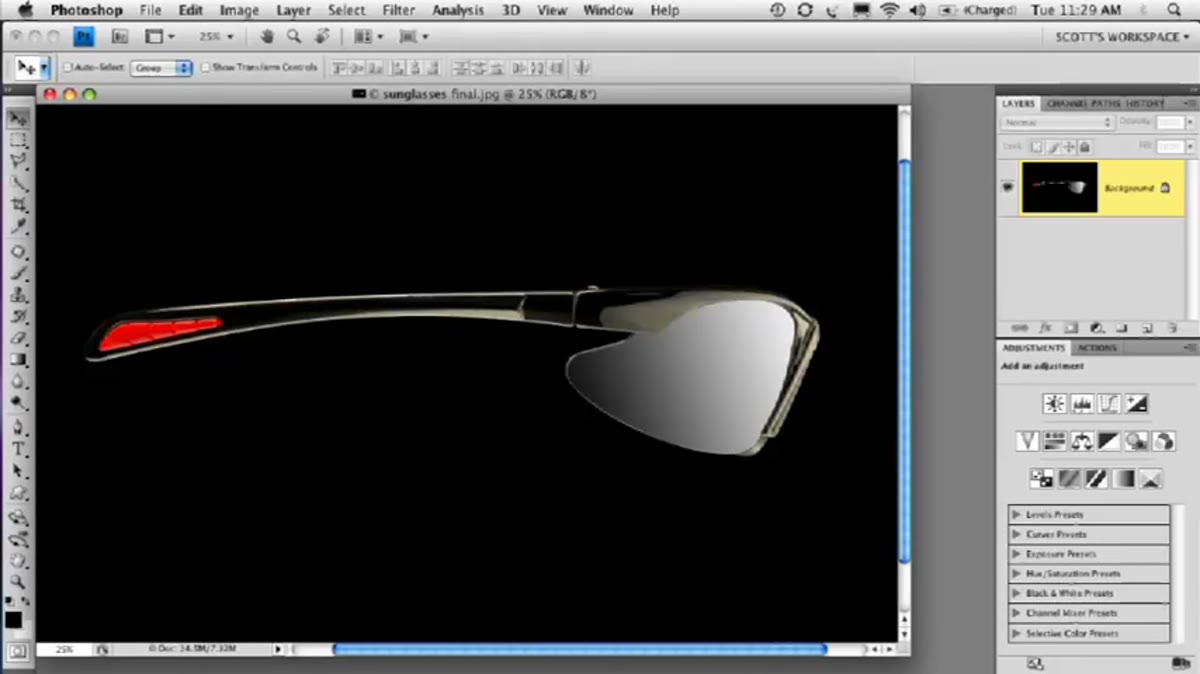 Final composite product shot of sunglasses on black background
Before you touch Photoshop, you need to know what you’re building toward. Kelby opens by showing the finished image first, which is a habit worth stealing. The final shot is clean, dramatic, and looks like it came from an ad campaign. The sunglasses sit on a black background with controlled lighting that gives them dimension without blowing out reflective surfaces.
Final composite product shot of sunglasses on black background
Before you touch Photoshop, you need to know what you’re building toward. Kelby opens by showing the finished image first, which is a habit worth stealing. The final shot is clean, dramatic, and looks like it came from an ad campaign. The sunglasses sit on a black background with controlled lighting that gives them dimension without blowing out reflective surfaces.
If you’re shooting your own product, the lesson here is that black backgrounds are your friend for anything with reflective or translucent material. Glass, lenses, polished metal – black backgrounds let you control exactly what shows up in the reflections. Decide your final composition before you build your lighting rig.
Step 2: Understand the Studio Setup Before Assuming It’s Complicated
 Multi-stand studio setup photographed to show lighting arrangement
Kelby opens the behind-the-scenes setup photo and immediately flags something important: it looks more complicated than it actually is. The number of stands and supports in frame can make a setup look intimidating, but a lot of that is just the scaffolding required to hold things at precise angles for a small product.
Multi-stand studio setup photographed to show lighting arrangement
Kelby opens the behind-the-scenes setup photo and immediately flags something important: it looks more complicated than it actually is. The number of stands and supports in frame can make a setup look intimidating, but a lot of that is just the scaffolding required to hold things at precise angles for a small product.
The takeaway is not to reverse-engineer someone else’s exact stand placement. The takeaway is that shooting small, reflective products requires physical control of your light sources in ways that larger subjects don’t. More gear doesn’t mean more complexity – it means more precision. When you understand the goal (controlled reflections, consistent background tone), the setup decisions start making sense.
Step 3: Use a Black Background to Simplify Your Composite Work
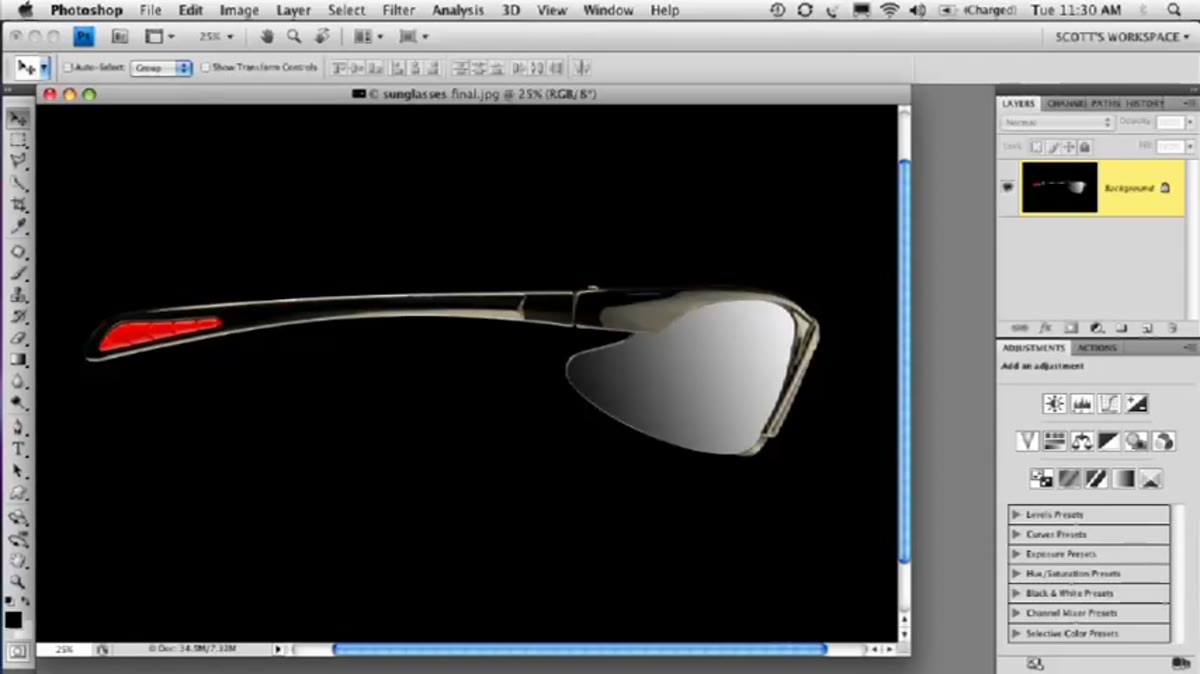 Product shot on black background before compositing
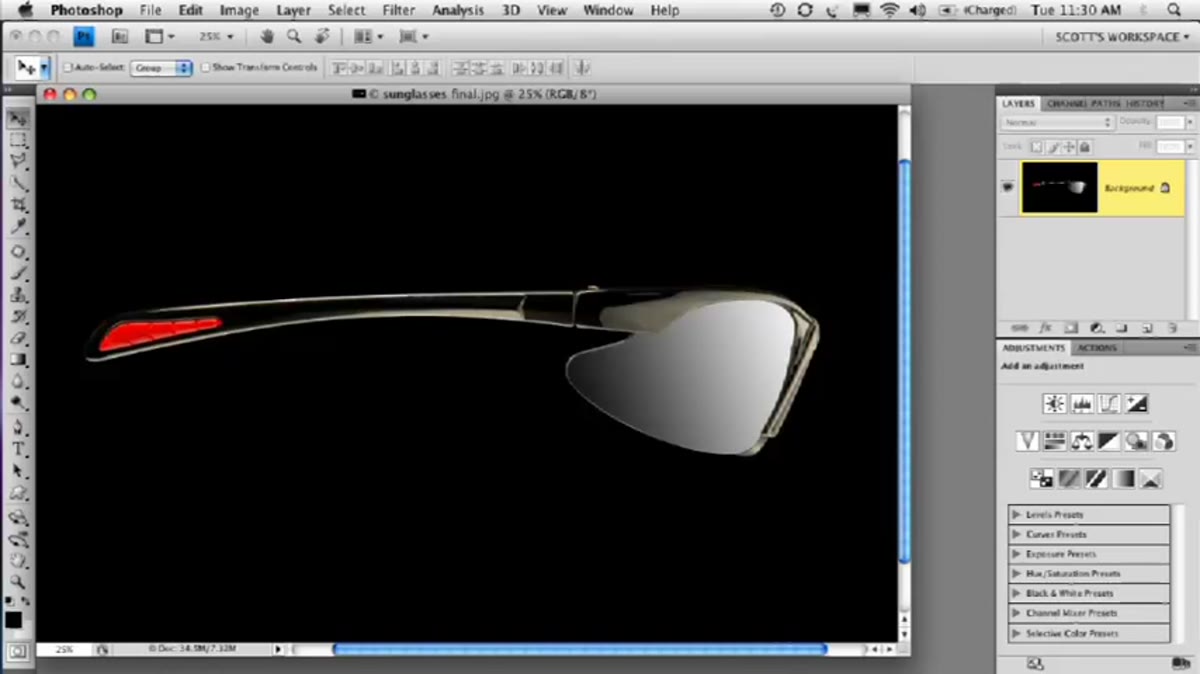
One of the smartest things about this approach is how much heavy lifting the black background does during the Photoshop stage. When your subject is shot against true black, the separation between the product and the background is already built into the exposure. You’re not fighting a grey gradient or dealing with color spill from a white seamless.
Product shot on black background before compositing
One of the smartest things about this approach is how much heavy lifting the black background does during the Photoshop stage. When your subject is shot against true black, the separation between the product and the background is already built into the exposure. You’re not fighting a grey gradient or dealing with color spill from a white seamless.
In Photoshop, this means your masking work is far less painful. Blending modes like Screen or Lighten can pull your product off a black background with minimal masking because pure black carries no luminosity information. If you’re planning product composites, shoot on black whenever the product’s color palette allows it. Your future self will thank you.
Step 4: Build the Composite in Layers with the Background Separate
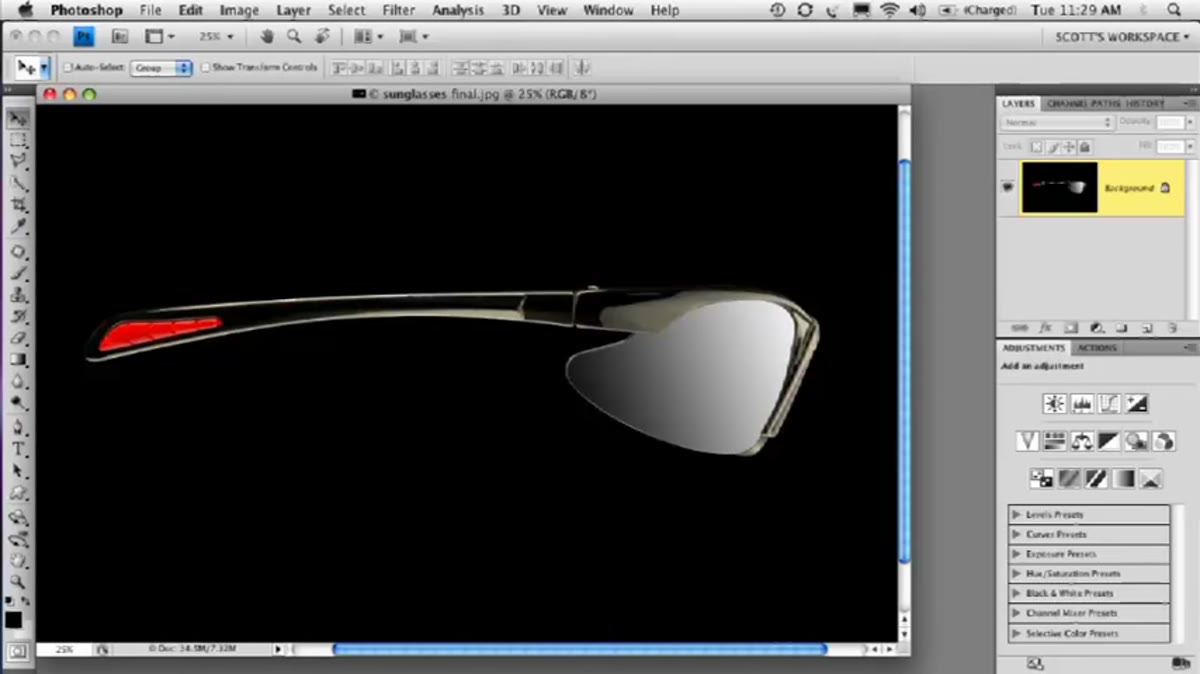 Layers panel showing product and background as separate elements
The core of Kelby’s Photoshop workflow here is keeping the product and background on separate layers from the start. This sounds obvious but it’s the kind of thing that bites you later if you flatten too early or skip the organization step when you’re in a hurry.
Layers panel showing product and background as separate elements
The core of Kelby’s Photoshop workflow here is keeping the product and background on separate layers from the start. This sounds obvious but it’s the kind of thing that bites you later if you flatten too early or skip the organization step when you’re in a hurry.
With the product on its own layer, you have full flexibility to adjust, reposition, or replace the background without touching the subject. Add a solid black layer beneath your product layer and you have a clean working environment. Use a layer mask on the product layer to clean up any edge detail that didn’t separate cleanly in the original shot. Work at 100% zoom on your edges – don’t try to judge mask quality from a zoomed-out view.
Step 5: Clean Up Reflections and Surface Detail with Targeted Adjustments
 Adjustment layers applied selectively to product surface
Reflective products like sunglasses pick up everything in a studio environment. Even in a controlled shoot, you’ll have slight color casts in the lenses, hotspots on the frame, or inconsistent tone across the surface. This is where targeted adjustment layers earn their keep.
Adjustment layers applied selectively to product surface
Reflective products like sunglasses pick up everything in a studio environment. Even in a controlled shoot, you’ll have slight color casts in the lenses, hotspots on the frame, or inconsistent tone across the surface. This is where targeted adjustment layers earn their keep.
Clip a Curves adjustment layer directly to your product layer (hold Alt and click between the two layers in the Layers panel) so your adjustments only affect the product. Use this to even out the tonal range across the frame and lenses. If the lenses have a slight color cast you want to control, a Hue/Saturation layer clipped to the same layer gives you channel-level control without affecting anything else in the comp.
Step 6: Add Depth with a Subtle Reflection or Shadow Element
 Shadow or reflection element added beneath product on black background
A product floating on a flat black background looks like a cutout. The thing that makes it feel like it’s sitting in an environment is a subtle shadow or reflection beneath it. For a surface reflection, duplicate your product layer, flip it vertically, reduce the opacity significantly (somewhere in the 15 to 30 percent range is usually enough), and add a layer mask with a gradient fade so the reflection dissolves before it gets too far from the product.
Shadow or reflection element added beneath product on black background
A product floating on a flat black background looks like a cutout. The thing that makes it feel like it’s sitting in an environment is a subtle shadow or reflection beneath it. For a surface reflection, duplicate your product layer, flip it vertically, reduce the opacity significantly (somewhere in the 15 to 30 percent range is usually enough), and add a layer mask with a gradient fade so the reflection dissolves before it gets too far from the product.
For a shadow, a soft-edged black shape on a layer between the product and background, blurred with a Gaussian Blur and set to Multiply, does the job. The key is subtlety. If your viewer notices the shadow, it’s too heavy. It should just be the thing that keeps the product from looking like it was cut out of a catalog.
What I’d Do Differently (and One Thing I’d Steal Immediately)
The black background shooting approach is something I’m going to use on every product job I can justify it for from here on. The masking payoff alone makes it worth the extra setup time. The one thing I’d add to Kelby’s workflow is converting the product layer to a Smart Object before running any cleanup adjustments directly on the pixels. I learned that particular lesson the expensive way after flattening a composite and delivering it, then getting a change request. Non-destructive from the start, every time.
If you’re doing product work for clients at any scale, the other thing worth noting is that building this kind of setup once and documenting it means you can reproduce consistent results across a whole product line. Consistency is what gets you repeat work.
The single most transferable idea in this tutorial is that a controlled shoot and a clean Photoshop workflow reinforce each other. The better your capture, the less you’re fighting in post. The more organized your layers, the more options you have for revisions. Neither side of that equation works without the other.
Watch the full tutorial on YouTube to see Scott Kelby walk through the setup and comp in real time. Episode 177 is worth bookmarking if you do any product or studio work.
Comments
Leave a Comment