Select Subject in Photoshop: The One-Click Selection Tool That Actually Delivers

Select Subject in Photoshop: The One-Click Selection Tool That Actually Delivers

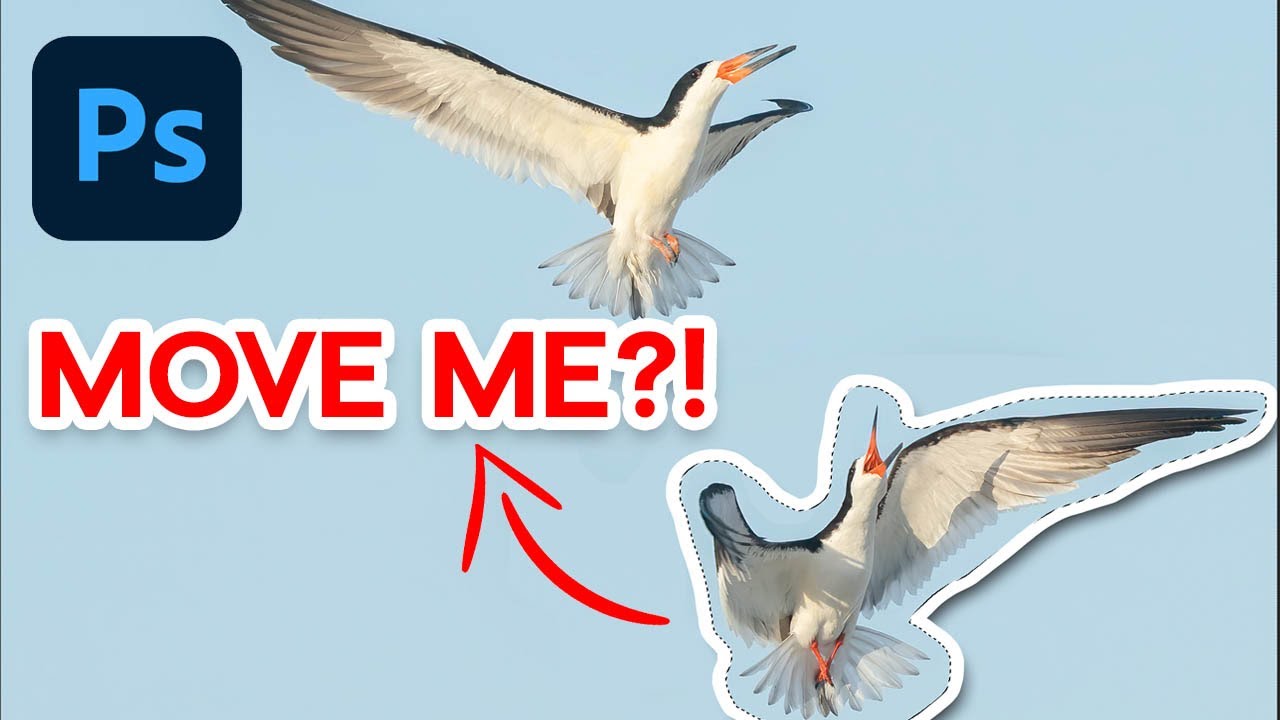
I used to charge clients by the hour for background removal. That sounds fine until you realize I was spending forty-five minutes per image painstakingly painting selections with the Quick Selection tool, cleaning up edges, swearing quietly into my cold brew. The margin on those jobs was embarrassing. So when I caught this Matt Kloskowski tutorial on Photoshop’s Select Subject tool, I felt that particular sting of “why didn’t I know this sooner.
Stop Sending Pixelated Logos to Print — Here's How to Vectorize Them in Photoshop

Stop Sending Pixelated Logos to Print — Here's How to Vectorize Them in Photoshop

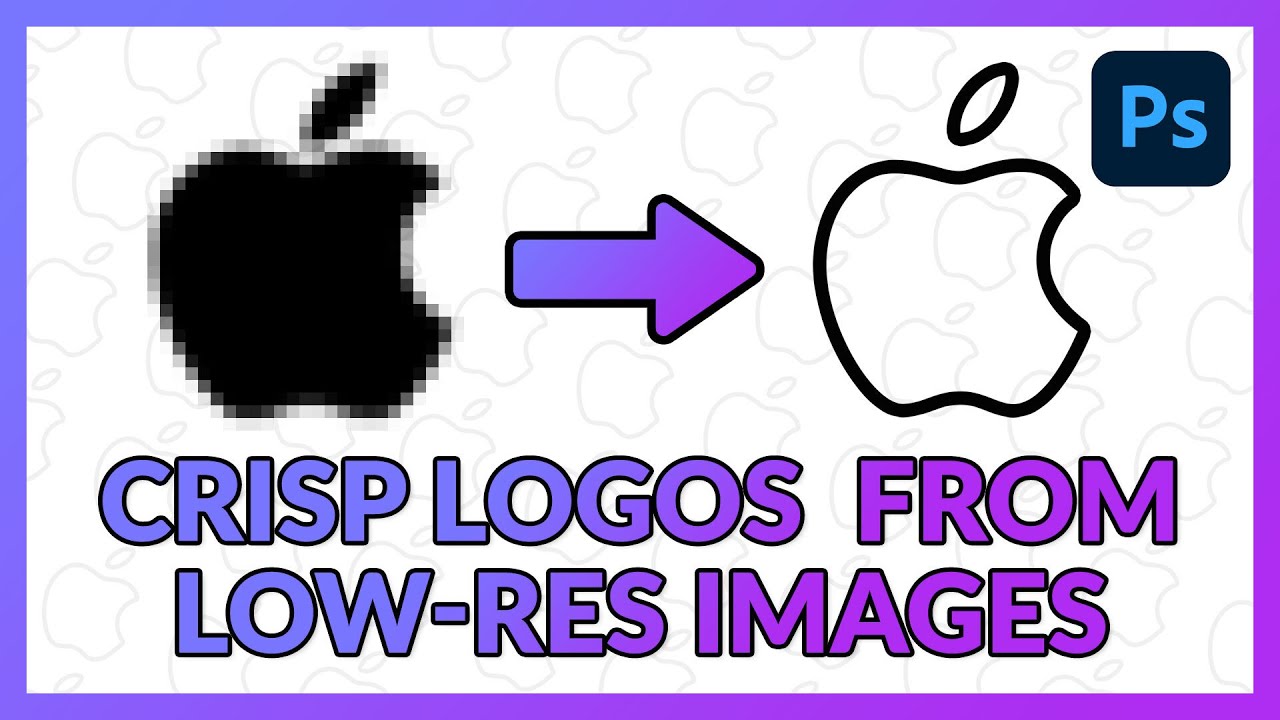
If you’ve done any kind of client work, you’ve been here before. Someone emails you a logo, you open it up, and it’s a 200x200 pixel JPEG that looks like it was exported from a website in 2009. They need it on a banner. Or a t-shirt. Or, my personal favorite, “just make it bigger.” And there you are, staring at a pixelated mess, trying to figure out how to not make it look terrible at three feet wide.

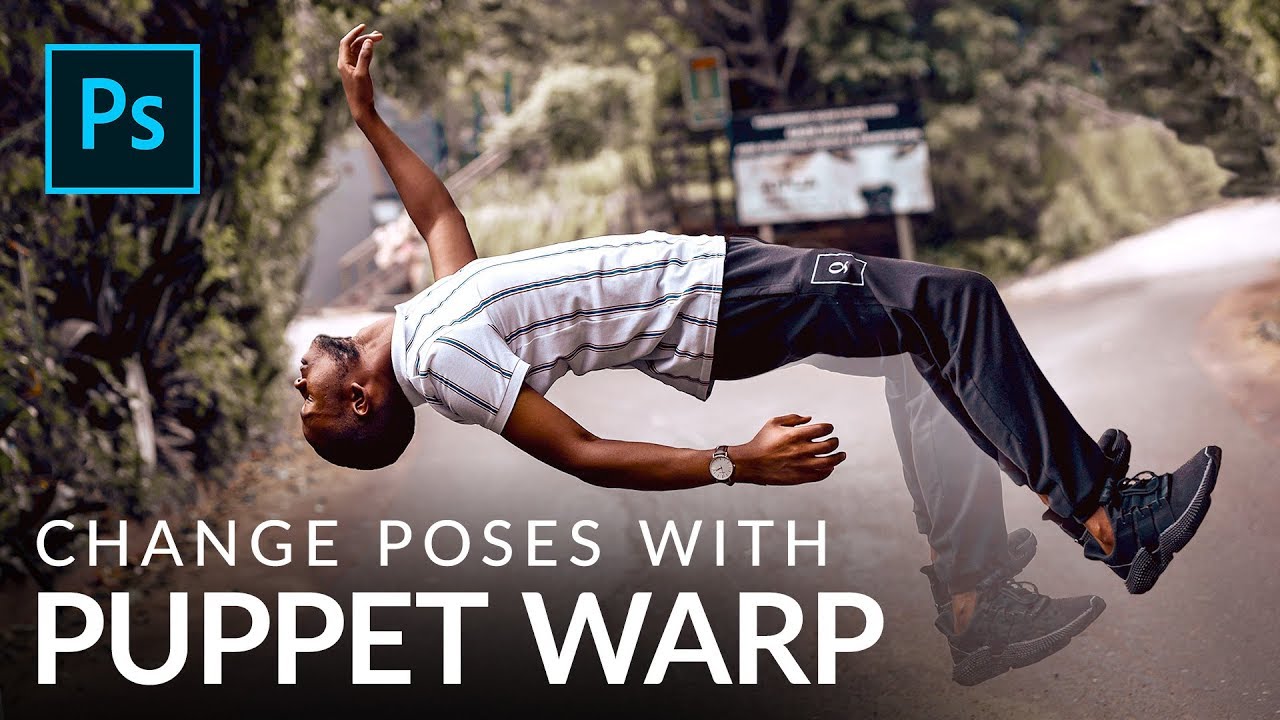
Puppet Warp in Photoshop: How to Repose Subjects Without a Reshoot

Puppet Warp in Photoshop: How to Repose Subjects Without a Reshoot

There’s a specific kind of client pain that every retoucher knows. The shoot went great, everyone’s happy, and then someone in the approval chain asks why the subject’s arms look “a little stiff” or why the legs don’t quite read as dynamic. You stare at the photo. They’re not wrong. But going back for a reshoot isn’t happening, and liquify feels like the wrong tool for anything beyond a gentle nudge.

Liquify in Photoshop: The Tool You're Probably Underusing (And How to Fix That)

Liquify in Photoshop: The Tool You're Probably Underusing (And How to Fix That)

I’ll be honest with you. For way too long, I treated the Liquify tool like that one kitchen gadget you only pull out for a specific recipe once a year. I knew it existed. I’d used it in a panic to fix something weird in a portrait. Then I’d close the dialog and pretend it never happened. It wasn’t until I started digging into Aaron Nace’s work over at PHLEARN that I realized I was barely scratching the surface of what this thing can actually do.

Content Aware Move: The Photoshop Tool I Kept Ignoring (And Shouldn't Have)

Content Aware Move: The Photoshop Tool I Kept Ignoring (And Shouldn't Have)

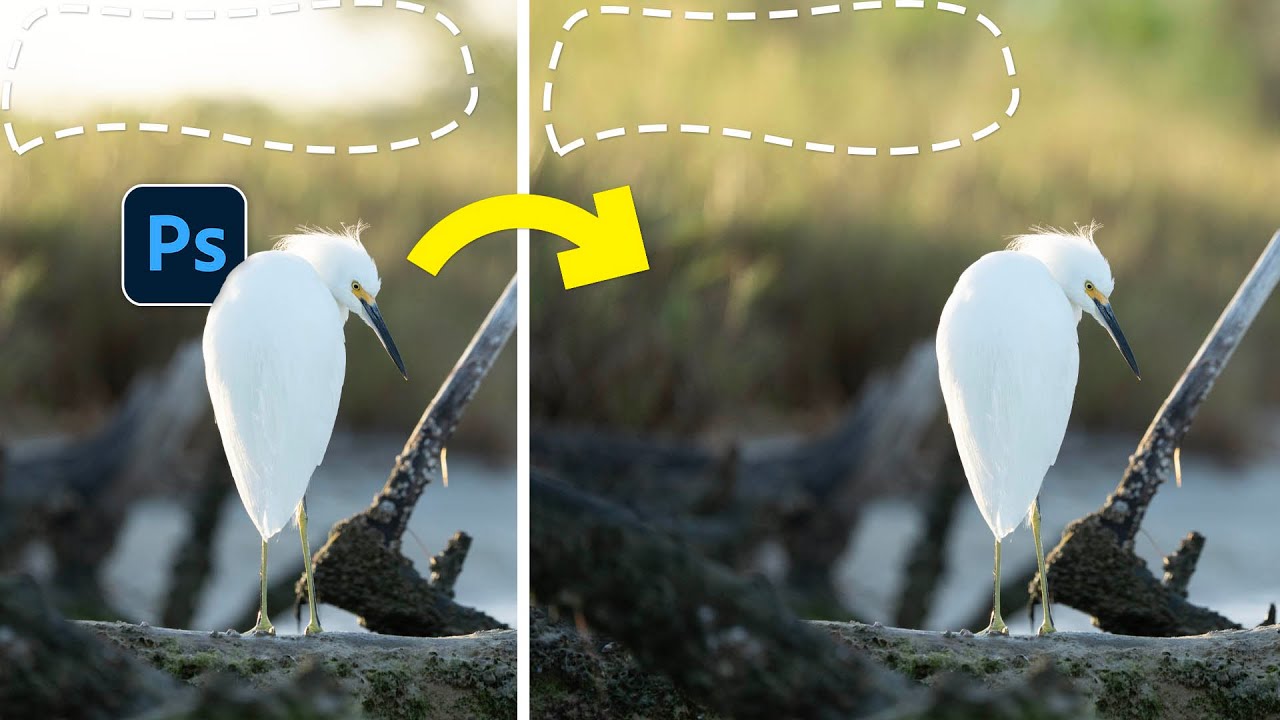
Here’s a confession: for years I treated Content Aware Move like that gym membership I kept paying for but never used. I knew it existed. I’d seen it in the flyout menu tucked under the Spot Healing Brush. I just assumed it was one of those tools that sounds magical in a demo and falls apart the second you try it on a real photo. So I kept defaulting to my trusty Rectangular Marquee and Move Tool combo, patching up the seams afterward with varying degrees of success.

Clone Stamp Secrets: How to Actually Fix Eyeglass Glare Without Making It Look Weird

Clone Stamp Secrets: How to Actually Fix Eyeglass Glare Without Making It Look Weird

Portrait retouching is full of small disasters, and eyeglass glare is one of the most common ones clients will actually notice. Nobody’s going to flag slightly off skin tone, but they will absolutely see a white blob where their eye is supposed to be. I’ve lost count of how many portrait shoots I’ve had to rescue in post because someone’s studio umbrella decided to park itself right in the middle of a subject’s lens.

Content-Aware Fill Isn't Dead — Here's When to Reach for It Over Generative Fill

Content-Aware Fill Isn't Dead — Here's When to Reach for It Over Generative Fill

I’ll be honest with you. For the past year or so, I’ve basically been treating Content-Aware Fill like that one keyboard shortcut you memorized years ago and stopped using once something shinier came along. Generative Fill showed up, I became a convert, and Content-Aware Fill quietly got pushed to the back of the toolbox. Then I watched a tutorial from Matt Kloskowski that made me feel genuinely embarrassed about that decision.

Stop Wasting AI Credits on Easy Fixes — The Clone Stamp Hack You're Probably Doing Wrong

Stop Wasting AI Credits on Easy Fixes — The Clone Stamp Hack You're Probably Doing Wrong

There’s a particular kind of freelance shame that comes from billing a client for a job you could have done faster with a tool you already own. I’ve been there more times than I’d like to admit. Lately I’ve noticed myself reaching for Photoshop’s Generative Fill on things that are genuinely too simple for it — small cracks in walls, stray wires, a smudge of graffiti on an otherwise clean background.

Photoshop's Generative Upscale Tool Might Save Your Old Photos (And Your Print Jobs)

Photoshop's Generative Upscale Tool Might Save Your Old Photos (And Your Print Jobs)

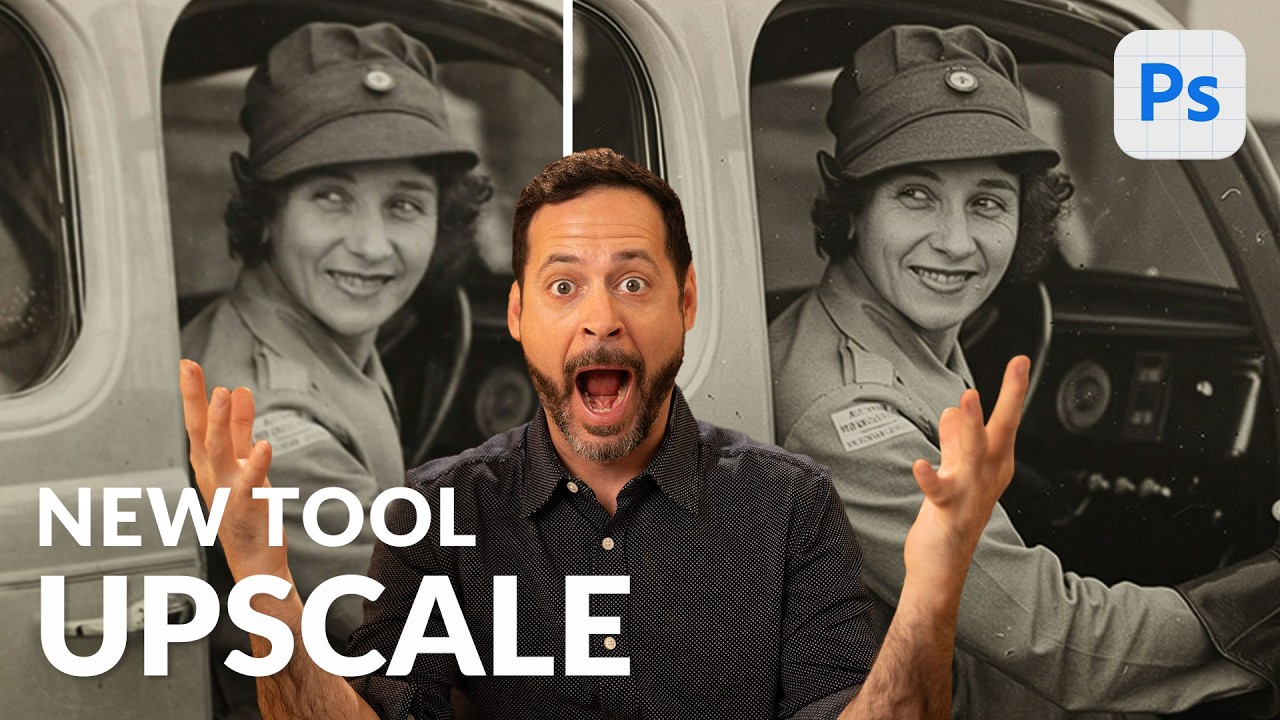
I have a folder on my hard drive called “Client Assets - HANDLE WITH CARE” and it is, genuinely, a disaster. Blurry product shots. Ancient family photos scanned at the wrong resolution. Images that looked fine on a phone screen but would print like a watercolor painting left in the rain. For years, my workaround was a combination of third-party upscaling apps, crossed fingers, and gently managing client expectations. Then Adobe quietly dropped a tool in Photoshop Beta that makes most of that song and dance completely unnecessary.

The Real Cost of Generative Fill: Why Your Photoshop Shortcuts Are Someone Else's Stolen Work

The Real Cost of Generative Fill: Why Your Photoshop Shortcuts Are Someone Else's Stolen Work

I love Generative Fill. There, I said it. When Adobe dropped it into Photoshop a couple years back, I immediately used it to remove a coffee cup from a client shot, fix some awkward shadows, and extend a landscape that was framed just slightly wrong. It took seconds. It worked beautifully. It made me more efficient, and my client was thrilled. But here’s the thing that’s been nagging at me ever since: I have no idea whose work trained that tool to do those things.