Photoshop's New Landscape Masking Is the Camera Raw Feature I Didn't Know I Needed

Photoshop's New Landscape Masking Is the Camera Raw Feature I Didn't Know I Needed

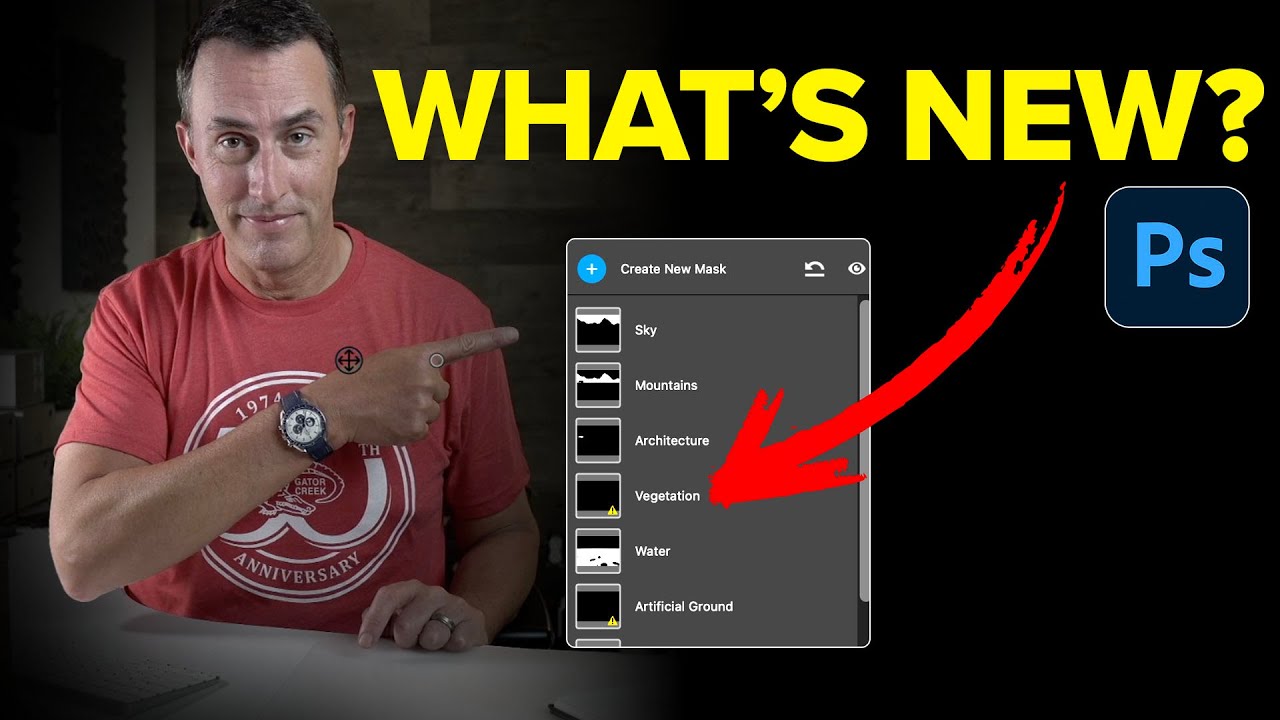
I’ll be honest with you. My relationship with Camera Raw masking has always been “good enough.” Select sky, paint in the foreground with a gradient, argue with a brush tool for fifteen minutes over some tree branches, call it done. It works. It’s not elegant, but it gets the job done between my third and fourth coffee of the morning. Then I watched this Matt Kloskowski tutorial on the April 2025 Photoshop update and realized I’d been doing the equivalent of cutting a steak with a butter knife.
Lightroom's Curves-in-Masks Combo Is the Local Adjustment I Didn't Know I Was Missing

Lightroom's Curves-in-Masks Combo Is the Local Adjustment I Didn't Know I Was Missing

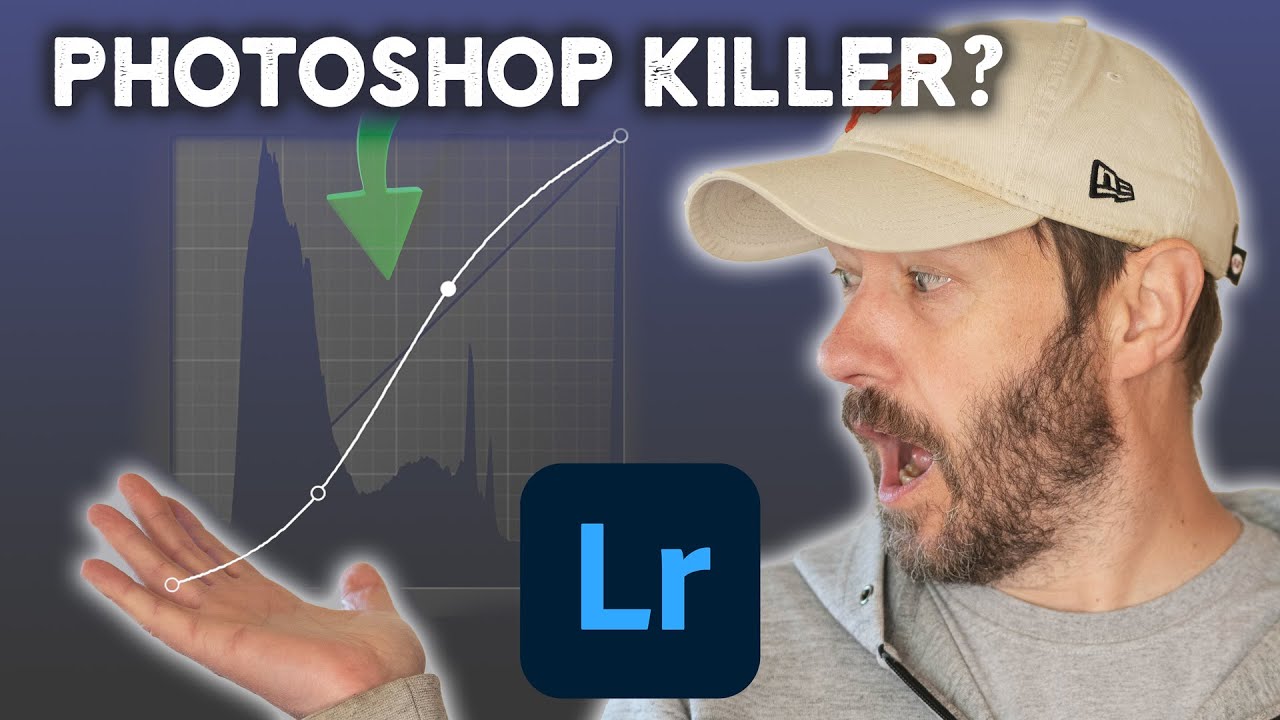
I’ll be honest. For the longest time I treated Lightroom like a place where I did the boring stuff before bringing an image into Photoshop to do anything actually interesting. Rough global adjustments, maybe a quick crop, then over to the real tool. That workflow made sense until I started watching what photographers like Nigel Danson were pulling off without ever touching Photoshop. Watch the full tutorial on YouTube In this Nigel Danson tutorial, the focus is on a relatively recent Lightroom update that most people glossed over in the release notes: you can now use the Curves tool inside masks.

How to Cut Out and Composite Paint Splashes in Photoshop (Without Losing Your Mind)

How to Cut Out and Composite Paint Splashes in Photoshop (Without Losing Your Mind)

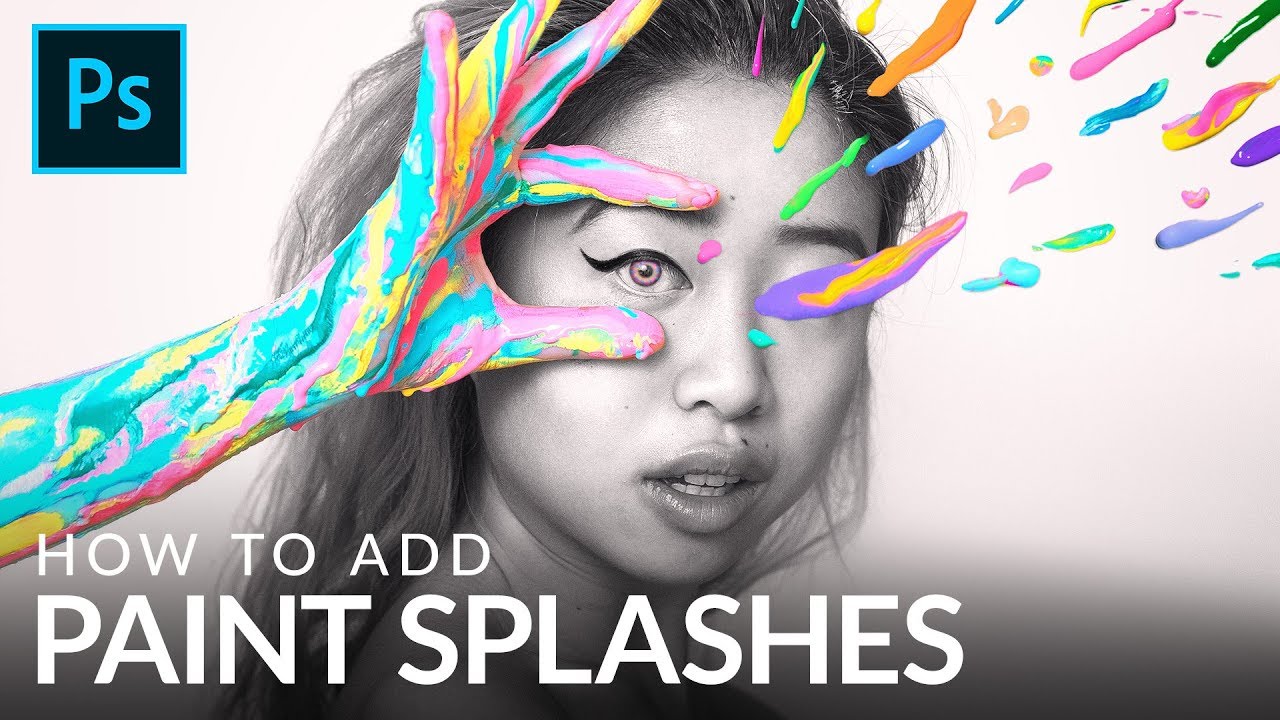
There’s a specific kind of composite work that looks wildly expensive and technically demanding but is actually just a few smart techniques stacked on top of each other. Paint splash effects are exactly that. I’ve scrolled past dozens of surrealist portraits where paint seems to explode off skin or cascade through a scene, and every time I assumed the photographer had some elaborate studio setup or a dedicated effects team. Turns out, a lot of those images come from someone with a wall, some borrowed lights, and a $4 can of paint.

Adobe's Quiet Game-Changer: Taming Those Pesky White Halos in Lightroom

Adobe's Quiet Game-Changer: Taming Those Pesky White Halos in Lightroom

Adobe’s Quiet Game-Changer: Taming Those Pesky White Halos in Lightroom I’ve been editing photos long enough to know that sometimes the best features arrive without fanfare. Adobe’s latest Lightroom Classic update included something that doesn’t sound revolutionary on paper—some new sliders buried inside the AI masking tools—but trust me, if you’ve ever fought with white halos around mountain peaks or tree lines, you’re about to have a very good day.

Stop Clicking Around: How to Actually Choose the Right Selection Tool in Photoshop

Stop Clicking Around: How to Actually Choose the Right Selection Tool in Photoshop

I had a client ask me to cut out a model from a white studio background last year. Simple job. Twenty seconds, maybe. I watched the file come through, opened it, and instinctively reached for the Quick Selection tool out of habit. Four minutes later I was still cleaning up jagged edges around flyaway hair and quietly hating myself. The Object Selection tool with a quick mask refinement would have had it done in under a minute.

Flow vs. Opacity: The Brush Setting You're Probably Ignoring (And Why It's Costing You)

Flow vs. Opacity: The Brush Setting You're Probably Ignoring (And Why It's Costing You)

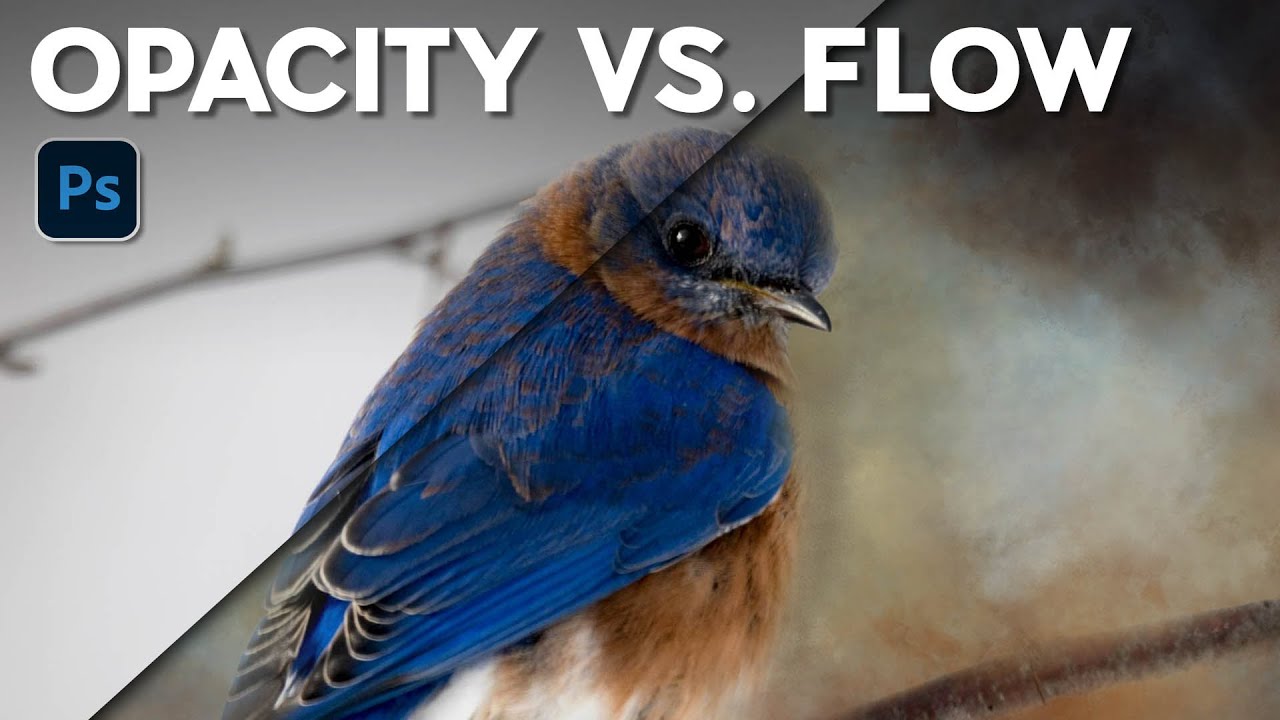
I spent an embarrassing amount of time early in my freelance career fighting with Photoshop’s brush tool. I’d lower the opacity to build up a soft mask, then wonder why my strokes looked choppy and inconsistent. I’d click, release, click again, and end up with these weird hard rings of buildup that looked nothing like the smooth, natural blending I was going for. Turns out I was using the wrong setting entirely, and nobody had ever taken five minutes to explain the difference.

Camera Raw Just Got Focus Point Overlay and Bidirectional Gradients — Here's How to Use Them

Camera Raw Just Got Focus Point Overlay and Bidirectional Gradients — Here's How to Use Them

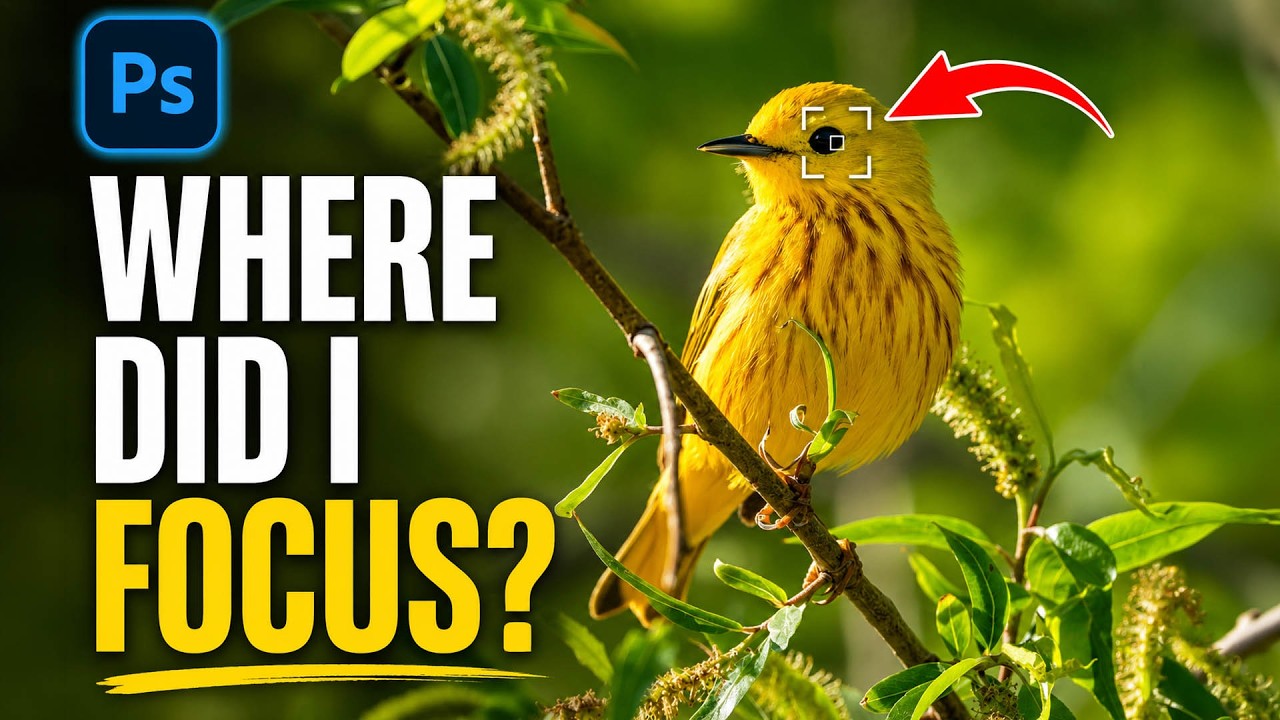
I’ll be honest about something embarrassing. I once delivered a batch of bird photos to a client, convinced I had nailed the focus on every single shot. Spoiler: I had not. The camera had decided a patch of blurry background grass was far more interesting than the actual bird, and I only found out after the client did. If I’d had a way to verify focus points inside my raw editor before exporting, that conversation never happens.

How to Fake Dramatic Light on a Flat, Overcast Photo Using Lightroom and Photoshop

How to Fake Dramatic Light on a Flat, Overcast Photo Using Lightroom and Photoshop

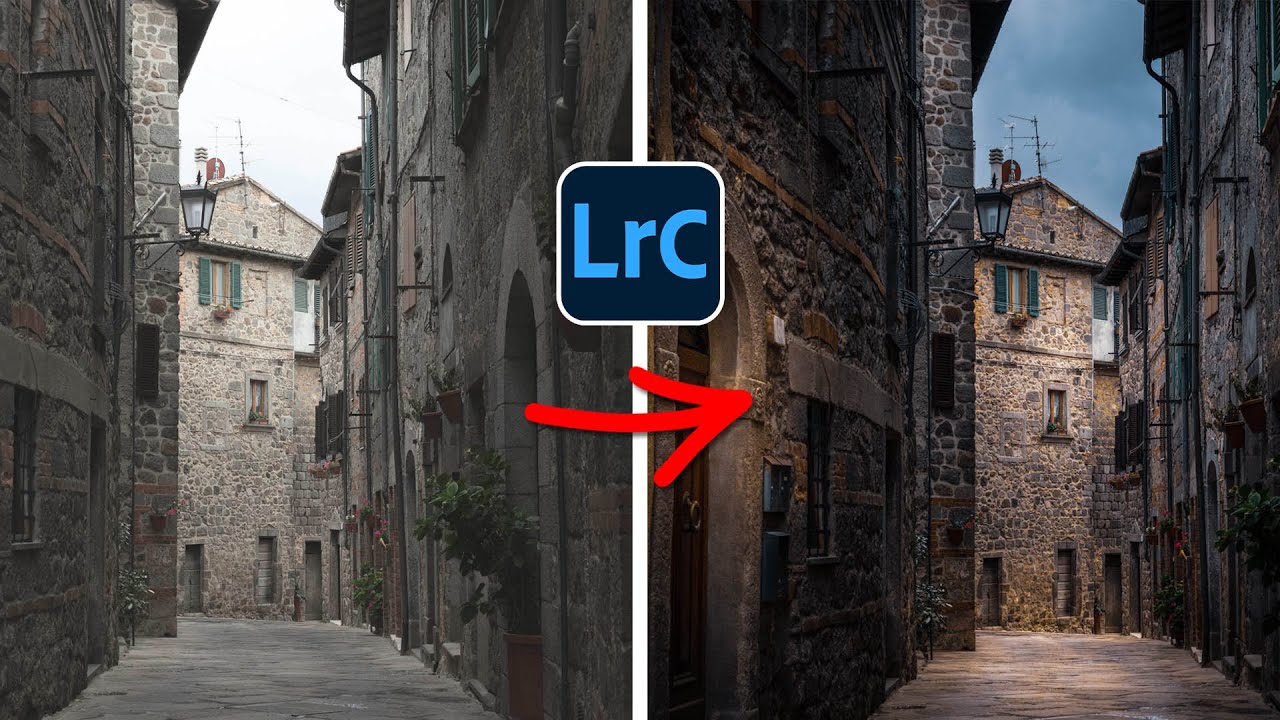
There’s a specific kind of frustration that comes from having a technically solid photo that just… sits there. Good composition, decent exposure, interesting subject. But the light was flat because it was an overcast Tuesday and the sky didn’t care about your shoot. I’ve been in that situation more times than I can count, and my usual move was to slap a preset on it and call it a day. That worked until clients started asking for something that actually looked intentional.

Stop Darkening Your Entire Sky: The Capture One Luma Range Trick That Changed How I Edit

Stop Darkening Your Entire Sky: The Capture One Luma Range Trick That Changed How I Edit

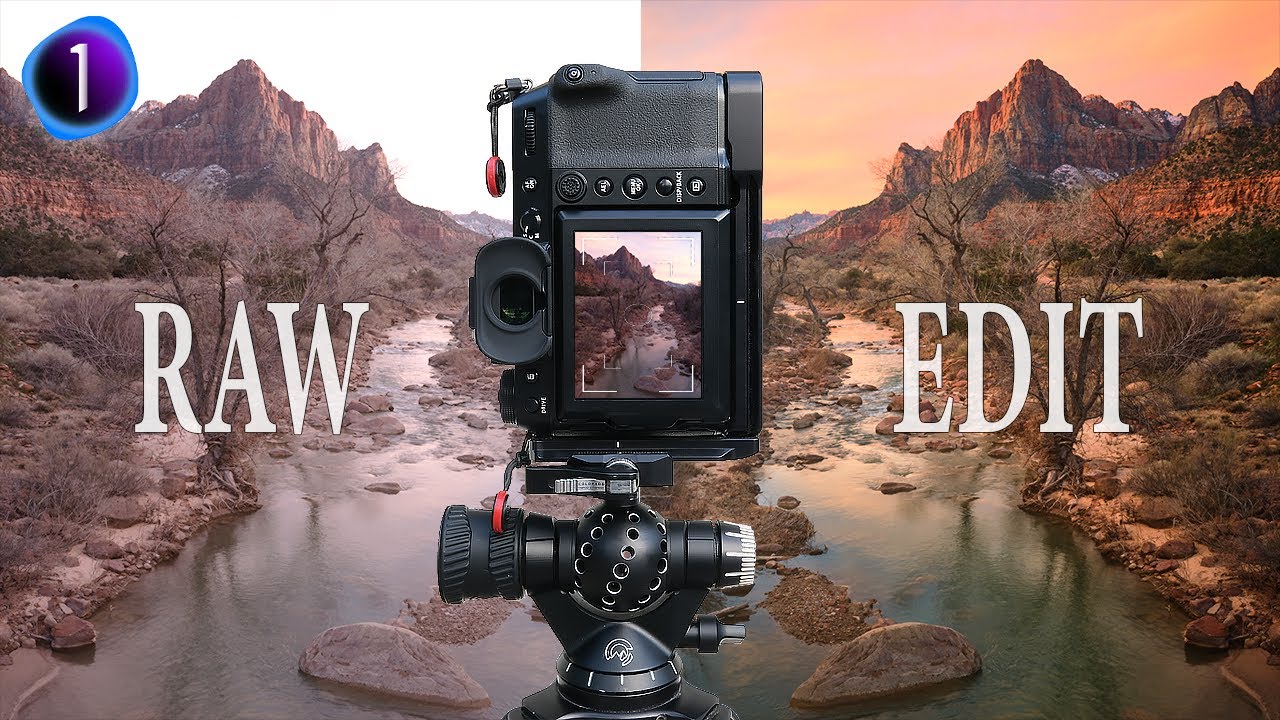
There’s a specific kind of editing frustration I’ve felt more times than I’d like to admit. You pull a radial gradient over a blown-out sky, drop the exposure, and then watch in mild horror as the adjustment also swallows half the mountain range you were trying to protect. You either live with it, or you spend the next 45 minutes painting a mask by hand like it’s 2009. Neither option is great when you’re billing hourly and your coffee is going cold.

Stop Clicking Around: The Photoshop Selection Tools That Actually Matter (And When to Use Them)

Stop Clicking Around: The Photoshop Selection Tools That Actually Matter (And When to Use Them)

Last month I was at my usual corner table at a coffee shop on South Congress, working on a product composite for a skincare client. The subject had been shot against a white background, so naturally I watched the person across from me (clearly also a designer, based on their setup) reach for the Magic Wand like it was a reflex. I felt that. I’ve been there. And I also know exactly how that story ends: jagged edges, blown-out halos, and 45 minutes of manual cleanup that could have been avoided entirely.

Four Compositing Projects That Will Actually Teach You Photoshop (Not Just AI Crutches)

Four Compositing Projects That Will Actually Teach You Photoshop (Not Just AI Crutches)

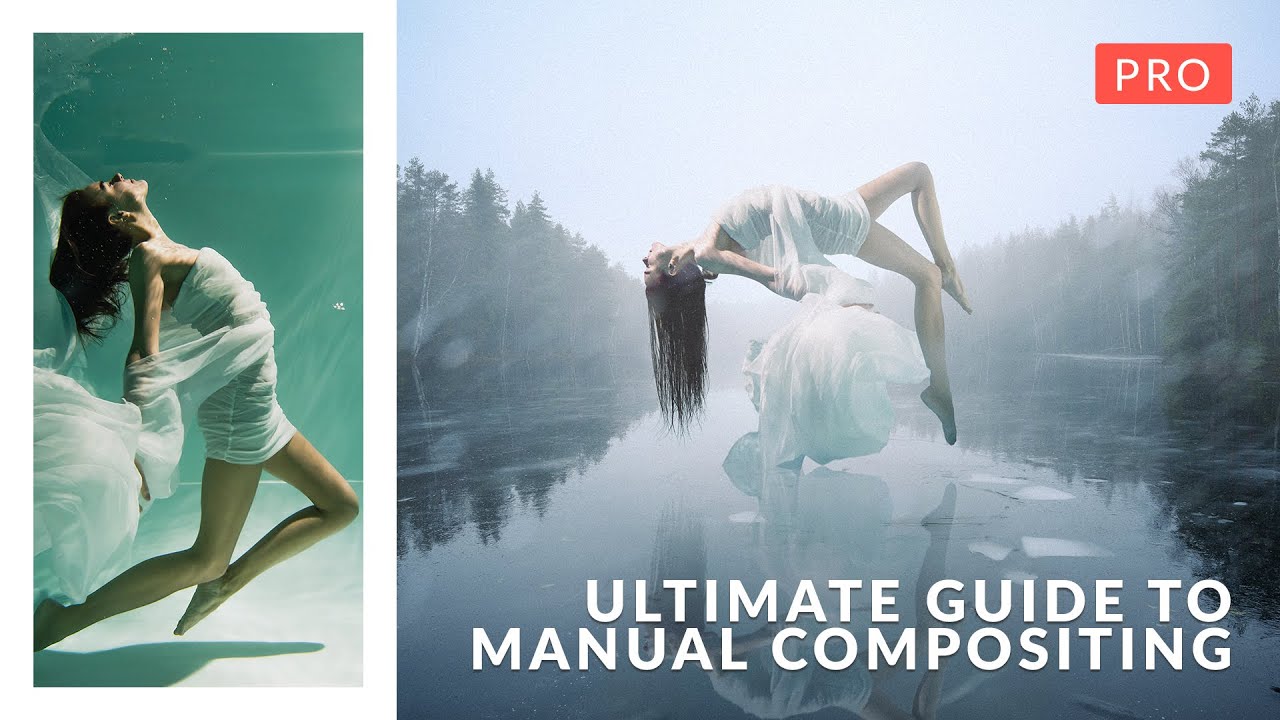
There’s a specific kind of frustration that hits when you spend three days on a composite only to realize the light on your subject is pointing the wrong direction, the colors are from two different planets, and the whole thing looks like a bad movie poster from 2003. I’ve been there. More than once. And the honest problem isn’t talent or effort, it’s not having a repeatable process for blending subjects and backgrounds so they actually look like they belong together.

Stop Fearing the Pen Tool: A Practical Walkthrough for Photoshop and Illustrator

Stop Fearing the Pen Tool: A Practical Walkthrough for Photoshop and Illustrator

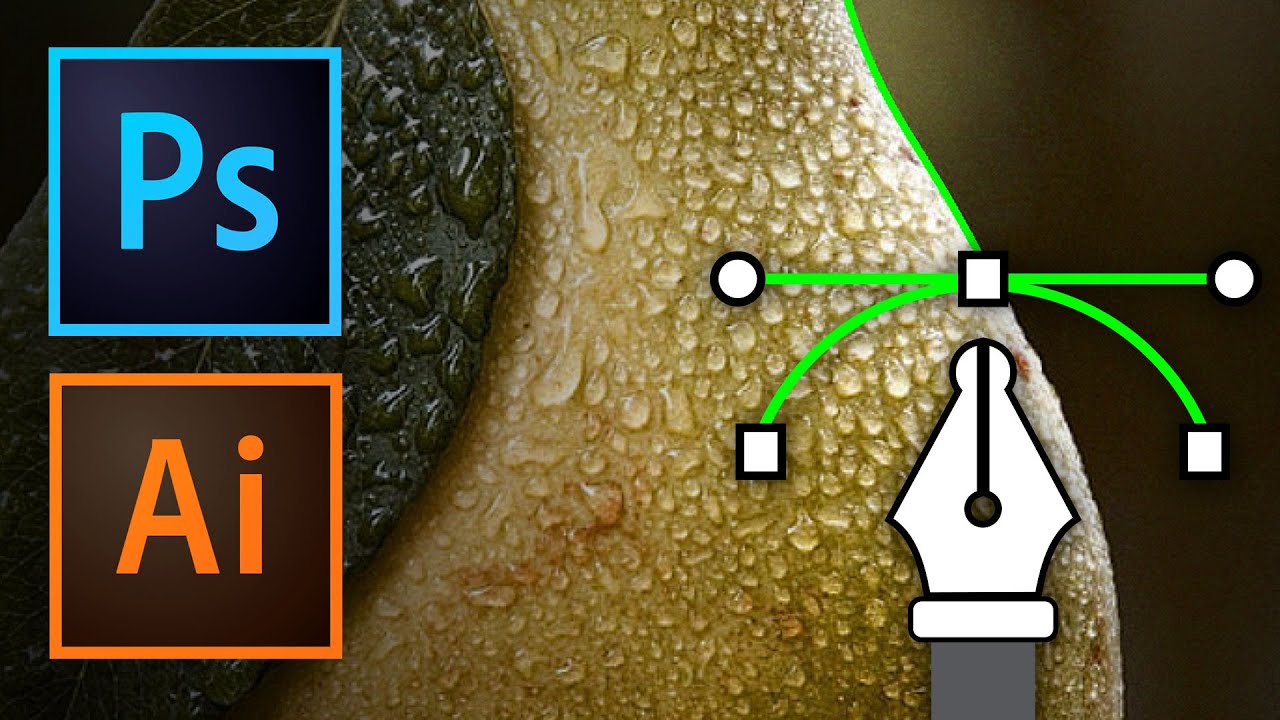
I spent an embarrassing amount of time avoiding the pen tool. Like, years. I’d use Quick Selection, Magic Wand, even painstakingly hand-erase backgrounds rather than sit down and learn the thing properly. My workarounds worked well enough until they didn’t, and the day a client asked me to cleanly isolate a product shot with a ton of curved edges, I finally had to face the music. The pen tool is the professional standard for outlining and masking complex shapes, and every hour you spend avoiding it is an hour you’re leaving quality on the table.