I spent an embarrassing amount of time avoiding the pen tool. Like, years. I’d use Quick Selection, Magic Wand, even painstakingly hand-erase backgrounds rather than sit down and learn the thing properly. My workarounds worked well enough until they didn’t, and the day a client asked me to cleanly isolate a product shot with a ton of curved edges, I finally had to face the music. The pen tool is the professional standard for outlining and masking complex shapes, and every hour you spend avoiding it is an hour you’re leaving quality on the table.
Watch the full tutorial on YouTube
In this Kelvin Designs tutorial, creator Kelvin walks through using the pen tool in both Photoshop and Illustrator across three progressively complex examples: a pear, a Venice rooftop photo, and a detailed portrait of a man. It’s the kind of structured, practical breakdown I wish I’d found when I was first fumbling through anchor points at a coffee shop wondering why my paths looked like a seismograph reading. Here’s the full walkthrough so you can follow along without constantly pausing the video.
Step 1: Set Up Your Resources Before You Touch a Tool
 Browser open showing pen tool cheat sheet on creativetexts.com
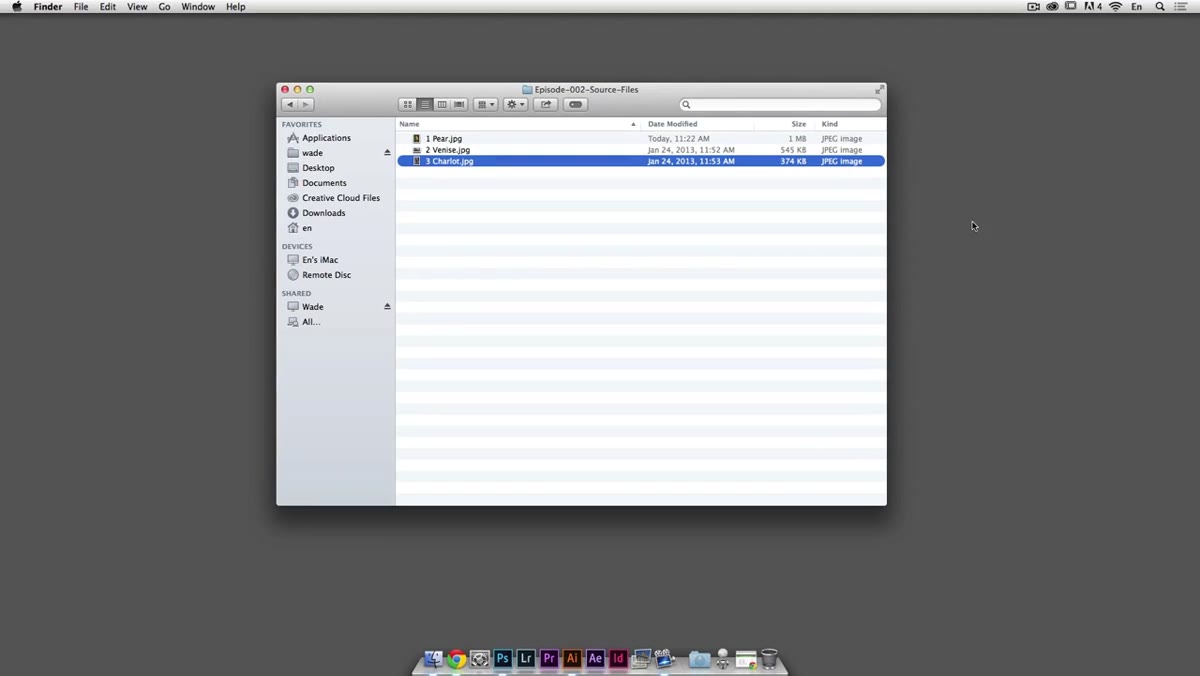
Before diving into Photoshop, Kelvin recommends grabbing a pen tool cheat sheet from a reference site (he links it below the video). This is not fluff advice. The pen tool has a handful of modifier key behaviors that feel completely non-intuitive at first, and having a printed or second-monitor reference for those shortcuts saves you from breaking your flow every five minutes to Google something. Download it, keep it open, actually use it. Also grab the practice source files (pear, Venice, portrait) so you can follow along hands-on rather than just watching. Passive watching teaches you roughly nothing with a tool this tactile.
Browser open showing pen tool cheat sheet on creativetexts.com
Before diving into Photoshop, Kelvin recommends grabbing a pen tool cheat sheet from a reference site (he links it below the video). This is not fluff advice. The pen tool has a handful of modifier key behaviors that feel completely non-intuitive at first, and having a printed or second-monitor reference for those shortcuts saves you from breaking your flow every five minutes to Google something. Download it, keep it open, actually use it. Also grab the practice source files (pear, Venice, portrait) so you can follow along hands-on rather than just watching. Passive watching teaches you roughly nothing with a tool this tactile.
Step 2: Open Your Image and Set the Pen Tool to “Path” Mode
 Pen tool selected in Photoshop toolbar, options bar showing “Path” mode
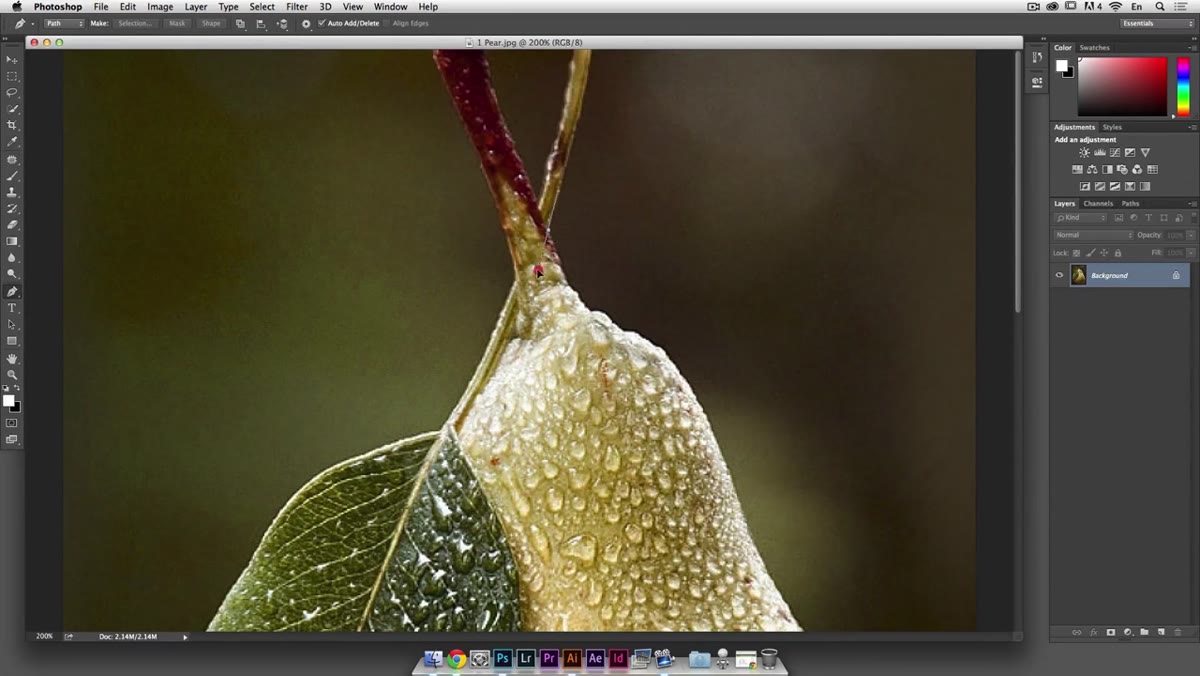
Open your practice image in Photoshop and zoom in to around 200%. You want enough detail visible that you can actually see the edges you’re tracing. Hit P to activate the pen tool, then check the options bar at the top. You’ll see a dropdown that lets you choose between Shape, Path, and Pixels. Select Path. This is important because Path mode lets you draw a vector outline without immediately creating a filled shape layer, which gives you flexibility to convert it to a selection or mask later. Kelvin starts on the pear at 200% zoom, which is a good sweet spot for a small image.
Pen tool selected in Photoshop toolbar, options bar showing “Path” mode
Open your practice image in Photoshop and zoom in to around 200%. You want enough detail visible that you can actually see the edges you’re tracing. Hit P to activate the pen tool, then check the options bar at the top. You’ll see a dropdown that lets you choose between Shape, Path, and Pixels. Select Path. This is important because Path mode lets you draw a vector outline without immediately creating a filled shape layer, which gives you flexibility to convert it to a selection or mask later. Kelvin starts on the pear at 200% zoom, which is a good sweet spot for a small image.
Step 3: Click to Place Your First Anchor Point at a Sharp Edge
 First anchor point placed on the edge of a pear in Photoshop
Start tracing at a sharp corner or angle on your subject, not a curve. Sharp points are easier to place precisely because there’s no ambiguity about where exactly the edge is. Click once to place your first anchor point. Don’t drag yet, just click. This gives you a clean corner point to anchor your path. Kelvin specifically picks an angled part of the pear stem for this reason, and it’s a smart habit to build regardless of what you’re outlining.
First anchor point placed on the edge of a pear in Photoshop
Start tracing at a sharp corner or angle on your subject, not a curve. Sharp points are easier to place precisely because there’s no ambiguity about where exactly the edge is. Click once to place your first anchor point. Don’t drag yet, just click. This gives you a clean corner point to anchor your path. Kelvin specifically picks an angled part of the pear stem for this reason, and it’s a smart habit to build regardless of what you’re outlining.
Step 4: Click and Drag to Create Curved Anchor Points
 Dragging from anchor point to create bezier curve handles on the pear
Here’s where most beginners panic. When you click and drag from a new anchor point instead of just clicking, Photoshop creates bezier curve handles. These handles control the direction and strength of the curve between two anchor points. The trick is to drag in the direction the curve is going, not toward the subject. Think of it as laying track for a train rather than drawing the shape itself. Kelvin demonstrates this on the rounded body of the pear, pulling the handle to match the natural arc of the fruit’s edge. Don’t try to be perfect on the first pass. Close enough is close enough for now.
Dragging from anchor point to create bezier curve handles on the pear
Here’s where most beginners panic. When you click and drag from a new anchor point instead of just clicking, Photoshop creates bezier curve handles. These handles control the direction and strength of the curve between two anchor points. The trick is to drag in the direction the curve is going, not toward the subject. Think of it as laying track for a train rather than drawing the shape itself. Kelvin demonstrates this on the rounded body of the pear, pulling the handle to match the natural arc of the fruit’s edge. Don’t try to be perfect on the first pass. Close enough is close enough for now.
Step 5: Use Alt/Option to Break the Handle and Create a Sharp Corner
 Alt key held down to break bezier handle, creating a direction change
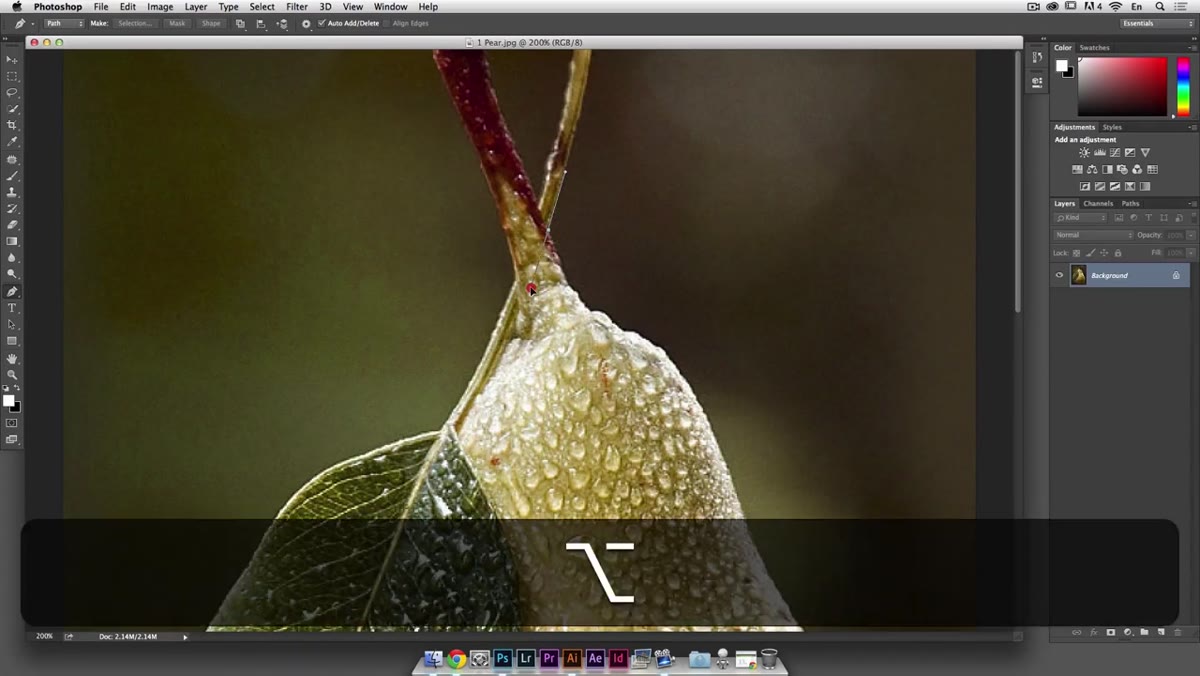
This is the single most useful modifier key in the entire pen tool workflow. After you’ve placed a curved anchor point and dragged out your handles, hold Alt (Windows) or Option (Mac) and click the anchor point. This breaks the symmetry between the two handles, so the outgoing curve direction becomes independent from the incoming one. In plain English: it lets you go from a curve directly into a corner or a new curve going a completely different direction, without the path pulling weirdly in between. Kelvin uses this constantly throughout the pear outline, and once you internalize when to reach for it, your paths get dramatically cleaner.
Alt key held down to break bezier handle, creating a direction change
This is the single most useful modifier key in the entire pen tool workflow. After you’ve placed a curved anchor point and dragged out your handles, hold Alt (Windows) or Option (Mac) and click the anchor point. This breaks the symmetry between the two handles, so the outgoing curve direction becomes independent from the incoming one. In plain English: it lets you go from a curve directly into a corner or a new curve going a completely different direction, without the path pulling weirdly in between. Kelvin uses this constantly throughout the pear outline, and once you internalize when to reach for it, your paths get dramatically cleaner.
Step 6: Hold Command/Ctrl to Adjust Points Without Switching Tools
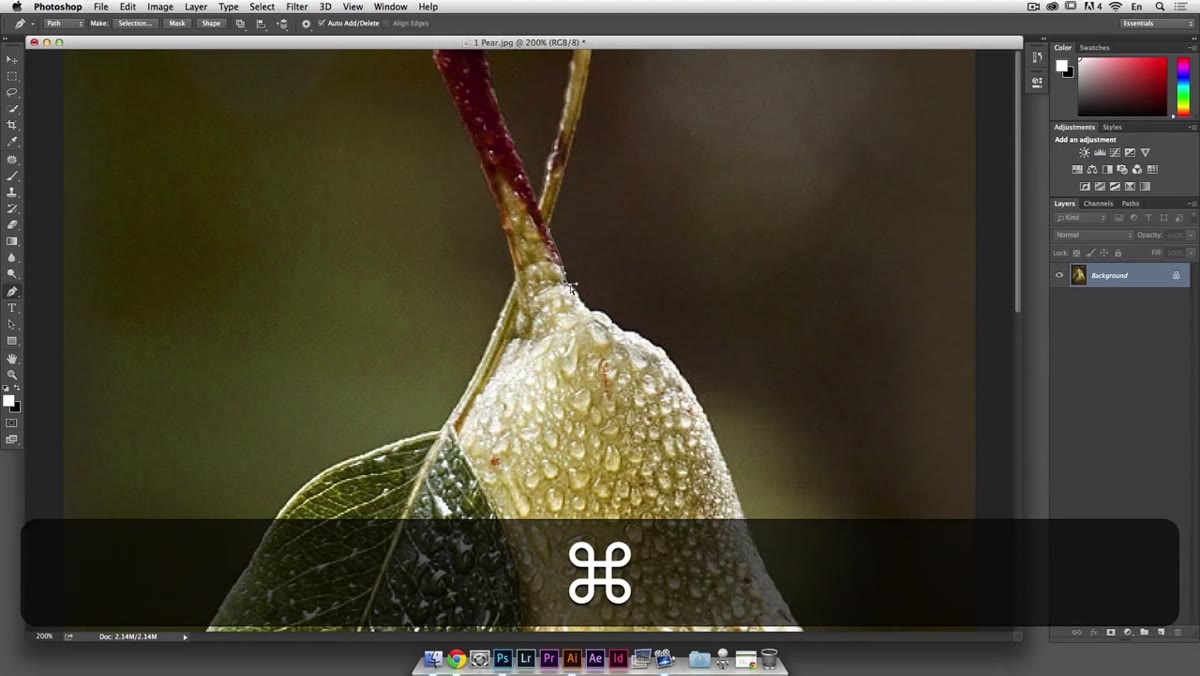 Command key held to temporarily activate Direct Selection tool for point adjustment
You placed an anchor point two pixels off. It happens constantly. The old me would have either ignored it or started over. The correct move is to hold Command (Mac) or Ctrl (Windows) while the pen tool is active. This temporarily switches you to the Direct Selection tool, which lets you grab and reposition individual anchor points or handles without leaving the pen tool workflow. Click and drag the offending point to where it should be, let go of the modifier key, and you’re back to drawing. Kelvin uses this mid-trace on the pear to nudge a point that drifted slightly from the edge. No restart needed.
Command key held to temporarily activate Direct Selection tool for point adjustment
You placed an anchor point two pixels off. It happens constantly. The old me would have either ignored it or started over. The correct move is to hold Command (Mac) or Ctrl (Windows) while the pen tool is active. This temporarily switches you to the Direct Selection tool, which lets you grab and reposition individual anchor points or handles without leaving the pen tool workflow. Click and drag the offending point to where it should be, let go of the modifier key, and you’re back to drawing. Kelvin uses this mid-trace on the pear to nudge a point that drifted slightly from the edge. No restart needed.
Step 7: Close the Path by Clicking Back on Your Starting Point
 Cursor hovering over original anchor point to close the path, small circle indicator visible
When you’ve worked your way around the entire subject, you need to close the path by clicking back on your original starting anchor point. You’ll know you’re hovering over it correctly because a small circle appears next to the pen tool cursor. Click it, and the path closes into a complete loop. From here you can right-click the path and convert it to a selection, or use it as a vector mask. This is the moment where all that careful tracing pays off.
Cursor hovering over original anchor point to close the path, small circle indicator visible
When you’ve worked your way around the entire subject, you need to close the path by clicking back on your original starting anchor point. You’ll know you’re hovering over it correctly because a small circle appears next to the pen tool cursor. Click it, and the path closes into a complete loop. From here you can right-click the path and convert it to a selection, or use it as a vector mask. This is the moment where all that careful tracing pays off.
What I’d Add From My Own Experience
The tutorial covers the core mechanics cleanly, but one thing worth layering on: zoom level discipline. The temptation is to stay zoomed in tight the whole time, but stepping back to 50-75% zoom periodically lets you check that your path actually follows the shape visually and not just technically. I’ve finished outlines at 200% that looked great up close and turned into lumpy disasters at normal viewing size. Use Command + 0 to fit the image in your window for a sanity check every dozen anchor points or so. Also, for anyone working in Illustrator following the same tutorial: the modifier keys behave identically, so everything above translates directly.
The pen tool rewards patience over speed. The first time you use it, it feels like drawing with a broken mouse. By the tenth time, it feels like the only reasonable way to make a clean selection. That shift in how it feels is the whole game.
Watch the full tutorial on YouTube and follow along with all three examples, especially the portrait at the end, which is where things get genuinely interesting.
Comments
Leave a Comment