Levels vs. Curves in Photoshop: When to Use Each (And Why You've Probably Been Guessing)

Levels vs. Curves in Photoshop: When to Use Each (And Why You've Probably Been Guessing)

For an embarrassingly long time, I picked between Levels and Curves the same way I pick a parking spot — just grabbed whatever felt right and hoped for the best. Both tools live in the same neighborhood, both mess with tonal values, and neither one comes with a sign that says “use me for THIS.” So I’d open Curves when I felt fancy, open Levels when I felt lazy, and pretend I had a system.

Lightroom's Curves-in-Masks Combo Is the Local Adjustment I Didn't Know I Was Missing

Lightroom's Curves-in-Masks Combo Is the Local Adjustment I Didn't Know I Was Missing

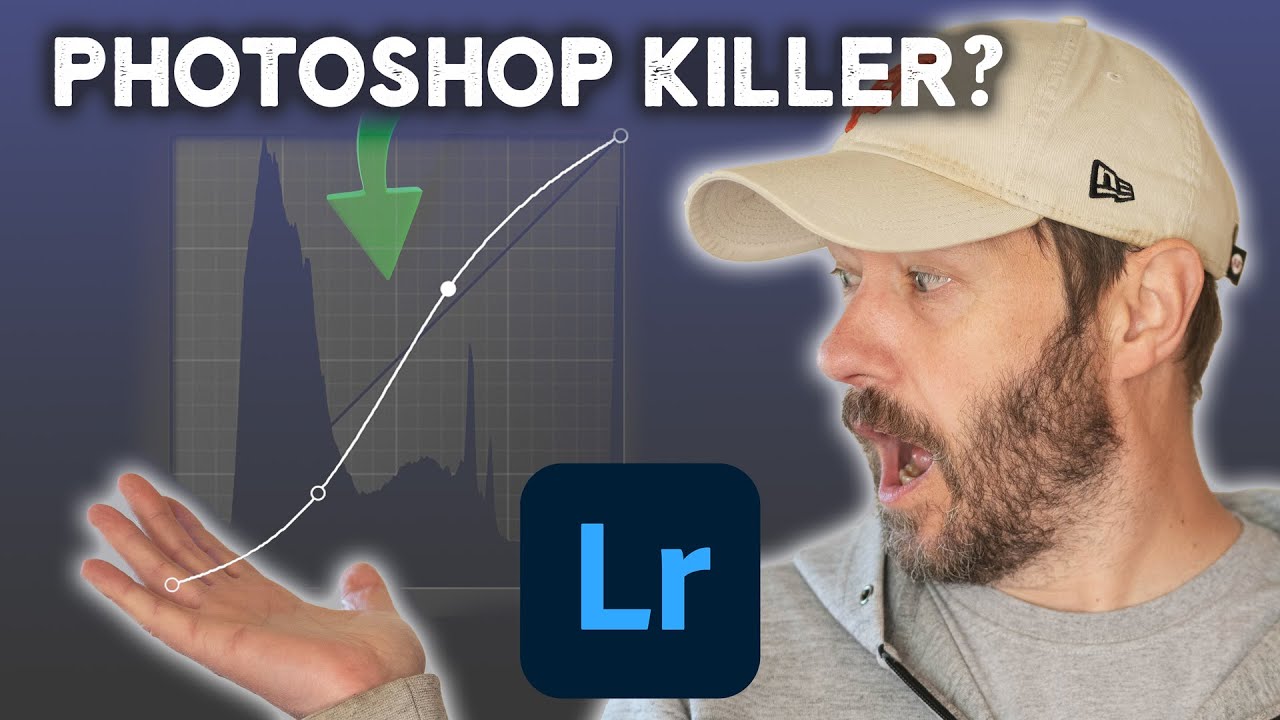
I’ll be honest. For the longest time I treated Lightroom like a place where I did the boring stuff before bringing an image into Photoshop to do anything actually interesting. Rough global adjustments, maybe a quick crop, then over to the real tool. That workflow made sense until I started watching what photographers like Nigel Danson were pulling off without ever touching Photoshop. Watch the full tutorial on YouTube In this Nigel Danson tutorial, the focus is on a relatively recent Lightroom update that most people glossed over in the release notes: you can now use the Curves tool inside masks.

Color Grading Video in Photoshop: Local vs. Global Adjustments (And Why It Actually Works)

Color Grading Video in Photoshop: Local vs. Global Adjustments (And Why It Actually Works)

Most of my work lives in still images. Composites, retouching, the occasional logo a client describes as “clean but also edgy.” Video always felt like someone else’s problem. Then a client handed me raw footage and asked me to “make it look cinematic,” and suddenly it was very much my problem. I didn’t want to learn Premiere for one project, and After Effects felt like jumping into the deep end wearing a backpack full of bricks.

The Curves Fix You Didn't Know You Needed: Refine Saturation in Lightroom and Camera Raw

The Curves Fix You Didn't Know You Needed: Refine Saturation in Lightroom and Camera Raw

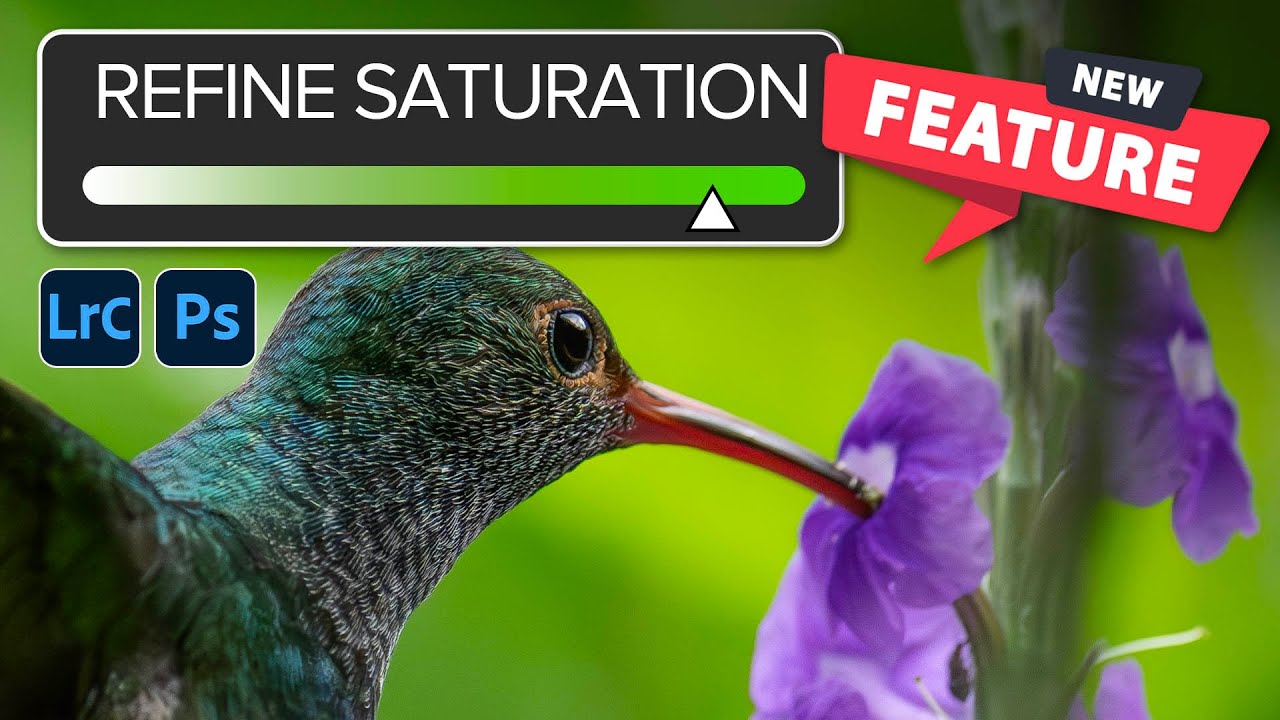
If you’ve ever pulled down the black point on a Curves adjustment and watched your greens go full radioactive swamp, congratulations - you’ve met one of the most quietly frustrating quirks in Lightroom and Camera Raw. You want punchy shadows. You get a photo that looks like it was color-graded by someone who really, really loves saturated tones. The fix used to be a compromise: back off the curve until the colors calm down and accept a softer black point, or sit with the over-saturation and pretend it’s a creative choice.

Curves vs. Levels in Photoshop: Which One Should You Actually Be Using?

Curves vs. Levels in Photoshop: Which One Should You Actually Be Using?

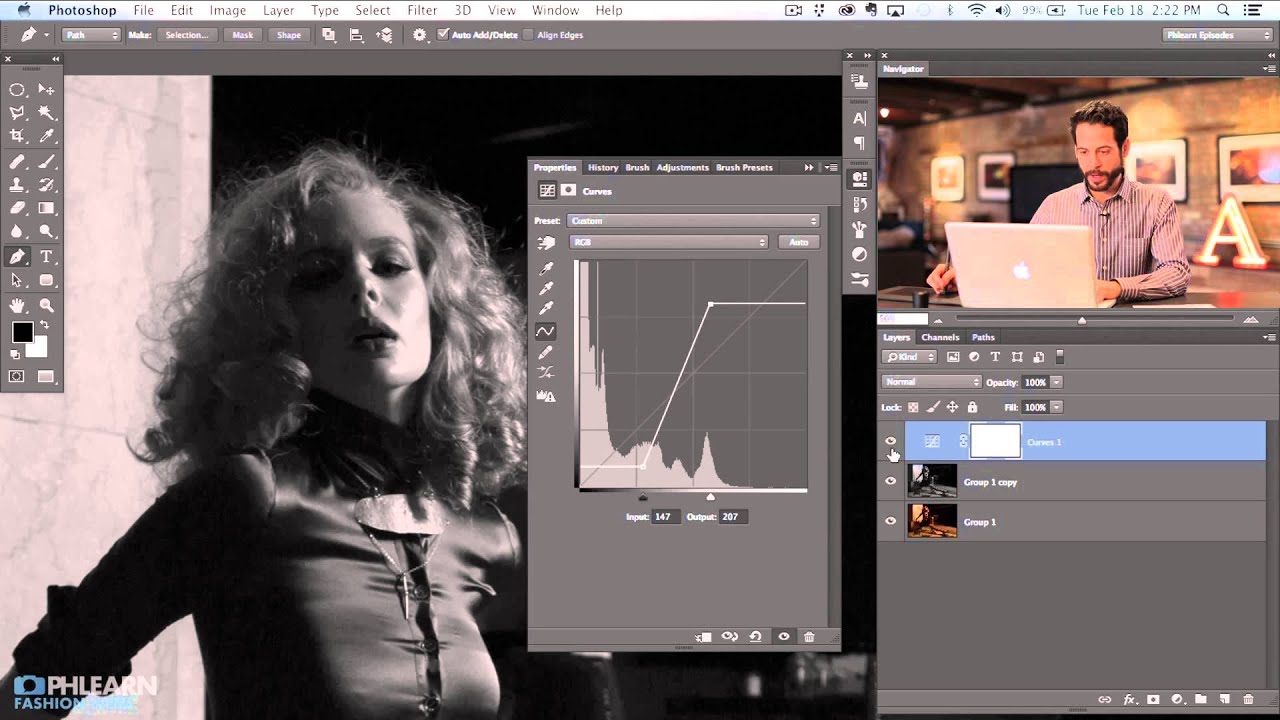
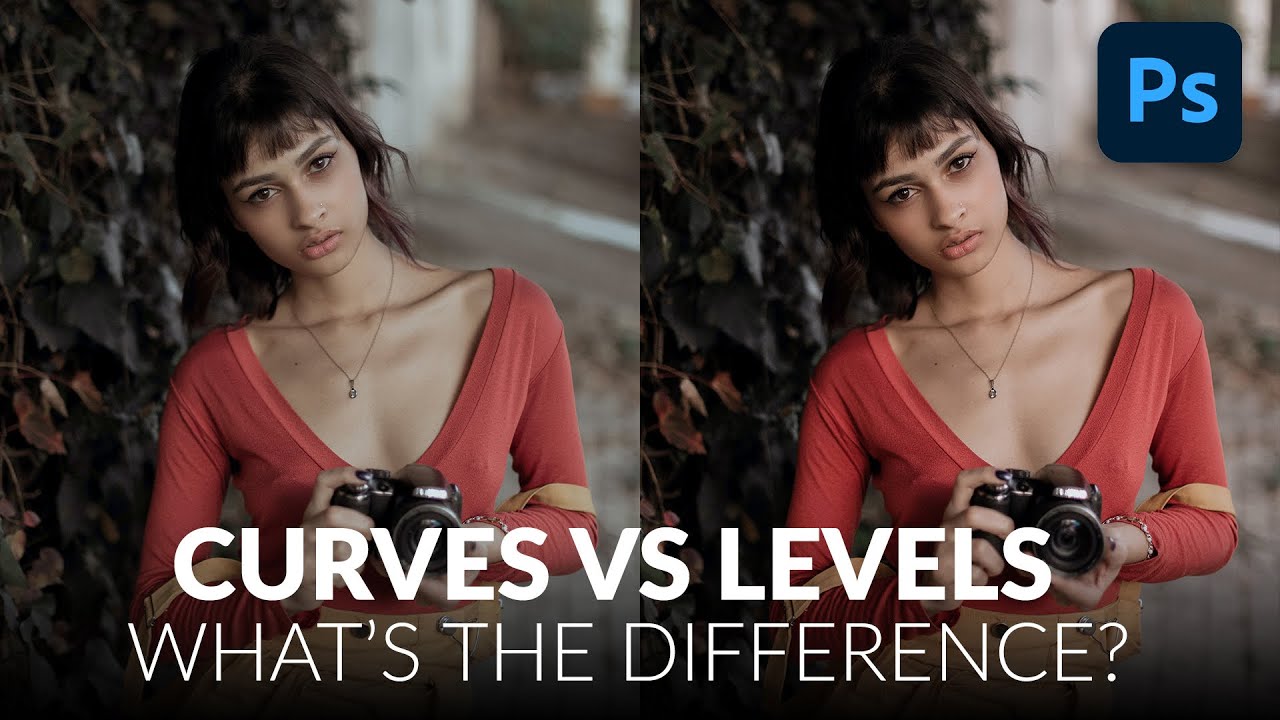
For years I used Levels for everything. Exposure fix? Levels. Quick color correction? Levels. Basically anything that required me to not completely ruin a client’s photo? Levels. It felt safe. Predictable. And I won’t lie, part of the reason I avoided Curves was that the interface looked like something out of a seismograph reading and I had no idea what I was supposed to do with it. Then I watched this Aaron Nace tutorial from PHLEARN and it genuinely reframed how I think about both tools.

Stop Fighting RGB: Why LAB Mode Will Change How You Color Edit in Photoshop

Stop Fighting RGB: Why LAB Mode Will Change How You Color Edit in Photoshop

There’s a specific kind of frustration that hits when you’re trying to do a simple color grade and your image starts looking like a fever dream. You pull one curve, the colors shift, the luminosity goes sideways, and suddenly your subject looks like they’re standing under a blacklight at a 1990s roller rink. I spent an embarrassing amount of time thinking I was just bad at curves. Turns out I was working in the wrong color mode entirely.

How to Stop Dark Hair from Disappearing Into Dark Backgrounds (A Photoshop Hair Highlighting Trick)

How to Stop Dark Hair from Disappearing Into Dark Backgrounds (A Photoshop Hair Highlighting Trick)

There’s a specific kind of frustration that hits when you’re retouching a portrait and the subject’s dark hair just… melts into a dark background. No separation, no dimension, no life. You’ve done everything right technically, and somehow the image still looks flat and muddy around the edges. I’ve been there more times than I’d like to admit, usually sitting in some coffee shop squinting at my laptop screen trying to figure out why a perfectly good photo looks like the subject is slowly being absorbed into a void.