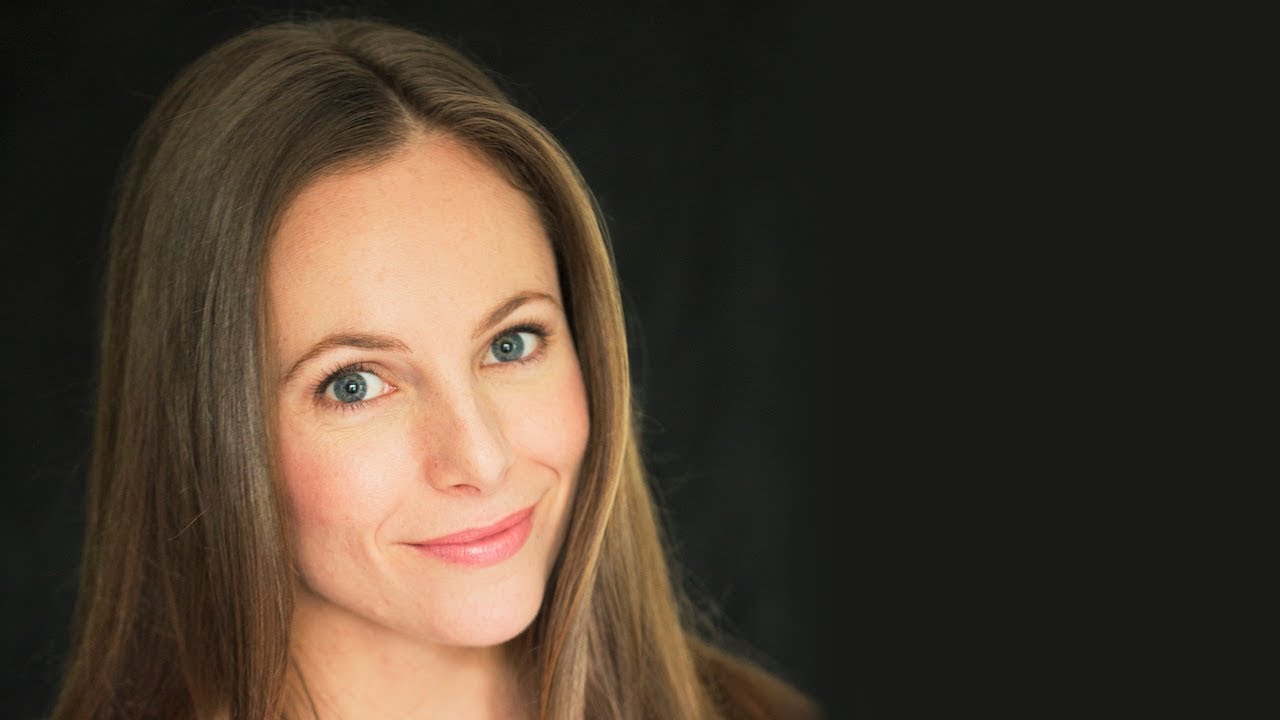
There’s a specific kind of frustration that hits when you’re retouching a portrait and the subject’s dark hair just… melts into a dark background. No separation, no dimension, no life. You’ve done everything right technically, and somehow the image still looks flat and muddy around the edges. I’ve been there more times than I’d like to admit, usually sitting in some coffee shop squinting at my laptop screen trying to figure out why a perfectly good photo looks like the subject is slowly being absorbed into a void.
The fix turns out to be surprisingly straightforward, and I picked it up watching this tutorial from Jay P. Morgan and Julene Morgan over at The Slanted Lens. Watch the full tutorial on YouTube before or after reading this. The whole thing is under four minutes, which is the kind of efficiency I deeply respect. Here’s the full breakdown of what they do and how to apply it to your own portraits.
Step 1: Start with Camera Raw Adjustments
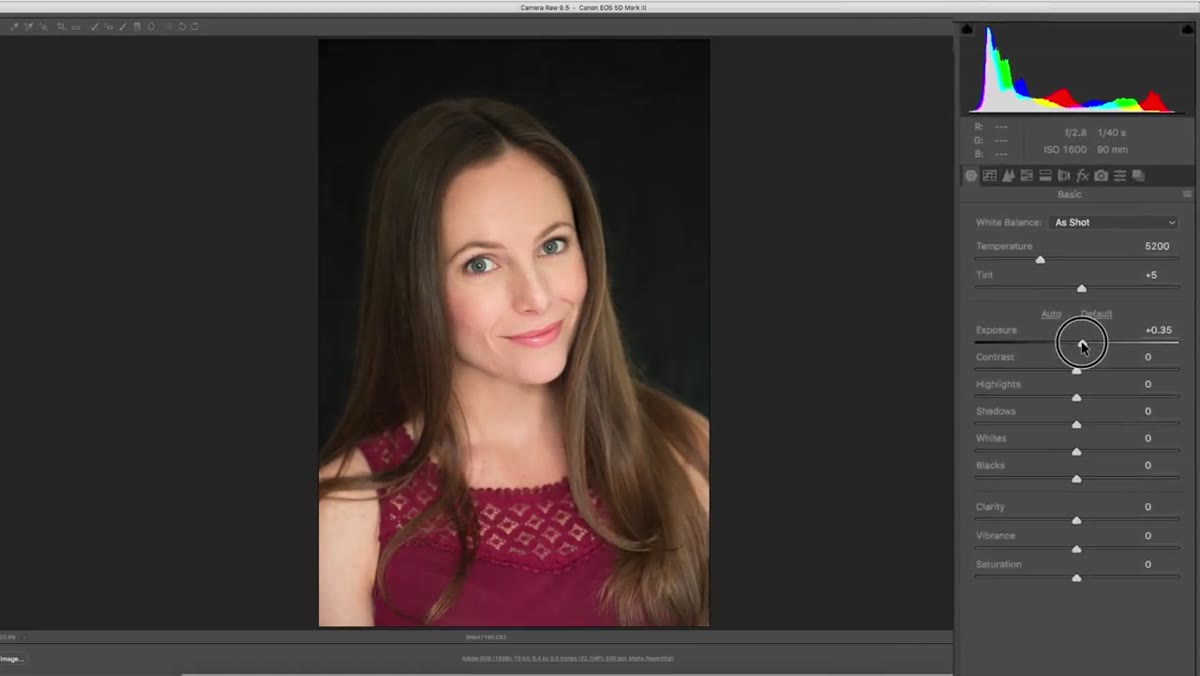 Exposure and contrast sliders being adjusted in Camera Raw
Before touching Photoshop proper, Jay opens the image in Camera Raw and makes a few foundational adjustments. He bumps the exposure slightly to lift the subject’s face, nudges contrast, and pushes clarity up just a touch. The move I found most useful here is how he handles the blacks. He opens them up a little, not a lot, just enough to let the hair edge start to lift off the background. Then he pulls the whites back slightly to keep things balanced.
Exposure and contrast sliders being adjusted in Camera Raw
Before touching Photoshop proper, Jay opens the image in Camera Raw and makes a few foundational adjustments. He bumps the exposure slightly to lift the subject’s face, nudges contrast, and pushes clarity up just a touch. The move I found most useful here is how he handles the blacks. He opens them up a little, not a lot, just enough to let the hair edge start to lift off the background. Then he pulls the whites back slightly to keep things balanced.
If your subject has dark hair against a dark background, this is where you can buy yourself some breathing room before you even get to Photoshop. Don’t overdo it. The goal is subtle separation, not a halo. A small blacks adjustment of plus 10 to plus 20 is usually enough to start seeing the edge of the hair emerge.
Step 2: Apply an S-Curve for Contrast
 Curves adjustment layer panel open with S-curve applied
Once the image is open in Photoshop, Julene’s first move is an S-curve adjustment layer. You’ll find this by clicking the half-circle icon at the bottom of the Layers panel and selecting Curves. The S-curve is a classic, and if you’re not using it regularly, you’re leaving a lot of tonal richness on the table.
Curves adjustment layer panel open with S-curve applied
Once the image is open in Photoshop, Julene’s first move is an S-curve adjustment layer. You’ll find this by clicking the half-circle icon at the bottom of the Layers panel and selecting Curves. The S-curve is a classic, and if you’re not using it regularly, you’re leaving a lot of tonal richness on the table.
The idea is simple: click a point in the upper portion of the curve and drag it slightly upward to brighten highlights, then click a point in the lower portion and drag it slightly downward to deepen shadows. The result is increased contrast with a bit more punch and depth. Julene notes that since Jay already handled contrast in Camera Raw, the adjustment is subtle here. But if you’re pulling an image straight into Photoshop without any raw processing, this step alone can transform a flat image into something that actually looks polished.
Step 3: Create a New Empty Layer Above Your Image
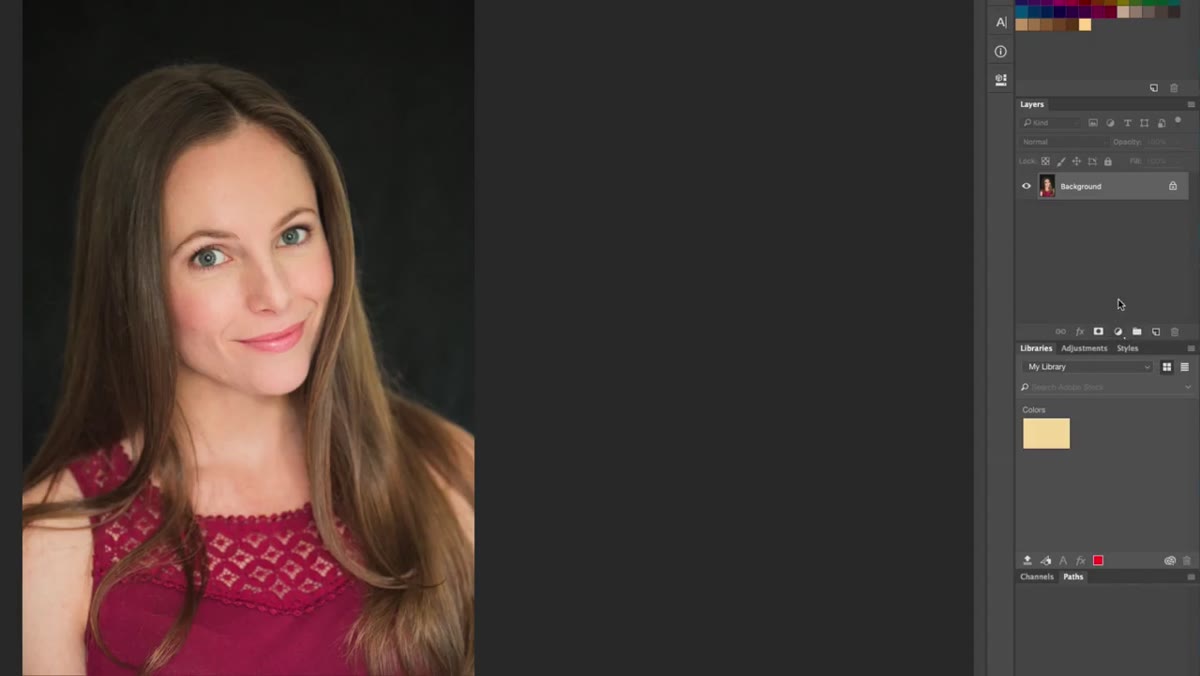
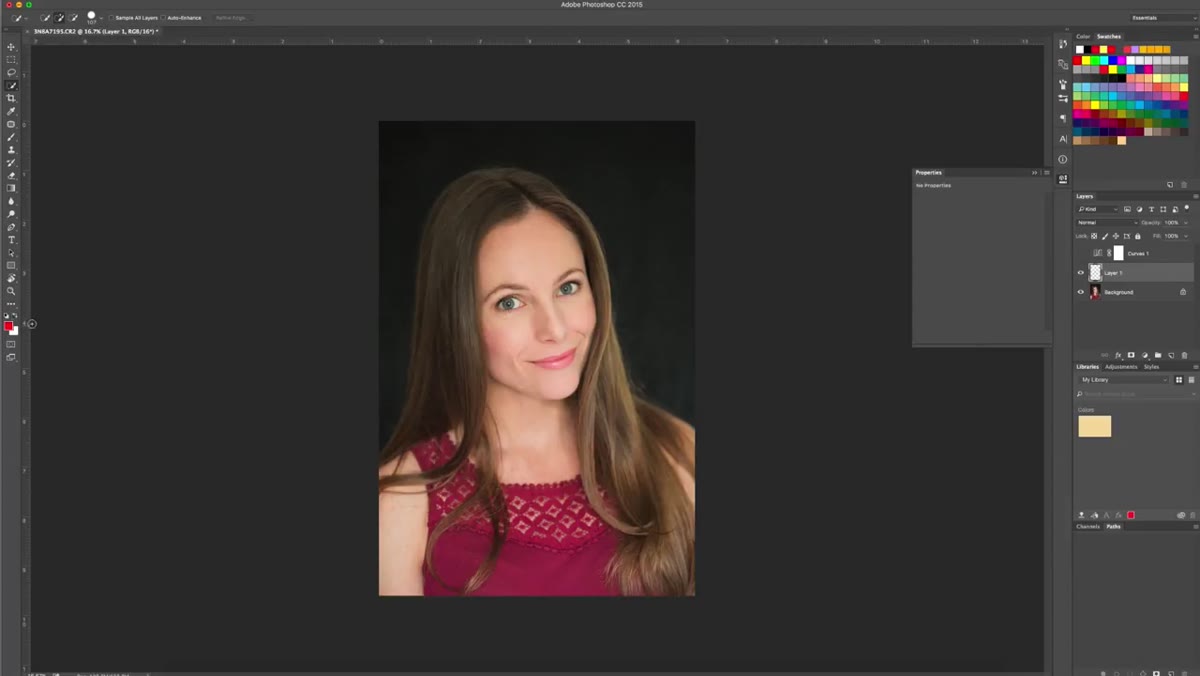 New blank layer added above background in Layers panel
Here’s where the hair highlighting technique actually lives. Create a new blank layer above your image layer. You can do this by clicking the new layer icon at the bottom of the Layers panel, or by hitting Shift+Ctrl+N (Shift+Cmd+N on Mac) if you want to feel like a person who has their life together.
New blank layer added above background in Layers panel
Here’s where the hair highlighting technique actually lives. Create a new blank layer above your image layer. You can do this by clicking the new layer icon at the bottom of the Layers panel, or by hitting Shift+Ctrl+N (Shift+Cmd+N on Mac) if you want to feel like a person who has their life together.
This layer is going to hold your painted highlights. Keeping it separate from your base image means you can adjust opacity, change blend modes, or nuke it entirely without touching the original. Non-destructive editing is always the move.
Step 4: Paint White Along the Hair Edge
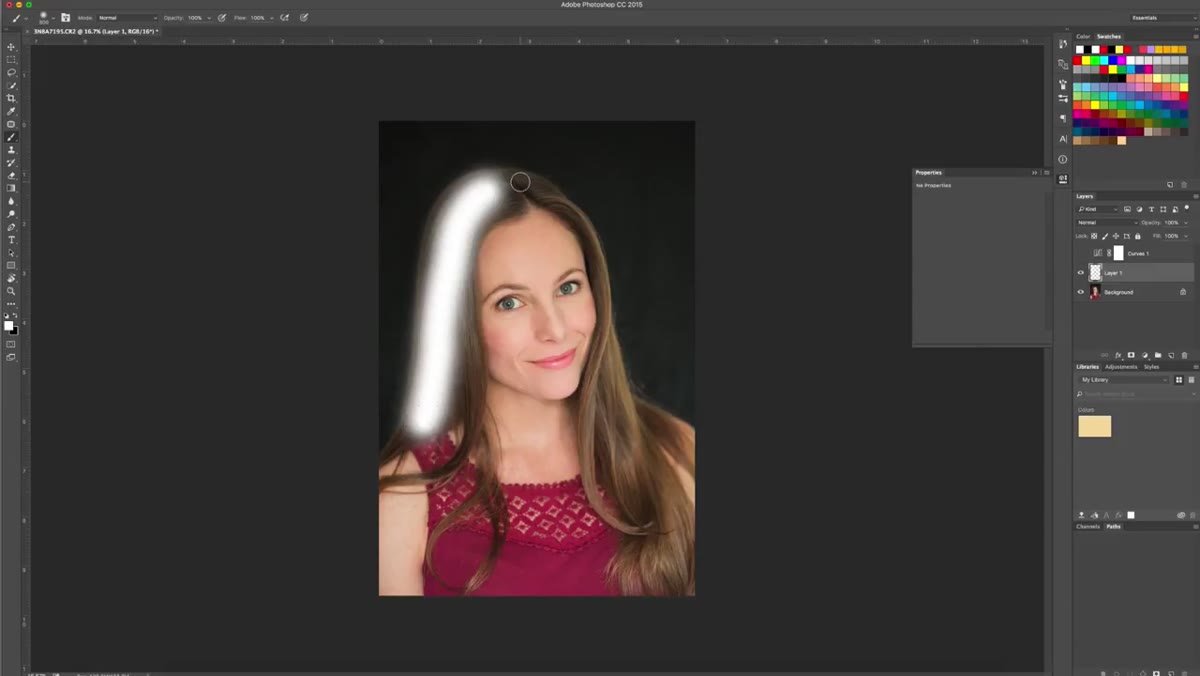 White brush strokes being painted along hair against dark background
Set your foreground color to white, grab a soft round brush, and paint loosely along the areas of the hair that catch light. The key word is loosely. You’re not trying to trace the exact silhouette of the hair. You’re painting in the general areas where a rim light or hair light would naturally hit, which is usually the top and sides of the head where the hair meets the background.
White brush strokes being painted along hair against dark background
Set your foreground color to white, grab a soft round brush, and paint loosely along the areas of the hair that catch light. The key word is loosely. You’re not trying to trace the exact silhouette of the hair. You’re painting in the general areas where a rim light or hair light would naturally hit, which is usually the top and sides of the head where the hair meets the background.
Don’t stress about precision here. The effect gets refined in the next step, and a little messiness actually helps it look natural rather than stamped on. Use a brush with soft edges, somewhere around 0% hardness, and vary your pressure if you’re on a tablet. If you’re on a mouse like some kind of pioneer, just keep your strokes light.
Step 5: Change the Layer Blend Mode to Overlay
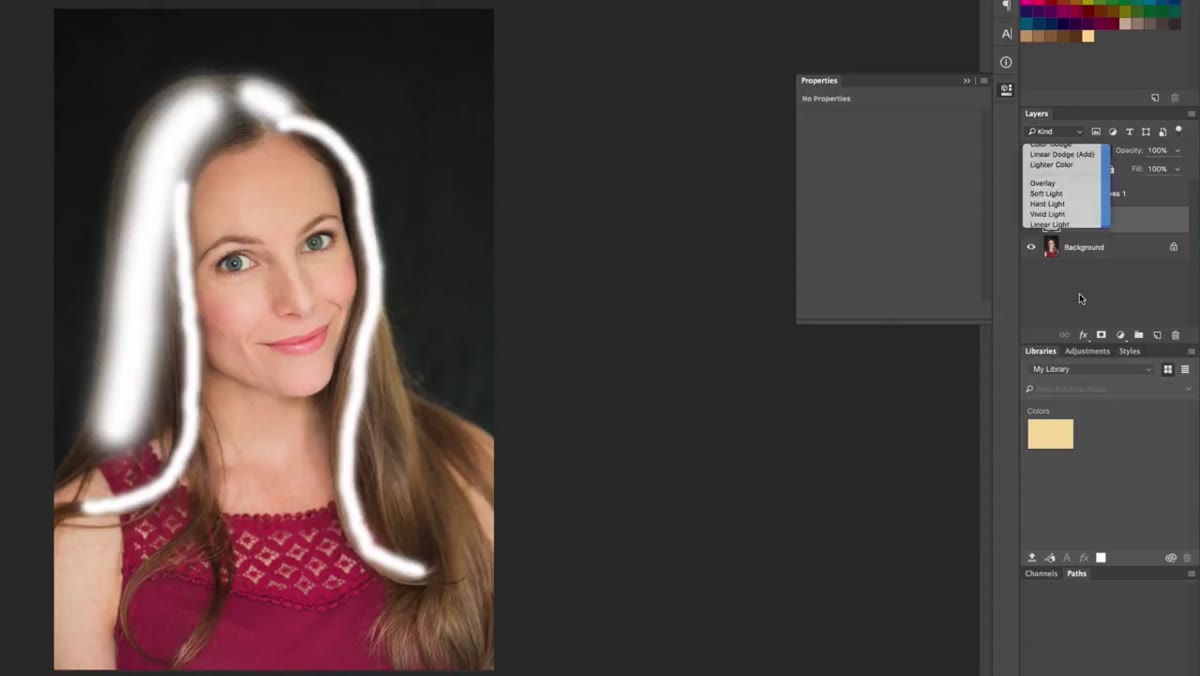 Layer blend mode dropdown showing Overlay selected
With your white paint layer selected, go to the blend mode dropdown at the top of the Layers panel (it defaults to “Normal”) and switch it to Overlay. Julene also tries Soft Light here, but finds Overlay gives more visible results for this particular image. Your mileage may vary depending on how dark the hair and background are, so try both.
Layer blend mode dropdown showing Overlay selected
With your white paint layer selected, go to the blend mode dropdown at the top of the Layers panel (it defaults to “Normal”) and switch it to Overlay. Julene also tries Soft Light here, but finds Overlay gives more visible results for this particular image. Your mileage may vary depending on how dark the hair and background are, so try both.
Overlay blend mode is smart about where it applies its effect. It brightens areas that are already light and deepens areas that are already dark, which means your white paint will naturally boost the lighter parts of the hair without blowing out everything around it. It’s doing the selective work you’d spend ten minutes doing manually with a mask.
Step 6: Lower the Opacity Until It Looks Real
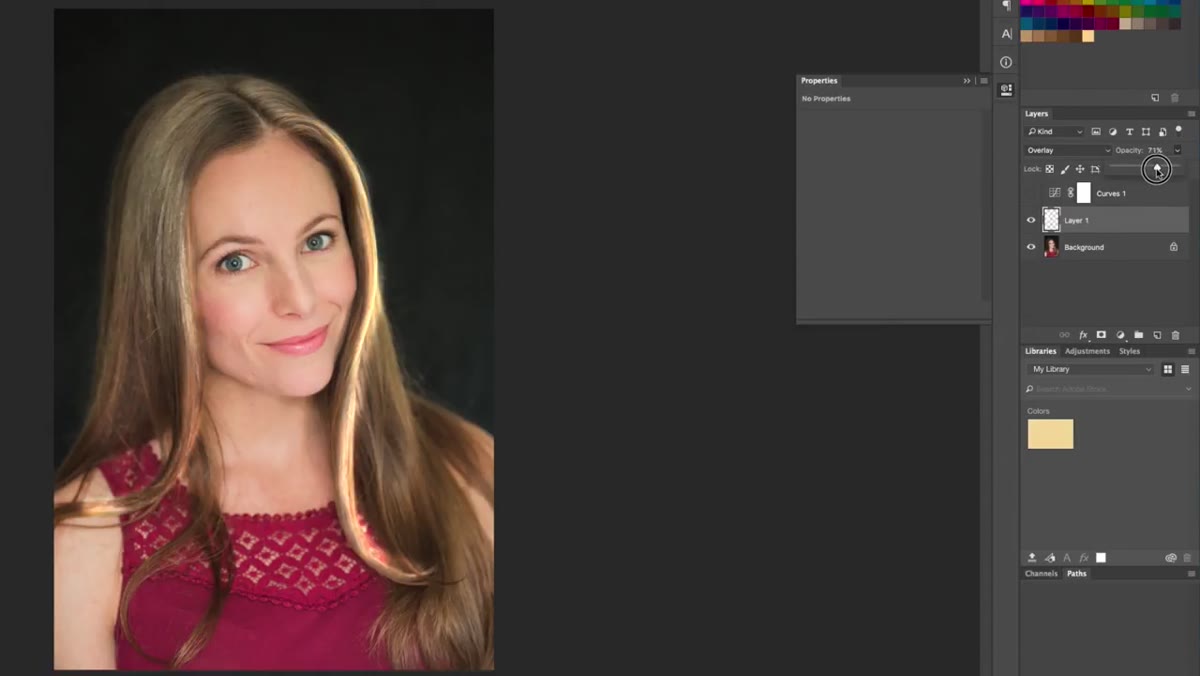 Opacity slider being reduced on the painted highlight layer
This is the step most tutorials breeze past and it’s the one that determines whether your edit looks professional or obvious. With the Overlay layer selected, drop the opacity down until the highlight looks like it belongs to the image. Julene doesn’t land on a specific number because there isn’t one. It depends entirely on the image.
Opacity slider being reduced on the painted highlight layer
This is the step most tutorials breeze past and it’s the one that determines whether your edit looks professional or obvious. With the Overlay layer selected, drop the opacity down until the highlight looks like it belongs to the image. Julene doesn’t land on a specific number because there isn’t one. It depends entirely on the image.
Start around 40-50% and work your way down. The highlight should read as a natural rim light or hair light, not a glowing aura. If you can clearly tell there’s something added, it’s too high. If you can barely see anything, nudge it back up. The sweet spot is when the hair looks like it was lit that way from the start.
A Word on Where This Falls Short (And How I Work Around It)
This technique works beautifully when there’s already some tonal variation in the hair to work with. But if the hair is so dark and the background so dark that they’re essentially the same value, no amount of Overlay painting is going to conjure edge detail that isn’t there. In those cases, I’ll sometimes use a Dodge tool pass on the original image, or pull the image into a Luminosity mask workflow to target just the midtones.
Also worth mentioning: if you’re doing heavy retouching beyond this, keep the painted highlight layer near the top of your layer stack. It’s easy to accidentally merge it down during a retouching session and lose the ability to adjust it independently. I’ve definitely done that. More than once.
The biggest thing this tutorial drives home is that hair separation is a lighting problem, not just a retouching problem. Camera Raw, curves, and a painted overlay layer are all compensating for a rim light or hair light that wasn’t present on set. The cleaner solution is to add that light when shooting. But when you’re working with what you’ve got, this workflow will get you most of the way there in under five minutes.
Watch the full tutorial on YouTube to see Jay and Julene walk through it in real time on an actual portrait.
Comments (1)
Would love to see a follow-up going deeper into this topic.
Leave a Comment