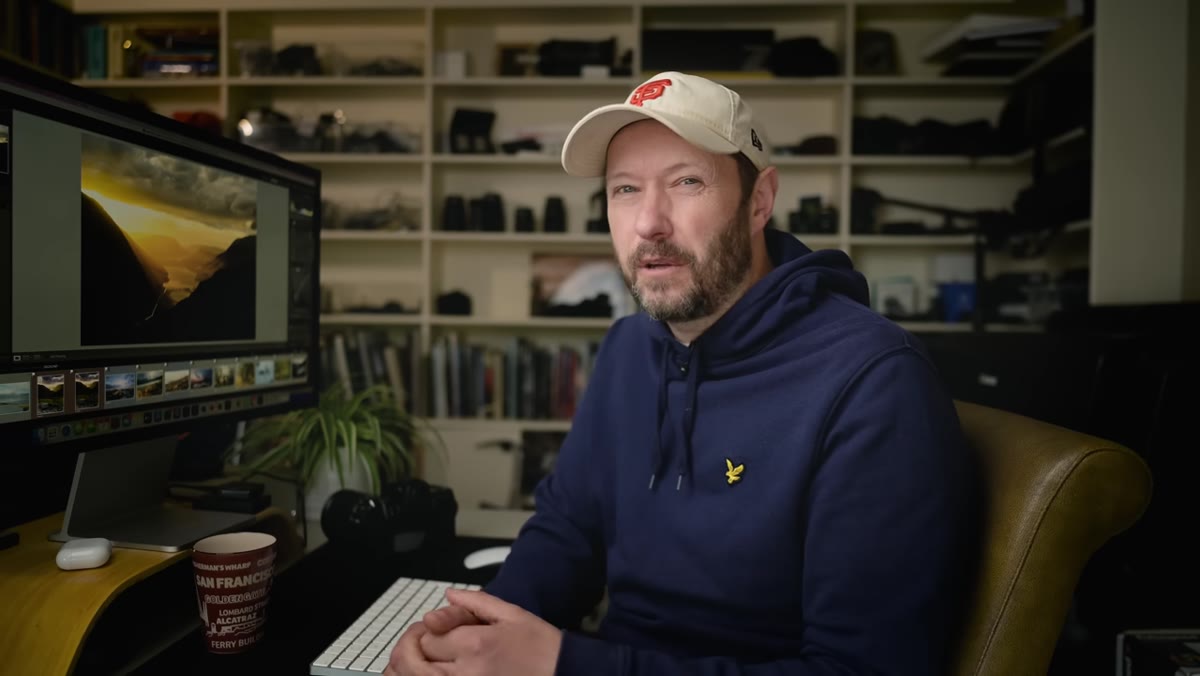
I’ll be honest. For the longest time I treated Lightroom like a place where I did the boring stuff before bringing an image into Photoshop to do anything actually interesting. Rough global adjustments, maybe a quick crop, then over to the real tool. That workflow made sense until I started watching what photographers like Nigel Danson were pulling off without ever touching Photoshop. Watch the full tutorial on YouTube
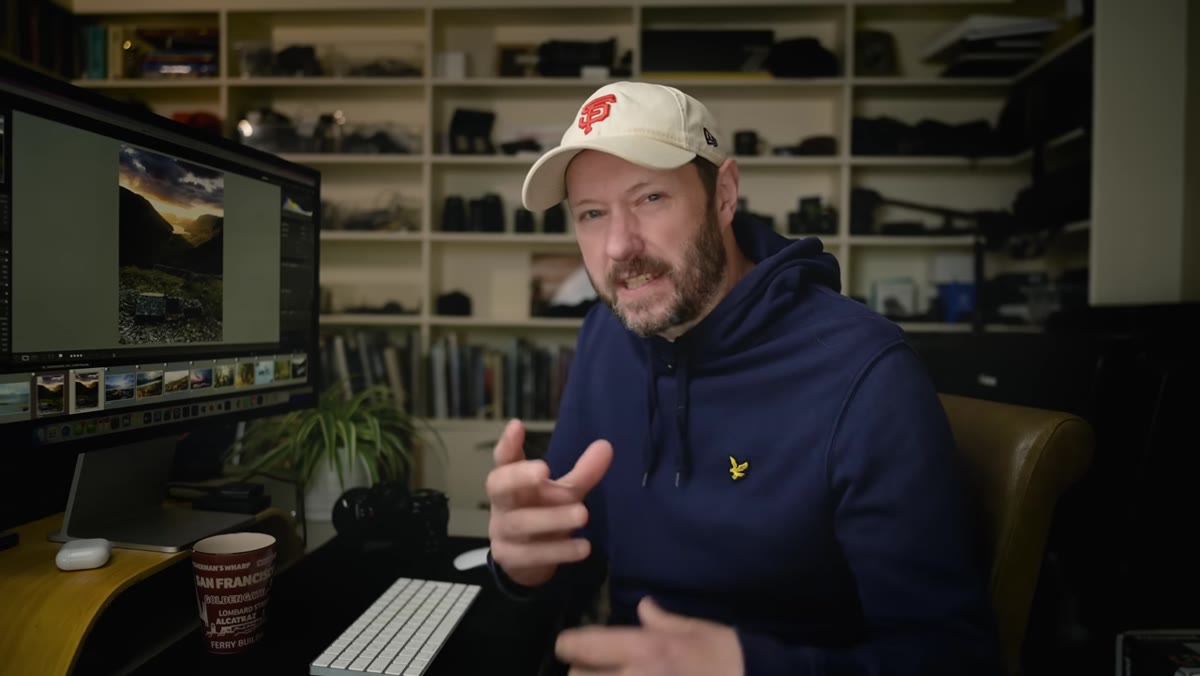
In this Nigel Danson tutorial, the focus is on a relatively recent Lightroom update that most people glossed over in the release notes: you can now use the Curves tool inside masks. That sounds like a minor checkbox feature, but the practical effect is enormous. Before this, if you wanted precise tonal control inside a localized selection, you were doing it with sliders and hoping for the best. Now you can dial in exactly how tones shift within a specific part of your image, with the same level of control you’d get from a curves adjustment layer in Photoshop.
That’s not a small thing. A lot of my freelance work involves compositing and tonal matching, and the reason I kept running back to Photoshop wasn’t because Lightroom lacked masking tools. It was because the adjustments inside those masks were too blunt. Curves changes that. Here’s how Nigel breaks it down.
Step 1: Understand What the Curves Tool Is Actually Doing
 Curves panel open showing histogram and diagonal line
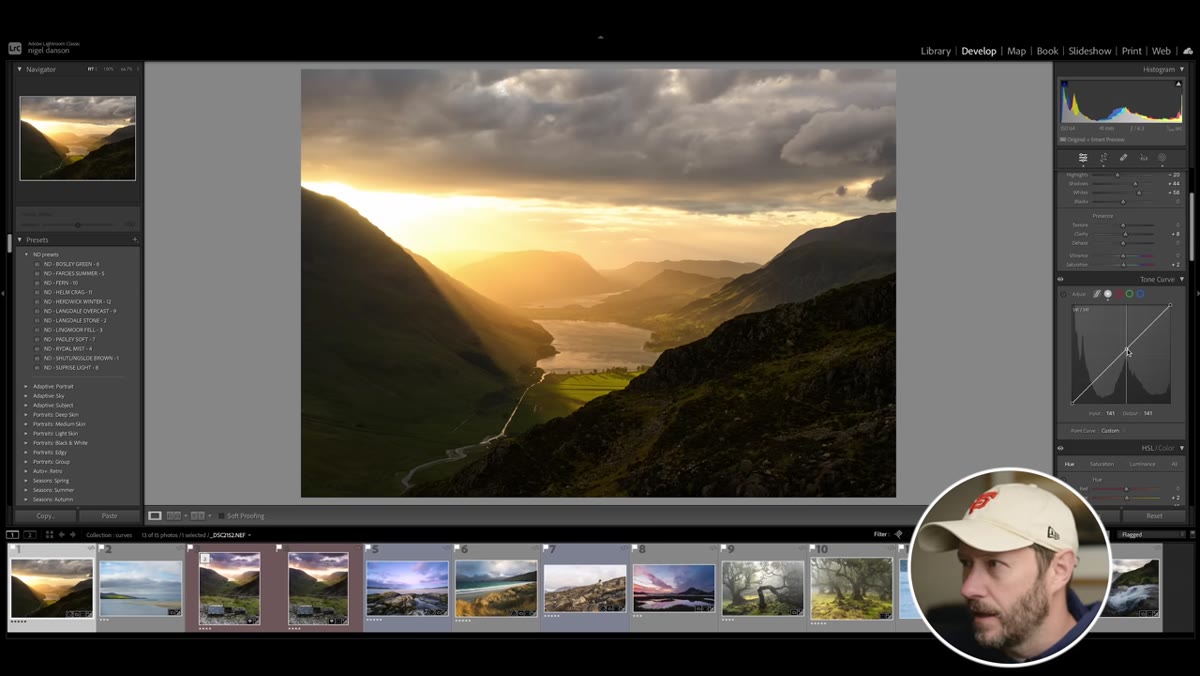
Before jumping into the mask workflow, Nigel gives a quick refresher on how curves work that’s actually worth paying attention to even if you think you know it. The diagonal line on the Curves panel maps input tones (what’s in your image) to output tones (what gets displayed). When the line is straight and diagonal, you’re making no change. When you move a point up, you’re brightening that range of tones. Move it down and you’re darkening them.
Curves panel open showing histogram and diagonal line
Before jumping into the mask workflow, Nigel gives a quick refresher on how curves work that’s actually worth paying attention to even if you think you know it. The diagonal line on the Curves panel maps input tones (what’s in your image) to output tones (what gets displayed). When the line is straight and diagonal, you’re making no change. When you move a point up, you’re brightening that range of tones. Move it down and you’re darkening them.
The X axis runs from blacks on the left to whites on the right, and the histogram behind the line shows you where your image’s tones actually live. So if your histogram is piled up in the midtones, that’s the section of the curve you should be paying most attention to. This matters a lot when you start working locally, because you’re not just pushing sliders anymore. You’re sculpting the tonal response of a specific region.
Step 2: Make a Targeted Global Adjustment First to See the Mechanic
 Curves point placed in midtones, S-curve being created
Start with the global Curves panel and use the on-image picker (the little target icon) to click on an area of your photo whose tones you want to affect. This drops a point directly onto the curve at the value corresponding to that tone. From there you can push a neighboring point up and pull another down to create a localized S-shape in just that tonal range, which increases contrast without blowing out your highlights or crushing your shadows.
Curves point placed in midtones, S-curve being created
Start with the global Curves panel and use the on-image picker (the little target icon) to click on an area of your photo whose tones you want to affect. This drops a point directly onto the curve at the value corresponding to that tone. From there you can push a neighboring point up and pull another down to create a localized S-shape in just that tonal range, which increases contrast without blowing out your highlights or crushing your shadows.
This is the classical S-curve trick, but what Nigel wants you to internalize here is how to target a specific tonal neighborhood rather than just throwing a generic S across the whole curve. The steeper you make the curve in any given range, the more contrast you’re adding to tones in that range. The flatter you make it, the more you’re compressing those tones together. Getting comfortable with that cause-and-effect is what makes the next step actually useful.
Step 3: Create a Mask on Your Target Region
 Masking panel open with color range selection highlighted
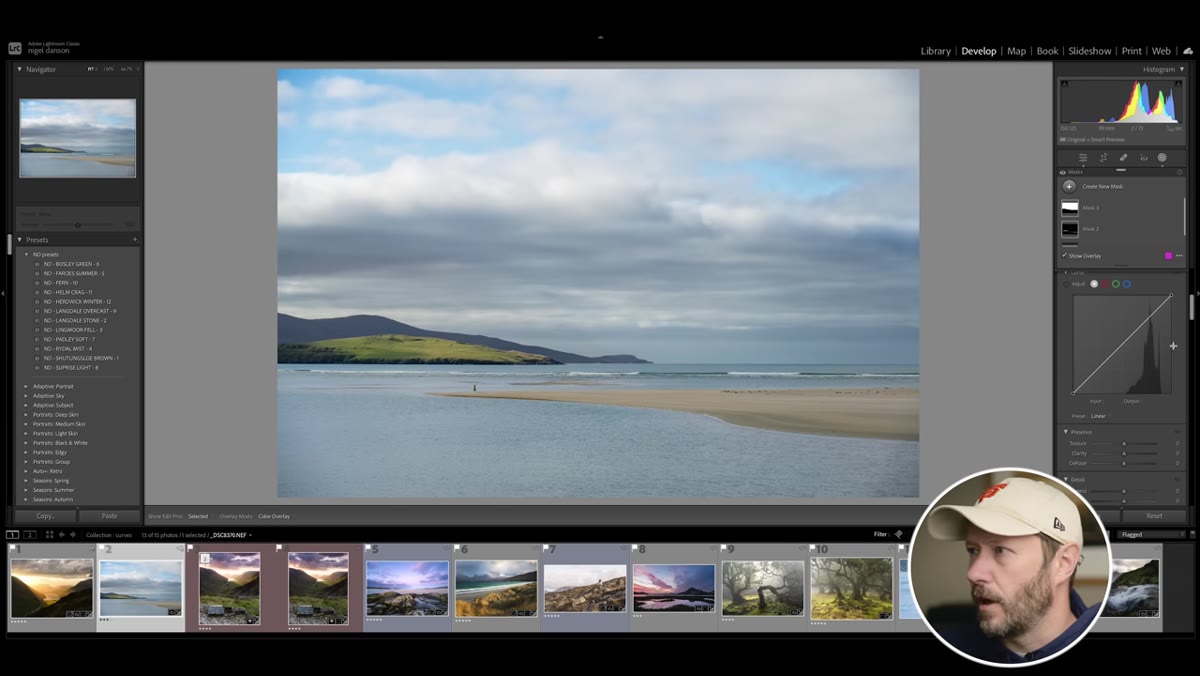
Now head into the Masking panel and create a mask using whatever selection method fits your subject. Nigel demonstrates this with a color range mask, which lets Lightroom select pixels based on hue and luminance values. You click the color picker, sample the tones you want to isolate, and Lightroom builds a selection around them. You’ll see the overlay showing exactly what’s been selected.
Masking panel open with color range selection highlighted
Now head into the Masking panel and create a mask using whatever selection method fits your subject. Nigel demonstrates this with a color range mask, which lets Lightroom select pixels based on hue and luminance values. You click the color picker, sample the tones you want to isolate, and Lightroom builds a selection around them. You’ll see the overlay showing exactly what’s been selected.
The color range mask is genuinely good for isolating things like a sky, a patch of warm light, or a shadowed area on a specific subject. It won’t be perfect on its own, and Nigel acknowledges that you might need to refine it. The point here is that you’re defining the where before you worry about the what.
Step 4: Open Curves Inside the Mask
 Curves adjustment visible inside an active mask panel
This is the step that changed my approach to Lightroom edits. Once your mask is active, scroll down inside that local adjustment panel and you’ll find a Curves control sitting right there. It works exactly the same way as the global Curves panel, but it only applies to the pixels within your mask.
Curves adjustment visible inside an active mask panel
This is the step that changed my approach to Lightroom edits. Once your mask is active, scroll down inside that local adjustment panel and you’ll find a Curves control sitting right there. It works exactly the same way as the global Curves panel, but it only applies to the pixels within your mask.
Think about what that means practically. You can boost contrast in your midtones specifically inside a sky selection without touching the foreground. You can lift the shadow detail inside a masked subject without affecting the ambient exposure of the rest of the scene. Before this feature existed, pulling that off in Lightroom required stacking multiple adjustments with different masks and hoping the math worked out. Now it’s one mask with one curves adjustment inside it.
Step 5: Use the Tone Picker to Target Precisely Within the Mask
 On-image picker sampling tones within the masked region
Same technique as Step 2, but now you’re doing it inside the mask. Use the picker to click on the tones within your masked area that you want to target, and Lightroom will drop a point on the curve at exactly that value. Then nudge points above and below it to shape the contrast response right where you need it.
On-image picker sampling tones within the masked region
Same technique as Step 2, but now you’re doing it inside the mask. Use the picker to click on the tones within your masked area that you want to target, and Lightroom will drop a point on the curve at exactly that value. Then nudge points above and below it to shape the contrast response right where you need it.
This is where the real precision lives. Instead of guessing which part of the curve controls the tones in your foggy horizon or your golden-hour skin tones, you’re letting the tool tell you. Click, place the point, adjust. It takes maybe thirty seconds once you’ve done it a couple of times.
Step 6: Save Your Curves Adjustments as Presets
 Preset panel with curves-based preset being saved
Nigel drops a solid time-saving tip here that I wish I’d figured out on my own: you can save specific curves configurations as presets and apply them inside masks on future images. If you’ve got a curve you love for adding punch to midtone contrast, save it. If you’ve dialed in a curve that handles backlit subjects well, save that too.
Preset panel with curves-based preset being saved
Nigel drops a solid time-saving tip here that I wish I’d figured out on my own: you can save specific curves configurations as presets and apply them inside masks on future images. If you’ve got a curve you love for adding punch to midtone contrast, save it. If you’ve dialed in a curve that handles backlit subjects well, save that too.
To save a preset, just go to the preset panel, click the plus icon, and make sure to include the curves setting in what gets saved. From there you can apply that preset as a starting point inside any local mask, then fine-tune from there rather than building from scratch every time.
One Thing I’d Add: This Works Beautifully for Dodging and Burning
I’ve started using this curves-in-masks approach as a non-destructive dodge and burn workflow that doesn’t require leaving Lightroom at all. Create a luminance range mask targeting your shadows, drop in a curve that gently lifts the low midtones, and you’ve effectively dodged your shadows with tonal precision. Do the same in reverse for highlights you want to pull back. It’s faster than Photoshop’s dodge and burn tools for landscape work, and since everything stays in Lightroom, round-tripping back and forth becomes much less frequent.
The big takeaway here is that local adjustments in Lightroom are no longer just about exposure and saturation sliders. The addition of curves inside masks means you can now control the shape of the tonal response within any selected region of your image. That’s a Photoshop-level capability that lives in a non-destructive, catalog-based workflow. For anyone doing landscape, portrait, or documentary work where most edits happen in Lightroom anyway, this is a genuine game-changer.
Watch the full tutorial on YouTube and see Nigel walk through it on real images. Worth every minute.
Comments (3)
I keep coming back to this article. It's that useful.
I keep coming back to this article. It's that useful.
Love this. I referenced a similar technique in one of my recent posts. Always good to see other perspectives.
Leave a Comment