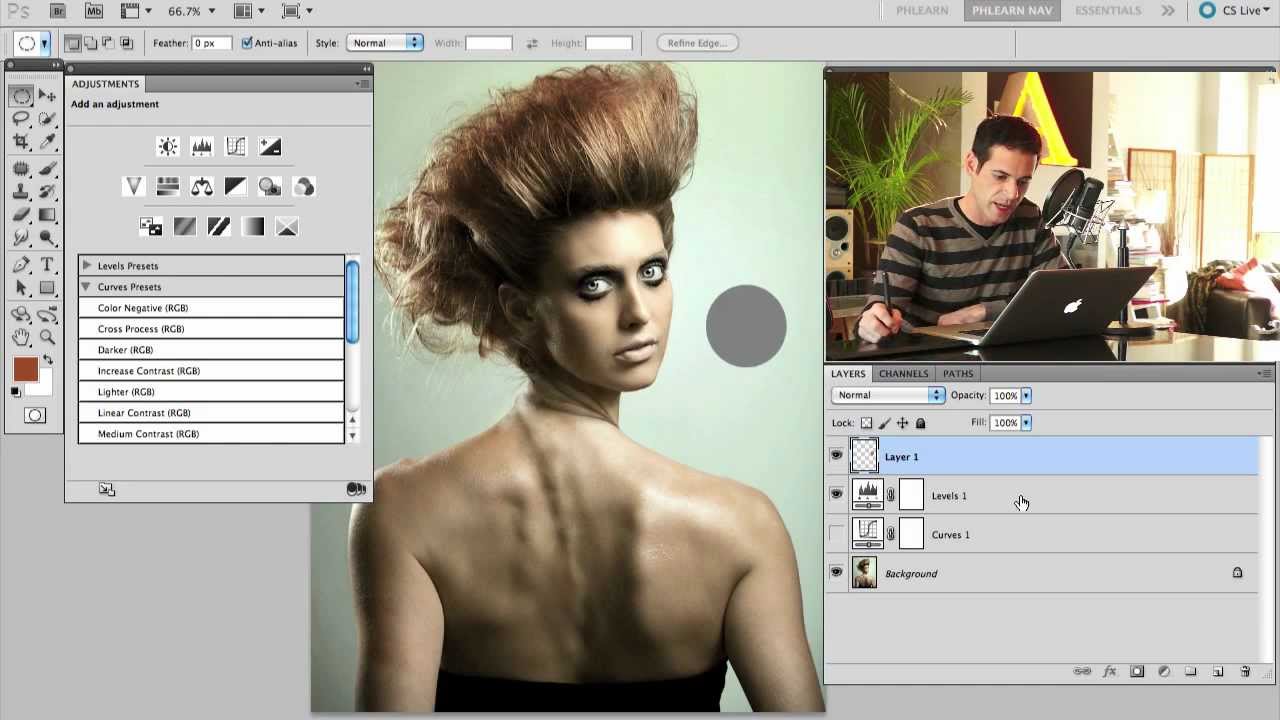
For an embarrassingly long time, I picked between Levels and Curves the same way I pick a parking spot — just grabbed whatever felt right and hoped for the best. Both tools live in the same neighborhood, both mess with tonal values, and neither one comes with a sign that says “use me for THIS.” So I’d open Curves when I felt fancy, open Levels when I felt lazy, and pretend I had a system.
Turns out, there actually is a logic to it. In this Aaron Nace (PHLEARN) tutorial, Watch the full tutorial on YouTube, Aaron breaks down not just what each tool does differently, but how to think about the kind of adjustment you’re trying to make before you even open either one. That framing alone was worth the watch.
The core insight is deceptively simple: all adjustment layers are working with the same pool of information. They’re not creating new data or pulling in magic pixels from elsewhere. They’re just pushing and pulling what already exists in your histogram in different ways. Once that clicks, the question of “which tool do I use?” becomes a lot easier to answer.
Step 1: Open the Histogram Panel to See What You’re Actually Working With
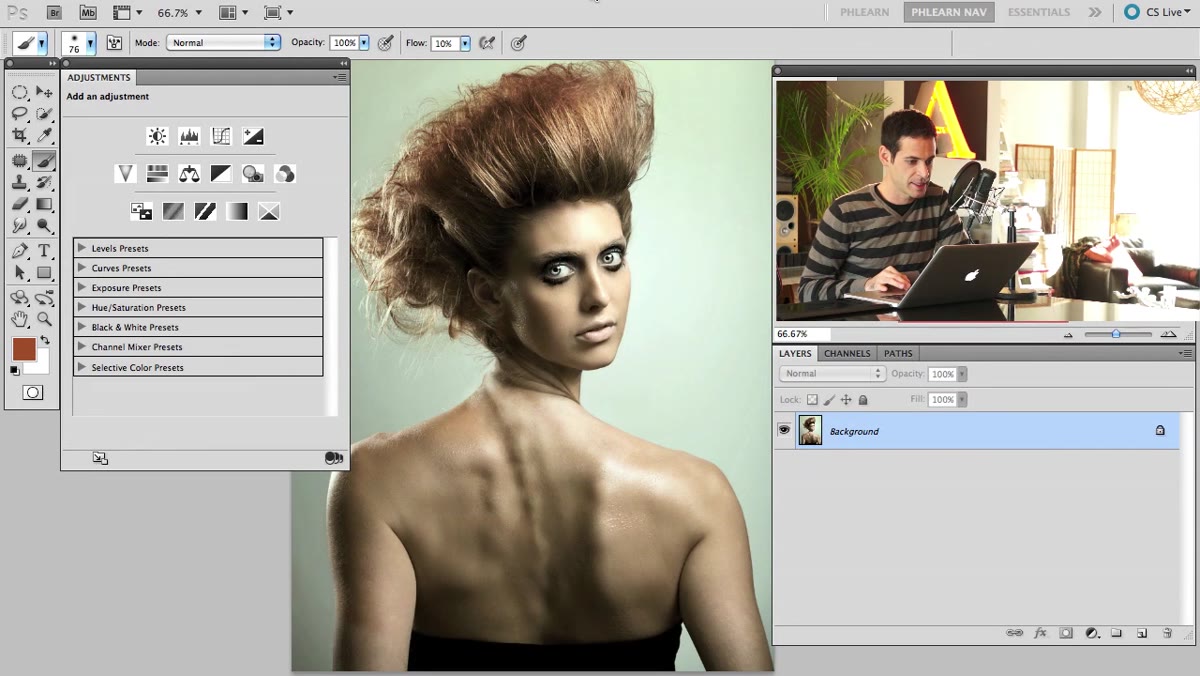 Histogram panel open showing color channels and luminosity
Before touching a single adjustment layer, pull up your histogram. Go to Window > Histogram. This panel gives you a live map of all the tonal information in your image: darks stack up on the left, highlights pile up on the right, and the midtones live in between. Switch to the expanded view to see your individual color channels.
Histogram panel open showing color channels and luminosity
Before touching a single adjustment layer, pull up your histogram. Go to Window > Histogram. This panel gives you a live map of all the tonal information in your image: darks stack up on the left, highlights pile up on the right, and the midtones live in between. Switch to the expanded view to see your individual color channels.
The reason this matters: both Levels and Curves are just different interfaces for manipulating this same histogram data. Looking at it first tells you what kind of problem you’re actually trying to solve, which is the whole game.
Step 2: Understand the Core Philosophy Before You Touch Anything
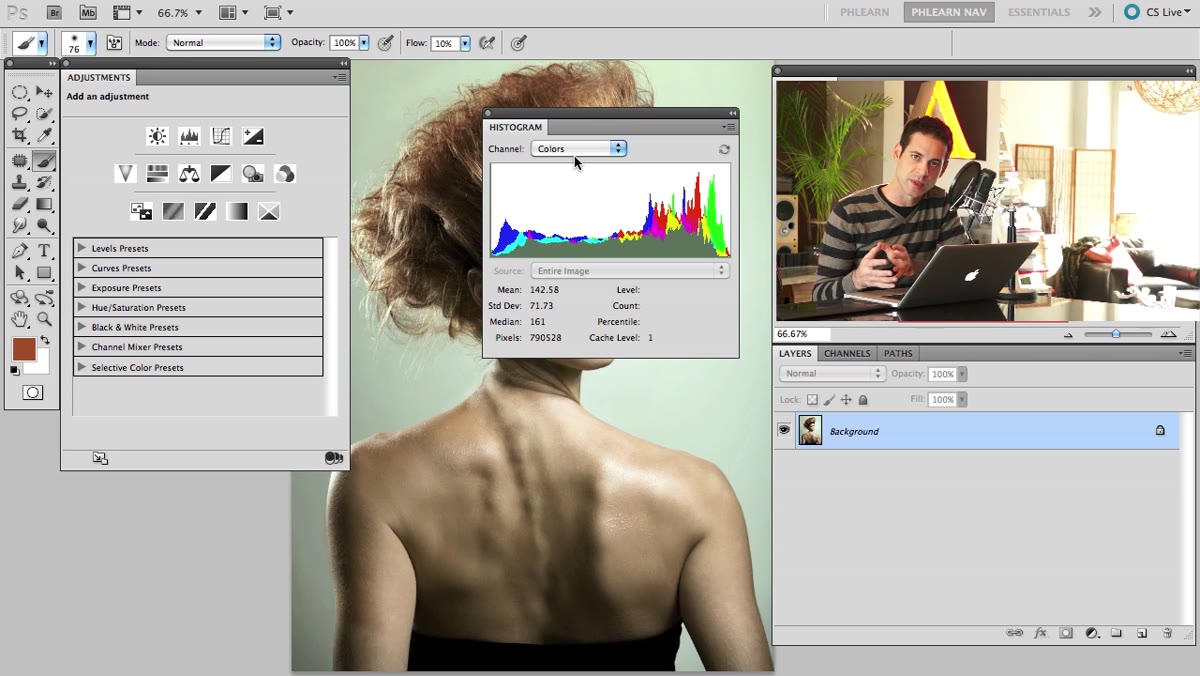 Overview of adjustment layers panel in Photoshop
Aaron’s framing here is useful and I wish someone had given it to me earlier. Think of Levels as a broad, global tool. It’s blunt in a good way. You’re moving sliders to say “these are my blacks, these are my whites, this is my midpoint” and Photoshop adjusts everything proportionally. Big moves, simple controls, fast results.
Overview of adjustment layers panel in Photoshop
Aaron’s framing here is useful and I wish someone had given it to me earlier. Think of Levels as a broad, global tool. It’s blunt in a good way. You’re moving sliders to say “these are my blacks, these are my whites, this is my midpoint” and Photoshop adjusts everything proportionally. Big moves, simple controls, fast results.
Curves, by contrast, lets you grab multiple points along the tonal range and move them independently. You can brighten the midtones while holding your shadows in place. You can create an S-curve that adds contrast with surgical precision. It’s the same underlying data, but you get far more handles to grab onto.
Step 3: Open the Adjustments Panel and Create a Levels Layer
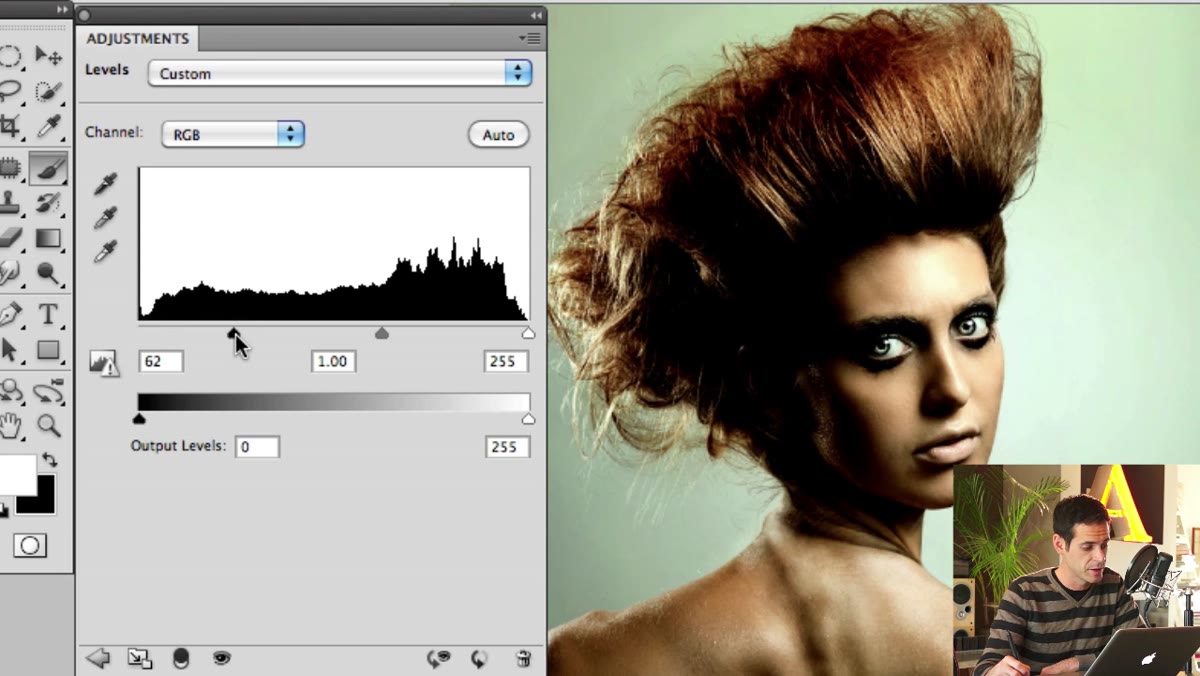
 Levels adjustment layer open with black, white, and midpoint sliders
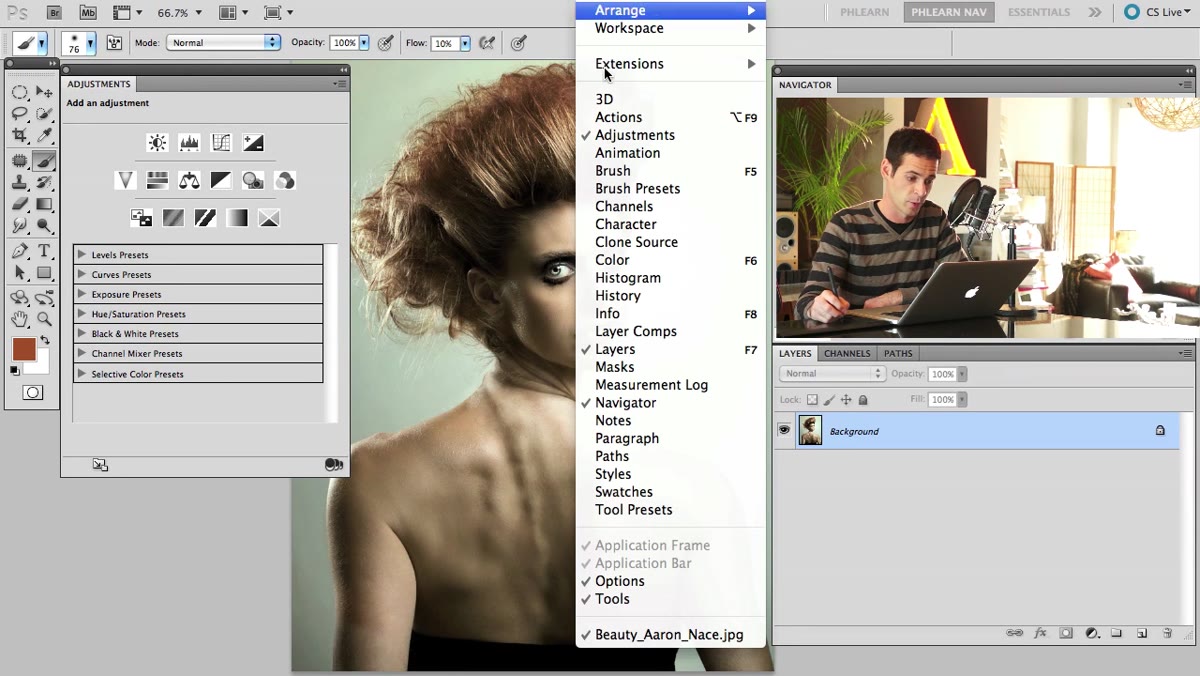
Go to Window > Adjustments and click the Levels icon (it looks like a histogram with three arrows under it). The interface gives you three input sliders: black point on the left, white point on the right, and a midpoint gamma slider in the middle.
Levels adjustment layer open with black, white, and midpoint sliders
Go to Window > Adjustments and click the Levels icon (it looks like a histogram with three arrows under it). The interface gives you three input sliders: black point on the left, white point on the right, and a midpoint gamma slider in the middle.
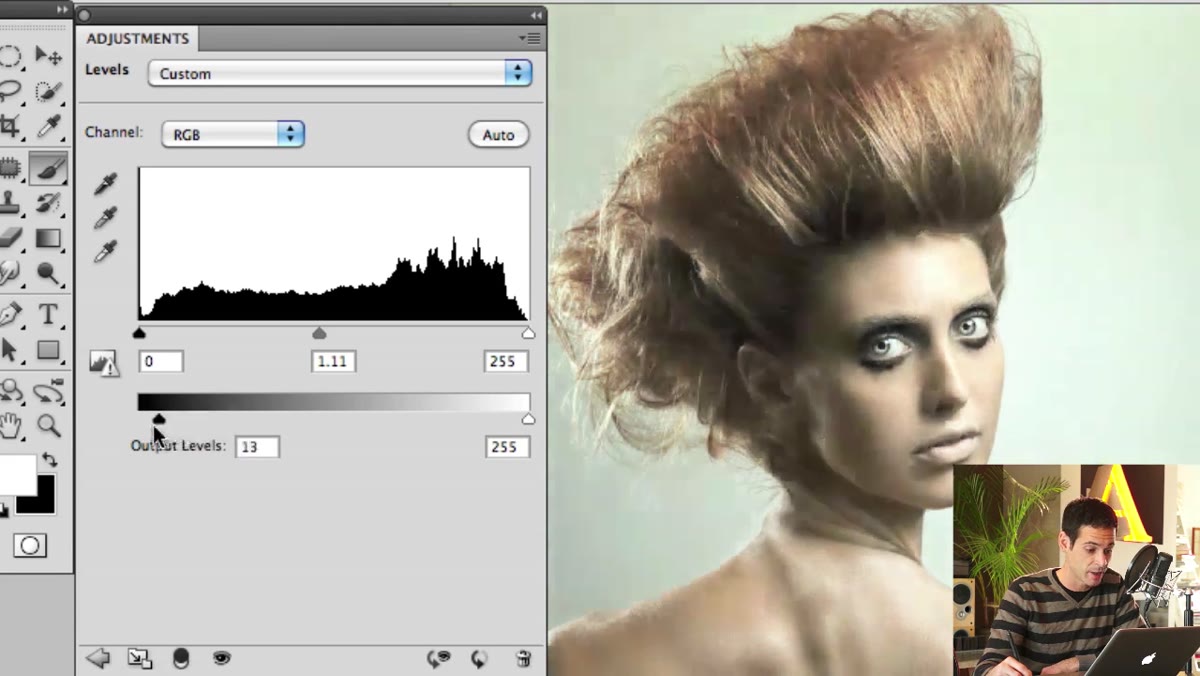
Drag the black point slider right to deepen your shadows. Drag the white point left to blow out your highlights toward white. The midpoint slider controls overall brightness without touching either end. For a shot that just needs a quick tonal fix, this is legitimately the fastest route. I use Levels all the time for flattening a washed-out image or snapping contrast back into something that came out of a gray, overcast shoot.
Step 4: Open a Curves Layer and Notice the Difference in Control
 Curves adjustment layer open showing diagonal line graph
Now add a Curves adjustment layer from the same panel. You’ll see a diagonal line running from the bottom-left corner to the top-right, plotted on a grid. The bottom-left is your shadows, the top-right is your highlights, and everywhere in between is fair game.
Curves adjustment layer open showing diagonal line graph
Now add a Curves adjustment layer from the same panel. You’ll see a diagonal line running from the bottom-left corner to the top-right, plotted on a grid. The bottom-left is your shadows, the top-right is your highlights, and everywhere in between is fair game.
Click anywhere on that line to add a point, then drag it. Drag up to brighten, drag down to darken. The key thing Levels can’t do: you can add multiple points. Pull up the midtones while pinning the shadows so they don’t shift. Create a classic S-curve by pulling the upper-mids up and the lower-mids down to add contrast with a lot more finesse than a single slider allows.
Step 5: Use Individual Channel Curves for Color Correction
 Curves panel with individual RGB channel selected from dropdown
Here’s where Curves genuinely earns its reputation. Click the dropdown at the top of the Curves panel that says “RGB” and switch to the Red, Green, or Blue channel individually. Now you can adjust tones within a specific color channel the same way you adjust overall luminosity.
Curves panel with individual RGB channel selected from dropdown
Here’s where Curves genuinely earns its reputation. Click the dropdown at the top of the Curves panel that says “RGB” and switch to the Red, Green, or Blue channel individually. Now you can adjust tones within a specific color channel the same way you adjust overall luminosity.
Pull the Red channel curve up slightly in the midtones and you’re warming the image. Pull the Blue channel up in the shadows and you get a cinematic cool-shadow look. This is the kind of precise color grading work that would require multiple separate tools if you were stuck with Levels alone. Aaron doesn’t spell this out as a long section in the tutorial but it’s the reason most working editors keep Curves as their default.
Step 6: Match the Tool to the Job
 Side-by-side reference of Levels and Curves panels
Aaron’s practical rule, and the one I’ve actually started using: reach for Levels when you need one clean global fix. Clipping blacks, setting a white point, nudging overall brightness. Reach for Curves when you need to do more than one thing in a single adjustment layer, or when you need color work baked in.
Side-by-side reference of Levels and Curves panels
Aaron’s practical rule, and the one I’ve actually started using: reach for Levels when you need one clean global fix. Clipping blacks, setting a white point, nudging overall brightness. Reach for Curves when you need to do more than one thing in a single adjustment layer, or when you need color work baked in.
The goal isn’t loyalty to one tool. The goal is not opening three separate adjustment layers when one Curves layer with two points would do the same thing cleaner and keep your stack readable.
My Own Take: The Keyboard Shortcut That Changes How Fast This Workflow Actually Is
I’ll be honest, the part of this workflow that made the biggest difference for me wasn’t the conceptual stuff, it was getting the shortcuts locked in. Ctrl+M (Windows) or Cmd+M (Mac) opens Curves directly. Ctrl+L / Cmd+L opens Levels. When you’re bouncing between both tools on the same image, not hunting through the Adjustments panel every time adds up.
The other thing worth knowing: once you’re inside the Curves dialog, you can click directly on a part of your image while holding Ctrl (Mac: Cmd) and Photoshop will drop a point on the curve corresponding to that exact tonal value. That single feature makes Curves faster and more precise than it looks on the surface. I spent way too long manually eyeballing where to place points before I found that one.
The real takeaway from Aaron’s tutorial is that this isn’t a competition between two tools. Levels is fast and broad. Curves is flexible and precise. Knowing which problem you’re trying to solve before you open either one is what separates a guess from a decision.
Watch the full tutorial on YouTube and catch the part where Aaron walks through the histogram framing live. Seeing it on an actual image makes the mental model stick a lot faster than any written description can manage.
Comments (1)
Love how you break down complex stuff into manageable steps.
Leave a Comment