Video Tutorials
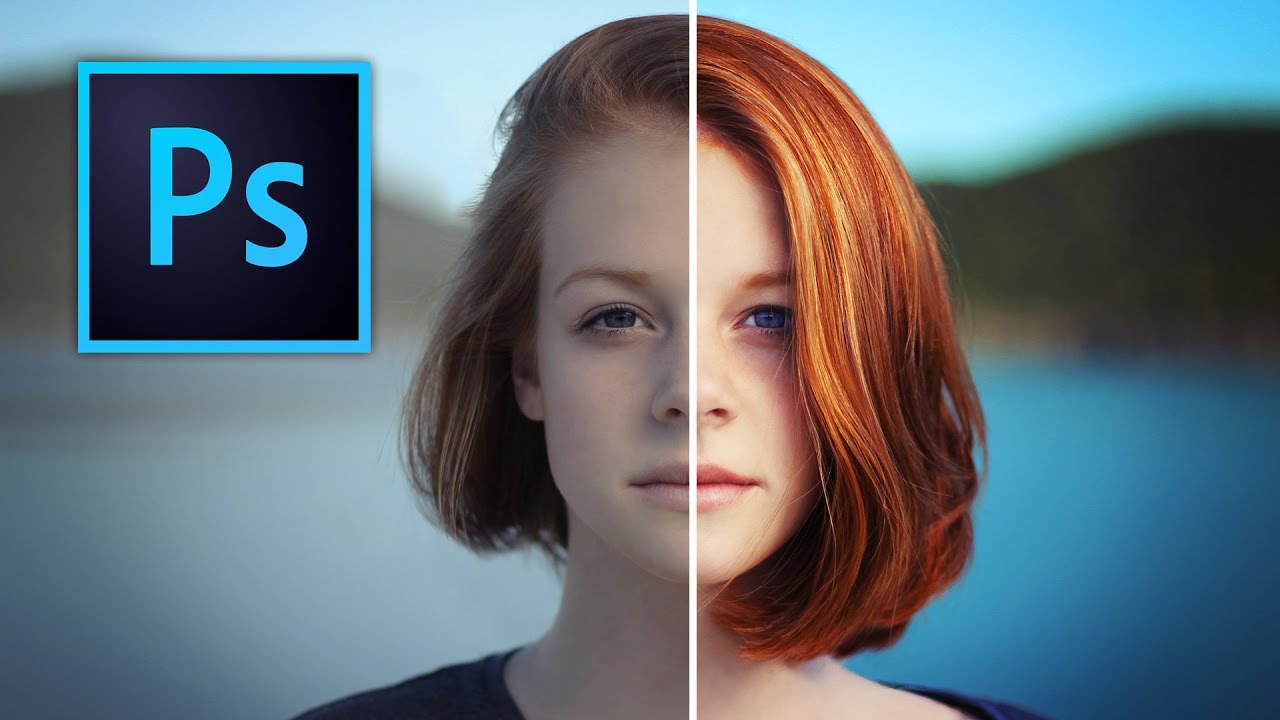
Stop Making Flat Photos: How to Make Colors Actually Pop in Photoshop
Client sends you a photo. Good composition, decent light, and somehow it looks like it was taken through a dirty window. You know the colors should be vibrant, but everything is sitting flat on the canvas like it’s given up on life. I’ve been there more times than I want to count, usually at 11pm in whatever coffee shop hasn’t kicked me out yet. That used to mean me throwing a Vibrance adjustment at the whole image, watching it look weird, undoing it, and repeating that cycle until I either fixed it or just accepted the mediocrity.