There’s a specific kind of frustration that comes from spending an hour manually tracing flyaway hair with the Lasso tool, zoomed in at 400%, one pixel at a time, only to zoom back out and realize it still looks like your subject is wearing a helmet made of jagged edges. I’ve been there more times than I want to admit. Early in my freelance days I’d deliver composites where the hair looked painted on, and I’d just… hope the client didn’t notice. They always noticed.
Hair cutouts are legitimately one of the hardest things to do well in Photoshop, and most tutorials either skip the complexity or drown you in channel masking techniques that require a degree in color theory to execute. What I appreciate about this Kelvin Designs tutorial on cutting out hair is that it cuts straight to the practical workflow. Watch the full tutorial on YouTube if you want to follow along with the source image, or read through the breakdown below and apply it to your own project.
The core technique here is using Refine Edge, which has been sitting in Photoshop long enough that a lot of people assume they already know what it does. Most don’t. There’s a specific way to use it for hair that makes the result look genuinely professional, and the difference between doing it right and doing it halfheartedly is enormous.
Step 1: Open Your Image Through Camera Raw
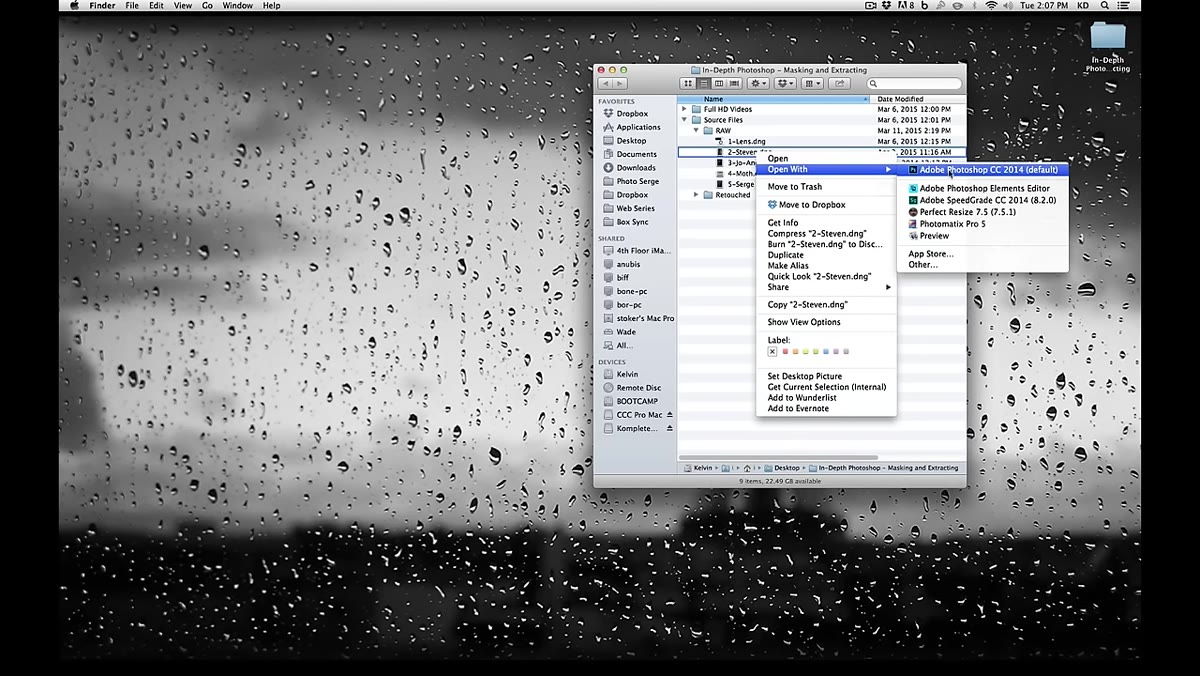 Image opening in Camera Raw with default settings
When you right-click and open your image directly into Photoshop, it’ll likely route through Camera Raw first. For this technique, you don’t need to do anything fancy here. Keep the defaults, click through, and get your image onto the canvas. The point of this step is just to work from a clean, unmodified starting point. Don’t spend time color grading before you’ve made your selection.
Image opening in Camera Raw with default settings
When you right-click and open your image directly into Photoshop, it’ll likely route through Camera Raw first. For this technique, you don’t need to do anything fancy here. Keep the defaults, click through, and get your image onto the canvas. The point of this step is just to work from a clean, unmodified starting point. Don’t spend time color grading before you’ve made your selection.
Step 2: Make a Rough Selection With the Quick Selection Tool
 Quick Selection tool active, dragging over background area
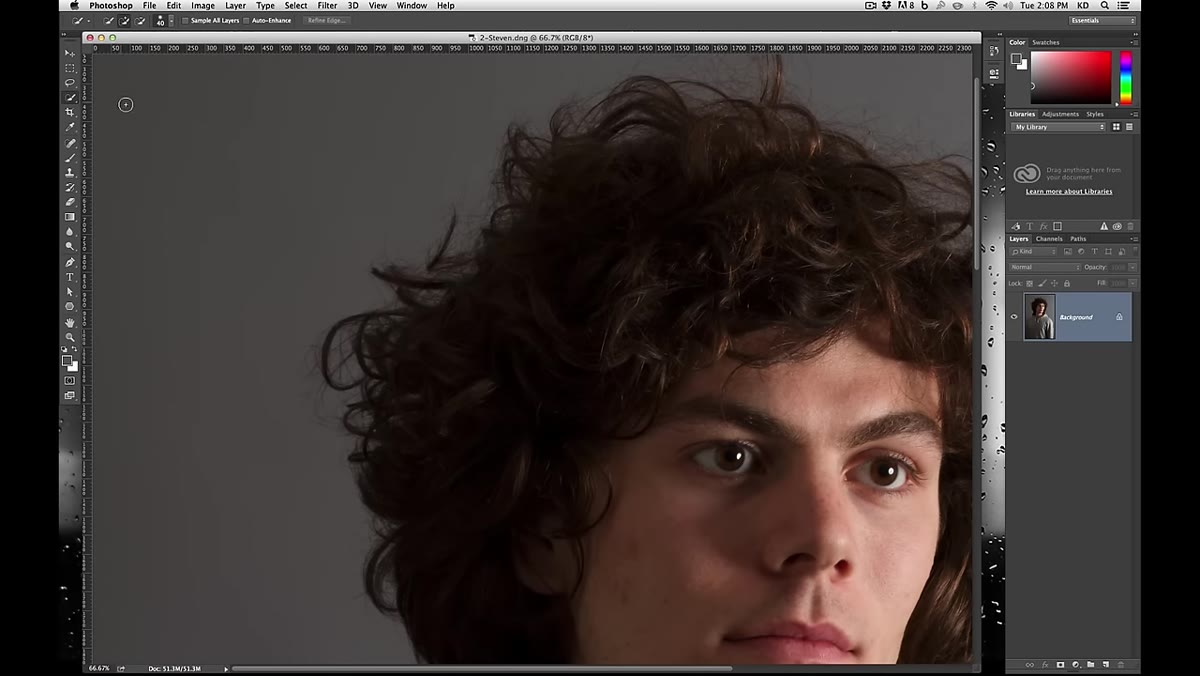
Zoom out to a comfortable working level and grab the Quick Selection tool from the toolbar. Here’s something that trips people up: you’re selecting the background first, not the subject. Paint over the background area to build your initial selection. It doesn’t need to be precise. The whole point of what comes next is to handle the messy edges, so don’t waste time trying to trace every strand of hair.
Quick Selection tool active, dragging over background area
Zoom out to a comfortable working level and grab the Quick Selection tool from the toolbar. Here’s something that trips people up: you’re selecting the background first, not the subject. Paint over the background area to build your initial selection. It doesn’t need to be precise. The whole point of what comes next is to handle the messy edges, so don’t waste time trying to trace every strand of hair.
Use Alt (Option on Mac) to subtract from the selection anywhere the tool grabs parts of the subject by mistake. Work around the full perimeter of the figure and get a reasonably clean selection of the background. The soft, transparent, or wispy areas near the hair? Leave them. Refine Edge will handle those.
Step 3: Invert the Selection
 Select menu open, Inverse option highlighted
Once you’ve got the background selected, invert it so you’re working with the subject instead. Go to Select in the menu bar and choose Inverse, or hit Command+Shift+I on Mac, Control+Shift+I on PC. Now your selection is around your subject rather than the background, which is where you want it before you open Refine Edge.
Select menu open, Inverse option highlighted
Once you’ve got the background selected, invert it so you’re working with the subject instead. Go to Select in the menu bar and choose Inverse, or hit Command+Shift+I on Mac, Control+Shift+I on PC. Now your selection is around your subject rather than the background, which is where you want it before you open Refine Edge.
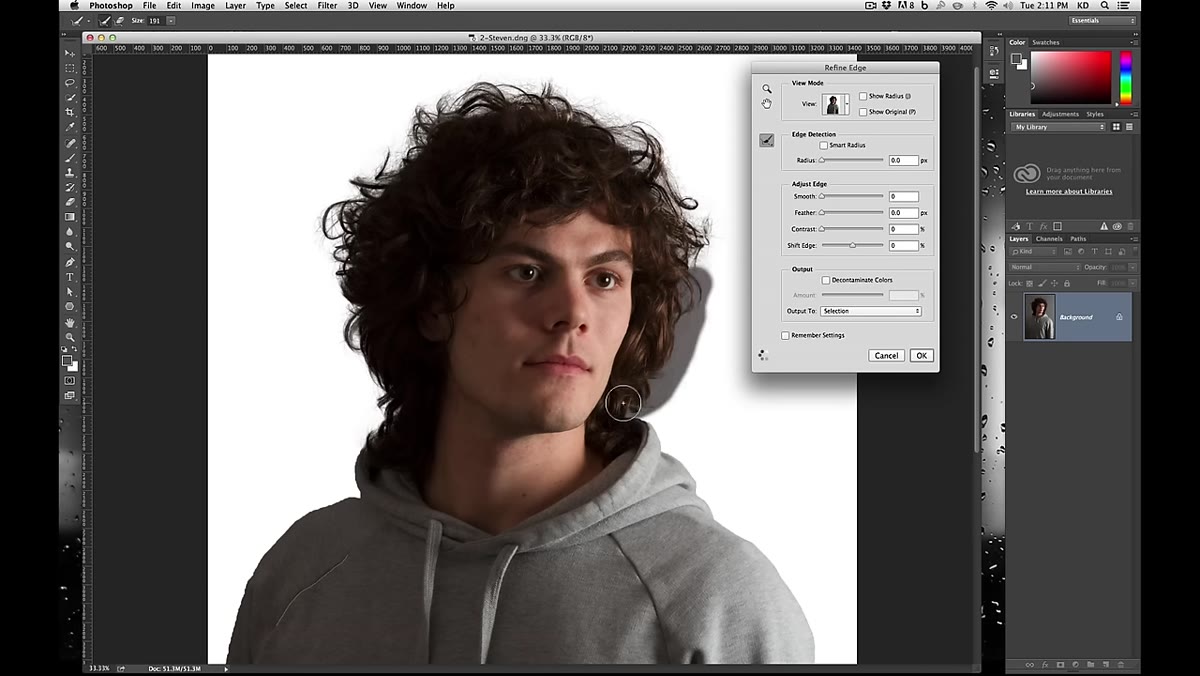
Step 4: Open Refine Edge
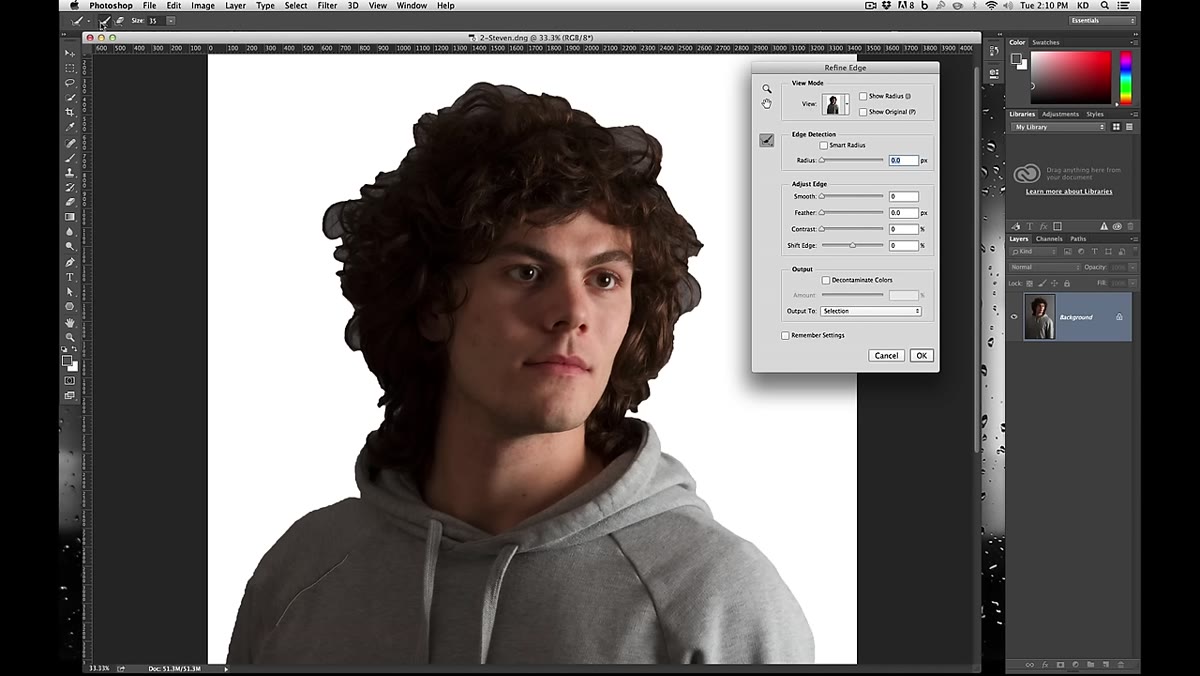
 Refine Edge dialog box opening with selection active
With any selection tool active, you’ll see a “Refine Edge” button appear in the top options bar. Click it. This opens a dedicated panel that’s specifically built for cleaning up complex selection edges. If you’ve only ever used this as a way to feather a selection slightly, you’ve been underutilizing it by about 90 percent.
Refine Edge dialog box opening with selection active
With any selection tool active, you’ll see a “Refine Edge” button appear in the top options bar. Click it. This opens a dedicated panel that’s specifically built for cleaning up complex selection edges. If you’ve only ever used this as a way to feather a selection slightly, you’ve been underutilizing it by about 90 percent.
Inside the panel, you’ll see options for viewing your selection in different modes. Kelvin recommends switching to a view that shows you the worst-case version of your edge, which in practice means choosing “On White” or “On Black.” These high-contrast backgrounds expose every flaw in your selection, which is exactly what you want. Working on a forgiving background just means problems you’ll see later when you drop the cutout onto a different image.
Step 5: Use the Refine Edge Brush to Paint Over the Hair
 Large Refine Edge brush being painted over hair area
This is the step that changes everything. Inside the Refine Edge panel there’s a brush tool, and the key variable is brush size. If you’re working with a high-resolution image, you need a large brush. Don’t be timid about it. Dial that size up significantly and paint one broad stroke across the entire area where the hair meets the background.
Large Refine Edge brush being painted over hair area
This is the step that changes everything. Inside the Refine Edge panel there’s a brush tool, and the key variable is brush size. If you’re working with a high-resolution image, you need a large brush. Don’t be timid about it. Dial that size up significantly and paint one broad stroke across the entire area where the hair meets the background.
What Photoshop does in response is genuinely impressive even after you’ve seen it a hundred times. The algorithm analyzes the pixels in that zone and figures out which ones are partially transparent, which are fully opaque, and which belong to the background. It reconstructs the edge based on actual pixel data rather than the crude border your Quick Selection drew. You’ll watch individual hairs appear where there was just a hard edge before. Do a second pass over any areas that still look chunky or unnatural.
Step 6: Review the Result and Output
 Hair edge refined with visible strand detail against background
After your brush passes, zoom in and evaluate the edge. Look for areas where the tool over-selected or left obvious fringing. The erase version of the Refine Edge brush lets you pull back in spots where the tool got overzealous. Once you’re satisfied, use the Output settings at the bottom of the panel to export as a new layer with a mask, which preserves your original and gives you a non-destructive result you can keep tweaking.
Hair edge refined with visible strand detail against background
After your brush passes, zoom in and evaluate the edge. Look for areas where the tool over-selected or left obvious fringing. The erase version of the Refine Edge brush lets you pull back in spots where the tool got overzealous. Once you’re satisfied, use the Output settings at the bottom of the panel to export as a new layer with a mask, which preserves your original and gives you a non-destructive result you can keep tweaking.
What I’d Add: Watch Your Background Color Contamination
One thing the tutorial doesn’t dig into, and something I’ve run into on real jobs, is color contamination on the hair edges. When a subject is photographed against a bright or colored background, those edge hairs often pick up a color cast from that background. Refine Edge does a decent job of handling transparency, but it won’t fix a green or white halo baked into the hair pixels themselves.
After you output your masked layer, check the edges against a few different background colors. If you see a halo, the “Decontaminate Colors” checkbox inside the Refine Edge panel can help, but it’s destructive, so it’s worth testing before committing. Alternatively, a Hue/Saturation adjustment clipped to the layer can neutralize a subtle cast without touching the rest of the image.
Refine Edge doesn’t eliminate all the judgment calls involved in a good hair cutout, but it collapses what used to be a multi-hour process into something you can execute in under ten minutes on most images. The Quick Selection plus Refine Edge brush combination is the fastest path from a raw photo to a clean, usable mask that I’ve found, and Kelvin lays it out in a way that’s actually easy to replicate.
Watch the full tutorial on YouTube to see the technique on the original source image. Seeing the before and after in motion makes the Refine Edge brush step click in a way that screenshots can’t fully capture.
Comments
Leave a Comment