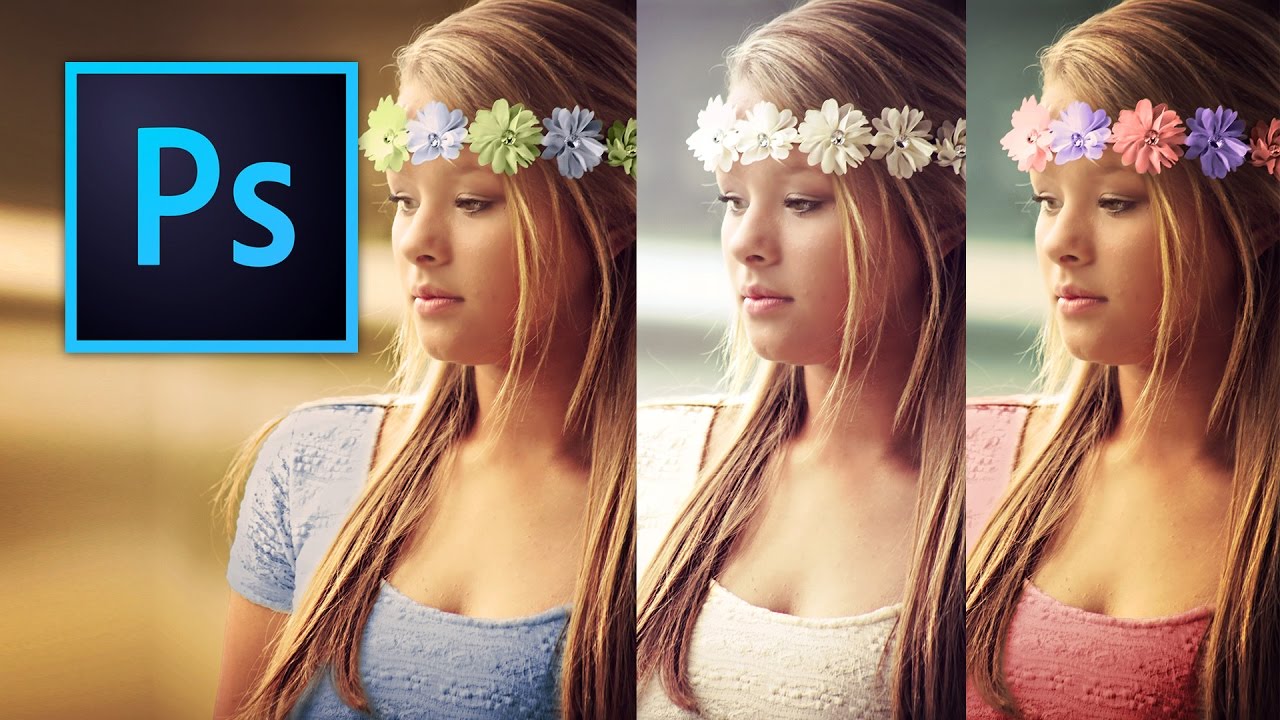
I used to handle color changes in Photoshop the embarrassing way. New layer, paintbrush, roughly scribble the new color over the thing, set it to Multiply, squint at it, and convince myself it looked fine. It did not look fine. The first time a client asked me to change the color of a product in a photo, I spent forty minutes doing something that, as I later found out, could have taken four. That’s the kind of thing that stings when you remember it at 2am in a coffee shop.
The good news is there’s a clean, non-destructive method for recoloring anything in a photo, and Kelvin Designs lays it out clearly in this tutorial. Watch the full tutorial on YouTube before diving in if you want to see the finished result first, though the breakdown below should get you there on its own. Kelvin walks through changing the color of a dress, flowers, and a background in the same image, which is a useful test because each one has different edge complexity. Here’s exactly how it works.
Step 1: Open Your Image and Set Up Your Workspace
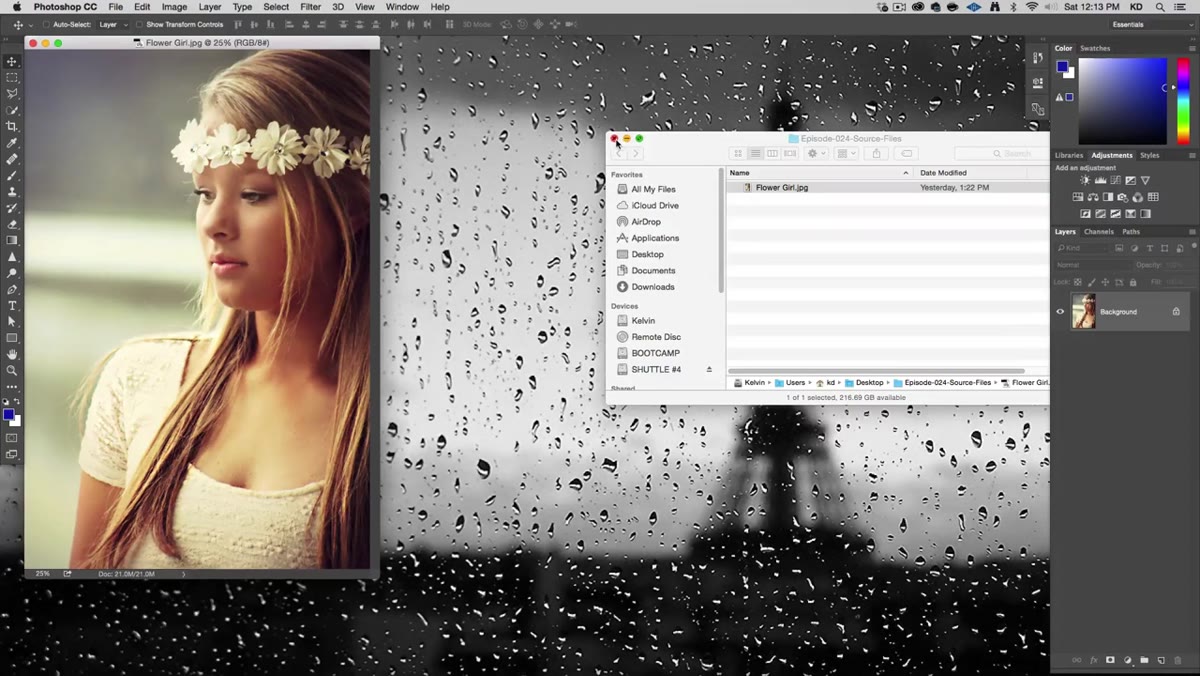 Photoshop open with flower girl photo in Essentials workspace
Open your image in Photoshop. Kelvin works with a photo of a woman in a floral dress, which is a great test case because you’ve got a soft background, fabric with texture, and flowers, all requiring slightly different treatment. If your workspace looks different from the default, go to Window > Workspace > Essentials, and if it still looks off, hit “Reset Essentials.” It sounds like a small thing but having your panels where you expect them saves you from hunting around mid-workflow. Close your Libraries panel if it’s open. You want your Adjustments panel visible on the right side.
Photoshop open with flower girl photo in Essentials workspace
Open your image in Photoshop. Kelvin works with a photo of a woman in a floral dress, which is a great test case because you’ve got a soft background, fabric with texture, and flowers, all requiring slightly different treatment. If your workspace looks different from the default, go to Window > Workspace > Essentials, and if it still looks off, hit “Reset Essentials.” It sounds like a small thing but having your panels where you expect them saves you from hunting around mid-workflow. Close your Libraries panel if it’s open. You want your Adjustments panel visible on the right side.
Step 2: Use the Quick Selection Tool to Build Your First Selection
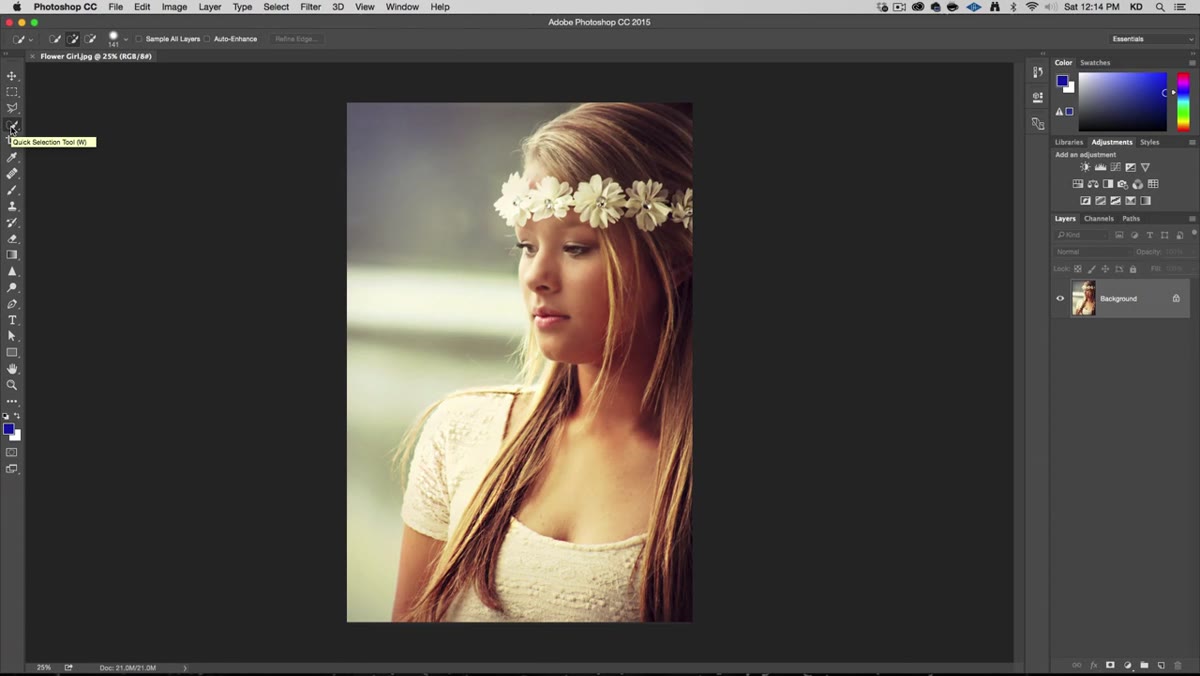 Quick Selection tool brushing over the background of the image
Grab the Quick Selection tool from the toolbar (keyboard shortcut W, then Shift+W to cycle to it if needed). This tool reads contrast and edge information to guess where your selection boundary should fall, which is why Kelvin notes that adding contrast to an image beforehand can actually help it perform better. Start with the simplest region first, which in this case is the background. Click and drag across the area you want to select. The tool will expand outward and try to find edges automatically.
Quick Selection tool brushing over the background of the image
Grab the Quick Selection tool from the toolbar (keyboard shortcut W, then Shift+W to cycle to it if needed). This tool reads contrast and edge information to guess where your selection boundary should fall, which is why Kelvin notes that adding contrast to an image beforehand can actually help it perform better. Start with the simplest region first, which in this case is the background. Click and drag across the area you want to select. The tool will expand outward and try to find edges automatically.
You’ll almost certainly grab parts of the subject you didn’t want. Hold Alt and brush over those areas to subtract them from the selection. Pay attention to the hair especially, since semi-transparent areas like flyaways are better left alone at this stage rather than forced into a hard selection.
Step 3: Refine the Selection Edges
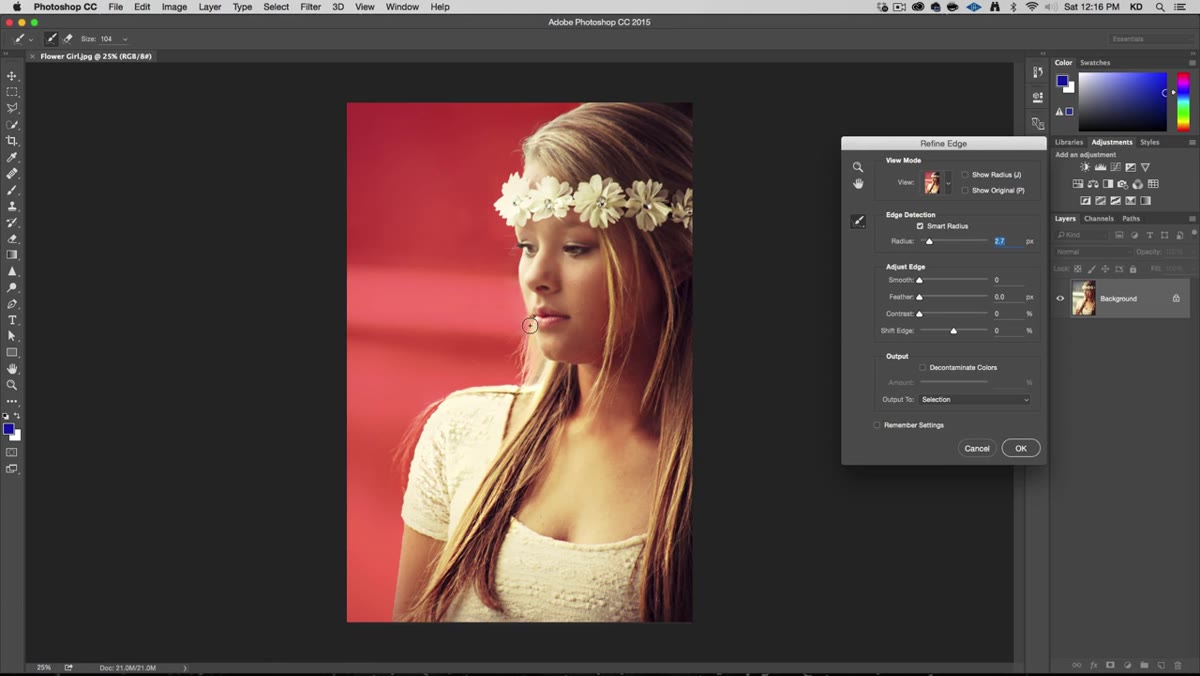
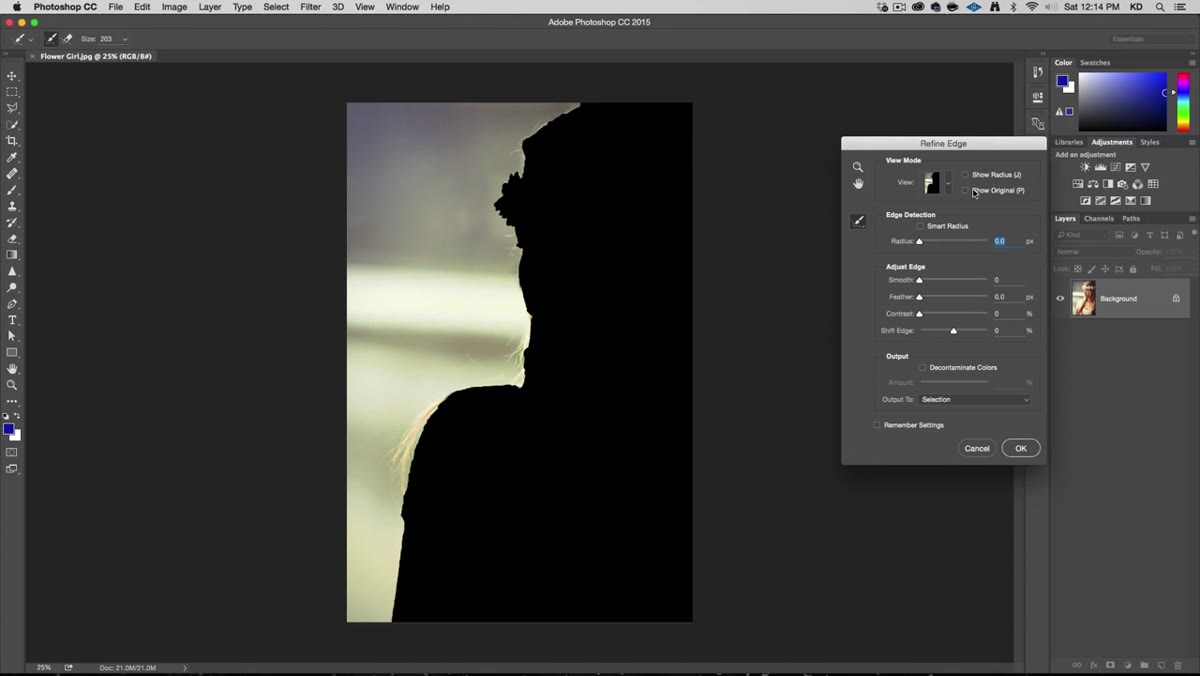 Refine Edge dialog open with overlay view mode active
Once your rough selection is in place, click “Refine Edge” (or “Select and Mask” in newer Photoshop versions). This is where a mediocre selection becomes a usable one. Change the View Mode to Overlay so you can see what’s selected and what isn’t in a way that actually makes sense to your eyes. The black and white view is useful for checking fine detail around hair, so switch between them as needed.
Refine Edge dialog open with overlay view mode active
Once your rough selection is in place, click “Refine Edge” (or “Select and Mask” in newer Photoshop versions). This is where a mediocre selection becomes a usable one. Change the View Mode to Overlay so you can see what’s selected and what isn’t in a way that actually makes sense to your eyes. The black and white view is useful for checking fine detail around hair, so switch between them as needed.
Inside Refine Edge, use the Refine Edge Brush. You can resize it by holding Ctrl+Alt and dragging left or right to change diameter. Paint over semi-transparent areas like hair edges and Photoshop will analyze the underlying pixel data to figure out which parts belong to the subject and which belong to the background. It’s genuinely impressive how well it handles fine hair when you give it room to work. Bump up the Edge Detection radius slightly if it’s missing soft transitions.
Step 4: Add a Hue/Saturation Adjustment Layer
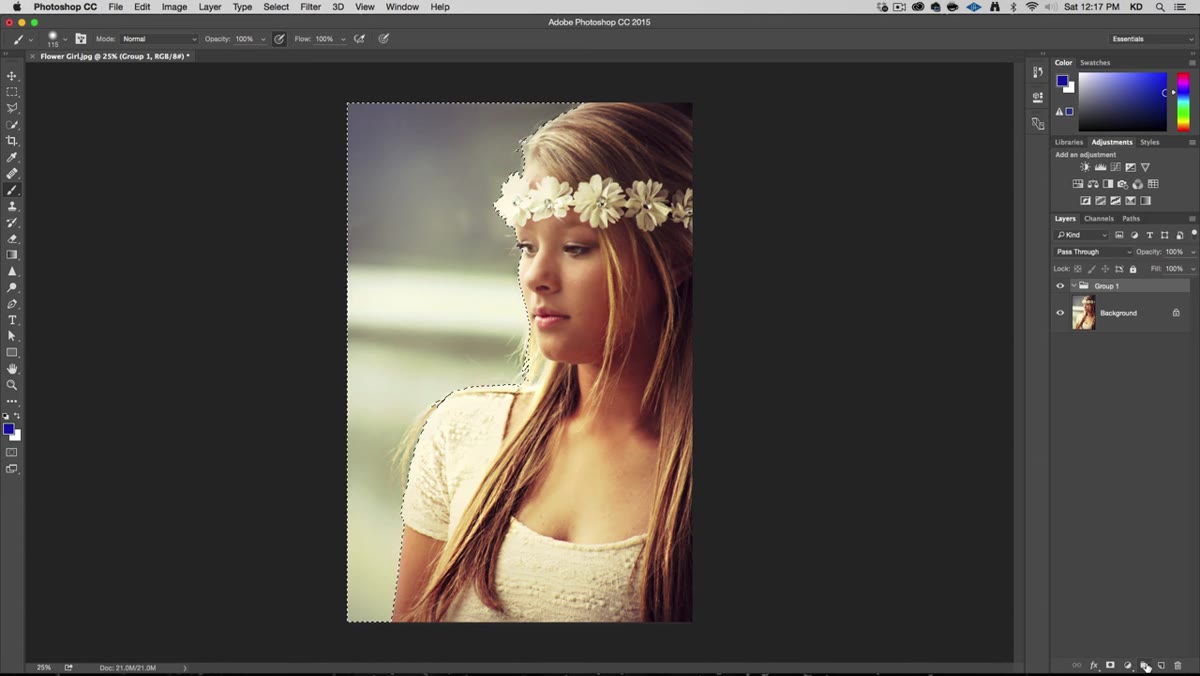
 Adjustments panel showing Hue/Saturation layer being added
Once you’re happy with the selection, don’t deselect it. Go straight to your Adjustments panel and click the Hue/Saturation icon. Photoshop will automatically use your active selection as a mask for the adjustment layer, which means the color change will only apply to the area you selected. This is the core of why this method is clean and non-destructive. You’re not touching any original pixels.
Adjustments panel showing Hue/Saturation layer being added
Once you’re happy with the selection, don’t deselect it. Go straight to your Adjustments panel and click the Hue/Saturation icon. Photoshop will automatically use your active selection as a mask for the adjustment layer, which means the color change will only apply to the area you selected. This is the core of why this method is clean and non-destructive. You’re not touching any original pixels.
In the Hue/Saturation properties, drag the Hue slider and watch the selected area shift through the color spectrum in real time. Dragging Saturation up or down controls color intensity. If the result looks washed out or oversaturated, a small Saturation adjustment usually fixes it. The Lightness slider lets you control whether the new color reads as lighter or darker than the original.
Step 5: Repeat the Process for Each Region
 New selection being made on the dress with previous adjustment layer visible
Deselect (Ctrl+D), then repeat the same process for each region you want to recolor. Select the dress, hit Refine Edge, create another Hue/Saturation layer. Select the flowers, refine, add another layer. Each new adjustment layer gets its own mask, and each mask is tied to the selection you had active when you created it. You end up with a clean layer stack where every color change is isolated, editable, and reversible.
New selection being made on the dress with previous adjustment layer visible
Deselect (Ctrl+D), then repeat the same process for each region you want to recolor. Select the dress, hit Refine Edge, create another Hue/Saturation layer. Select the flowers, refine, add another layer. Each new adjustment layer gets its own mask, and each mask is tied to the selection you had active when you created it. You end up with a clean layer stack where every color change is isolated, editable, and reversible.
This is also where working non-destructively pays off immediately. If a client comes back and says “actually make the dress teal, not green,” you double-click the Hue/Saturation layer and drag the slider. Done in ten seconds, no re-selecting anything.
A Note on When This Gets Tricky
The Quick Selection tool earns its paycheck on high-contrast images. The flower girl photo Kelvin uses works well because the background is light and the subject is darker, so the edges are readable. When you’re working with lower-contrast images, or a subject that shares colors with the background, the tool struggles and you’ll spend more time in Refine Edge patching up the selection than you did making it in the first place.
In those situations, I usually switch to the Pen Tool for the main subject outline, build a rough path, convert it to a selection, and then use Refine Edge just for the soft or transparent edges like hair. It’s slower but the result is cleaner. If you need to go deeper on selection techniques before this workflow makes sense for your images, Kelvin also has a separate tutorial on cutting out hair that he mentions during this video and it’s worth tracking down.
One other thing worth flagging: if the original object has a strong base color, like a deep red dress, the Hue shift might not produce the result you expect because you’re shifting a saturated red, not a neutral. In those cases, check the “Colorize” option in Hue/Saturation. It strips the existing color and applies a fully new one from scratch, which gives you much more predictable results on saturated originals.
Selection quality is everything here. The Hue/Saturation adjustment layer is simple and takes about three seconds to set up, but if your mask is sloppy, the color bleed will make the whole thing look amateur no matter how perfectly you dialed in the Hue slider. Get the selection right first, and the color change basically does itself. Watch the full tutorial on YouTube to see Kelvin work through the whole thing in real time, including the second color variation he creates at the end.
Comments
Leave a Comment