You're Using Photoshop Filters Wrong (And So Was I)

You're Using Photoshop Filters Wrong (And So Was I)

Last year I was working on a product composite for a client, a skincare brand that needed clean, glowy imagery for a launch campaign. Tight deadline, decent budget, straightforward brief. I ran a Surface Blur to smooth out some texture on the packaging, flattened the layer because I was moving fast and being an idiot, and then the client came back and said the blur looked too heavy. I stared at that file for a solid 30 seconds before accepting that I had no way back.
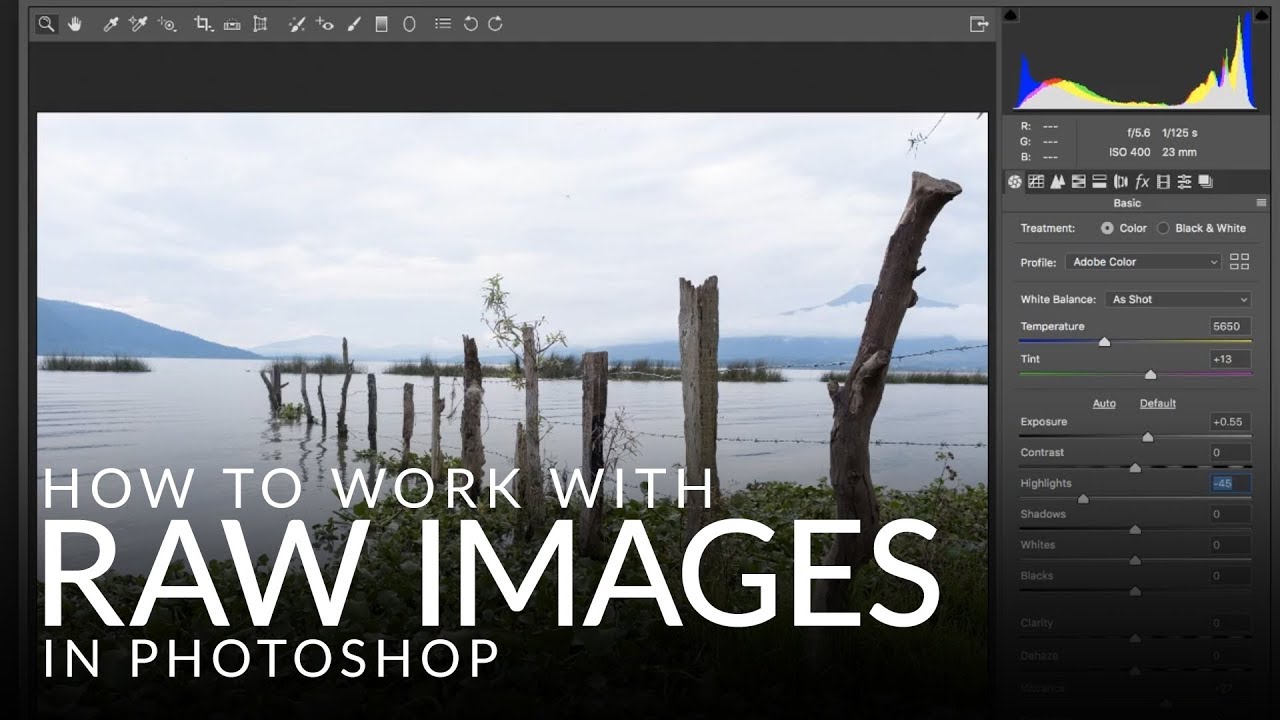

Stop Opening RAW Files Wrong in Photoshop (This Setting Changes Everything)

Stop Opening RAW Files Wrong in Photoshop (This Setting Changes Everything)

There’s a specific kind of pain that comes from finishing a Photoshop edit, sending it to a client, and then realizing you need to go back and change the exposure on the original RAW file. If you opened that file the wrong way, you’re basically starting over. I learned this the hard way early in my freelance career, and it cost me hours I didn’t have sitting in a coffee shop at 11pm with a deadline breathing down my neck.

Photoshop Filters Are More Powerful Than You Think (And You're Probably Using Them Wrong)

Photoshop Filters Are More Powerful Than You Think (And You're Probably Using Them Wrong)

I used to apply filters directly to pixel layers like a complete amateur. Flatten, filter, done. It felt efficient until a client called asking for a revision on a project I’d already closed out, and I realized the Gaussian Blur I’d baked into the background three saves ago was now a permanent resident of that file. Not a smart object in sight. Just me, sweating into my cold brew at the counter of a coffee shop on South Congress, rebuilding a background from scratch.

How to Open, Edit, and Save in Photoshop Without Destroying Your Work (Or Your Sanity)

How to Open, Edit, and Save in Photoshop Without Destroying Your Work (Or Your Sanity)

Early in my freelance career, I had a bad habit of editing directly on original files. No layers, no backup copies, just reckless confidence and a fast save button. You can probably guess how that story ends. I lost work, I re-did edits I’d already done, and I spent an embarrassing amount of time explaining to clients why their “finished” photos needed to be “finished” again. The fix was stupidly simple, and it came down to understanding one concept: non-destructive editing.

Stop Wasting AI Credits on Easy Fixes — The Clone Stamp Hack You're Probably Doing Wrong

Stop Wasting AI Credits on Easy Fixes — The Clone Stamp Hack You're Probably Doing Wrong

There’s a particular kind of freelance shame that comes from billing a client for a job you could have done faster with a tool you already own. I’ve been there more times than I’d like to admit. Lately I’ve noticed myself reaching for Photoshop’s Generative Fill on things that are genuinely too simple for it — small cracks in walls, stray wires, a smudge of graffiti on an otherwise clean background.

Photoshop Filters Are Not Magic Buttons (But They Kind of Are If You Use Them Right)

Photoshop Filters Are Not Magic Buttons (But They Kind of Are If You Use Them Right)

My dog Pixel is a 40-pound chaos agent who has, on more than one occasion, walked across my keyboard mid-project. One afternoon she stepped on something during a portrait retouch and suddenly the whole image had this soft, diffused glow I hadn’t seen before. I looked down. She’d triggered Filter > Blur > Gaussian Blur, set to around 4.5 pixels, blended at 60% opacity through a luminosity blend mode I’d accidentally left active.

Stop Guessing With Sharpening: A Practical Guide to Unsharp Mask in Photoshop

Stop Guessing With Sharpening: A Practical Guide to Unsharp Mask in Photoshop

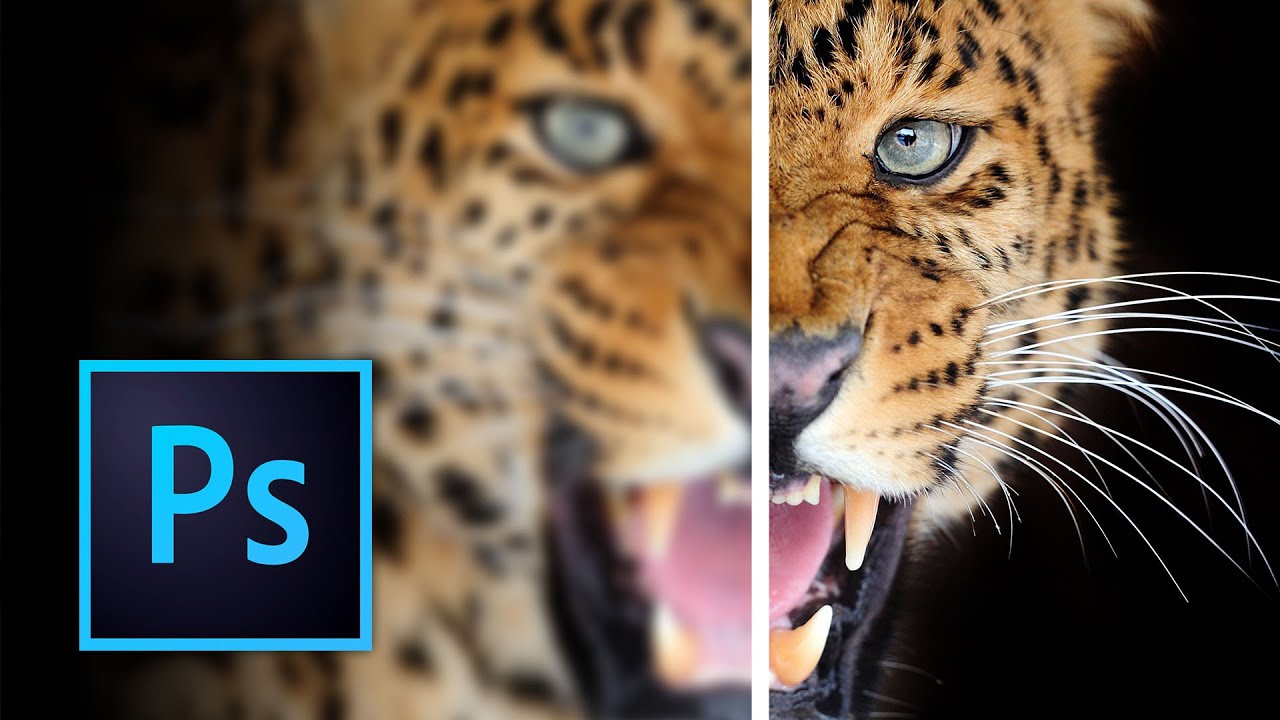
Sharpening is one of those things I either forgot to do entirely or obliterated like I had a personal grudge against the image. For a long time my workflow was basically “crank the clarity slider and pray.” It worked until it didn’t, and “didn’t” usually meant a client deliverable that looked like it was printed through a chain-link fence. Not great for business. I came across this Kelvin Designs tutorial on image sharpening and it filled in a lot of gaps I didn’t even know I had.

Stop Applying Filters Destructively — Here's the Workflow That Actually Saves You

Stop Applying Filters Destructively — Here's the Workflow That Actually Saves You

Last year I was working on a banner for a local music festival — tight deadline, client breathing down my neck, the usual. I had spent about forty minutes stacking filters on a texture layer: Gaussian Blur, some Noise, a little Motion Blur to give it that gritty analog feel. Looked great. Client came back and said they wanted the blur “just a tiny bit less.” I went to adjust it, and realized every single filter had been applied directly to the pixels.

Stop Working Destructively: Layer Techniques That Actually Save Your Skin

Stop Working Destructively: Layer Techniques That Actually Save Your Skin

The Mistake That Costs You an Hour Every Time Here’s a situation I’ve lived more times than I care to admit. You’re forty-five minutes into a retouching job, you’ve dodged and burned directly onto the background layer, sharpened everything, pushed the colors hard. The client emails back. “Can we go softer on the skin? Also can we see the original for comparison?” The original. Which you painted directly over. Which is gone.

RAW Brushes in Photoshop Are Doing Work I Didn't Know I Was Missing

RAW Brushes in Photoshop Are Doing Work I Didn't Know I Was Missing

I’ll be honest: for a long time I treated Adobe Camera Raw like a waiting room. You know, the place you sit in before you get to the “real” work in Photoshop. Open file, nudge exposure, click “Open Image,” never look back. It wasn’t until I watched a friend turn around a badly lit portrait in about eight minutes, entirely inside Camera Raw, that I started paying closer attention to what that workspace could actually do.

How to Add Cinematic Light Blur Effects to Portraits Without Destroying Your Original Image

How to Add Cinematic Light Blur Effects to Portraits Without Destroying Your Original Image

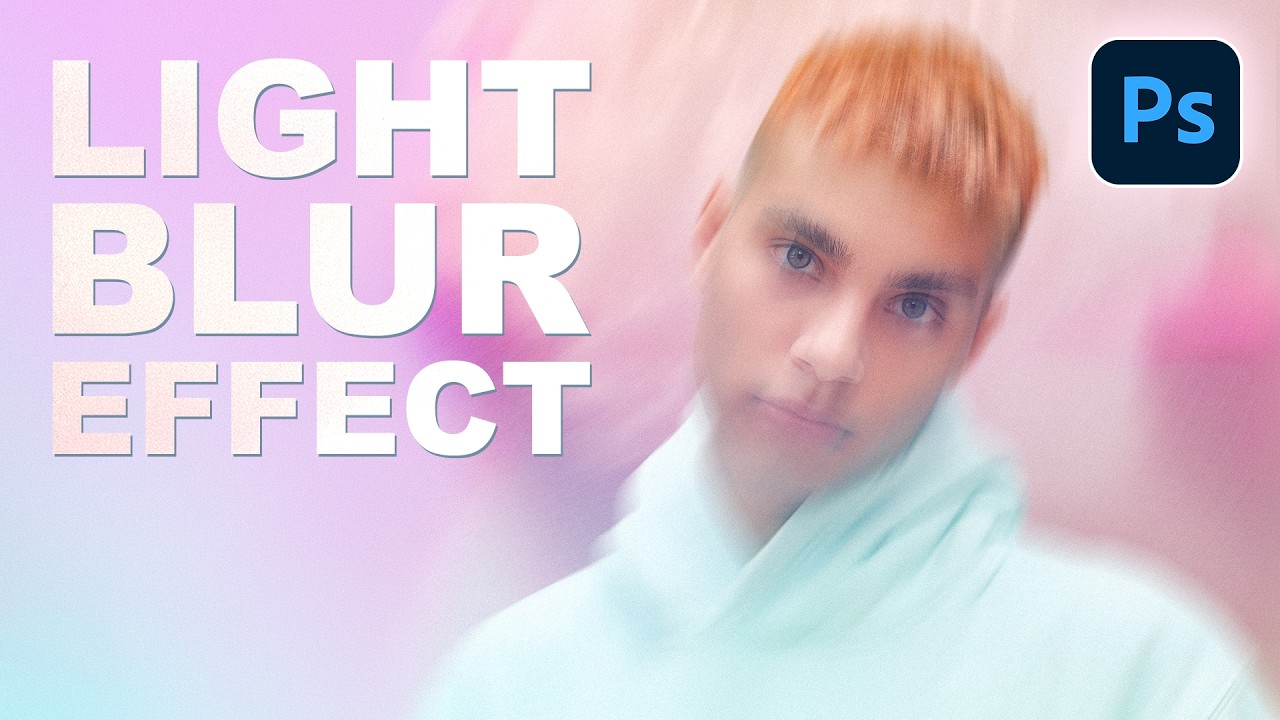
There’s a specific kind of composite that shows up constantly in editorial photography, album covers, and high-end portrait work. The subject is sharp, the background is this gorgeous smear of color and light, and the whole thing feels cinematic without trying too hard. For a long time I was faking that look with Gaussian Blur and hoping nobody noticed. It always looked a little flat, a little lazy. Then I watched this PHLEARN tutorial and realized I’d been ignoring one of Photoshop’s most underrated tools.

Stop Flattening Your Images: A Beginner's Guide to Layer Mastery

Stop Flattening Your Images: A Beginner's Guide to Layer Mastery

Stop Flattening Your Images: A Beginner’s Guide to Layer Mastery Look, I get it. You’re working in Photoshop, things are happening, and suddenly you hit “Image > Flatten Image” because you panicked. I’ve been there. The difference is, I don’t do that anymore—and neither should you. Layers aren’t just organizational tools for people who like things neat (though they are that). They’re literally the difference between a non-destructive workflow and crying over a permanently destroyed masterpiece.