Blend Two Exposures Into One Perfect Landscape Shot (No Filters Required)

Blend Two Exposures Into One Perfect Landscape Shot (No Filters Required)

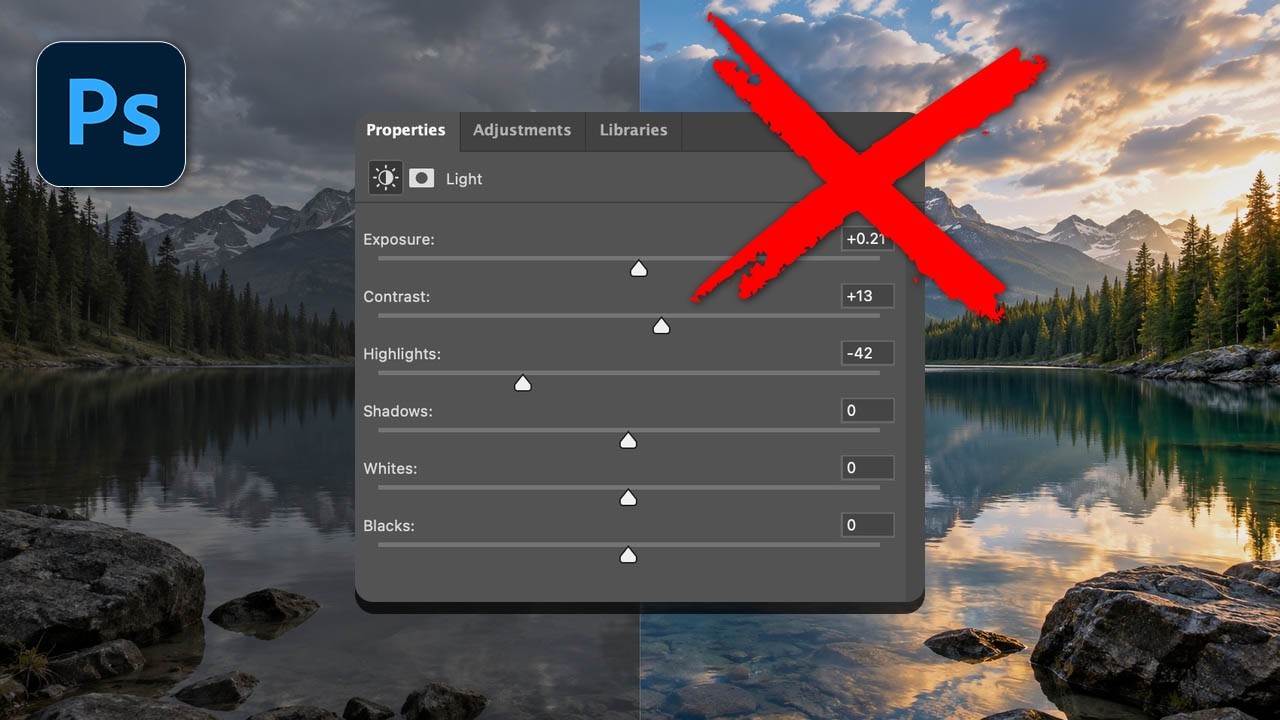
I’m a freelance designer who mostly lives in the land of composites, logos, and whatever a client needs done by Thursday. But landscape photography editing crosses my desk more than you’d think, and the number one problem people bring me is the same every time: the sky looks great but the foreground is a muddy mess, or vice versa. Graduated ND filters solve this in the field, but what happens when you’re halfway up a hill and you left your filters in the car?

How to Edit a Fall Landscape Like You Actually Know What You're Doing (A Lightroom + Photoshop Breakdown)

How to Edit a Fall Landscape Like You Actually Know What You're Doing (A Lightroom + Photoshop Breakdown)

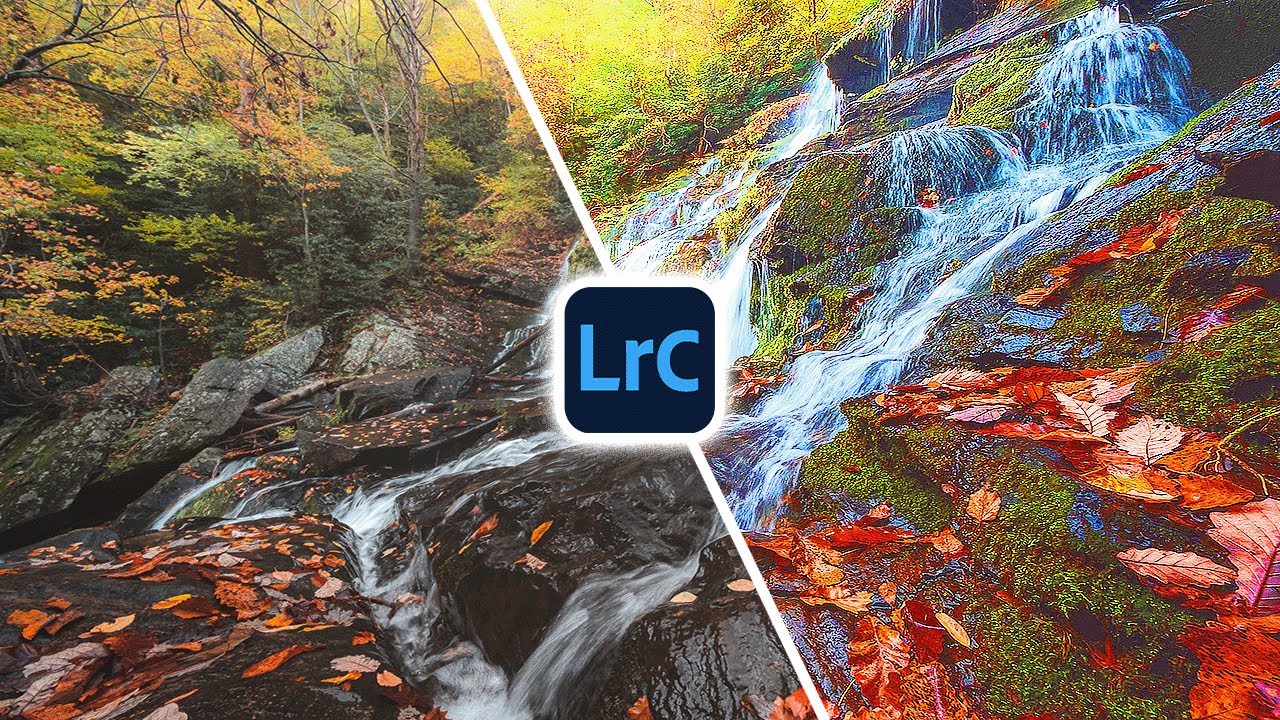
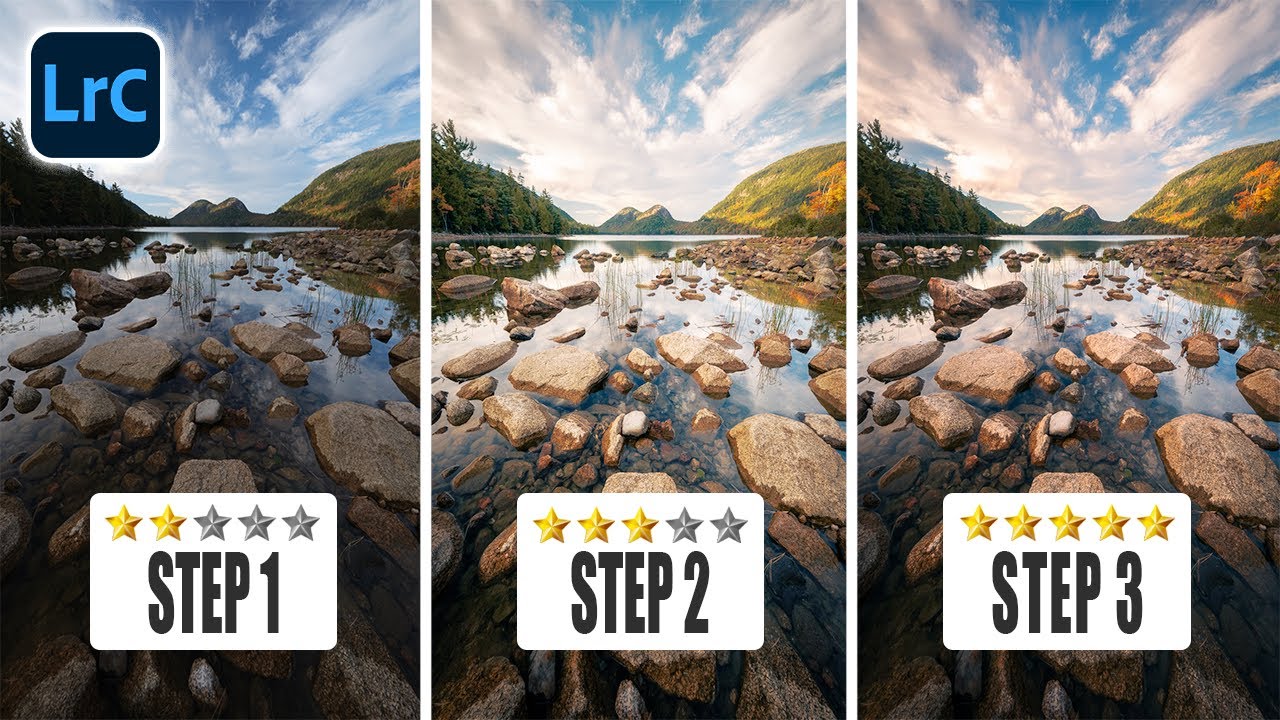
Fall photos are deceptively tricky. You’d think all that warm color does half the work for you, but if you’ve ever pulled a raw file of autumn foliage into Lightroom and just stared at it like it owes you money, you know exactly what I’m talking about. The sky is blown out, the shadows are muddy, and the colors look more “dying hospital plant” than “peak New England October.” I’ve been there more times than I’d like to admit.

AI Dust Removal Is Here and It'll Save You Hours of Clone Stamp Hell

AI Dust Removal Is Here and It'll Save You Hours of Clone Stamp Hell

There’s a specific kind of freelance photographer pain that I only discovered after delivering a batch of landscape shots to a client and getting an email back asking about “all the little circles.” I had no idea what they were talking about. Zoomed in. Dust spots. Everywhere. On every single image. From a dirty sensor I hadn’t thought to clean. I spent the better part of an afternoon cloning them out one by one like some kind of medieval monk illuminating a manuscript, except less dignified and with more swearing.

Ditch the Saturation Slider: A Better Way to Color Grade Your Landscape Photos in Lightroom

Ditch the Saturation Slider: A Better Way to Color Grade Your Landscape Photos in Lightroom

I’ll be honest - for the longest time, my color editing workflow was embarrassingly simple. Photo comes in flat? Drag Saturation up. Still looks dull? Nudge Vibrance. Call it done, collect the paycheck. It worked well enough that I never questioned it, which is exactly the kind of comfortable laziness that keeps you from getting better. Then I watched Mark Denney’s tutorial where he edits the same fall landscape photo twice - once using every color tool in Lightroom except Saturation and Vibrance, and once using only those two sliders - and the results genuinely stopped me mid-sip of my oat milk latte.

Stop Editing Your Whole Photo: How Graduated and Radial Filters in Lightroom Changed My Workflow

Stop Editing Your Whole Photo: How Graduated and Radial Filters in Lightroom Changed My Workflow

There’s a specific kind of frustration that comes from pulling your exposure slider in Lightroom and watching the entire image blow out just to save the sky. You wanted to brighten the foreground. Instead you’ve nuked everything. I spent way too long in my early freelance days doing exactly that, then compensating with a pile of overlapping masks in Photoshop, wondering why the whole thing felt like overkill. Turns out, Lightroom has had a cleaner answer built right into it the whole time.

Adobe's Quiet Game-Changer: Taming Those Pesky White Halos in Lightroom

Adobe's Quiet Game-Changer: Taming Those Pesky White Halos in Lightroom

Adobe’s Quiet Game-Changer: Taming Those Pesky White Halos in Lightroom I’ve been editing photos long enough to know that sometimes the best features arrive without fanfare. Adobe’s latest Lightroom Classic update included something that doesn’t sound revolutionary on paper—some new sliders buried inside the AI masking tools—but trust me, if you’ve ever fought with white halos around mountain peaks or tree lines, you’re about to have a very good day.

Stop Fighting Lightroom's Auto Button - Let the AI Do the Heavy Lifting First

Stop Fighting Lightroom's Auto Button - Let the AI Do the Heavy Lifting First

There’s a certain type of editor who loves suffering. They open a raw file, every slider sitting at zero, and they start manually nudging exposure up by 0.35, then shadows up a little, then back down, then highlights, and forty-five minutes later they have something that looks roughly like what the AI would’ve given them in two seconds. I was that editor. I thought manually touching every slider meant I was being a real craftsman.

The Curves Fix You Didn't Know You Needed: Refine Saturation in Lightroom and Camera Raw

The Curves Fix You Didn't Know You Needed: Refine Saturation in Lightroom and Camera Raw

If you’ve ever pulled down the black point on a Curves adjustment and watched your greens go full radioactive swamp, congratulations - you’ve met one of the most quietly frustrating quirks in Lightroom and Camera Raw. You want punchy shadows. You get a photo that looks like it was color-graded by someone who really, really loves saturated tones. The fix used to be a compromise: back off the curve until the colors calm down and accept a softer black point, or sit with the over-saturation and pretend it’s a creative choice.

Adobe's August 2026 Update: What's New in Lightroom and Camera RAW

Adobe's August 2026 Update: What's New in Lightroom and Camera RAW

Adobe’s August 2026 Update: What’s New in Lightroom and Camera RAW I’ve been digging into the latest August 2026 update for both Lightroom Classic and Adobe Camera RAW, and let me tell you—there’s some genuinely useful stuff here that’ll make your editing life easier. Adobe clearly listened to what users actually need rather than just adding complexity for complexity’s sake. The Feature Shuffle (And Why It Matters) Here’s what I’m noticing with Adobe’s release strategy lately: they’re rolling out new features in Camera RAW first, then letting them percolate for a bit before bringing them into Lightroom Classic.

The Lightroom Color Tool You've Been Scrolling Past (And Why That's a Mistake)

The Lightroom Color Tool You've Been Scrolling Past (And Why That's a Mistake)

A few months ago I spent the better part of an afternoon trying to warm up a landscape shot using nothing but the Temperature slider. The result was technically warmer, sure, but it also looked like someone had smeared Velveeta across the sky. Everything shifted. The rocks, the shadows, the parts I didn’t even want touched. I ended up with a photo that looked like it was shot through a jaundiced window.

How to Actually Separate a Subject from a Busy Background (Without Losing Your Mind)

How to Actually Separate a Subject from a Busy Background (Without Losing Your Mind)

There’s a specific kind of job that used to make me quietly dread opening my inbox. A parent, a friend, someone’s aunt, sends you a candid photo of a kid with a genuinely great expression, and the background is just… a gray wall of visual noise. The subject is good. The light is okay. But nothing separates the person from everything behind them, and the whole thing reads as flat. I used to either spend way too long on it or hand it back with minimal changes and feel vaguely embarrassed about it.

Lightroom's Radial Filter Is Doing Way More Work Than You Think

Lightroom's Radial Filter Is Doing Way More Work Than You Think

I’ll be honest with you. For an embarrassingly long time, I used Lightroom’s Radial Filter for exactly one thing: drawing a circle and darkening the outside of it. That’s it. That was my whole relationship with the tool. I was basically using a Swiss Army knife to open envelopes. Then I stumbled onto a tutorial by landscape photographer Nigel Danson where he runs through five distinct things you can do with the Radial Filter, and I had one of those “okay I’ve been doing this wrong” moments that I usually only get from accidentally breaking something expensive.