
I got into photography the wrong way. Started with memes in MS Paint, graduated to Photoshop, and somewhere along the line developed an unhealthy obsession with film. The problem is that film and digital don’t naturally talk to each other. You shoot a roll, get it developed, and then you’re holding a strip of negatives that you can’t post, print digitally, or do anything useful with unless you either pay someone to scan them or drop serious cash on a dedicated film scanner. Neither option thrilled me.
That’s what made this tutorial from Sean Tucker such a find. In his video Watch the full tutorial on YouTube, Tucker breaks down his entire workflow for converting physical negatives into high-resolution digital files using a mirrorless camera, a budget light pad, and software you almost certainly already own. It’s the third part of a series covering film cameras, home development, and now digitization. Even if you skipped parts one and two, this standalone walkthrough is immediately useful.
The core insight is simple but easy to miss: a modern mirrorless or DSLR camera, paired with a macro lens, will outresolve most consumer flatbed scanners on a 35mm negative. You’re capturing the whole frame at whatever megapixels your sensor has, rather than relying on hardware that was never really built for this job. Once that clicks, the rest of the workflow makes a lot of sense.
Step 1: Gather Your Gear
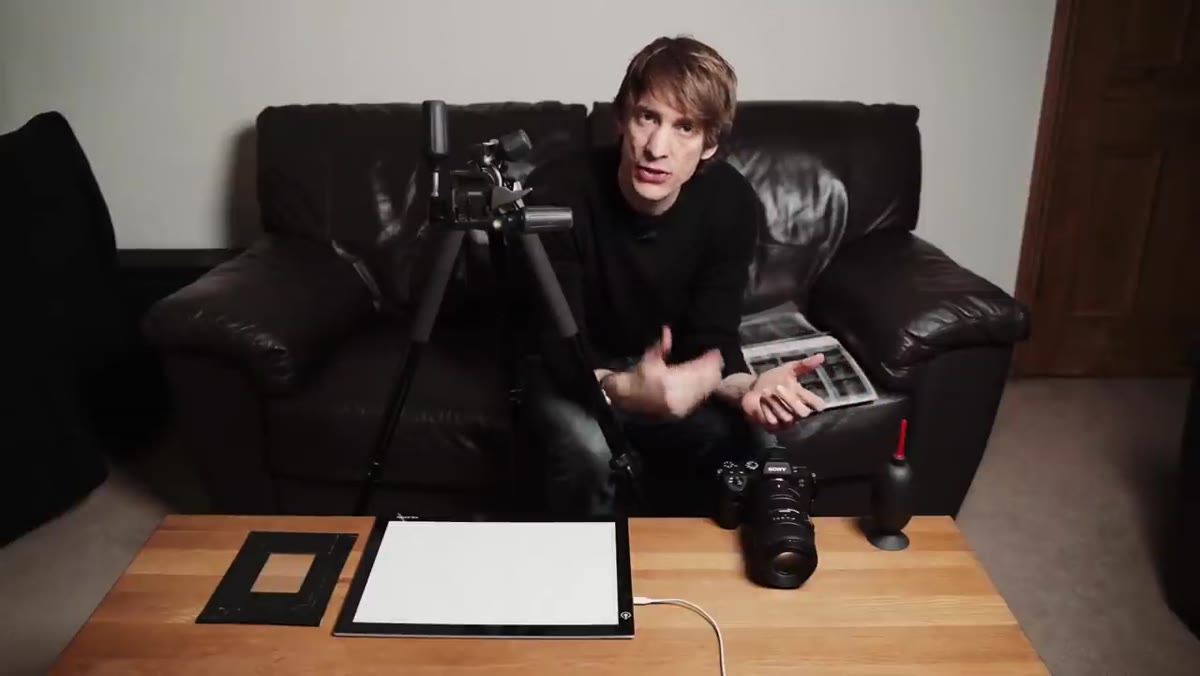 Camera, macro lens, light pad, and tripod laid out on table
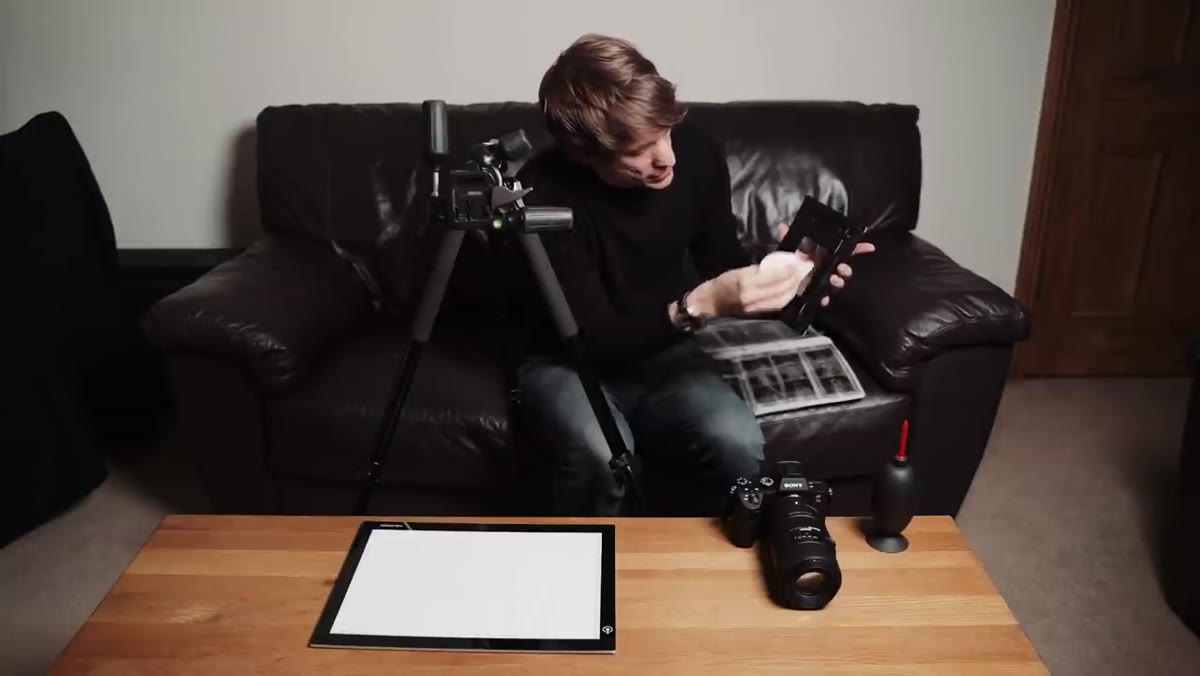
You need four things: a camera with a macro lens, a light pad, a piece of glass, and a sturdy tripod. Tucker uses a Sony mirrorless body with a Sigma 105mm f/2.8 macro lens. The 1:1 reproduction ratio matters here because you want to fill the entire frame with a single negative. That’s how you get the maximum resolution out of your sensor.
Camera, macro lens, light pad, and tripod laid out on table
You need four things: a camera with a macro lens, a light pad, a piece of glass, and a sturdy tripod. Tucker uses a Sony mirrorless body with a Sigma 105mm f/2.8 macro lens. The 1:1 reproduction ratio matters here because you want to fill the entire frame with a single negative. That’s how you get the maximum resolution out of your sensor.
The light pad doesn’t need to be fancy. Tucker picked his up on Amazon for around 30 pounds from a Chinese brand. The key requirement is a smooth, pixel-free surface. Skip the idea of using an iPad or tablet backlight, those screens show pixel grids at macro distances and will ruin your captures. The piece of glass is pulled from a picture frame and taped around the edges. It sits on top of the negative to cut down on light flare coming in from the sides of the pad, which would otherwise blow out contrast in your image.
Step 2: Set Up Your Tripod for Overhead Shooting
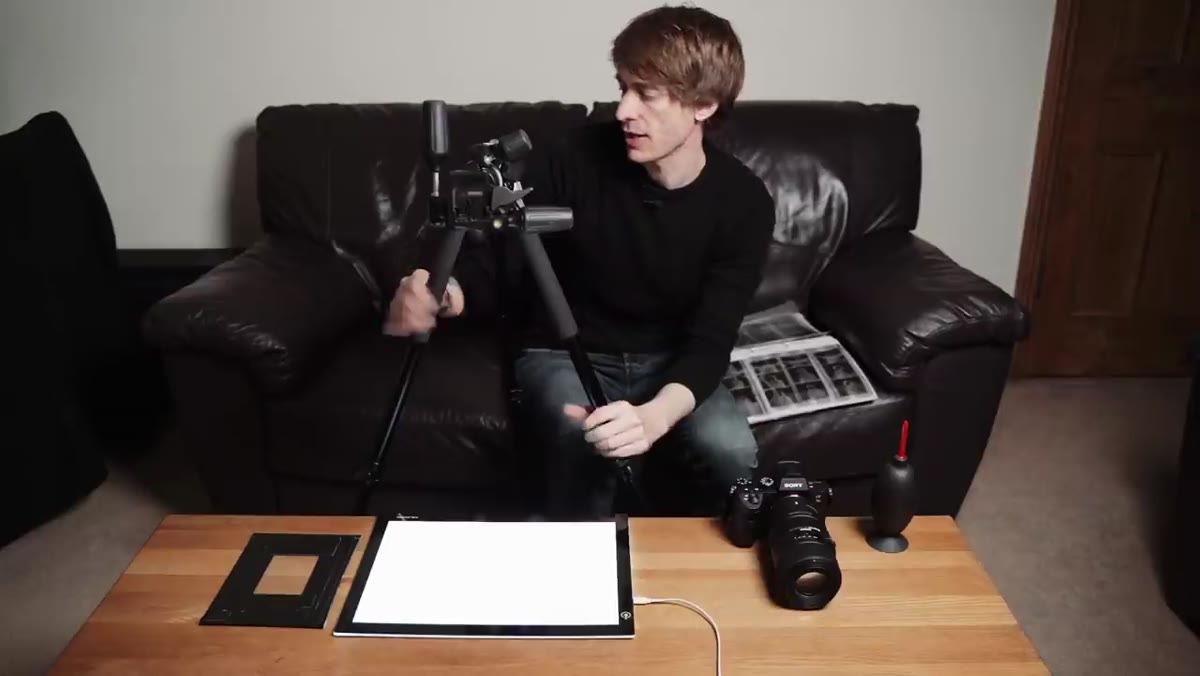 Tripod arm extended horizontally, camera pointing straight down
Standard tripod orientation won’t work here. You need to shoot straight down onto the light pad, which means you need a tripod with a horizontal arm that can swing 90 degrees. Tucker uses a Manfrotto 190, though he acknowledges there are plenty of other options that do the same thing. Get the camera positioned directly above the light pad so the sensor plane is perfectly parallel to the negative.
Tripod arm extended horizontally, camera pointing straight down
Standard tripod orientation won’t work here. You need to shoot straight down onto the light pad, which means you need a tripod with a horizontal arm that can swing 90 degrees. Tucker uses a Manfrotto 190, though he acknowledges there are plenty of other options that do the same thing. Get the camera positioned directly above the light pad so the sensor plane is perfectly parallel to the negative.
Switch the lens to manual focus. Autofocus will hunt and misfire when shooting this close, and you want precise control over the focal plane. Take your time dialing in the sharpness. This is the step where patience pays off because a slightly soft capture can’t be fixed in post.
Step 3: Blow the Dust Off Everything
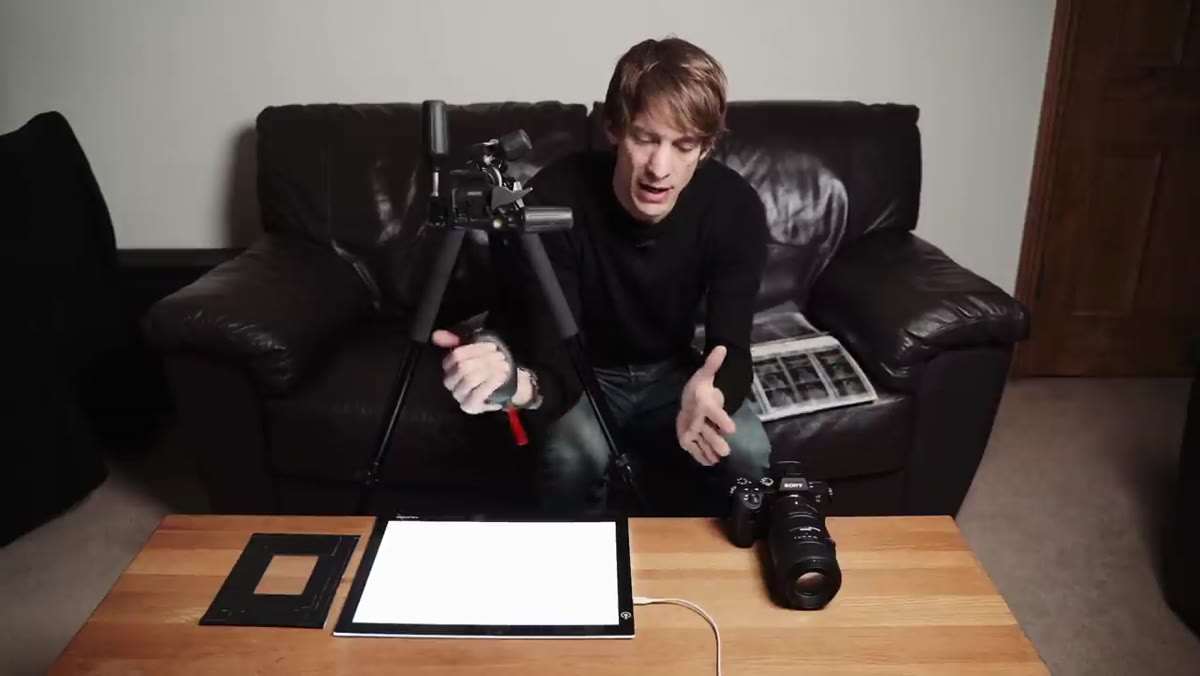 Hand using air blower on negative strip before placing it down
Before you put a single negative on the light pad, get a rocket blower and use it. On the negative. On the glass. On the surface of the pad. Dust at this scale is catastrophic. When you’re filling a full camera frame with a 35mm negative, a single dust particle becomes a boulder in your final image. You can clone it out in Photoshop later, but it’s tedious work that multiplies fast if you’re scanning a whole roll.
Hand using air blower on negative strip before placing it down
Before you put a single negative on the light pad, get a rocket blower and use it. On the negative. On the glass. On the surface of the pad. Dust at this scale is catastrophic. When you’re filling a full camera frame with a 35mm negative, a single dust particle becomes a boulder in your final image. You can clone it out in Photoshop later, but it’s tedious work that multiplies fast if you’re scanning a whole roll.
Tucker keeps the blower on the table the entire time he’s shooting, using it between every negative. It’s the least glamorous part of the process and also one of the most important.
Step 4: Capture the Negative
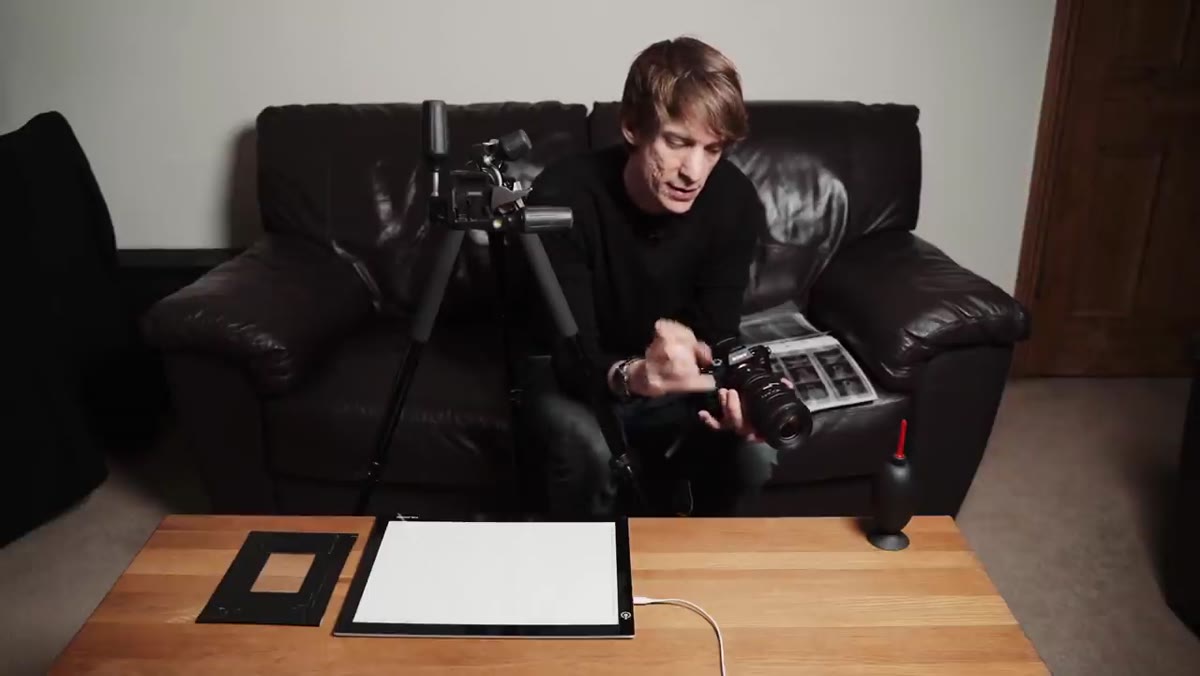 Negative strip placed on light pad under glass, camera overhead
Place the negative emulsion-side down on the light pad, slide it under the glass, and frame it so the image fills the viewfinder. Use a remote shutter release or your camera’s built-in timer to avoid any camera shake from pressing the shutter button. Mirror lockup is worth enabling if your camera has it.
Negative strip placed on light pad under glass, camera overhead
Place the negative emulsion-side down on the light pad, slide it under the glass, and frame it so the image fills the viewfinder. Use a remote shutter release or your camera’s built-in timer to avoid any camera shake from pressing the shutter button. Mirror lockup is worth enabling if your camera has it.
Expose for the light coming through the negative. You want the shadows of the negative (which are actually the highlights of the original scene) to be well-exposed without clipping. Shoot RAW. JPEG will throw away data you’ll need when you flip and correct the image in software.
Step 5: Import into Lightroom and Invert the Negative
 Lightroom develop panel open with negative image displayed before inversion
Import your RAW files into Lightroom. The image will look like a negative because it is one. The first job is to flip it into a positive. In the Develop module, drag the white point down and the black point up in the Tone Curve to start collapsing the tonal range, then look for the inversion step. Tucker uses a combination of Lightroom curve adjustments to flip and correct the tonal values, which turns the orange-brown negative cast into something that resembles the original scene.
Lightroom develop panel open with negative image displayed before inversion
Import your RAW files into Lightroom. The image will look like a negative because it is one. The first job is to flip it into a positive. In the Develop module, drag the white point down and the black point up in the Tone Curve to start collapsing the tonal range, then look for the inversion step. Tucker uses a combination of Lightroom curve adjustments to flip and correct the tonal values, which turns the orange-brown negative cast into something that resembles the original scene.
For black and white film, you’ll also need to correct for the orange mask that’s baked into color negative film stock. That warm cast needs to be neutralized in the color balance before the image will look neutral. The exact settings depend on your film stock, so expect to spend a few minutes dialing it in for each type you use.
Step 6: Finish in Photoshop
 Image open in Photoshop with adjustment layers panel visible
Once the inversion looks close in Lightroom, Tucker moves into Photoshop for final cleanup and tonal refinement. Adjustment layers for Curves and Levels let you fine-tune contrast and brightness non-destructively. This is also where you’ll handle any remaining dust spots using the Healing Brush or Clone Stamp.
Image open in Photoshop with adjustment layers panel visible
Once the inversion looks close in Lightroom, Tucker moves into Photoshop for final cleanup and tonal refinement. Adjustment layers for Curves and Levels let you fine-tune contrast and brightness non-destructively. This is also where you’ll handle any remaining dust spots using the Healing Brush or Clone Stamp.
The goal isn’t to make the image look like a digital photo. Part of the appeal of the whole process is the grain, the slight imperfections, the particular tonal character of the film stock. Work with those qualities rather than against them.
One Thing Worth Adding: Batch Your Corrections
If you’re scanning a whole roll shot under the same conditions, the inversion curve and color correction you dial in for frame one will apply cleanly to the rest of the roll. In Lightroom, use the “Sync Settings” option to copy your develop settings across all selected images. It’s not perfect, exposure might drift frame to frame, but it cuts your editing time dramatically. I’ve started saving the inversion correction as a Lightroom preset for each film stock I use regularly, which means I’m never starting from scratch.
The biggest takeaway from Tucker’s workflow is that digitizing film doesn’t require expensive dedicated hardware. Your existing camera is almost certainly more capable than a budget flatbed scanner, especially at 35mm. The light pad and glass setup costs less than a round of coffee, and the software side uses tools most of us already have open.
Watch the full tutorial on YouTube to see Tucker walk through the exact Lightroom and Photoshop settings he uses for his inversions. The visual comparison between raw capture and finished image is genuinely satisfying.
Comments
Leave a Comment