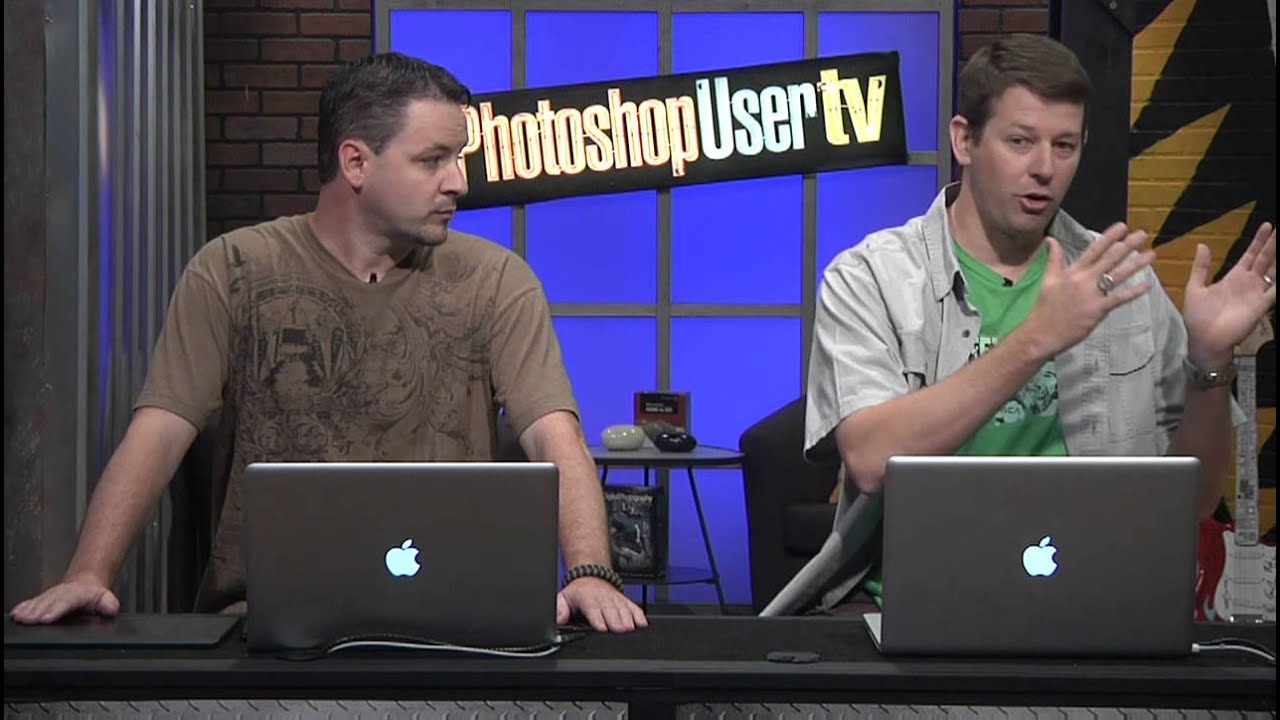
A few years into freelancing, I had a client ask me for a “gritty action movie poster vibe” for a gym promotion. They sent me a reference image, and it was basically the Expendables poster. Which, fair enough, that poster slaps. I spent an embarrassing amount of time fussing with selections and layer masks before I stumbled onto a workflow that actually made the whole thing manageable. The technique Corey Barker walks through in this Watch the full tutorial on YouTube episode of PhotoshopUser TV is almost exactly what I wish I’d had that day. It’s fast, it’s non-destructive, and it produces the kind of clean result that looks intentional instead of slapped together.
The core of the technique is using Smart Objects to handle a stock photo cutout of a weapon, then building the distressed, high-contrast movie poster treatment on top of it. The reason Smart Objects matter here, and the reason I now use them for basically every composite I do, is that they let you go back and adjust without nuking your work. I learned that the hard way after accidentally flattening a client project I’d spent two days on. Smart Objects are your undo insurance policy. If you’re not using them yet, this tutorial is a solid reason to start.
Step 1: Source a Stock Photo with Multiple Options in One Image
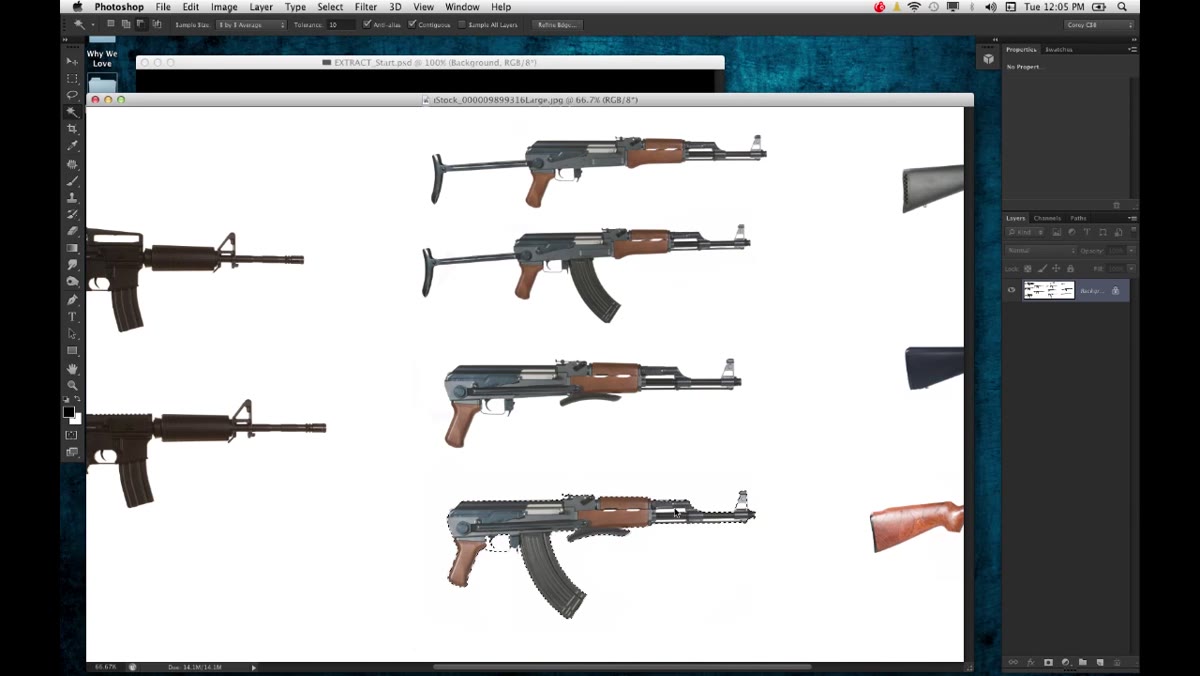
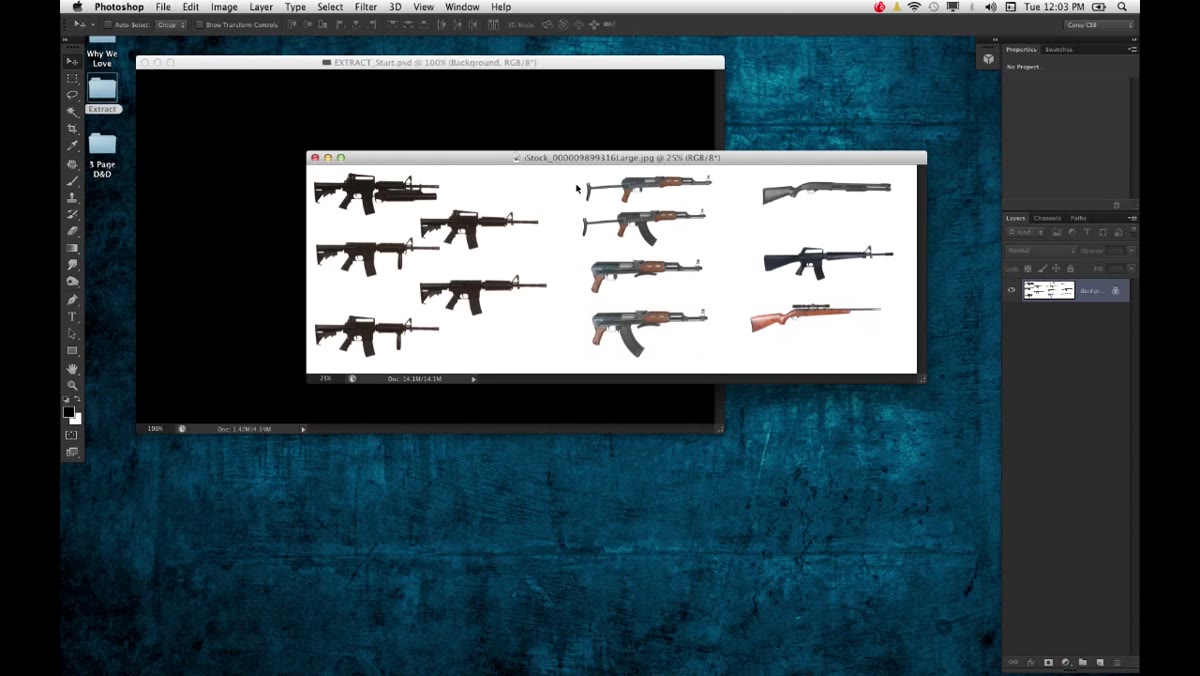 Stock photo showing several gun types on a single image
When you’re pulling weapon references, or really any prop for a composite, look for stock images that give you several variations in a single download. Barker pulls a single image from iStock that shows multiple firearm types side by side. This matters practically: you get to audition different shapes and silhouettes without buying five separate images. For a movie poster effect, silhouette is everything. A chunky revolver reads differently than a sleek semi-auto, and you want to be able to compare before you commit.
Step 2: Draw a Loose Lasso Selection Around Your Chosen Object
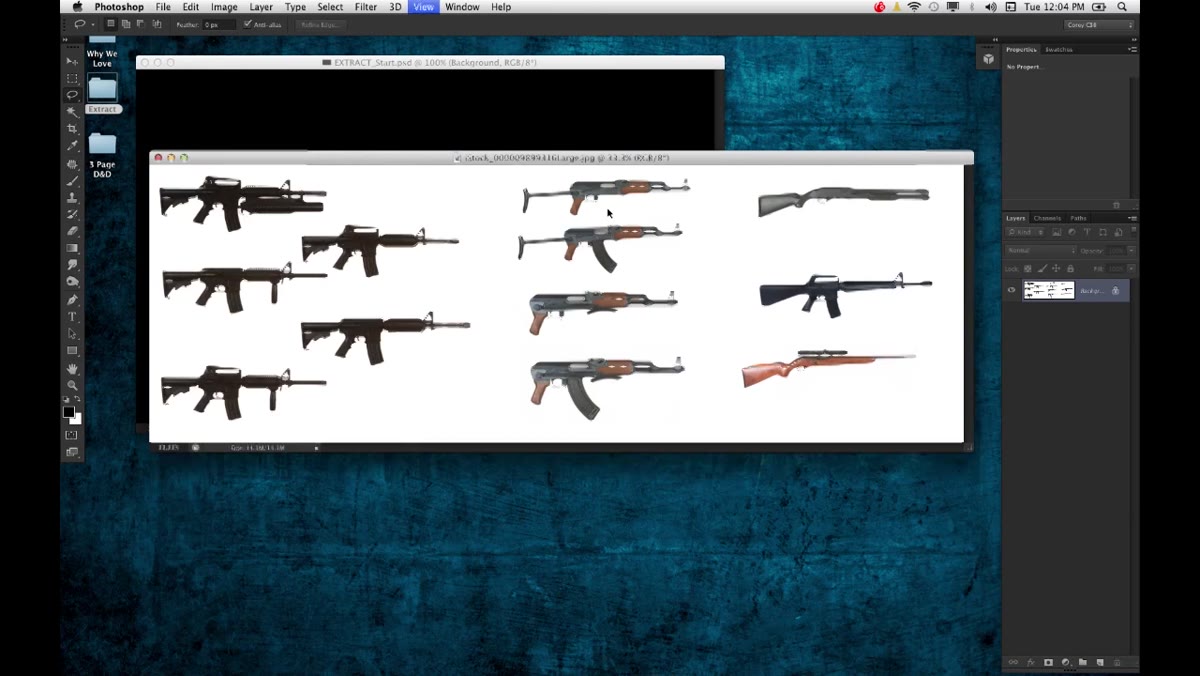 Lasso tool drawing a rough selection around one gun
Grab the Lasso tool (L) and draw a rough selection around just the gun you want to use. You don’t need to be precise here at all. The goal is to isolate the general area so your next tool has less to think about. Think of this as drawing a fence around the property before you start landscaping. Barker’s selection is visibly loose, with plenty of background included, and that’s intentional.
Step 3: Use the Magic Wand to Snap the Selection to the Object
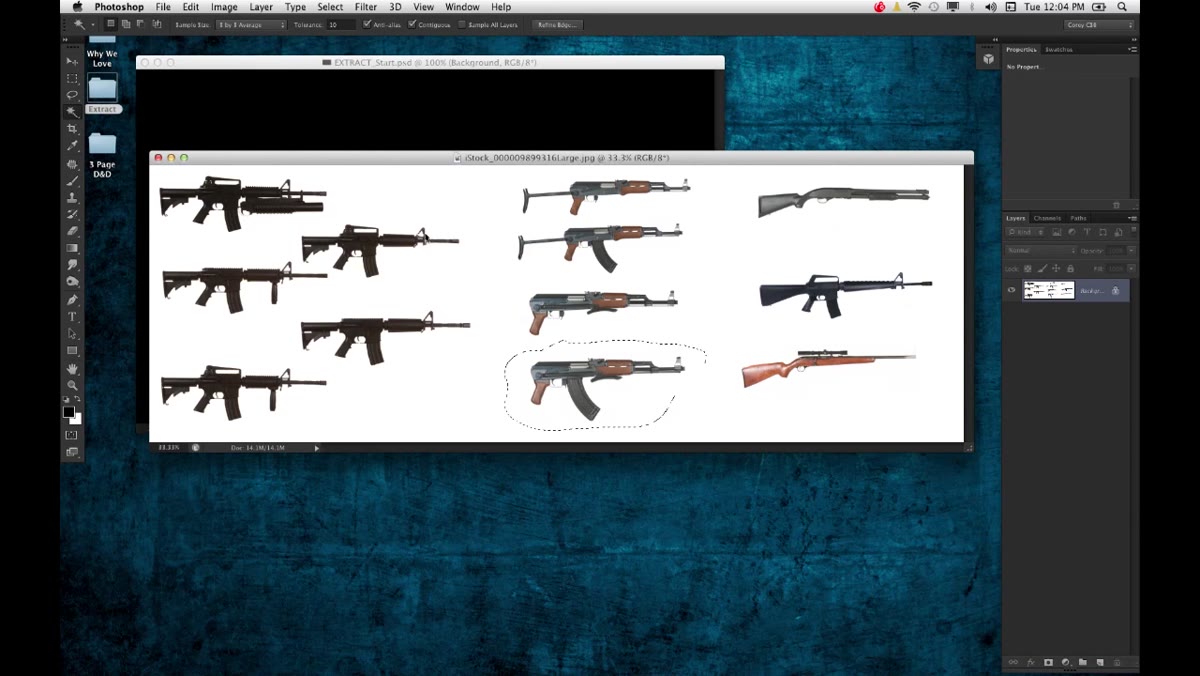 Magic Wand snapping selection tightly to the gun shape
Here’s the trick that made me actually pause the video. Once you have the loose Lasso selection active, switch to the Magic Wand tool (W). Then hold Option on Mac (Alt on Windows) and click directly on the background area inside your lasso selection. Holding Option puts the Magic Wand into subtract mode, so it removes the background pixels from your selection and snaps the active selection edge tightly around the object itself. It’s a two-tool combo that gets you a much cleaner result than trying to trace the object with the Lasso alone. The Magic Wand does the edge-finding work; the Lasso just keeps it from wandering into the rest of the image.
Step 4: Convert the Selection to a Smart Object
 Layer panel showing the selection converted to a Smart Object
With your selection active, copy the gun to a new layer. Then right-click that layer in the Layers panel and choose “Convert to Smart Object.” This is the step most tutorials skip or treat as optional. It isn’t. Converting to a Smart Object means any filters, transforms, or adjustments you apply to this layer are editable and non-destructive. You can scale the gun down, realize it’s too small, and scale it back up without the pixel degradation you’d get from rasterizing. For a composite that might go through ten rounds of client revisions, this is not a nice-to-have.
Step 5: Transform and Position the Gun in Your Composition
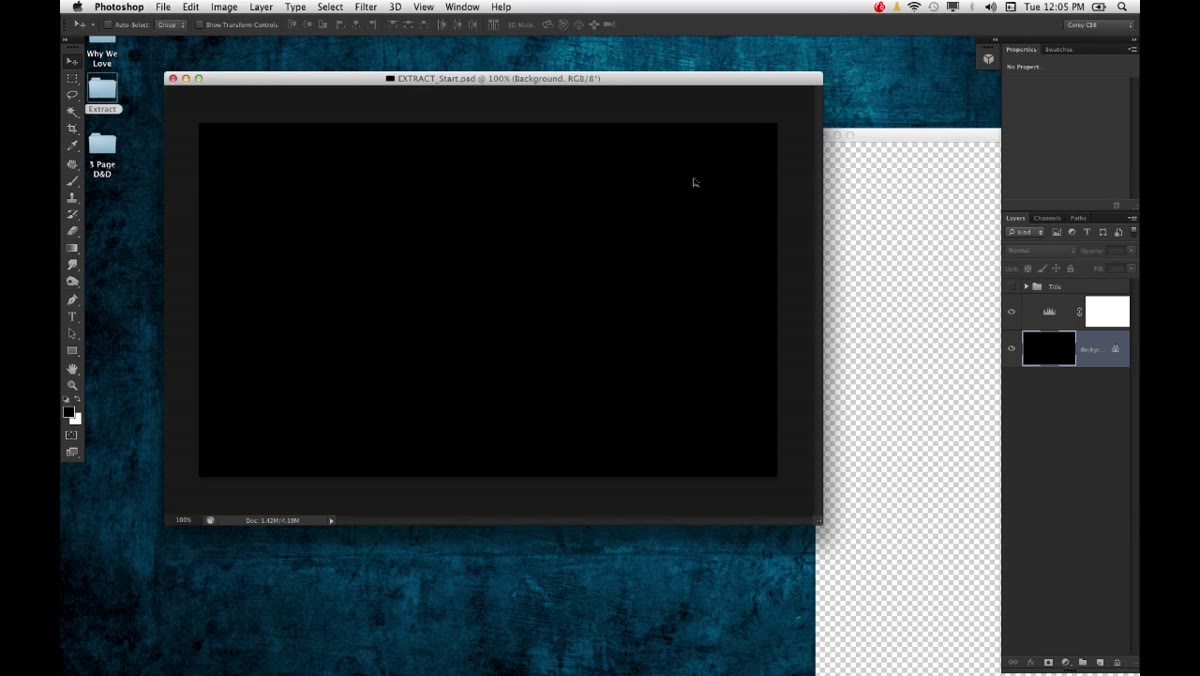 Smart Object gun layer being scaled and rotated in the canvas
Use Free Transform (Cmd+T on Mac, Ctrl+T on Windows) to resize and angle the gun into position. Because it’s a Smart Object, you can come back to this step at any point without losing quality. Barker positions the gun so it reads clearly against the background, which is where composition instinct matters more than any Photoshop setting. Generally, for a movie poster layout, you want the weapon angled slightly toward the viewer to add tension. Flat horizontal reads passive; a slight diagonal reads threatening. Small thing, big difference in poster energy.
Step 6: Apply High-Contrast Treatment to Match the Poster Aesthetic
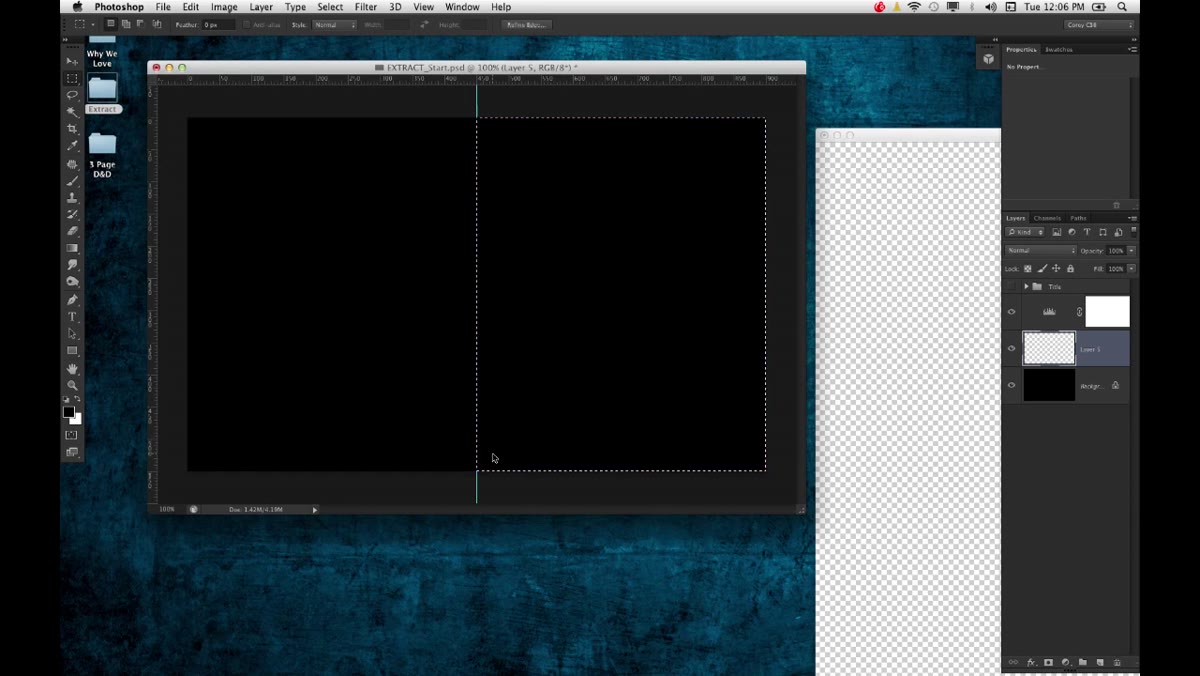 High contrast black and white adjustments applied to the gun layer
The Expendables poster look is built on crushed blacks, blown-out highlights, and a generally beaten-up texture. Barker achieves this by applying adjustments directly to the Smart Object layer. Because it’s a Smart Object, any filter or adjustment you run through the Filter menu becomes a Smart Filter, which means it shows up as an editable, maskable sub-layer beneath your Smart Object. Go into Image > Adjustments or use a Levels adjustment filtered through the Smart Object workflow to push the contrast hard. Pull your blacks down, bring your whites up, and don’t be afraid to clip a little on both ends. The goal is graphic, not photorealistic.
One Thing I’d Add: Blend Mode Experimentation Before You Finalize
The step that Barker doesn’t linger on but that I’ve found makes or breaks these composites is blend mode testing. Once the gun is sitting in the comp with its contrast cranked, try cycling through Multiply, Overlay, and Hard Light before you decide the layer is done. On darker backgrounds, Multiply will sink the gun in beautifully. On lighter or textured backgrounds, Overlay can integrate it in a way that looks like it was photographed into the scene rather than pasted on top. I keep a keyboard shortcut memorized for cycling blend modes (Shift+Plus and Shift+Minus with the Move tool active) because clicking through the dropdown by hand is the kind of friction that kills creative momentum mid-session. Try at least five blend modes before you commit. Takes thirty seconds and often changes everything.
The biggest thing this tutorial reinforced for me is that the workflow order matters as much as the individual steps. Convert to Smart Object early, treat it like a rule rather than a suggestion, and almost everything that follows becomes adjustable instead of permanent. One non-destructive foundation and you can iterate freely, which is how good compositing actually gets done.
Watch the full tutorial on YouTube to see Corey Barker walk through the selection and Smart Object technique in real time, plus the rest of the episode.
Comments (3)
Tried this technique this morning. Game changer for real.
The tip about how to nail the expendables st was the missing piece for me. Thank you.
Solid advice. Especially the part about taking your time with it.
Leave a Comment