Turn a City Photo into a Watercolor Painting Using HDR Toning (Yes, Really)

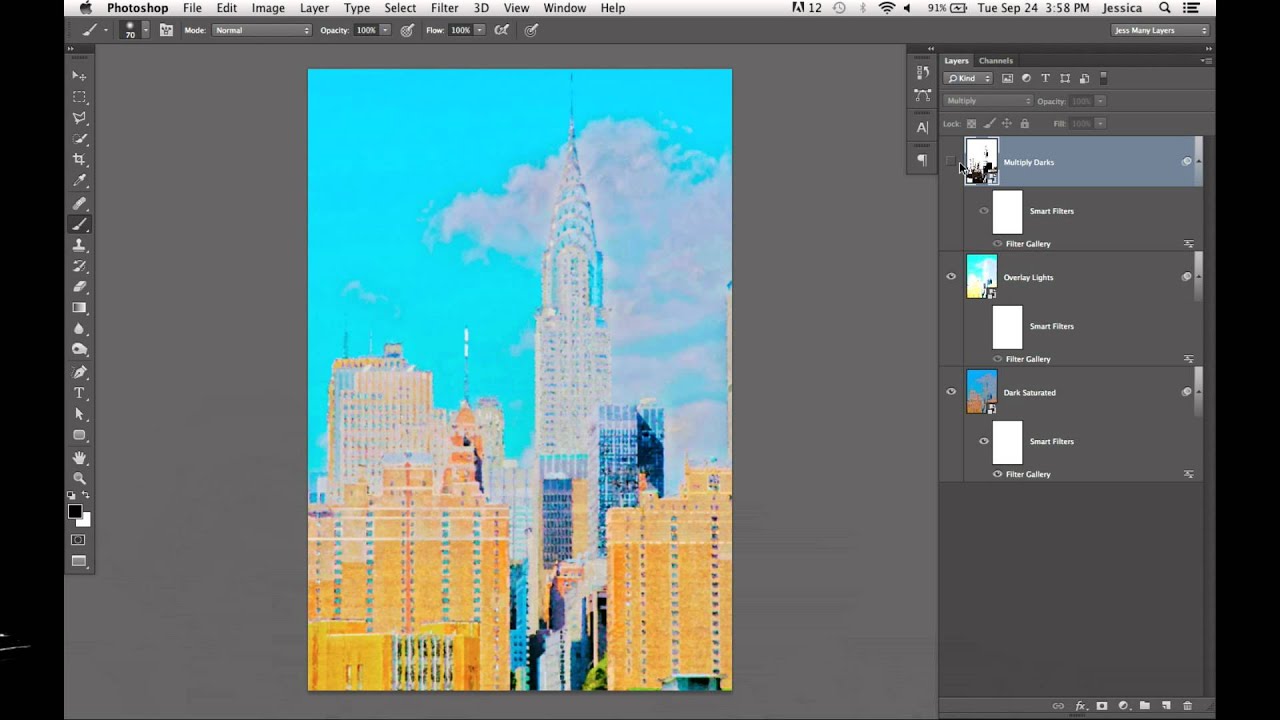
Turn a City Photo into a Watercolor Painting Using HDR Toning (Yes, Really)

Client asks for something “painterly.” You stare at the Artistic submenu in the Filter Gallery, slap a Watercolor filter on a photo, and the result looks like a kindergarten project that got rained on. We’ve all been there. The problem isn’t the filter itself — it’s the approach. Dropping a single filter on a flat image is like seasoning food after it’s already on the plate. You need to build the effect into the image from the ground up.
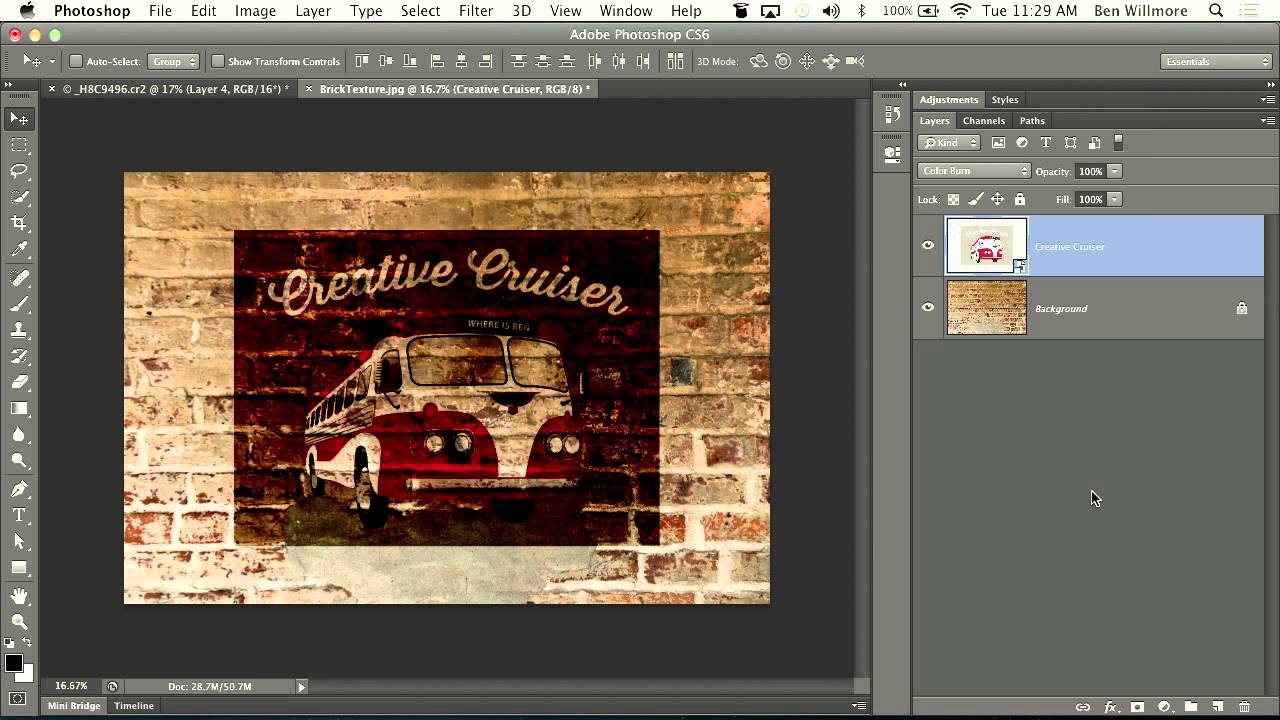
How to Make a Graphic Look Like a Faded Mural Using Blending Modes and Layer Sliders

How to Make a Graphic Look Like a Faded Mural Using Blending Modes and Layer Sliders

There’s a specific type of composite that clients love to request and that sounds deceptively simple: “make it look like it’s painted on the wall.” Sure, you can slap a layer on top, set it to Multiply, and call it a day. But that usually looks like exactly what it is: a layer slapped on top of a photo. Getting it to actually read as painted, weathered, worn into the surface over decades?

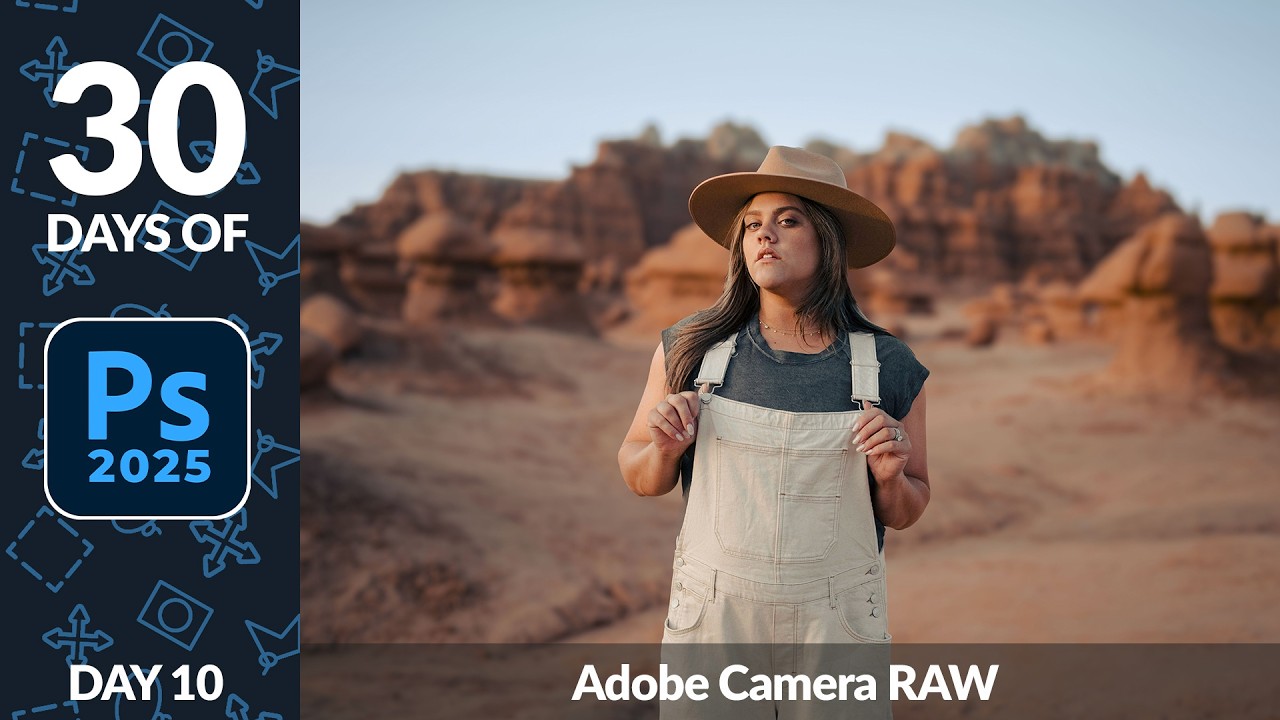
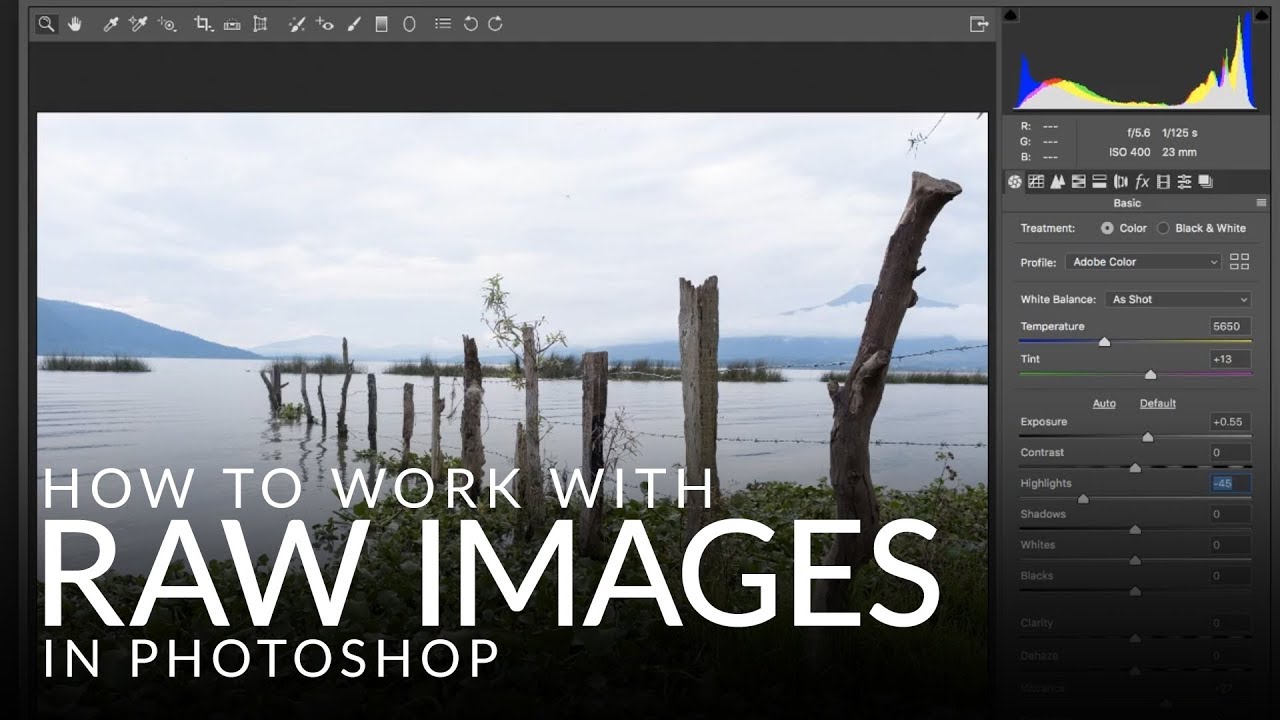
Stop Opening RAW Files Wrong in Photoshop (This Setting Changes Everything)

Stop Opening RAW Files Wrong in Photoshop (This Setting Changes Everything)

There’s a specific kind of pain that comes from finishing a Photoshop edit, sending it to a client, and then realizing you need to go back and change the exposure on the original RAW file. If you opened that file the wrong way, you’re basically starting over. I learned this the hard way early in my freelance career, and it cost me hours I didn’t have sitting in a coffee shop at 11pm with a deadline breathing down my neck.

Build a Book Cover Template That Updates Across Every Mockup Automatically

Build a Book Cover Template That Updates Across Every Mockup Automatically

Here’s a workflow problem I used to solve the dumbest way possible. Client wants to see their book cover design on three different book mockups. Old me would place the design manually on each mockup, flatten everything, then realize I wanted to tweak the title font, and start the whole process over from scratch. Three times. I did this for longer than I’m willing to admit before someone pointed me toward smart objects and linked files.

Stop Guessing Your White Balance — Here's How to Fix It in Photoshop (Even on JPEGs)

Stop Guessing Your White Balance — Here's How to Fix It in Photoshop (Even on JPEGs)

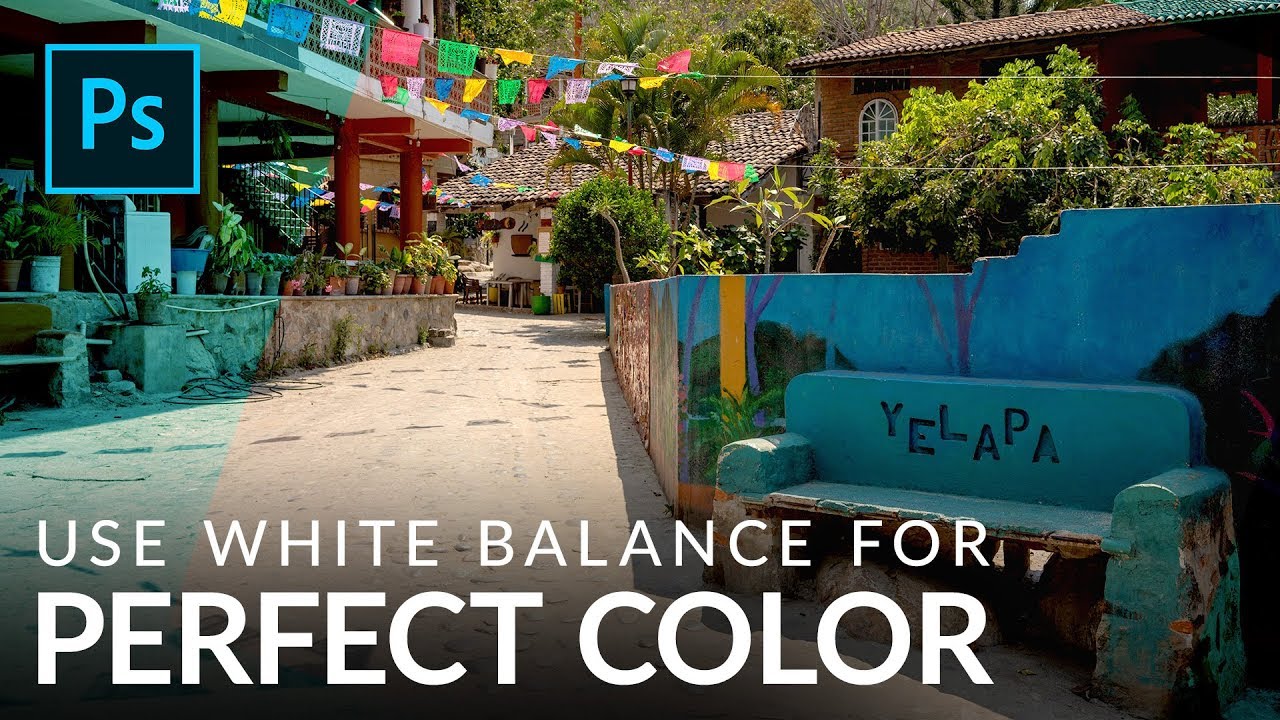
Color is the thing that separates a photo that looks off from one that stops the scroll. I’ve handed clients deliverables that were technically sharp, technically exposed, and technically terrible because the white balance was just slightly too cold and it made everyone look like they were photographed inside a hospital. Not great. White balance is one of those adjustments that sounds fussy and technical until you realize it’s basically the difference between “warm afternoon in Mexico” and “fluorescent break room at a DMV.

Stop Adjusting Black & White Sliders Blindly — Camera Raw Has a Better Way

Stop Adjusting Black & White Sliders Blindly — Camera Raw Has a Better Way

I used to convert images to black and white the same way I did everything else when I was starting out: wrong, but confidently. Desaturate the layer, maybe drag a few sliders around in Hue/Saturation, call it a day. The results looked flat, the contrast was muddy, and I had no way to go back and fix anything without starting over. I learned about non-destructive editing the hard way – the very hard way, involving a client project and a save that couldn’t be undone – and it changed how I approach basically everything in Photoshop now.

Stop Guessing Your Exposure: A Camera Raw Workflow That Actually Works

Stop Guessing Your Exposure: A Camera Raw Workflow That Actually Works

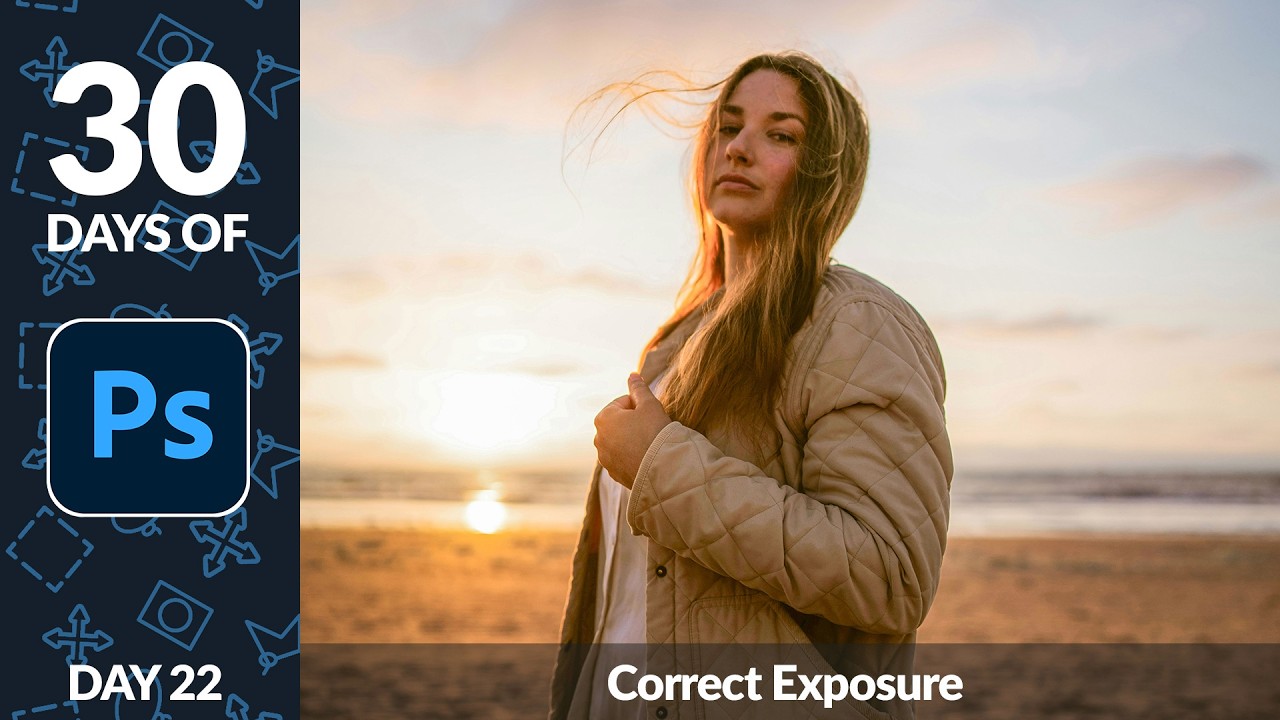
Exposure problems are the dirty secret of a lot of client work. You get a great shot, the composition is solid, the subject looks fantastic, and then you open it in Photoshop and realize half the image is either blown out or buried in shadows. I’ve been there more times than I care to admit. The temptation is to reach for Curves or Levels and start dragging things around until it looks “good enough” — which usually means you’ve overcorrected the highlights trying to save the shadows, or vice versa.

Steal Colors From Any Photo and Make Your Images Look Like a Fever Dream (In a Good Way)

Steal Colors From Any Photo and Make Your Images Look Like a Fever Dream (In a Good Way)

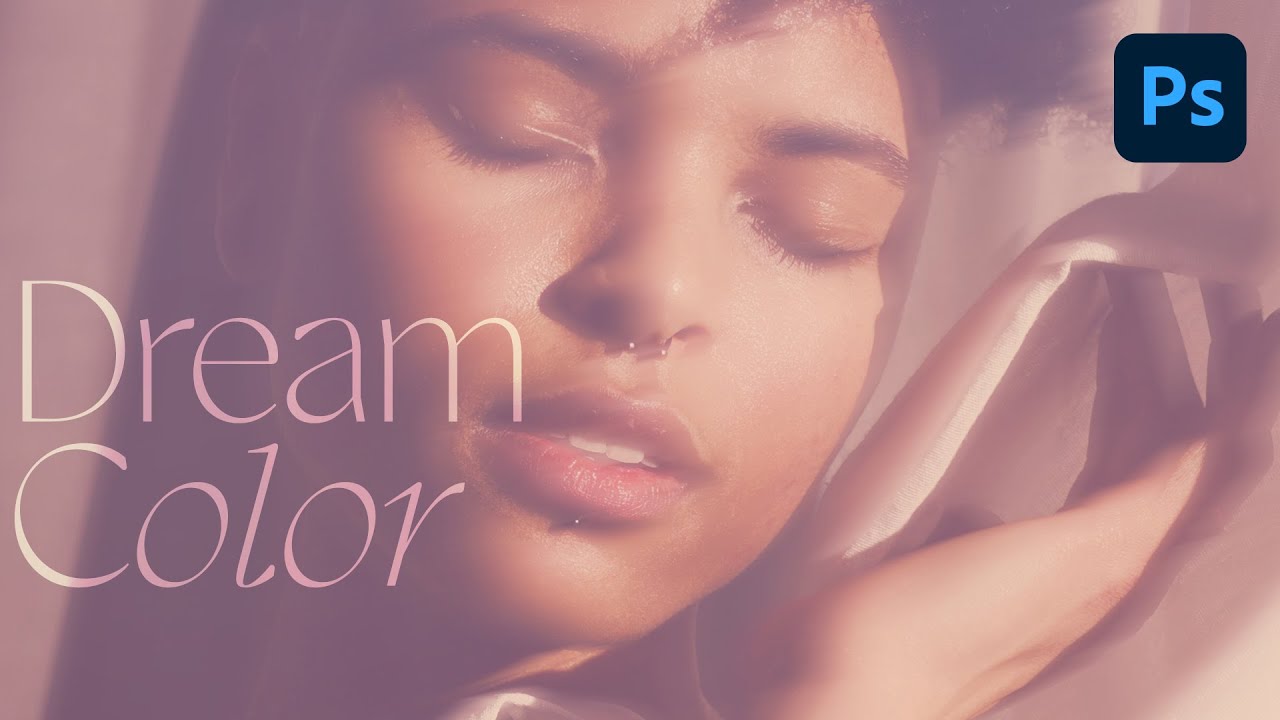
Client work has a way of humbling you. I spent the better part of an afternoon once trying to manually paint a warm, hazy color grade onto a portrait, layer by layer, brush stroke by brush stroke, and the result looked like someone had smeared margarine on the screen. The color was there, technically, but it had no life. No cohesion. What I actually needed was already sitting in another photo on my desktop, and I had no idea I could just… take it.

Build a Photoshop Photo Book Template That Actually Saves You Time (Scott Kelby Method)

Build a Photoshop Photo Book Template That Actually Saves You Time (Scott Kelby Method)

Client photo books used to wreck my workflow. Not the creative part, I enjoy that. The part where you build twelve nearly-identical pages and have to manually swap out every image, resize it, reposition it, and pray nothing shifts. I burned more hours than I’ll admit before I stumbled across a smarter approach. In this Scott Kelby tutorial from his three-part photo book series, Kelby walks through building photo book pages directly in Photoshop CS4.

Adobe Camera Raw in Photoshop Is Doing Heavy Lifting I Used to Do Manually (And I Feel Foolish)

Adobe Camera Raw in Photoshop Is Doing Heavy Lifting I Used to Do Manually (And I Feel Foolish)

I spent the better part of three years doing things the hard way in Photoshop. Manually painting masks for background blur. Dragging Hue/Saturation sliders trying to isolate a sky without torching the rest of the image. Stacking adjustment layers like I was building a skyscraper out of toothpicks. It worked, mostly, but it was slow and fragile. One wrong move and the whole thing collapsed. That’s actually how I learned about smart objects, after accidentally flattening a client’s project file and spending the next two hours trying to reconstruct it from a JPEG export.

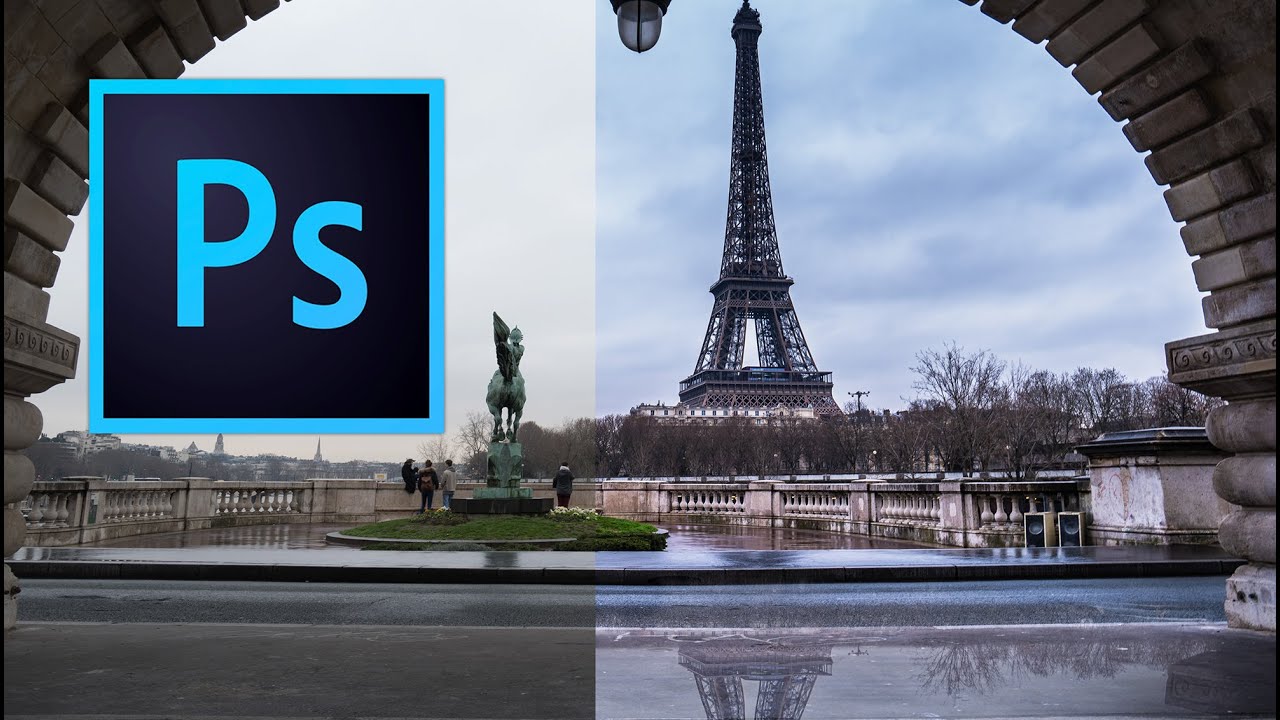
Fake Rain, Real Reflections: How to Add a Water Reflection in Photoshop

Fake Rain, Real Reflections: How to Add a Water Reflection in Photoshop

There’s a certain kind of photo that looks fine on its own but becomes genuinely cinematic with one extra ingredient: a puddle reflection. You’ve seen it. The city street shot where the skyline doubles itself in a millimeter of rainwater. The architecture photo that suddenly has atmosphere. That effect used to feel like something only people with actual rain and actual puddles could pull off. Turns out, you can fake it entirely in Photoshop, and fake it convincingly.

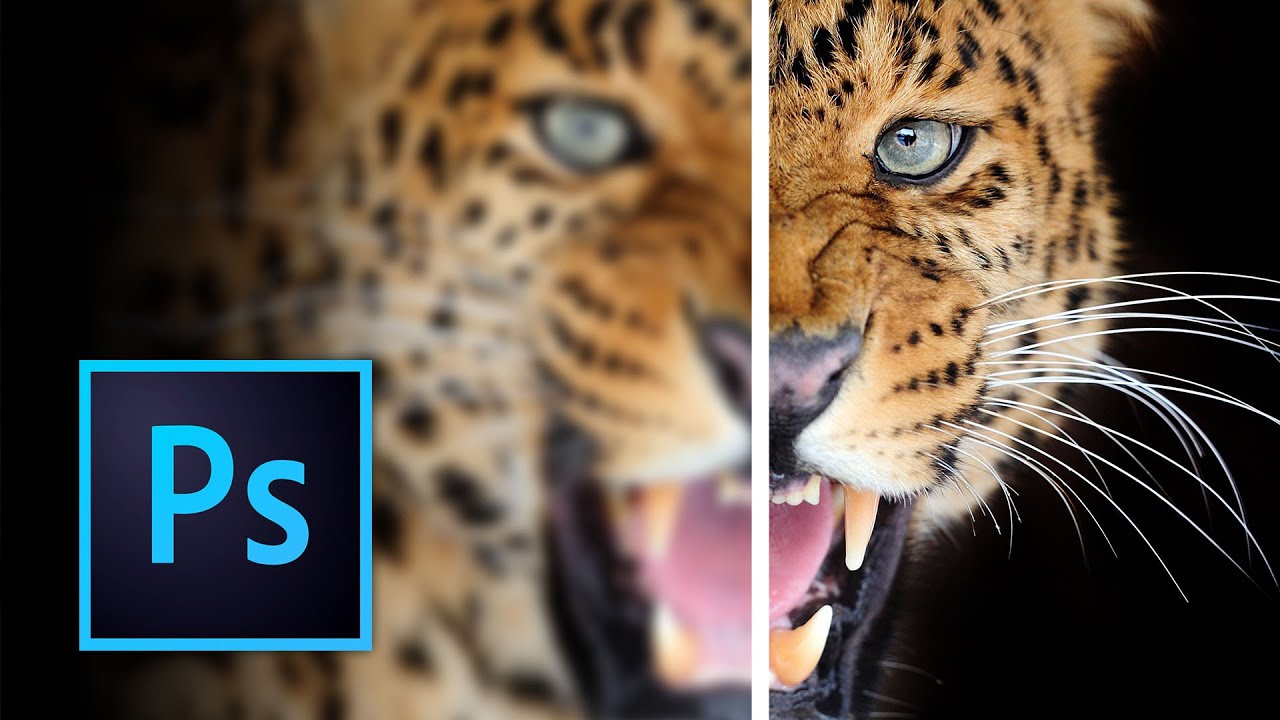
Stop Guessing With Sharpening: A Practical Guide to Unsharp Mask in Photoshop

Stop Guessing With Sharpening: A Practical Guide to Unsharp Mask in Photoshop

Sharpening is one of those things I either forgot to do entirely or obliterated like I had a personal grudge against the image. For a long time my workflow was basically “crank the clarity slider and pray.” It worked until it didn’t, and “didn’t” usually meant a client deliverable that looked like it was printed through a chain-link fence. Not great for business. I came across this Kelvin Designs tutorial on image sharpening and it filled in a lot of gaps I didn’t even know I had.