Fake the Y2K Digicam Look in Photoshop (No eBay Required)

Fake the Y2K Digicam Look in Photoshop (No eBay Required)

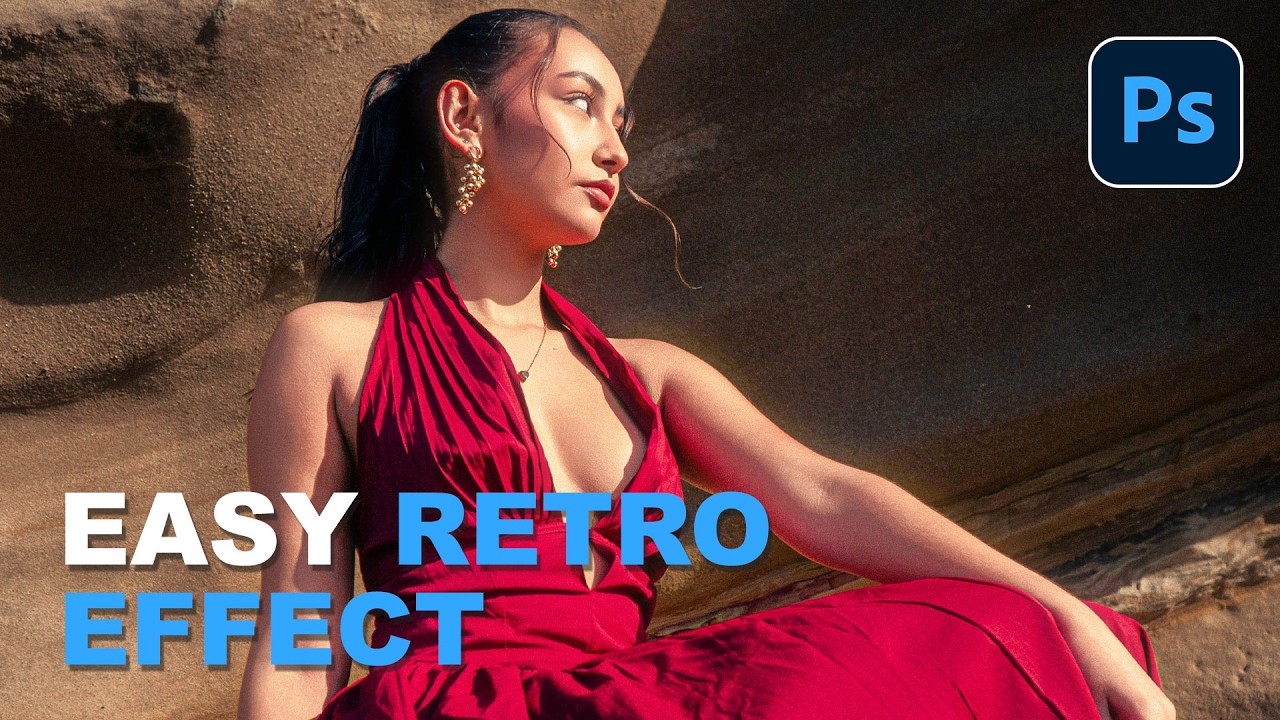
Client work comes in waves. One week everyone wants clean, minimal, modern. The next week, someone slides into your DMs asking for that “y’know, that old digital camera vibe” and you’re suddenly staring at a perfectly exposed, beautifully lit photo wondering how to make it look worse on purpose. It’s a real skill. I mean that without irony. The digicam look, that punchy, slightly cold, flash-blasted aesthetic from early-2000s point-and-shoot cameras, is everywhere right now.

Fake a Tilt-Shift Lens in Photoshop Without Spending $2,000 on Glass

Fake a Tilt-Shift Lens in Photoshop Without Spending $2,000 on Glass

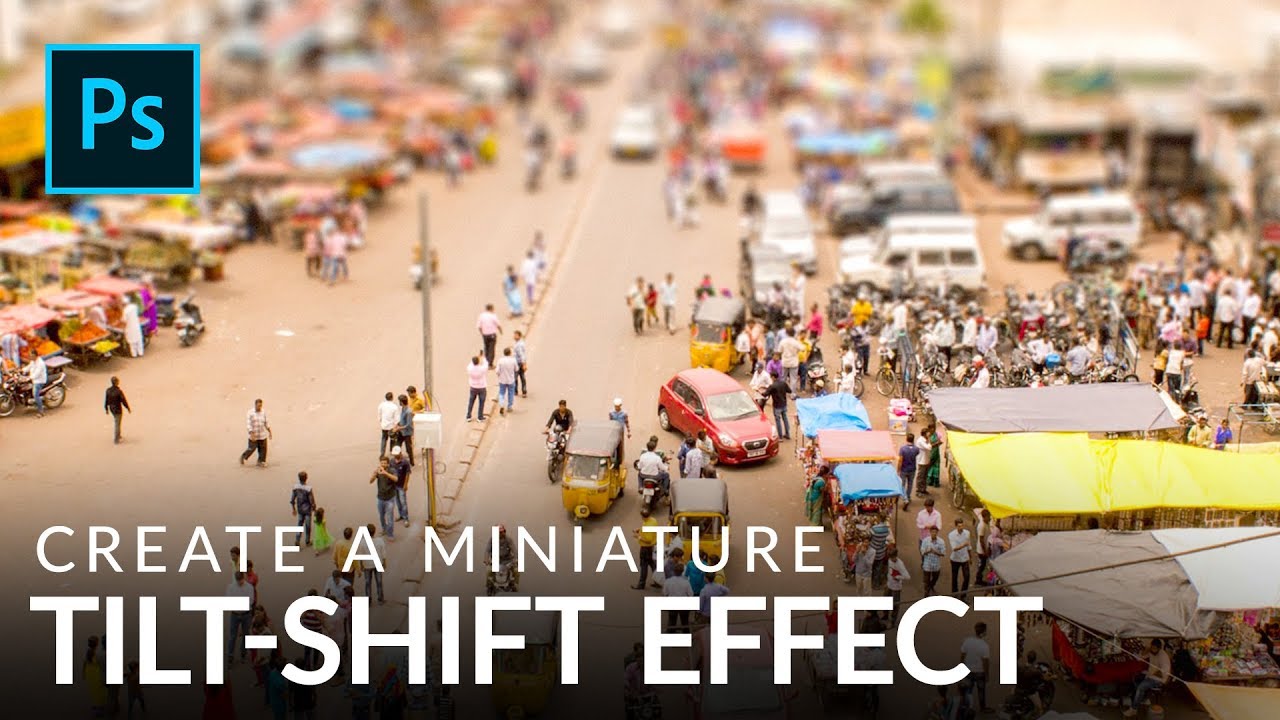
There’s a certain kind of photo that stops people mid-scroll. The city looks like a model train set. The crowd looks like a handful of tiny plastic people. Everything feels weirdly toy-like and satisfying. That’s the tilt-shift effect, and for years I assumed it required either an absurdly expensive specialty lens or some dark Photoshop sorcery I hadn’t been initiated into. Turns out it’s neither. It’s a gradient mask and a blur filter, and you can knock it out in under ten minutes once you know what you’re doing.

Photoshop Compositing Isn't Magic — It's Just Planning (Plus These Specific Techniques)

Photoshop Compositing Isn't Magic — It's Just Planning (Plus These Specific Techniques)

I spent three days on a composite once. Three full days, mostly at a coffee shop on South Congress, burning through oat milk lattes and my own patience. A friend looked at it, asked if I’d tried a specific blending technique, and rebuilt something better in about twenty minutes. I had not tried that technique. I did not know that technique existed. That experience basically rewired how I approach learning compositing — I now seek out people who clearly know things I don’t, and I pay close attention.

How to Build a Lego Man Head in Photoshop 3D (Without Losing Your Mind)

How to Build a Lego Man Head in Photoshop 3D (Without Losing Your Mind)

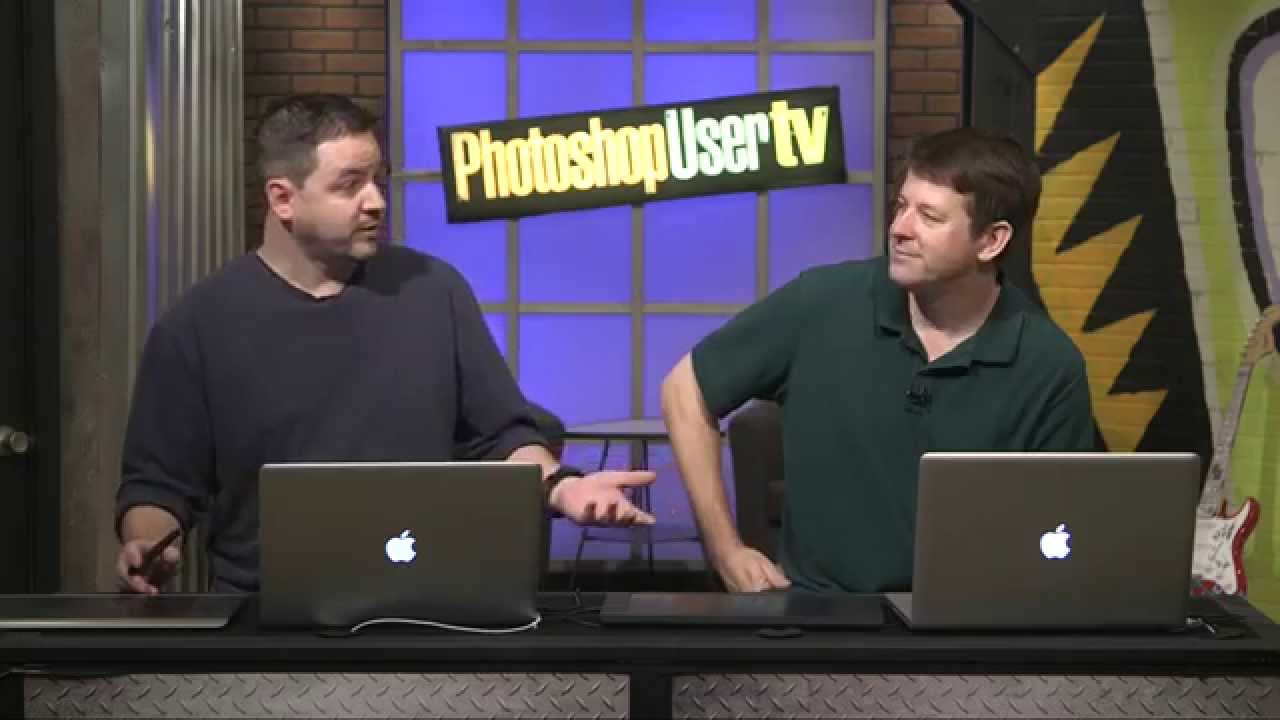
I’ll be straight with you: I avoided Photoshop’s 3D tools for an embarrassingly long time. Every time I cracked open that menu it felt like I’d wandered into someone else’s software. Then I watched Cory Barker work through a Lego man build on Photoshop User TV and something finally clicked. Not because the technique is simple, exactly, but because he frames it around shapes you already understand. Cylinders. Rounded boxes. Half-profiles that get spun into full objects.

Fake It Till You Make It: How to Wrap 3D Text Around a Subject in Photoshop (No AI Required)

Fake It Till You Make It: How to Wrap 3D Text Around a Subject in Photoshop (No AI Required)

There’s a specific kind of design envy that hits when you see text curving around a subject like it actually exists in the same physical space. Not slapped on top. Not dropped in as an afterthought. Actually wrapping. I’ve faked this effect badly more times than I care to admit, usually by just skewing text and hoping nobody looked too closely. Spoiler: they always look too closely. So when I came across this Aaron Nace (PHLEARN) tutorial on creating a 3D text effect in Photoshop, I sat up a little straighter in my coffee shop booth.

Sky Replacement in Photoshop: What Every Single Setting Actually Does

Sky Replacement in Photoshop: What Every Single Setting Actually Does

There’s a specific kind of frustration that hits when you know a tool exists, you’ve poked at it a few times, and it still produces results that look like a bad green-screen audition. Sky Replacement in Photoshop is exactly that tool for a lot of people. The feature showed up in Photoshop and everyone got excited, slapped a dramatic sunset behind a gray overcast shot, and then quietly closed the file when the edges looked like someone cut them out with kindergarten scissors.

Why Your Text Effects Look Cheap (And the Layer Style Settings That Fix It)

Why Your Text Effects Look Cheap (And the Layer Style Settings That Fix It)

I had a client once who sent me a logo comp they’d made themselves “just to show the direction.” The text had a drop shadow with a Distance of 47px, a Spread of 0%, and an Opacity of 75%. It looked like the word was floating three inches off the page and casting a shadow onto the moon. They were proud of it. I had to fix it without making them feel bad, which is honestly harder than the actual Photoshop work.

Overlays in Photoshop Don't Have to Look Cheap — Here's How to Actually Use Them

Overlays in Photoshop Don't Have to Look Cheap — Here's How to Actually Use Them

There’s a specific kind of embarrassment that only designers know. Someone asks you to add some “dramatic lighting” to a photo, and you spend forty-five minutes fiddling with Curves and Gradient Maps, fighting Photoshop like it personally offended you. Then you find out there’s a five-minute method using overlays that would have gotten you 90% of the way there in a fraction of the time. That’s basically my origin story with overlays.

Making Rain in Photoshop That Actually Looks Like Rain (Not TV Static)

Making Rain in Photoshop That Actually Looks Like Rain (Not TV Static)

There’s a certain kind of client request that makes every freelance designer’s eye twitch a little: “Can you just make this photo look more dramatic?” No notes, no reference image, just vibes. I’ve been handed sunny, flat, completely unremarkable stock photos and asked to make them feel cinematic. Rain is one of the fastest ways to get there, and for a long time I was doing it the slow, ugly way.

Transform Any Photo with Textures in Photoshop: A Practical Breakdown

Transform Any Photo with Textures in Photoshop: A Practical Breakdown

There’s a specific kind of flatness that happens when a photo is technically correct but visually boring. Good exposure, decent composition, and somehow it still looks like a stock image nobody bought. I ran into this constantly early in my freelance work, spending way too long adding drama in the wrong places, like overcooked contrast or aggressive vignettes, when the real fix was sitting one layer above the photo the whole time.