7 Photoshop Layer Tricks That Changed How I Actually Work

7 Photoshop Layer Tricks That Changed How I Actually Work

Layers are the backbone of everything in Photoshop. Not smart objects, not adjustment layers, not blend modes — layers, full stop. And yet I spent the better part of two years treating them like a simple stack of stuff, dragging things around and hoping for the best. It wasn’t until I started deliberately hunting down layer-specific technique that I realized how much time I was hemorrhaging on tasks that should have taken seconds.

Double Exposure in Photoshop: How to Blend Two Images Into Something That Looks Intentional

Double Exposure in Photoshop: How to Blend Two Images Into Something That Looks Intentional

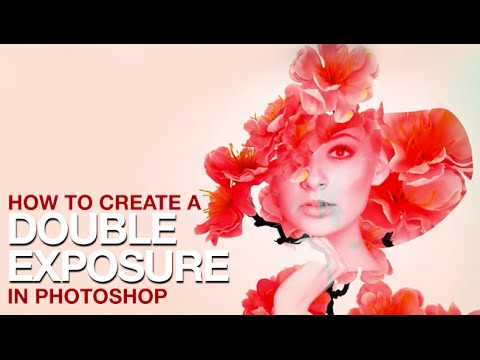
Client work has a funny way of pushing you toward techniques you’ve been lazily avoiding. For me, double exposures were exactly that. I’d seen them everywhere, assumed they were either done in-camera or required some wizardly process I hadn’t earned the right to know yet, and kept putting off learning them properly. Then a branding client asked for a portrait-meets-nature composite for a wellness campaign, and suddenly my procrastination had a deadline.

Photoshop Layers for Beginners: Build Your First Composite the Right Way

Photoshop Layers for Beginners: Build Your First Composite the Right Way

I started making graphics in MS Paint. Terrible ones. Cut-out text, gradient backgrounds that looked like a Windows 98 screensaver, the whole deal. When I finally got my hands on Photoshop, the thing that changed everything for me wasn’t the filters or the fancy selection tools. It was layers. Once I understood that every element in a composition could live on its own independent plane, editable and moveable without touching anything else, the whole software started making sense.