Layers are the backbone of everything in Photoshop. Not smart objects, not adjustment layers, not blend modes — layers, full stop. And yet I spent the better part of two years treating them like a simple stack of stuff, dragging things around and hoping for the best. It wasn’t until I started deliberately hunting down layer-specific technique that I realized how much time I was hemorrhaging on tasks that should have taken seconds.
That’s exactly why I kept coming back to this tutorial from Matt Kloskowski. Watch the full tutorial on YouTube - it runs through seven layer tips that feel obvious in retrospect but genuinely change your working speed. I’m going to walk through each one here with enough detail that you can follow along without pausing the video every fifteen seconds.
These aren’t theoretical tricks. They’re the kind of thing that make you quietly annoyed you didn’t know them sooner.
Step 1: Use Option/Alt to Duplicate Anything in the Layers Panel
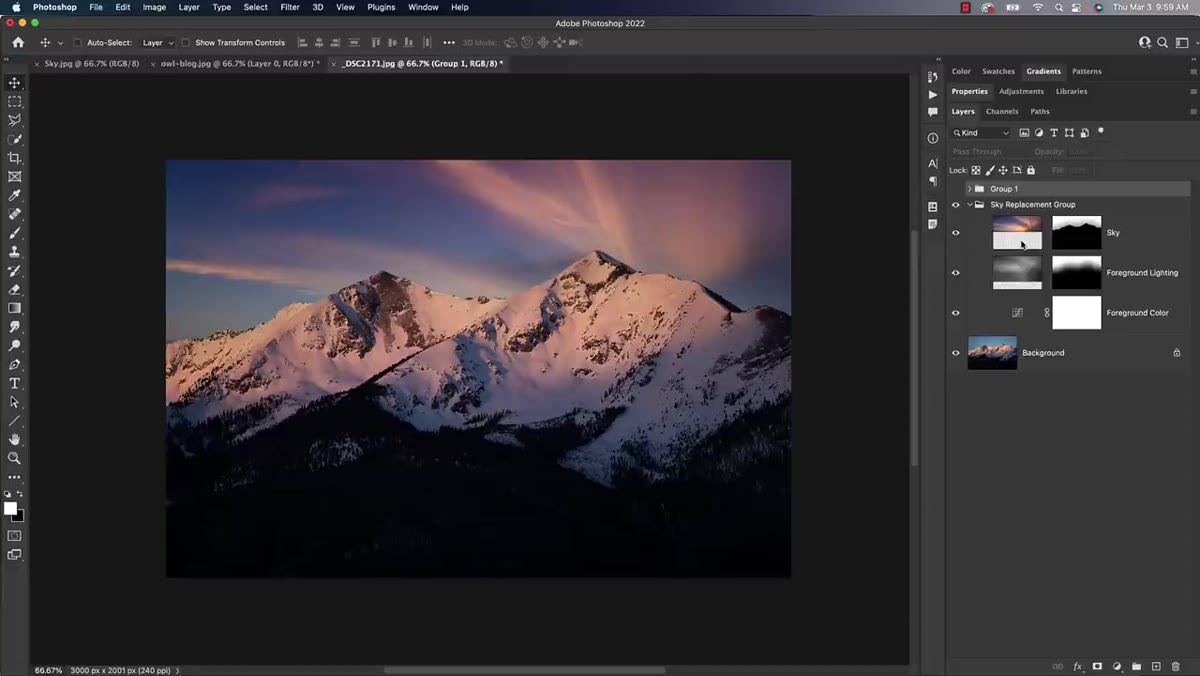 Dragging a layer mask to another layer with Alt held
The Option key on Mac (Alt on PC) is basically the layers panel’s secret weapon. Most people know that holding it lets you duplicate a layer by dragging, but the real power is that it works on any element inside the panel. Layer masks, layer styles, effects groups - all of it.
Dragging a layer mask to another layer with Alt held
The Option key on Mac (Alt on PC) is basically the layers panel’s secret weapon. Most people know that holding it lets you duplicate a layer by dragging, but the real power is that it works on any element inside the panel. Layer masks, layer styles, effects groups - all of it.
So if you’ve built a really careful mask on one layer and need the same mask on a different layer, don’t recreate it from scratch. Hold Option/Alt, click the mask thumbnail, and drag it to the target layer. If that layer already has a mask, Photoshop will ask if you want to replace it. If it doesn’t have one, the mask just lands there cleanly. Same goes for layer styles - you can Option/Alt-drag a drop shadow from one layer directly onto another. This works with the Move tool active too, directly on the canvas, without even touching the layers panel.
Step 2: Understand What Command/Control J Is Actually Doing
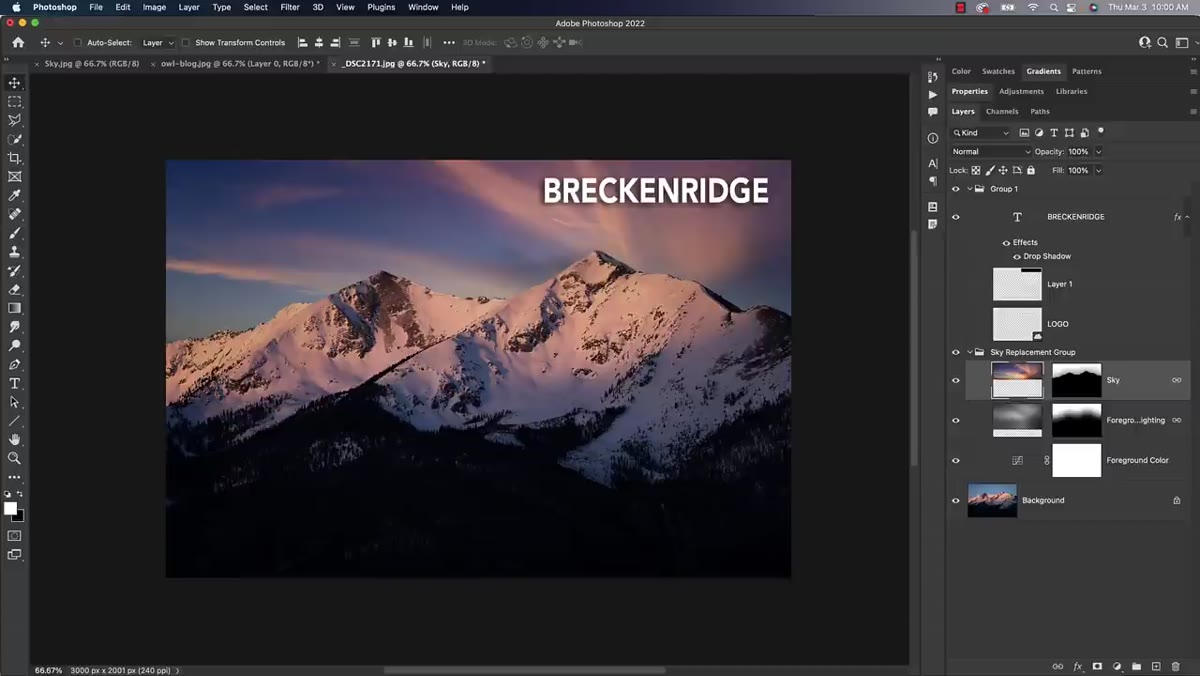 Layer menu showing “New Layer Via Copy” with Cmd+J shortcut
Everyone knows Cmd+J (Ctrl+J on PC) duplicates a layer. Fewer people know where that shortcut actually lives in the menu structure, and that matters because it unlocks a second, related shortcut that does something completely different.
Layer menu showing “New Layer Via Copy” with Cmd+J shortcut
Everyone knows Cmd+J (Ctrl+J on PC) duplicates a layer. Fewer people know where that shortcut actually lives in the menu structure, and that matters because it unlocks a second, related shortcut that does something completely different.
Dig into Layer > New and you’ll find two entries: Layer Via Copy and Layer Via Cut. Cmd+J handles the copy. Shift+Cmd+J (Shift+Ctrl+J on PC) handles the cut. Knowing both gives you two distinct tools.
Step 3: Use Cmd+J With a Selection to Isolate Part of a Layer
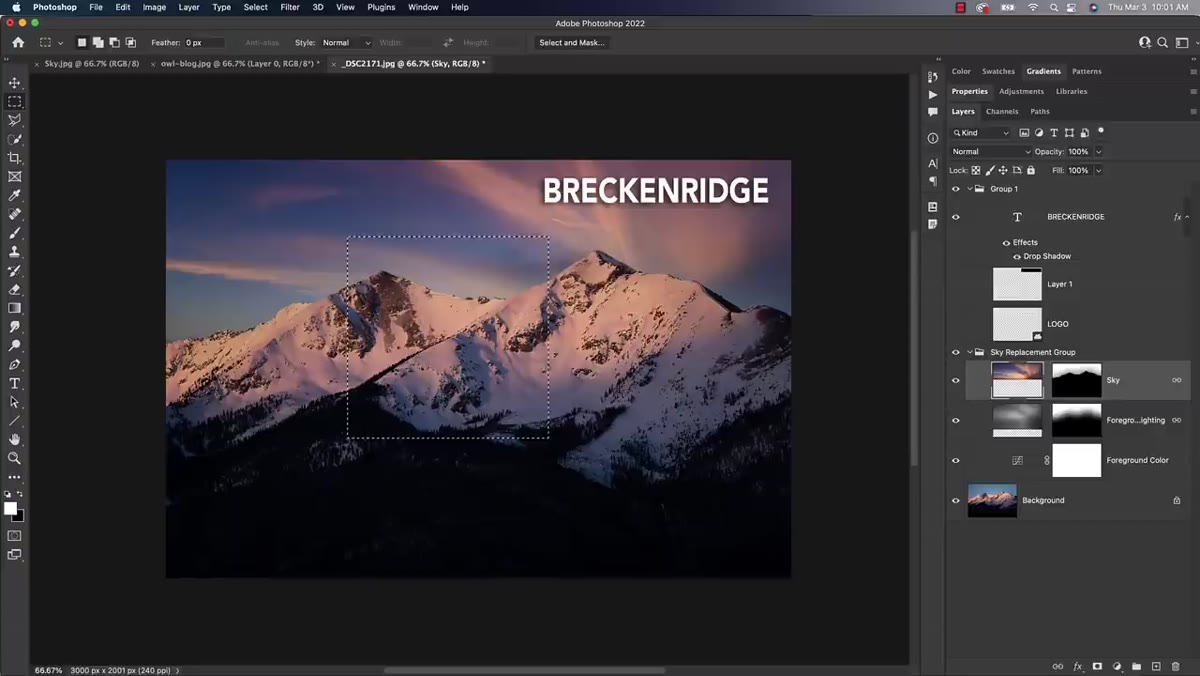 Selected area being copied to its own layer with Cmd+J
Here’s where the Layer Via Copy shortcut gets genuinely useful. If you draw a selection first and then press Cmd+J, Photoshop doesn’t duplicate the entire layer. It copies only what’s inside the selection and places that content on a brand new layer, leaving the original untouched underneath.
Selected area being copied to its own layer with Cmd+J
Here’s where the Layer Via Copy shortcut gets genuinely useful. If you draw a selection first and then press Cmd+J, Photoshop doesn’t duplicate the entire layer. It copies only what’s inside the selection and places that content on a brand new layer, leaving the original untouched underneath.
This comes up constantly when you’re working with composites or doing targeted edits. Say you want to pull a specific element out of a background layer and work on it independently. Select it, hit Cmd+J, and it’s isolated on its own layer. No flattening, no destructive moves, original stays intact.
Step 4: Use Shift+Cmd+J to Cut Instead of Copy
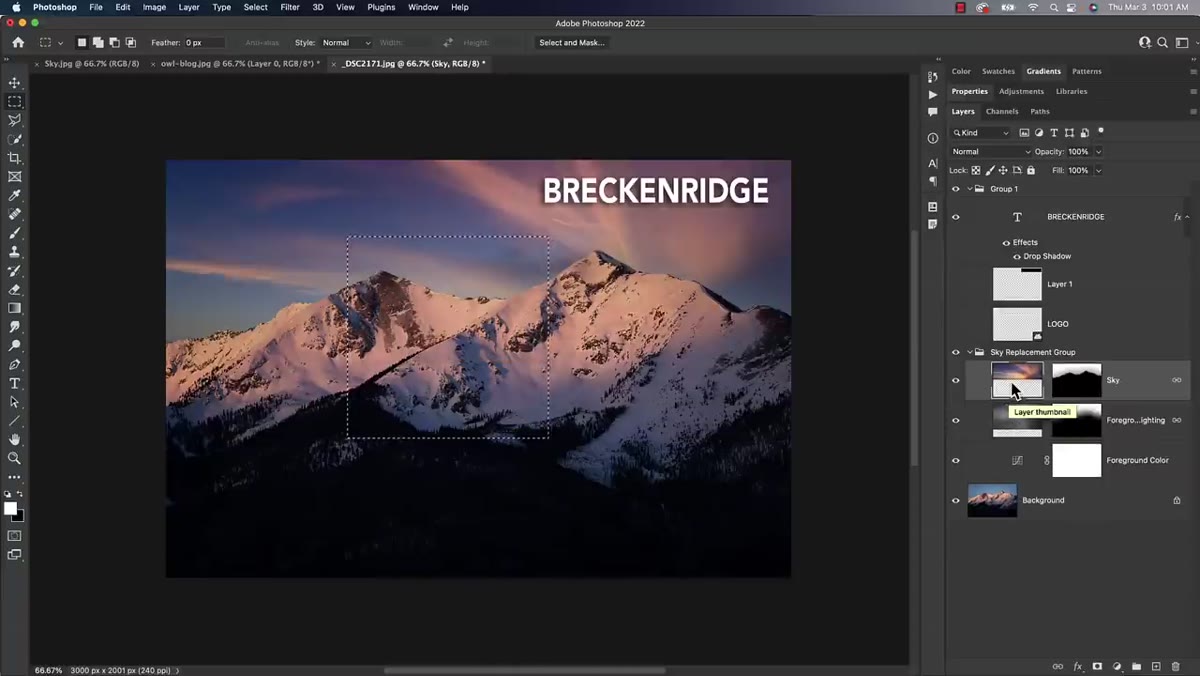 Selected area being cut to new layer, leaving hole in original
Same idea as Step 3, but with a key difference: Shift+Cmd+J cuts the selected content out of the original layer instead of copying it. The selected area lifts off and sits on a new layer above, and the original layer has a transparent hole where that content used to be.
Selected area being cut to new layer, leaving hole in original
Same idea as Step 3, but with a key difference: Shift+Cmd+J cuts the selected content out of the original layer instead of copying it. The selected area lifts off and sits on a new layer above, and the original layer has a transparent hole where that content used to be.
This is handy when you genuinely need to separate elements that were combined on one layer, rather than just duplicating them. Think of it as a non-destructive way to “split” a layer along a selection boundary. Cut vs copy - it’s a small distinction that saves real headaches later when you’re trying to manage a project that’s gotten complicated.
Step 5: Option/Alt-Click to Duplicate Layers Directly on the Canvas
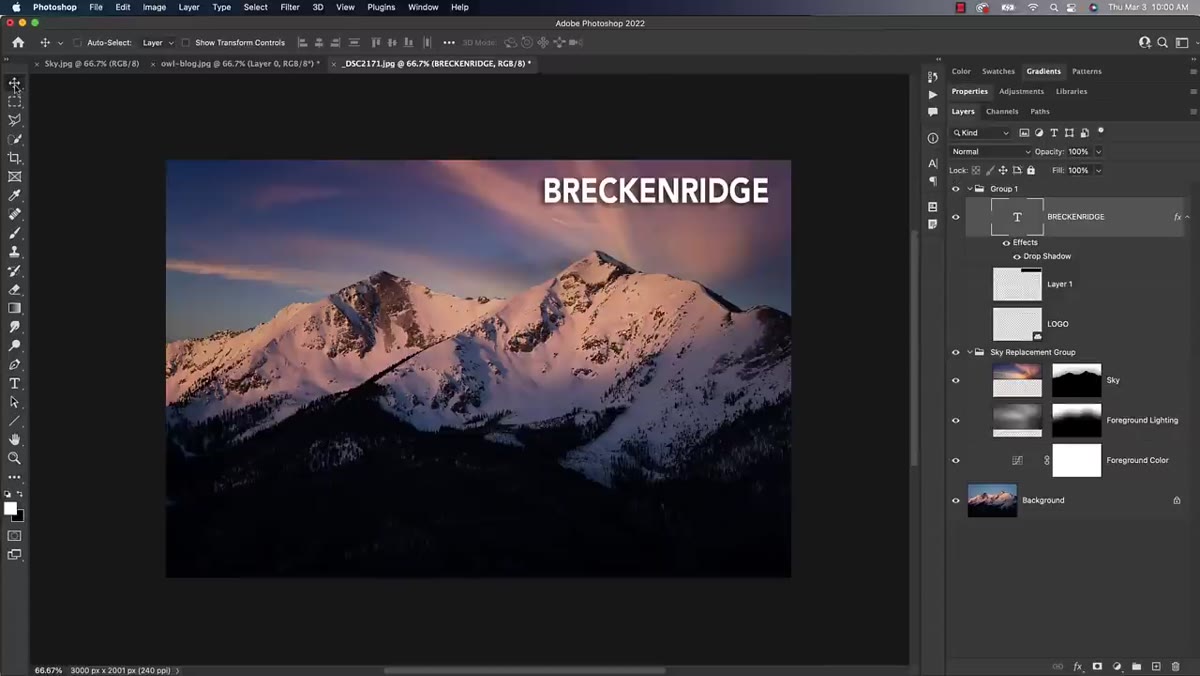 Move tool selected, layer being duplicated by Alt-dragging on canvas
This one gets overlooked because it feels too simple. With the Move tool active, you can hold Option/Alt and click-drag any layer directly in the canvas to create a copy. You don’t need to go near the layers panel at all.
Move tool selected, layer being duplicated by Alt-dragging on canvas
This one gets overlooked because it feels too simple. With the Move tool active, you can hold Option/Alt and click-drag any layer directly in the canvas to create a copy. You don’t need to go near the layers panel at all.
The key requirement is that you have the Move tool selected - not a brush, not the lasso, the Move tool specifically. Once that’s active, Option/Alt-drag any layer content and a duplicate appears. For layouts where you need multiple copies of an element positioned at different spots, this is dramatically faster than the panel-based approach.
My Own Extension: Stack These Shortcuts Together
I started combining the Option/Alt-drag canvas method with the Layer Via Copy selection trick in a workflow that saved me a genuinely embarrassing amount of time on a recent project. I was building out a composite with repeated elements that each needed small variations. Instead of duplicating full layers and then masking, I’d select the relevant region, Cmd+J it to its own layer, then Option/Alt-drag copies of that isolated layer wherever I needed them.
What used to be a three-step process involving menus and mask repainting collapsed into something I could do in about four seconds. The shortcuts individually are useful. Stacked together, they start to feel like a completely different program.
One caveat worth flagging: the Option/Alt-drag duplicate on the canvas only targets the currently active layer. If you’re in a complex document with a lot of layers close together, double-check you have the right layer targeted before you drag. I’ve created more accidental duplicates of the wrong layer than I’d like to admit, usually while working distracted at a coffee shop with bad lighting.
The single most important thing I took from Matt’s tutorial is this: the Option/Alt key is doing more work than almost anyone gives it credit for. Once you start thinking of it as a “copy this specific thing” modifier - whether that’s a mask, a style, a layer, or a canvas element - you’ll find yourself reaching for it constantly.
These shortcuts aren’t glamorous, but they’re the ones that separate someone who knows Photoshop from someone who’s fast in Photoshop. Watch the full breakdown, including tips I didn’t cover here, directly from Matt:
Watch the full tutorial on YouTube
Comments (2)
Shared this with my photography group. Everyone loved it.
I've been looking for exactly this kind of tutorial. Perfect timing.
Leave a Comment