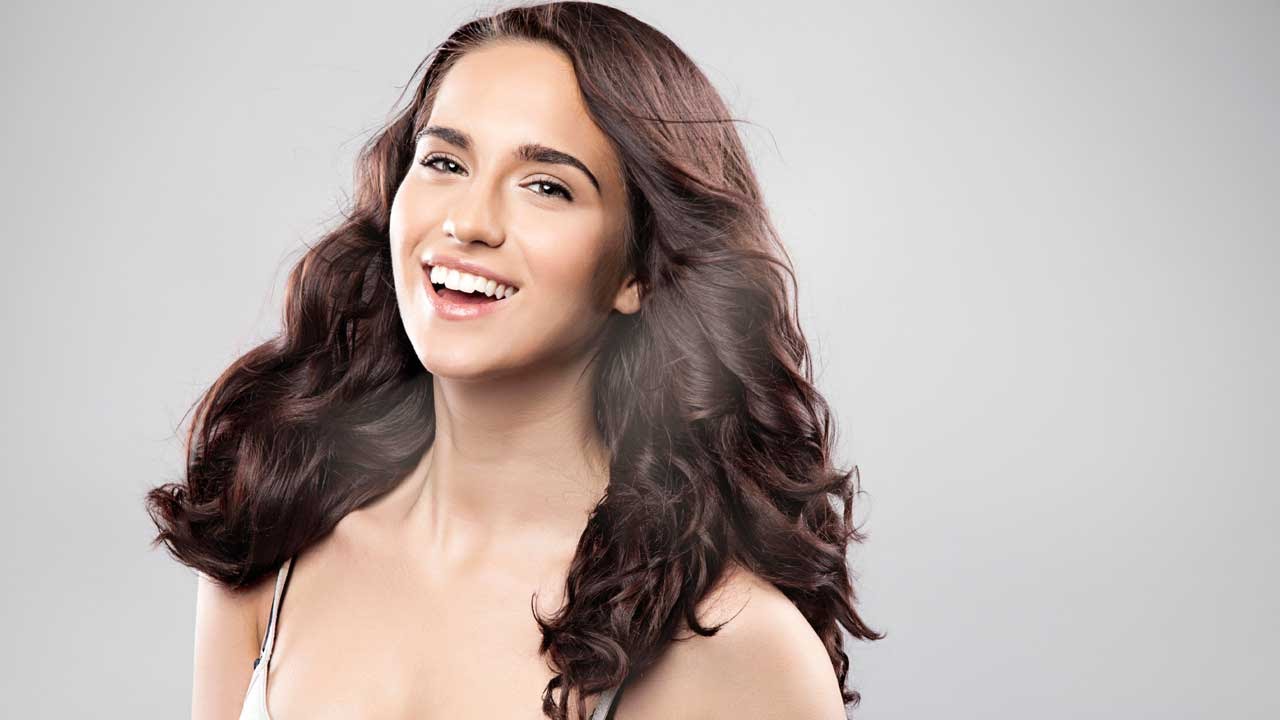
Fix Messy Hair in Photoshop Using Liquify and Clone Stamp (No Hairspray Required)

Fix Messy Hair in Photoshop Using Liquify and Clone Stamp (No Hairspray Required)

I do a lot of portrait retouching. Not because I planned for that to be my thing, but because once people find out you know Photoshop, suddenly every photographer friend you have wants a favor. And the one area that consistently takes longer than it should? Hair. Flyaways, gaps, weird shapes that looked fine in the viewfinder and look chaotic on a 27-inch monitor. For a long time, my approach was just… keep painting and hope for the best.
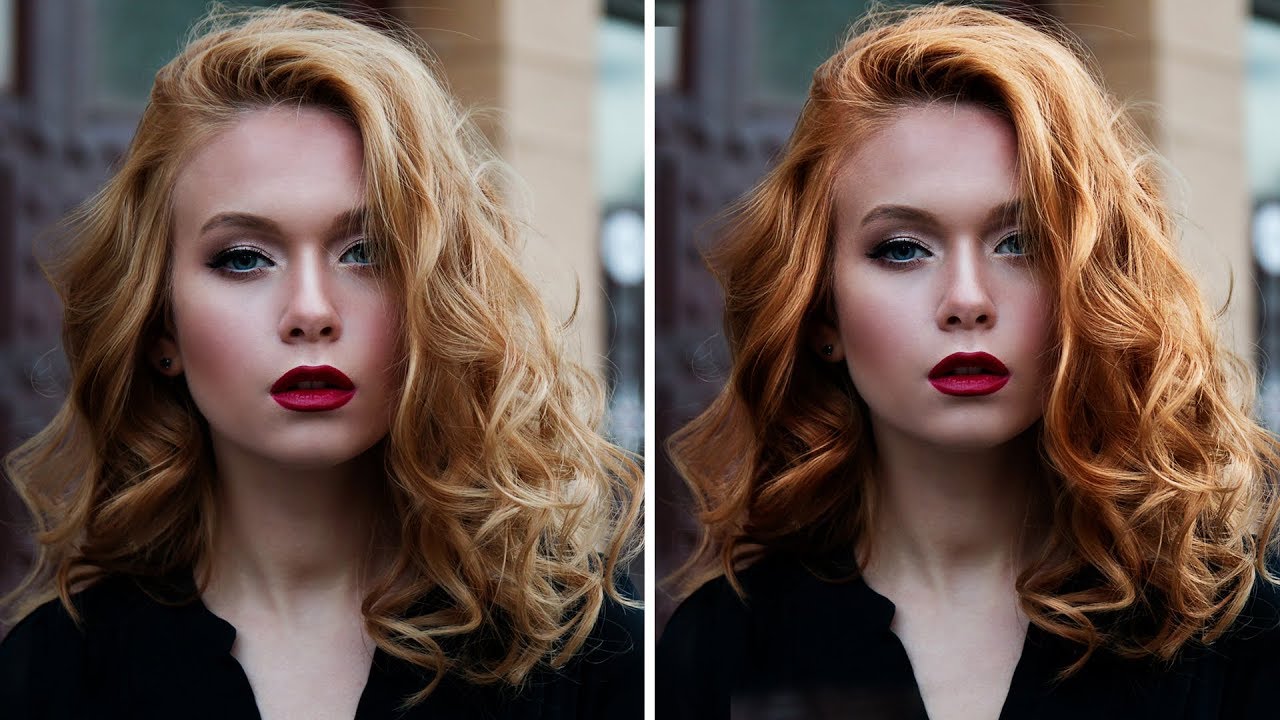
Give Your Subject's Hair More Life in Photoshop: Volume, Color, and Depth in Three Moves

Give Your Subject's Hair More Life in Photoshop: Volume, Color, and Depth in Three Moves

Hair retouching is one of those things that separates a decent retouch from a genuinely polished one. I spent an embarrassing amount of time early in my freelance career trying to make flat, lifeless hair look editorial by throwing contrast sliders at it. It doesn’t work. What actually works is a specific sequence of moves that address volume, color, and depth as separate problems. That’s exactly what Aaron Nace breaks down in this PHLEARN tutorial, and the reason it clicked for me is that he treats each issue with its own dedicated tool rather than hunting for one magic adjustment that does everything.

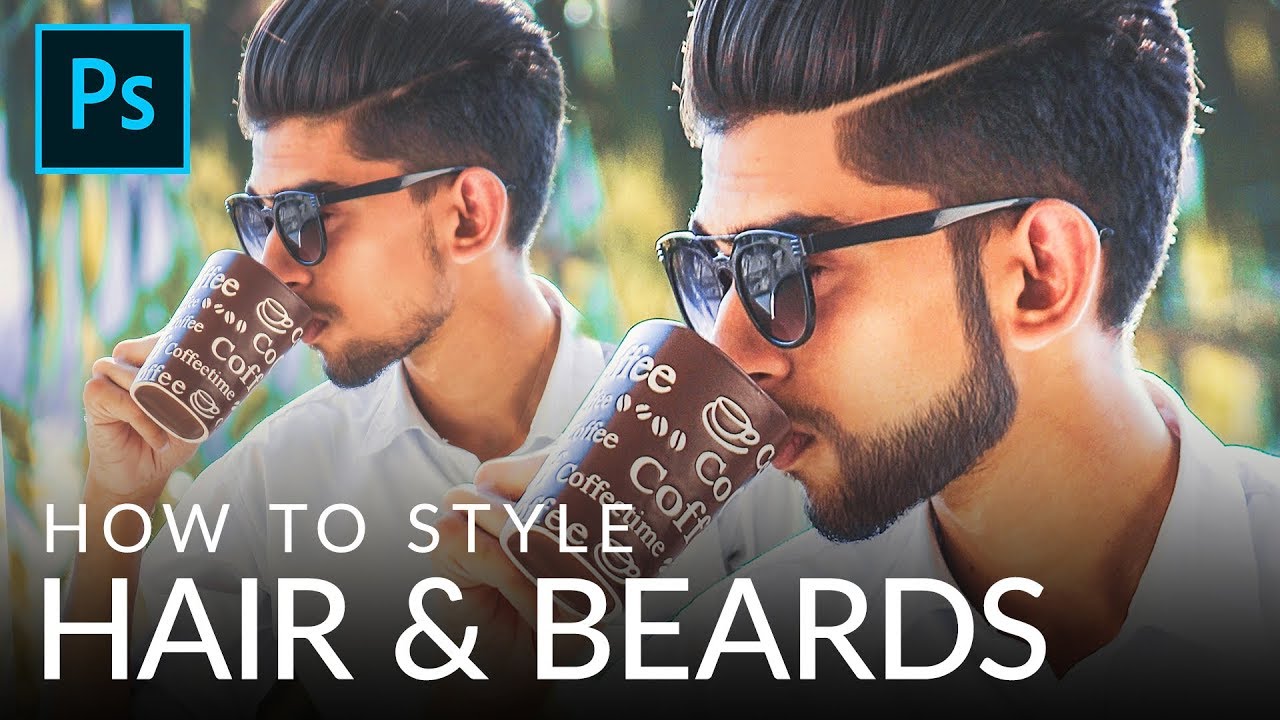
Fake It Till You Make It: How to Paint Realistic Hair and Beards in Photoshop

Fake It Till You Make It: How to Paint Realistic Hair and Beards in Photoshop

I’ve taken on enough portrait retouching gigs to know that hair is the thing that separates “pretty good” from “actually professional.” Skin? Frequency separation handles most of it. Eyes? A little dodging and burning. But hair, and especially beards, will absolutely expose you if you don’t know what you’re doing. Patchy beards, thin hairlines, awkward shapes that don’t match the light in the scene. Clients notice, even if they can’t articulate why something looks off.