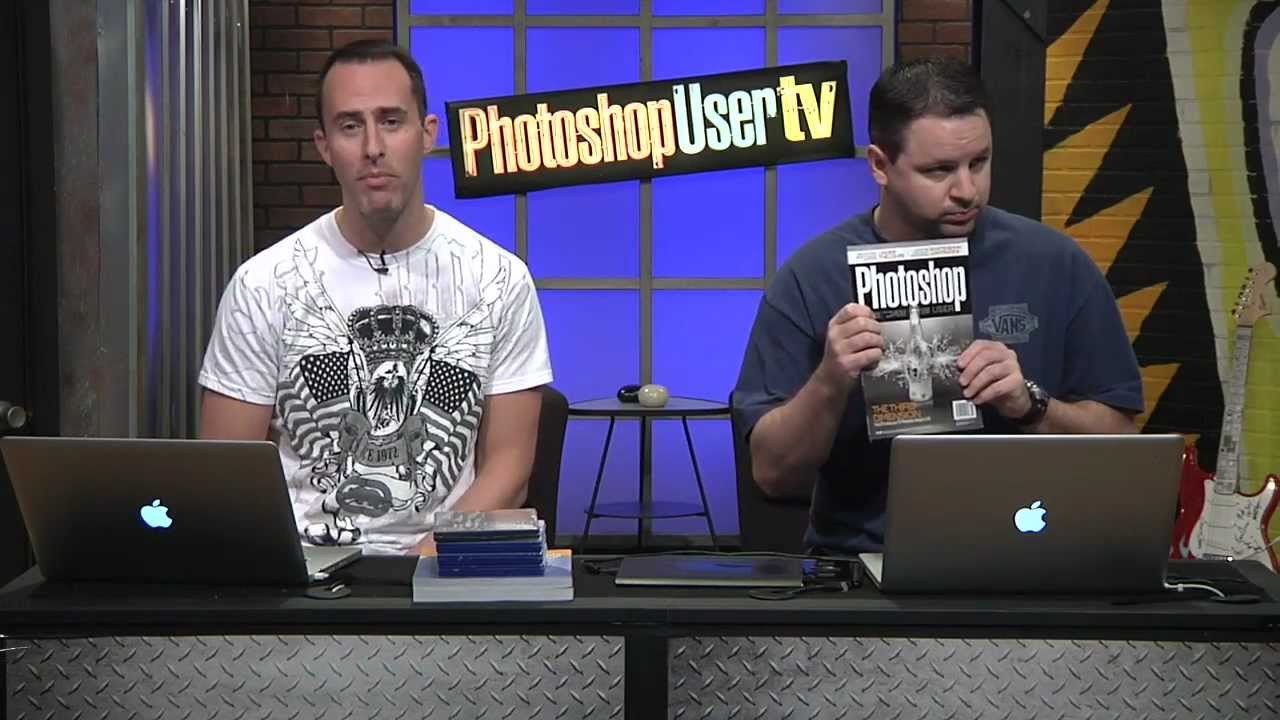
There’s a specific kind of composite that looks effortlessly creepy, where a subject seems to dissolve into the background behind them, patterns bleeding through skin and hair like something out of a horror movie poster. I’ve tried to fake this effect more times than I want to admit, usually ending up with a mess of hard edges and obvious masking that screams “Photoshop amateur hour.” Then I watched Cory Barker walk through his take on it in Watch the full tutorial on YouTube, a KelbyOne episode from early 2012, and the whole approach clicked in a way my previous attempts never had.
The inspiration for the technique came from the movie poster for “Dream House,” which featured two figures blending into a patterned wall in a way that felt intentional and atmospheric rather than just poorly masked. Cory took that concept and pushed it further using a high-contrast portrait of a woman with dramatic, expressive features. The image sells the effect because you want the viewer’s eye to linger on the face even as it starts to dissolve into the background behind it. That tension between solid and transparent is what makes the whole thing work.
What I love about this approach is that it leans hard on Refine Edge, a tool that was genuinely revolutionary when it landed and still gets underused by people who default to the quick selection tool and call it done. If you’ve ever spent an afternoon manually painting hair masks and wanted to throw your laptop out a window, this one’s for you.
Step 1: Make a Loose Initial Selection Around the Subject’s Head
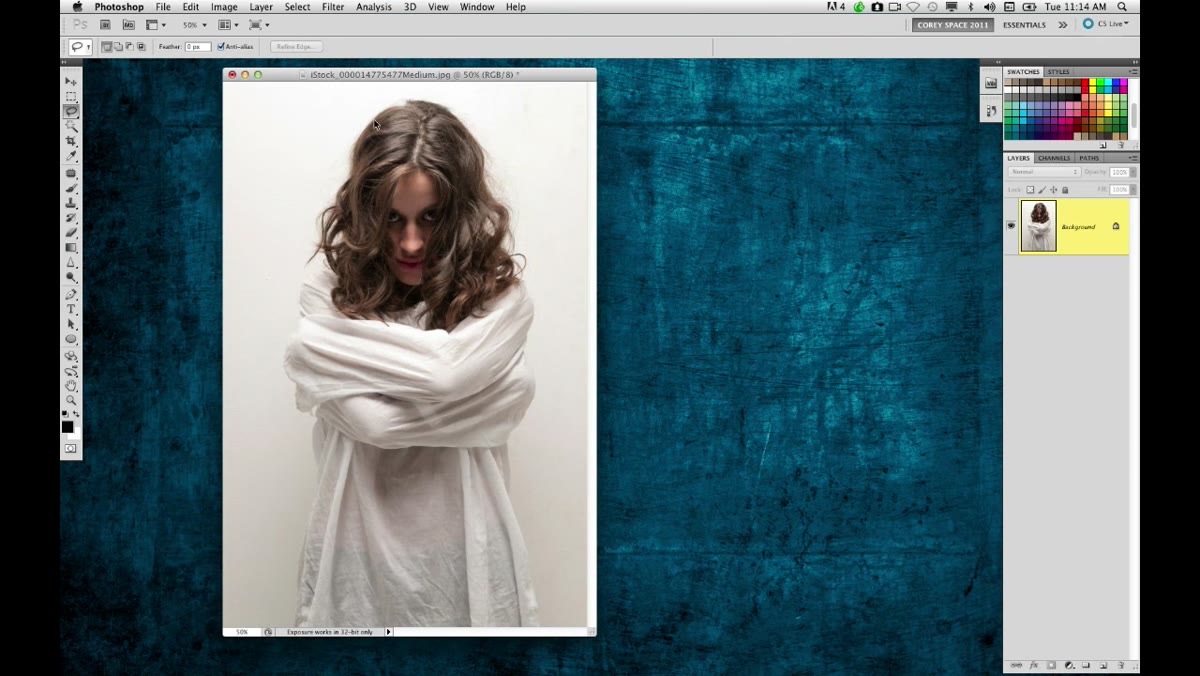 Lasso tool drawing loose selection around subject’s head and hair
Don’t overthink the starting selection. Grab the Lasso tool and draw a rough outline around the subject’s head and hair area. You’re not trying to be precise here, you’re just giving Refine Edge a starting boundary to work with. A selection that’s too tight will cause problems later, so stay loose, stay outside the actual edges, and give yourself some breathing room.
This is one of those things that took me a while to accept: the rough selection is not the mask. It’s just a hint. Treat it like sketching a thumbnail before you draw, not like the final artwork.
Step 2: Open Refine Edge and Set Your View to Transparent Background
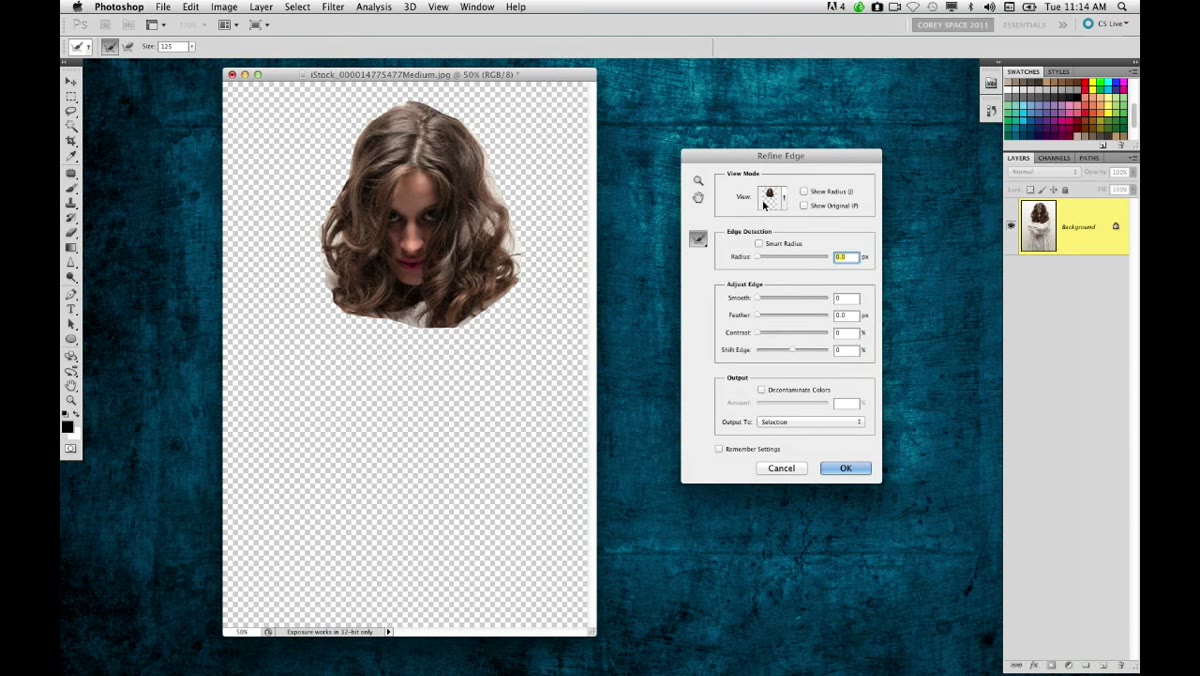 Refine Edge dialog open with transparent background view selected
Once your loose selection is active, click “Refine Edge” in the options bar (or go to Select, then Refine Edge). When the dialog opens, switch the View mode to display against a transparent background. This is important because it lets you see exactly which pixels are being included and which are being dropped, without a solid color tricking your eye into thinking edges are cleaner than they are.
Seeing the actual transparency makes bad edge detection obvious immediately. If you’re viewing against white or black, you can miss fringing that will ruin the composite when you drop it onto a real background.
Step 3: Increase the Edge Detection Radius
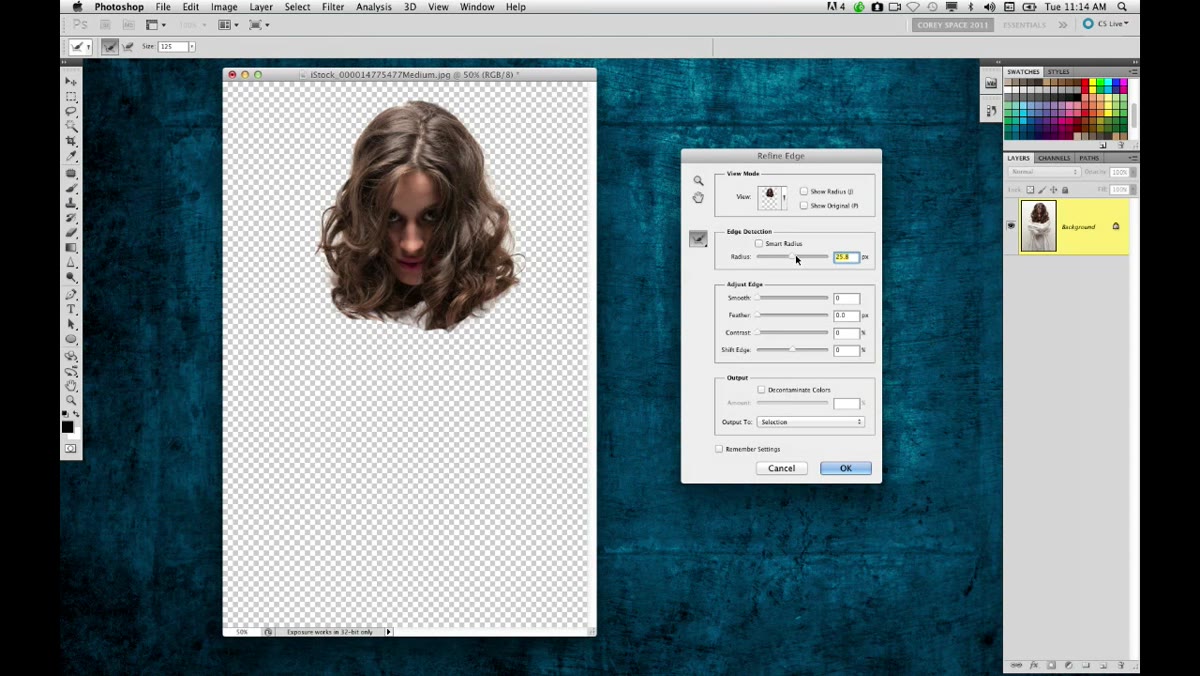 Edge Detection radius slider being pushed up in Refine Edge panel
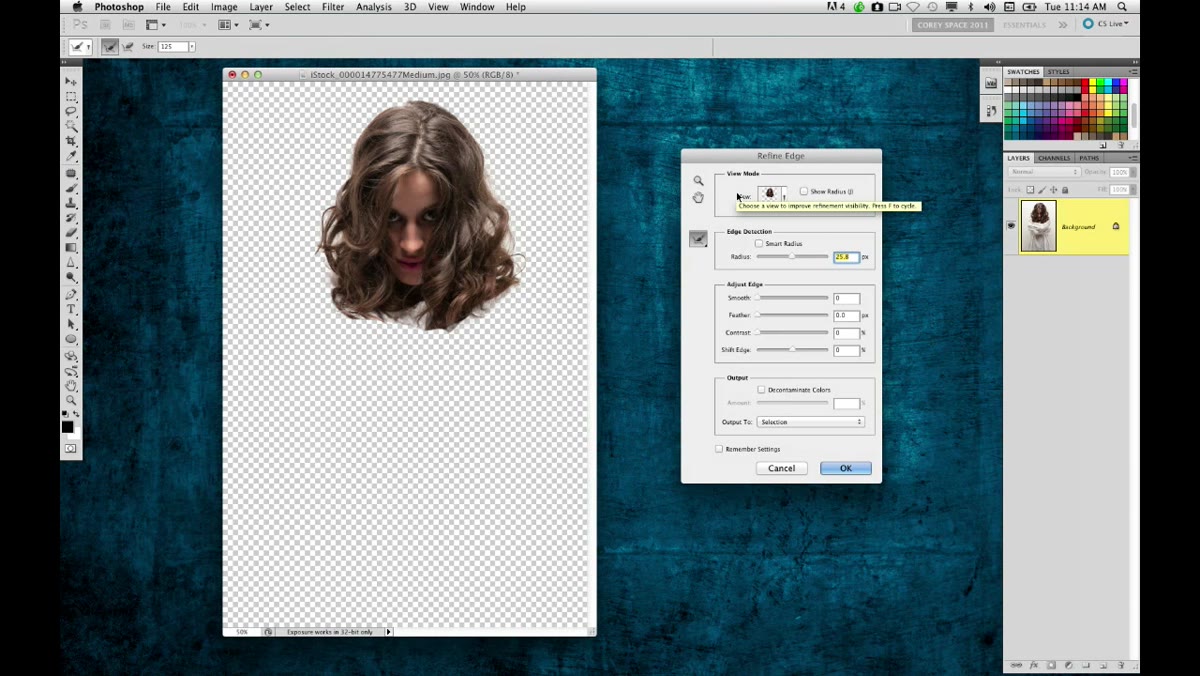
Inside the Edge Detection section, push the Radius slider up gradually. This tells Photoshop to look further out from your initial selection boundary when it’s trying to figure out where the real edge is. For hair especially, a bit of extra radius gives the algorithm enough space to find those fine strands that a hard-edge selection would just chop off.
Start modest, maybe 20 to 40 pixels depending on your image resolution, and watch the hair area in real time. You should see the mask begin to pick up individual strands rather than treating the whole hair silhouette as one solid blob.
Step 4: Test Smart Radius, But Don’t Marry It
 Smart Radius checkbox being toggled on in Refine Edge dialog
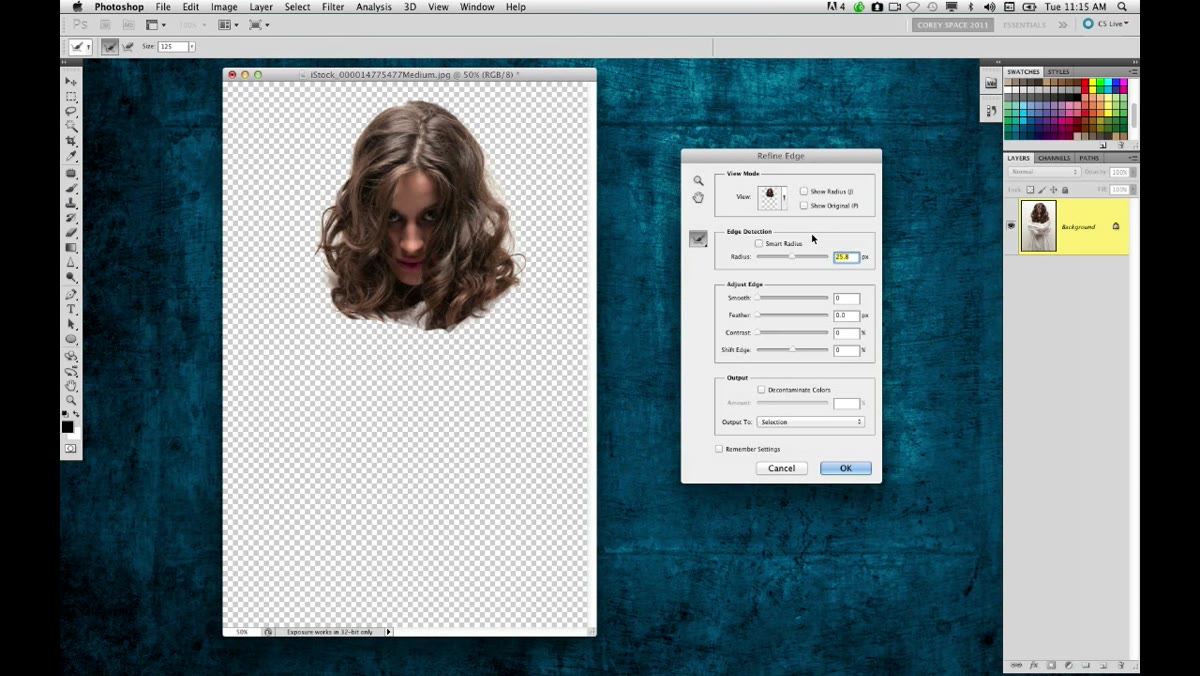
Smart Radius sounds like it should always be the right call, but as Cory points out, it’s not always the brightest tool in the shed. Toggle the Smart Radius checkbox on and take a hard look at whether the selection actually improves. Sometimes it does a great job of distinguishing between a hard edge on the shoulder and a soft edge in the hair. Other times it second-guesses itself and starts eating into areas that were fine before.
My approach: turn it on, zoom into the hairline and any transition areas, then turn it off and compare. If it helps, keep it. If it makes things worse or even just neutral, leave it off. The goal is a clean mask, not loyalty to a checkbox.
Step 5: Output the Selection as a Layer Mask
 Output settings dropdown in Refine Edge showing Layer Mask option
Once you’re satisfied with how Refine Edge is handling the edges, head down to the Output section of the dialog. Change the Output To dropdown to “Layer Mask.” Click OK. Photoshop will apply your refined selection directly as a mask on the layer, which keeps everything non-destructive and editable if you need to go back and paint corrections.
This is the part where having a dramatic, high-contrast subject really pays off. Clean tonal separation between your subject and the background means Refine Edge has an easier time finding real edges, and your mask comes out cleaner with less manual cleanup on the back end.
My Own Addition: Layer Blend Modes Are What Actually Sell It
Here’s where I’d take this a step further from what’s demonstrated in the video. Once you have your masked subject sitting over a patterned background, experiment with blend modes on the subject layer before you commit to anything. Multiply and Overlay are obvious choices, but Soft Light can do something almost magical with the right image combination, letting the pattern bleed through the midtones while keeping the shadows and highlights of the face relatively intact.
I’ve also found that duplicating the masked subject layer and setting the top copy to 30 to 50 percent opacity in Overlay mode adds a layer of depth that makes the composite feel less like a flat cutout. The subject starts to feel like they actually exist inside the pattern rather than being placed on top of it. That’s the difference between a convincing atmospheric effect and a trick that reads as Photoshop from across the room.
The core lesson from this tutorial is simple but easy to skip: Refine Edge is a compositing tool first, not just a selection refinement tool. Used early and deliberately, with a loose initial selection and a transparent background view, it can save hours of manual masking work and produce results that would take forever to paint by hand.
Watch the full tutorial on YouTube to see Cory walk through the complete effect, including the patterned background setup and final composite details.
Comments (1)
Clear and practical. No fluff. Appreciate that.
Leave a Comment