If selections aren’t clicking for you in Photoshop, I promise it’s not because you’re bad at software. It’s because there are about a dozen different ways to make a selection and nobody ever explains when to use which one. I spent the better part of my early freelance years defaulting to whatever tool I’d used last, regardless of whether it was the right call. Spoiler: it usually wasn’t. Getting a better grip on selection tools is genuinely one of those skill-ups that changes how fast you work, not just how well.
In this Matt Kloskowski tutorial on making selections in Photoshop, he runs through the main selection tools in about 15 minutes and the whole thing is structured around a really useful question: which tool fits which situation? Matt frames selections as the main reason photographers jump from Lightroom or Camera Raw into Photoshop at all, and once he put it that way I realized how much time I’d been leaving on the table. Watch the full tutorial on YouTube or follow the breakdown below if you want the annotated version.
Step 1: Start With the Marquee Tools for Simple Shapes
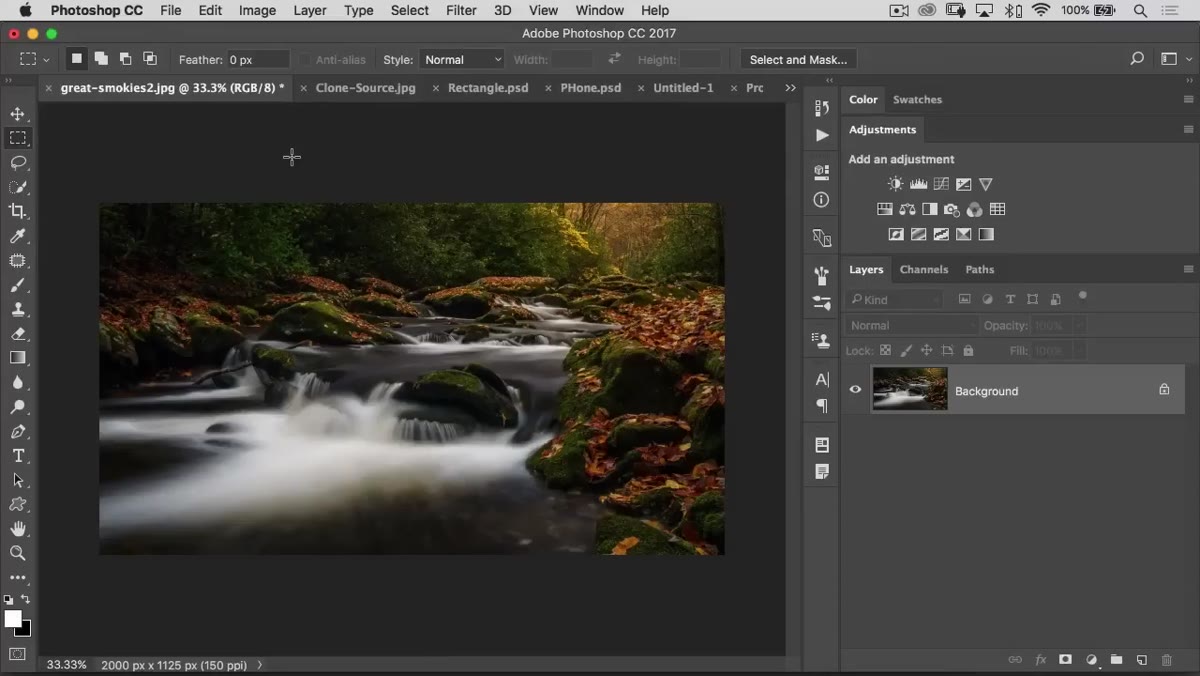 Rectangular Marquee tool selected in the Photoshop toolbar
The Rectangular Marquee and Elliptical Marquee tools are the most straightforward selection tools in the box. Click and drag to draw a rectangle or an ellipse. That’s it. They’re not glamorous and as Matt points out, photographers don’t reach for them constantly but they do have a solid use case: adding text overlays to images. Think book covers, slideshow title cards, anything where you need text to be legible over a busy background.
Rectangular Marquee tool selected in the Photoshop toolbar
The Rectangular Marquee and Elliptical Marquee tools are the most straightforward selection tools in the box. Click and drag to draw a rectangle or an ellipse. That’s it. They’re not glamorous and as Matt points out, photographers don’t reach for them constantly but they do have a solid use case: adding text overlays to images. Think book covers, slideshow title cards, anything where you need text to be legible over a busy background.
The technique Matt demonstrates is clean and worth stealing. Add a new layer below your text layer (hold Command on Mac or Control on PC while clicking the New Layer icon and Photoshop drops it underneath automatically, not above). Draw a rectangle with the Marquee tool that sits behind your text, fill it with black using Edit > Fill, deselect, then dial the opacity down to somewhere around 40-60%. The background bleeds through, the text pops, and it looks intentional instead of like a panicked fix.
Step 2: Use the Lasso Tool for Quick, Imperfect Cleanup
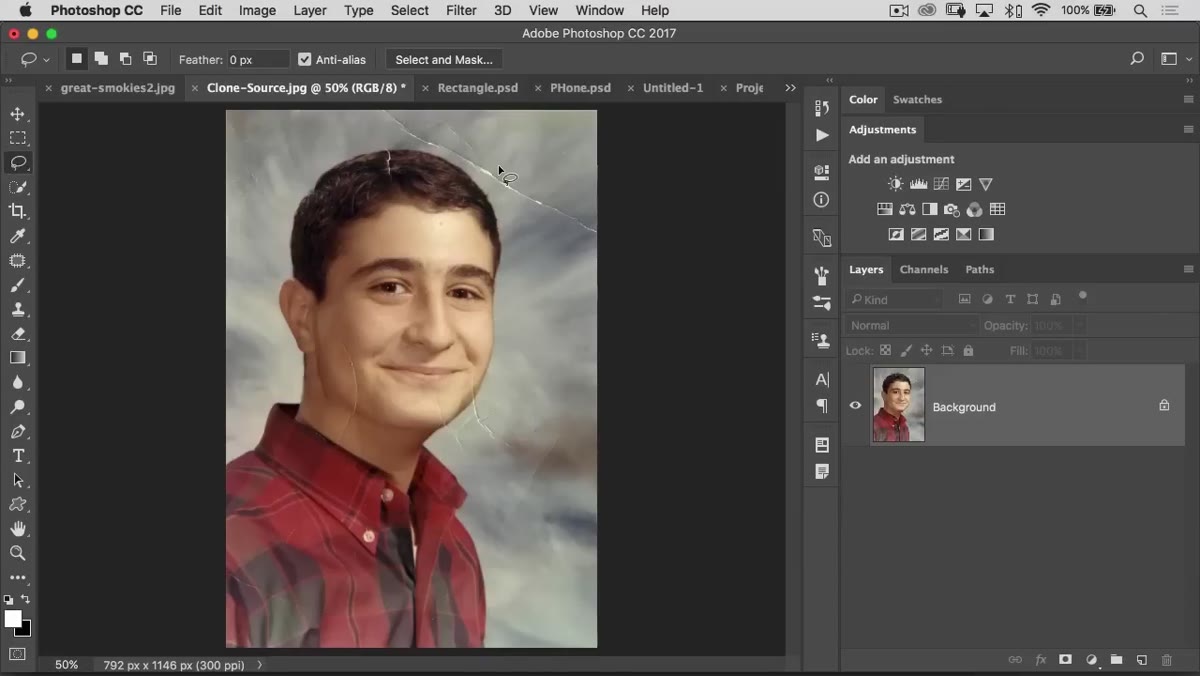 Lasso tool drawn loosely around a tear or blemish in the image
The Lasso tool lets you draw a freehand selection by clicking and dragging. It is not precise. It’s not supposed to be. Matt’s take on this tool is the right one: stop trying to make it do pixel-perfect work and lean into its looseness instead.
Lasso tool drawn loosely around a tear or blemish in the image
The Lasso tool lets you draw a freehand selection by clicking and dragging. It is not precise. It’s not supposed to be. Matt’s take on this tool is the right one: stop trying to make it do pixel-perfect work and lean into its looseness instead.
Where it actually shines is paired with Content-Aware Fill. You’ve got a tear, a stray wire, an unwanted tourist in the corner of your shot. Lasso a rough shape around it, go to Edit > Fill, choose Content Aware from the dropdown, and hit OK. The slightly irregular edges of your selection actually help here because they give Photoshop more context to sample from when it reconstructs the area. A too-tight, too-perfect selection can box the algorithm in. A sloppy lasso loop often produces cleaner results.
Step 3: Reach for the Quick Selection Tool When the Subject Has Clear Edges
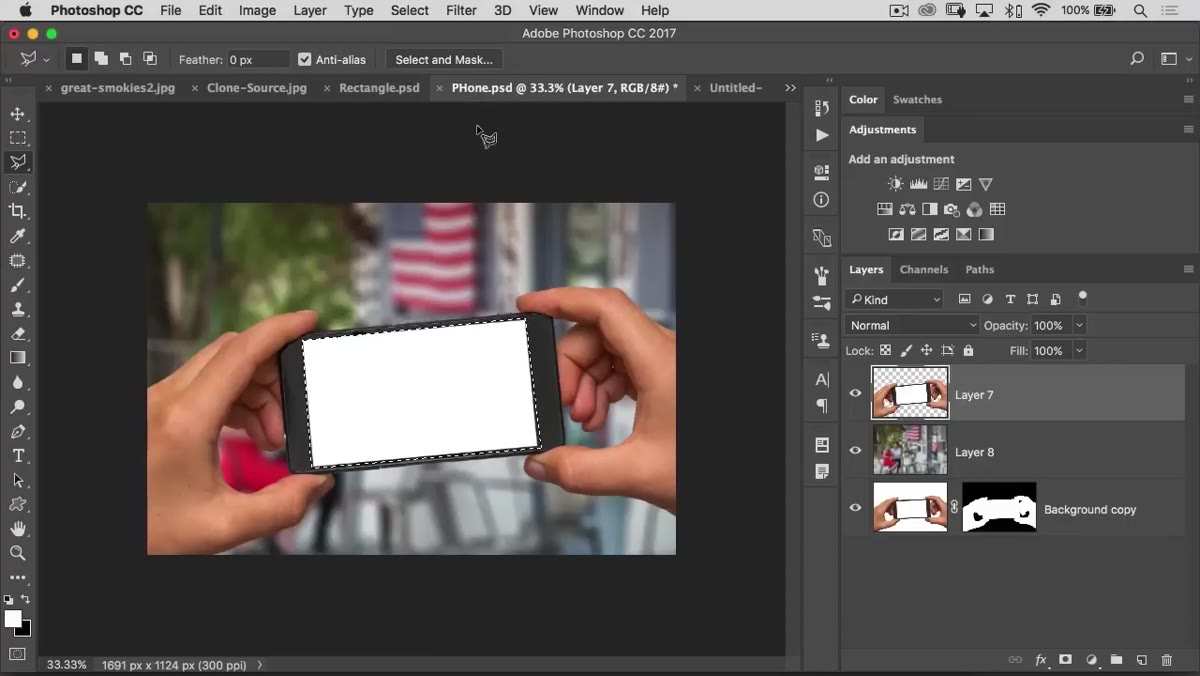 Quick Selection tool painting over a subject with a visible marching ants selection forming
The Quick Selection tool works like a paintbrush that selects as it goes. You drag it across the area you want selected and Photoshop analyzes the edges and textures as you paint, expanding the selection to follow natural boundaries in the image. It works best when there’s clear contrast between your subject and the background.
Quick Selection tool painting over a subject with a visible marching ants selection forming
The Quick Selection tool works like a paintbrush that selects as it goes. You drag it across the area you want selected and Photoshop analyzes the edges and textures as you paint, expanding the selection to follow natural boundaries in the image. It works best when there’s clear contrast between your subject and the background.
Brush size matters here. Use a larger brush to cover ground fast in the middle of your subject, then shrink it down when you get near the edges. You can hold Alt (Option on Mac) to subtract from the selection if it bleeds into areas you didn’t want. It’s not a one-pass tool. Plan on a few back-and-forth strokes to dial it in.
Step 4: Let the Object Selection Tool Do the Heavy Lifting
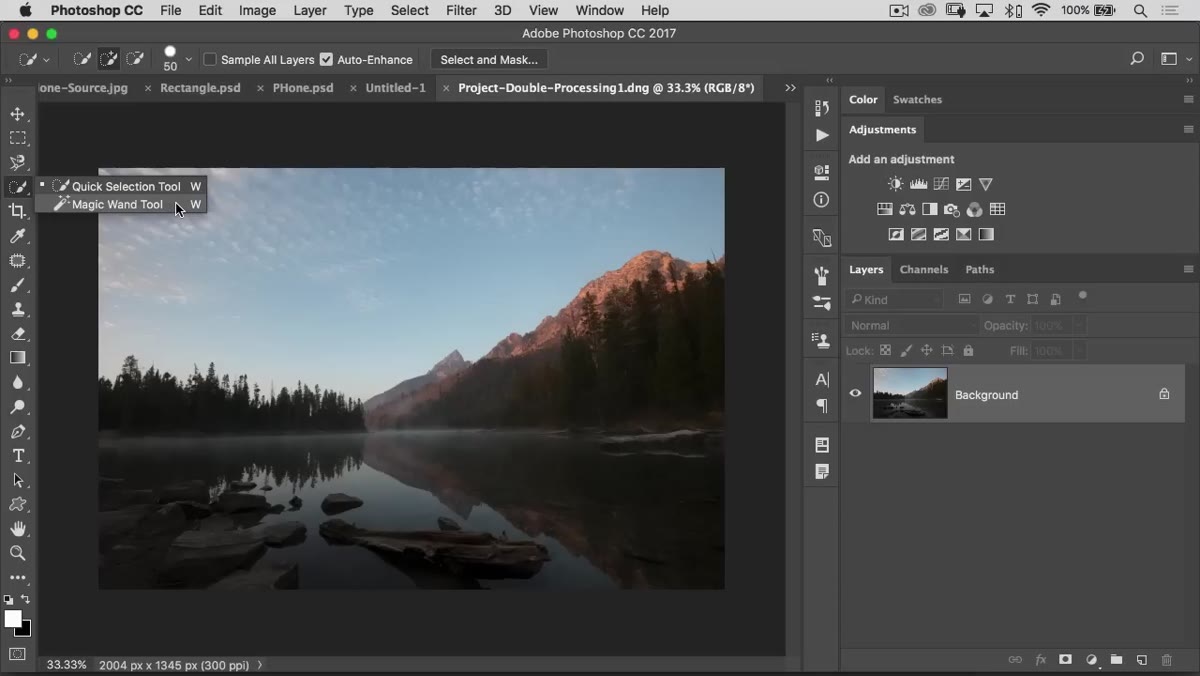 Object Selection tool drawing a loose rectangle around a subject before auto-selection snaps to it
If Quick Selection is a paintbrush, the Object Selection tool is more like a bounty hunter. You draw a loose box or lasso around the general area of your subject, and Photoshop figures out what the object is and snaps the selection to it. It uses Adobe’s AI under the hood and it’s gotten genuinely good, especially on subjects with well-defined shapes.
Object Selection tool drawing a loose rectangle around a subject before auto-selection snaps to it
If Quick Selection is a paintbrush, the Object Selection tool is more like a bounty hunter. You draw a loose box or lasso around the general area of your subject, and Photoshop figures out what the object is and snaps the selection to it. It uses Adobe’s AI under the hood and it’s gotten genuinely good, especially on subjects with well-defined shapes.
This is the tool I now default to for portraits, product shots, and anything with a reasonably distinct subject. It won’t always nail every stray hair or fuzzy edge on the first pass, but it gets you 80-90% of the way there with almost no effort. From there you refine.
Step 5: Refine Everything in Select and Mask
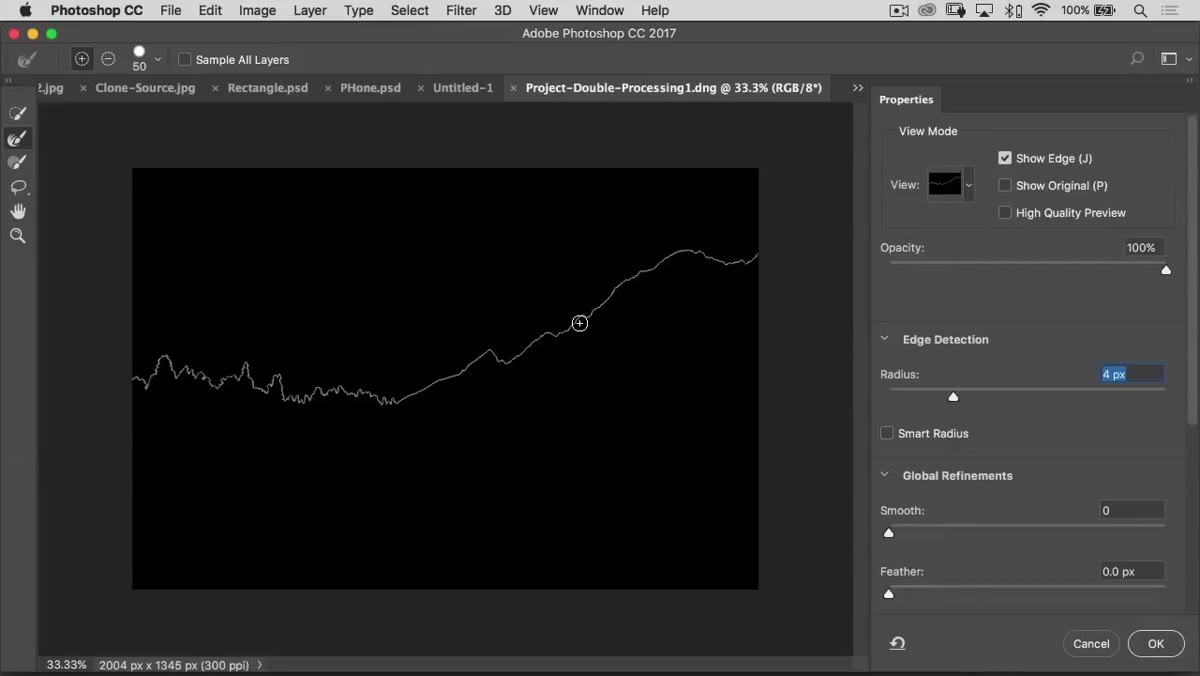 Select and Mask workspace open with hair selection being refined using the Refine Edge Brush
This is where Matt drops what he calls his own aha moment, and I felt it too the first time things clicked here. Once you have a rough selection from any of the tools above, click “Select and Mask” in the options bar at the top. This opens a dedicated workspace built for cleaning up tricky edges.
Select and Mask workspace open with hair selection being refined using the Refine Edge Brush
This is where Matt drops what he calls his own aha moment, and I felt it too the first time things clicked here. Once you have a rough selection from any of the tools above, click “Select and Mask” in the options bar at the top. This opens a dedicated workspace built for cleaning up tricky edges.
The star of the show inside Select and Mask is the Refine Edge Brush. Paint it over complicated edges, things like hair, fur, or wispy tree branches, and Photoshop separates the fine detail from the background with a precision that would take you hours to recreate manually. On the left panel you can adjust Radius (how far out from the edge Photoshop looks for detail), Smooth (to reduce jagged edges), and Feather (to soften the edge slightly). On the output side, send the result to a New Layer with a Layer Mask, which keeps everything non-destructive and reversible.
Step 6: Use the Color Range Selection for Skies and Solid-ish Backgrounds
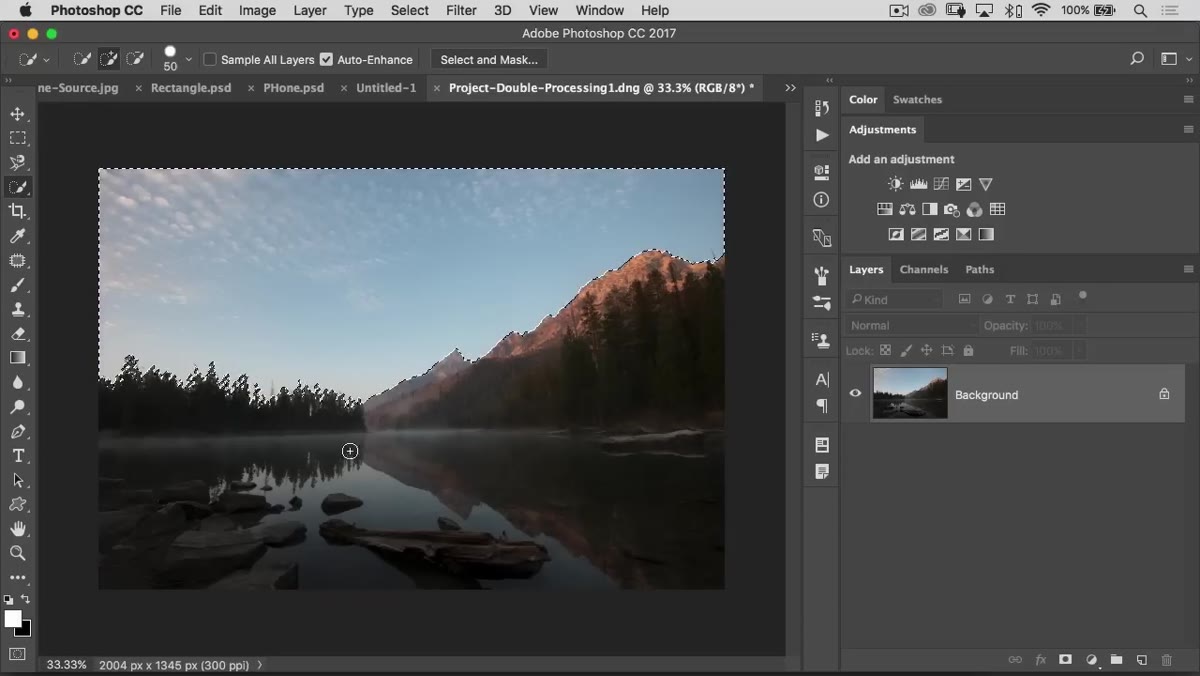 Select menu open with Color Range dialog box visible, eyedropper sampling sky color
Go to Select > Color Range and you get a dialog that lets you click on a color in your image and select everything that matches it, with a Fuzziness slider that controls how broad the match is. A low fuzziness value is picky about the exact hue. A high value casts a wider net.
Select menu open with Color Range dialog box visible, eyedropper sampling sky color
Go to Select > Color Range and you get a dialog that lets you click on a color in your image and select everything that matches it, with a Fuzziness slider that controls how broad the match is. A low fuzziness value is picky about the exact hue. A high value casts a wider net.
This tool is genuinely underrated for replacing skies before Sky Replacement existed, or for isolating product backgrounds that are close to a solid color. Click the color you want selected, adjust fuzziness until the preview mask looks right (white areas will be selected, black areas won’t), and hit OK.
What I’d Add From My Own Work
Matt keeps the tutorial grounded and practical throughout, and I’d double down on one thing he implies but doesn’t say outright: these tools are meant to be stacked, not used in isolation. My standard move for a portrait cutout is Object Selection to grab the rough shape, into Select and Mask with the Refine Edge Brush on the hair, output to a Layer Mask. Takes maybe two minutes. Three years ago that same task took me twenty.
The other thing I’d add: every one of these selections lives on a Layer Mask once you output it, which means it’s never permanent. You can paint on the mask with a black or white brush to manually fix anything the automated tools missed. The tools get you close. The mask lets you finish it off.
The biggest shift in how I think about selections is treating them as a process, not a single action. Pick the right entry tool for the situation, use Select and Mask to clean up the edge, and finish on the mask itself. Matt’s tutorial covers all of this in a genuinely efficient 15 minutes and it’s worth watching even if you’ve been in Photoshop for years.
Watch the full tutorial on YouTube and see Matt demonstrate each of these tools on real images.
Comments
Leave a Comment