
I’ve lost count of how many times I’ve been sitting in a coffee shop, halfway through cleaning up a photo, and watched the Patch Tool create the exact same problem I was trying to fix. You select a messy area, drag it to cleaner pixels, deselect, and – there it is. A little ghost of a seam sitting right where the blob used to be. Congratulations, you moved the problem, you didn’t solve it.
For years I just layered more tools on top of it. Spot Healing Brush here, Clone Stamp there, a little prayer to the Photoshop gods. It worked, but it was slow and messy. Turns out there’s a single setting in the Patch Tool’s options bar that changes how it handles edge blending, and it takes about two seconds to adjust. In this Matt Kloskowski tutorial, Watch the full tutorial on YouTube, he walks through a real retouching scenario that shows exactly why the seams happen and how the Diffusion setting fixes them. Here’s the full breakdown.
Step 1: Set Up the Problem with Content Aware Fill
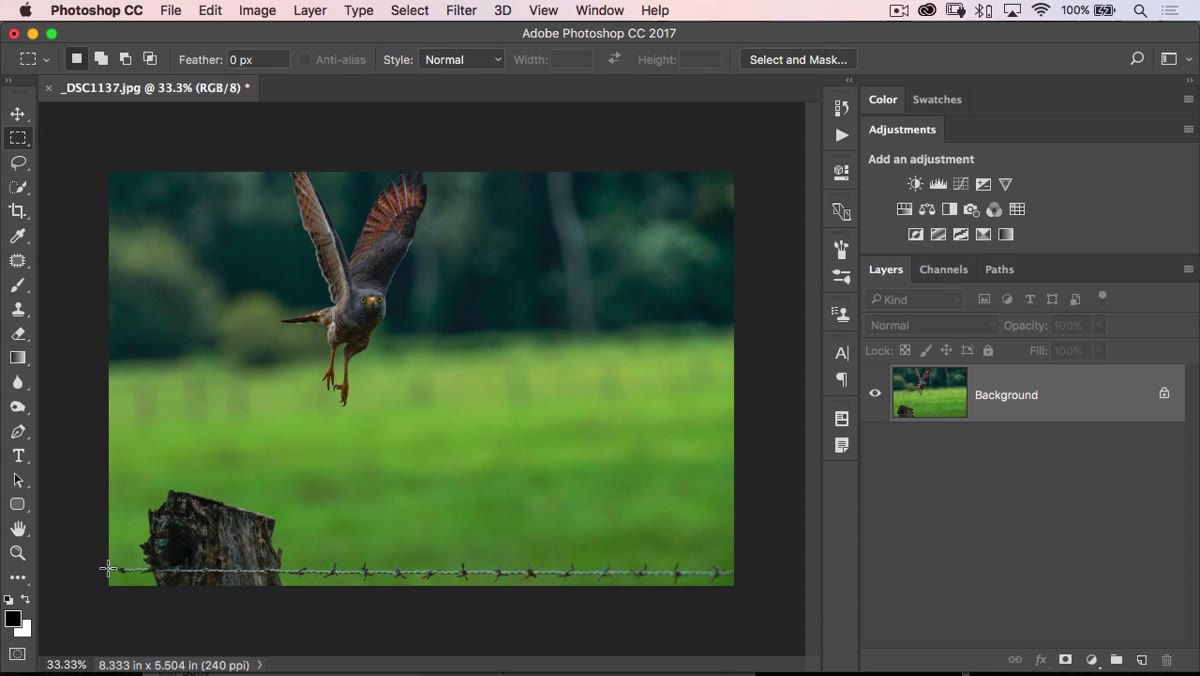 Rectangular Marquee tool selected around barbed wire area
Start by selecting the object you want to remove using the Rectangular Marquee Tool. In the tutorial, Matt is working with a strand of barbed wire running through the frame. He doesn’t want to crop it out because he needs the space below, so removal is the only option.
Rectangular Marquee tool selected around barbed wire area
Start by selecting the object you want to remove using the Rectangular Marquee Tool. In the tutorial, Matt is working with a strand of barbed wire running through the frame. He doesn’t want to crop it out because he needs the space below, so removal is the only option.
With your selection made, go to Edit, then Fill, and choose Content Aware. This is the standard first pass for removing unwanted elements, and honestly, it does a pretty solid job most of the time. But “pretty solid” isn’t the same as “finished.” Content Aware Fill tends to leave behind irregular blobs and smudgy patches, especially in areas with varied texture or color. Think of it as a rough draft, not a final answer.
Step 2: Identify What Content Aware Fill Left Behind
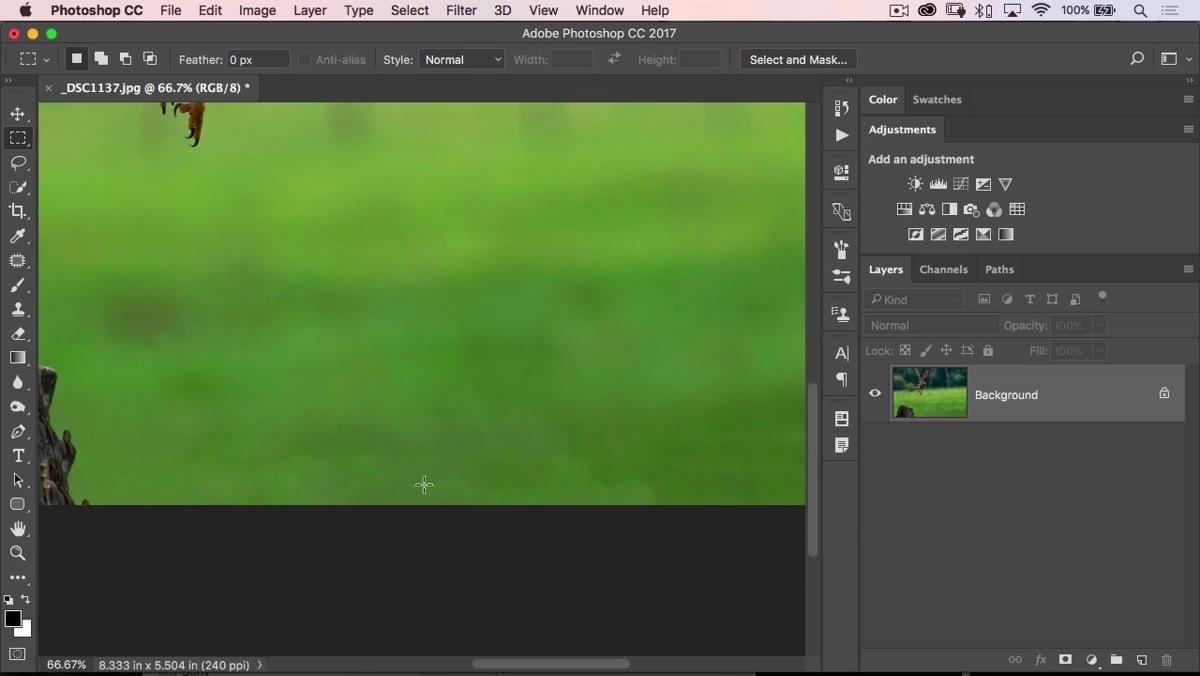 Zoomed view showing blobby artifacts left by Content Aware Fill
After you click OK, zoom in and actually look at what you’ve got. This step sounds obvious, but a lot of people zoom back out too fast and miss the damage. What you’re looking for are soft, smudgy areas that don’t match the surrounding texture – Matt calls them “blobby” areas, which is accurate and slightly haunting.
Zoomed view showing blobby artifacts left by Content Aware Fill
After you click OK, zoom in and actually look at what you’ve got. This step sounds obvious, but a lot of people zoom back out too fast and miss the damage. What you’re looking for are soft, smudgy areas that don’t match the surrounding texture – Matt calls them “blobby” areas, which is accurate and slightly haunting.
These aren’t failures, they’re just the nature of how Content Aware Fill works. It’s making educated guesses based on surrounding pixels, and sometimes those guesses produce a slightly wrong answer. The Patch Tool is perfect for cleaning these up, but only if you use it correctly. Which brings us to the part where most people (including past-me) get it wrong.
Step 3: Use the Patch Tool the Usual Way – and Watch It Fail
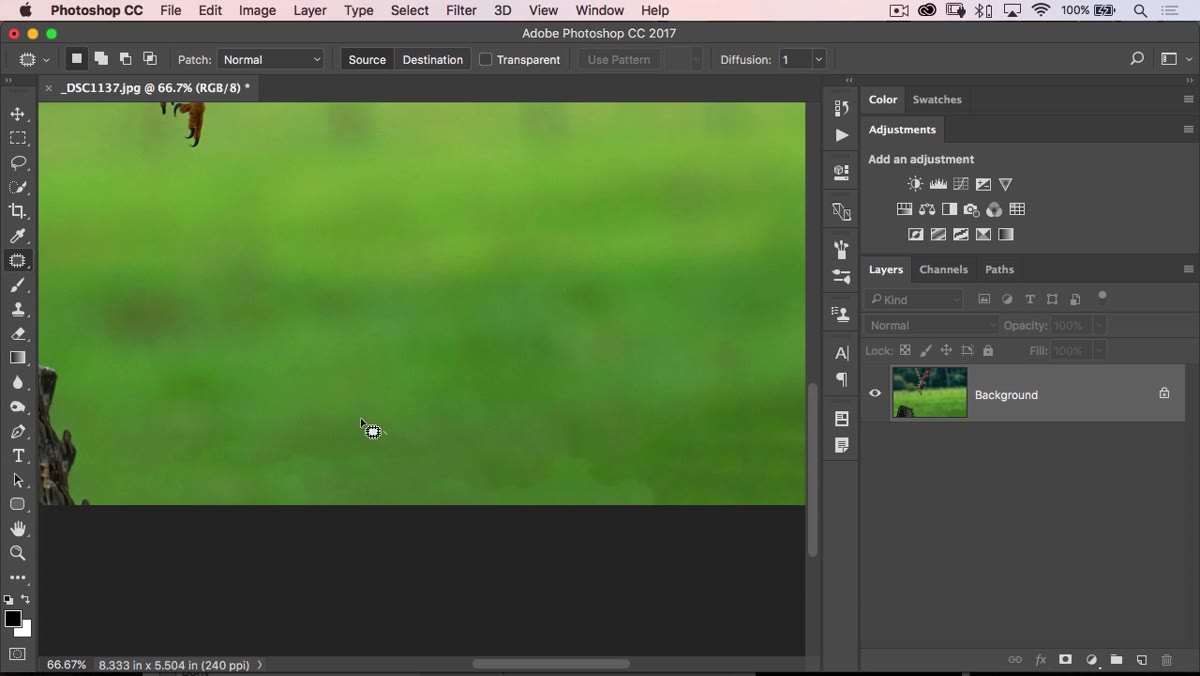 Patch tool active, selection drawn around a blobby artifact
Grab the Patch Tool from the toolbar (it lives with the Healing Brush, shortcut J). Draw a freehand selection around one of the blobby areas. Then click and drag that selection over to a clean part of the background, somewhere with the texture and tone you’d want to replace the blob with. Let go, deselect with Ctrl+D (Cmd+D on Mac), and take a look.
Patch tool active, selection drawn around a blobby artifact
Grab the Patch Tool from the toolbar (it lives with the Healing Brush, shortcut J). Draw a freehand selection around one of the blobby areas. Then click and drag that selection over to a clean part of the background, somewhere with the texture and tone you’d want to replace the blob with. Let go, deselect with Ctrl+D (Cmd+D on Mac), and take a look.
If your Diffusion setting is low, you’ll see a seam. It’s subtle but it’s there – a slight edge where the patched area meets the surrounding pixels. This happens because at low diffusion values, the tool holds tightly to the boundary of your selection. It blends the content but not the edges, and that’s what creates the ring. You’ve basically traded one artifact for a slightly different one. Infuriating.
Step 4: Undo and Find the Diffusion Setting
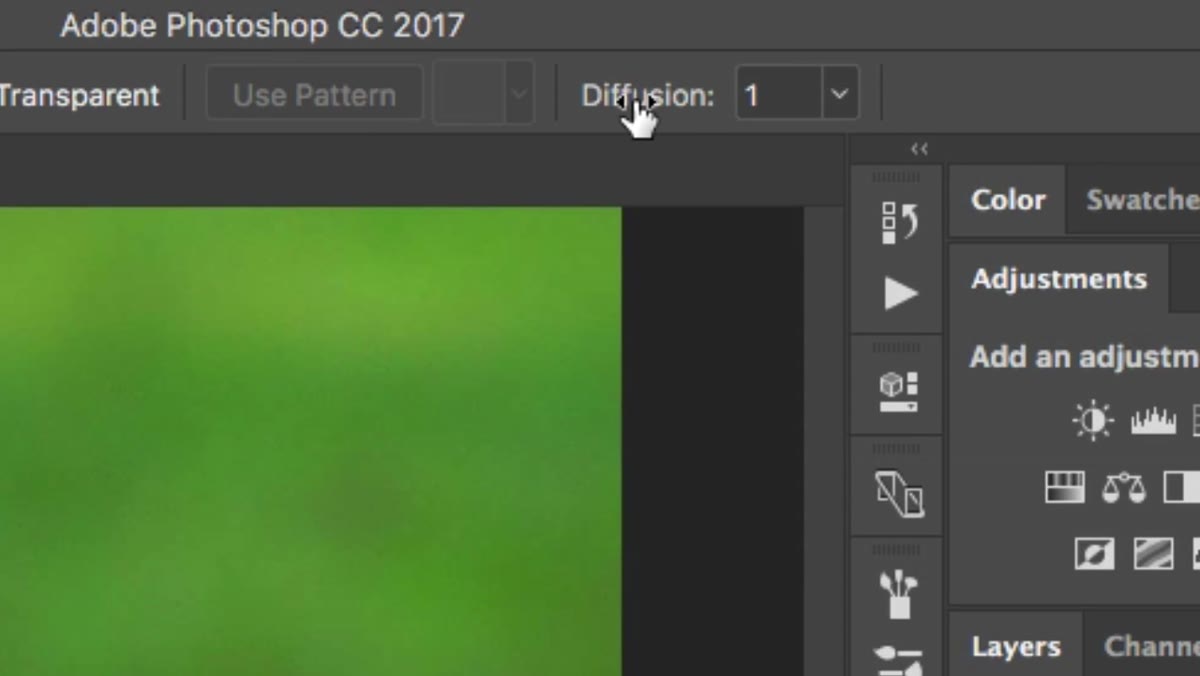 Options bar showing the Diffusion slider for the Patch Tool
Hit Ctrl+Z (Cmd+Z) to undo. Now look up at the options bar at the top of the screen. You’ll see a setting labeled Diffusion with a number next to it. Hover over it and Photoshop will helpfully tell you it “adjusts the degree of diffusion,” which tells you almost nothing useful.
Options bar showing the Diffusion slider for the Patch Tool
Hit Ctrl+Z (Cmd+Z) to undo. Now look up at the options bar at the top of the screen. You’ll see a setting labeled Diffusion with a number next to it. Hover over it and Photoshop will helpfully tell you it “adjusts the degree of diffusion,” which tells you almost nothing useful.
Here’s what it actually does. Think of Diffusion as a feathering or softening control for how the Patch Tool blends its edges. At a low value like 1 or 2, the tool treats the edges of your selection as hard borders. At higher values, it pulls in some of the surrounding pixels and blends them into the transition. It’s the difference between cutting something out with scissors versus tearing it out by hand – one gives you a clean hard edge, the other gives you a softer, more natural-looking transition.
Step 5: Increase Diffusion and Re-Apply the Patch
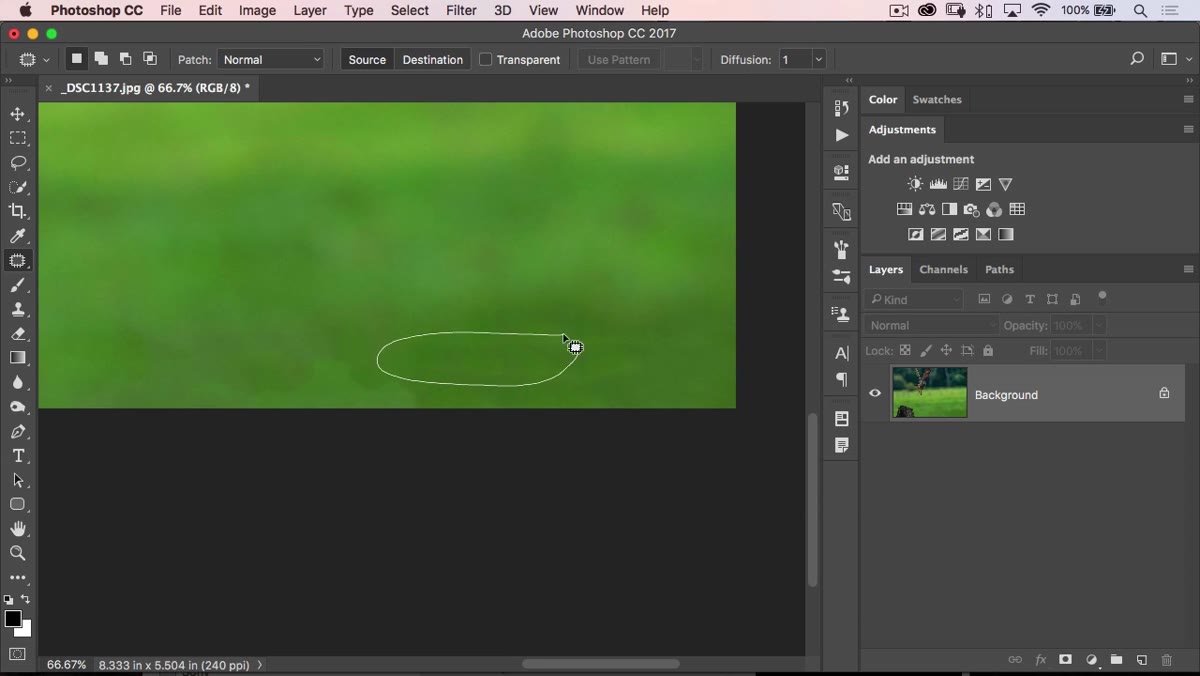 Diffusion set to 6, Patch Tool selection being dragged to clean area
Bump the Diffusion setting up to around 6 or 7. You don’t have to commit to a number forever – this is something you’ll adjust based on the image, but 6 is a solid starting point for smooth backgrounds. Now draw your selection around the problem area again, drag it to a clean source area, release, and deselect.
Diffusion set to 6, Patch Tool selection being dragged to clean area
Bump the Diffusion setting up to around 6 or 7. You don’t have to commit to a number forever – this is something you’ll adjust based on the image, but 6 is a solid starting point for smooth backgrounds. Now draw your selection around the problem area again, drag it to a clean source area, release, and deselect.
The difference is immediate. The seam that appeared before is largely gone. The edges of the patch blend into the surrounding pixels instead of announcing themselves. For smooth, low-texture backgrounds like a sky or a flat wall, a higher Diffusion value is almost always going to serve you better. Matt even runs it over the same area twice in some spots just to make sure, and that’s fine – the tool is fast enough that a second pass takes no time at all.
Step 6: Clean Up Any Remaining Spots with the Spot Healing Brush
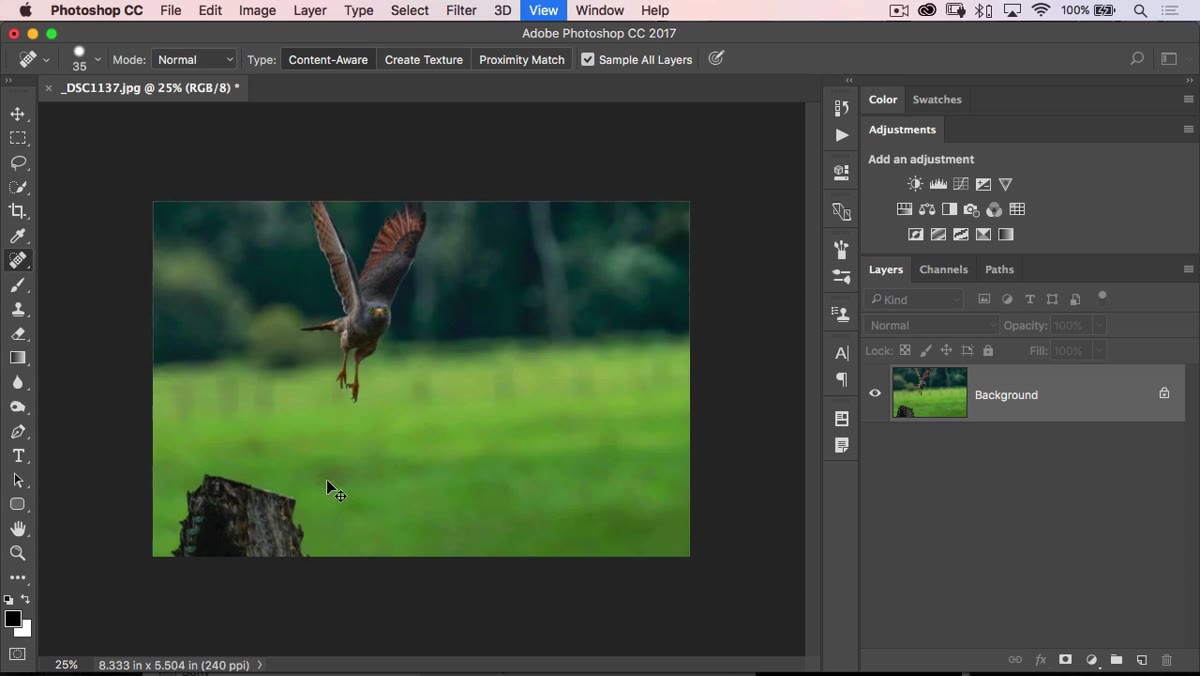 Spot Healing Brush cleaning up small duplication artifacts
Even with Diffusion cranked up, you might end up with a small repeated texture somewhere – a cloned patch of pixels that looks copy-pasted rather than natural. Grab the Spot Healing Brush (also on J, cycle through with Shift+J) and click directly over those spots. The Spot Healing Brush in Content Aware mode will sample the surrounding area and blend it in without you having to pick a source. It takes two seconds and it handles the stuff the Patch Tool leaves behind.
Spot Healing Brush cleaning up small duplication artifacts
Even with Diffusion cranked up, you might end up with a small repeated texture somewhere – a cloned patch of pixels that looks copy-pasted rather than natural. Grab the Spot Healing Brush (also on J, cycle through with Shift+J) and click directly over those spots. The Spot Healing Brush in Content Aware mode will sample the surrounding area and blend it in without you having to pick a source. It takes two seconds and it handles the stuff the Patch Tool leaves behind.
This is the workflow: Content Aware Fill for the rough removal, Patch Tool with raised Diffusion for the mid-level cleanup, and Spot Healing Brush for any final touch-ups. Three tools, each doing the job it’s actually good at.
When You Should Actually Keep Diffusion Low
High Diffusion isn’t always the move. If you’re working on an area with sharp, defined texture – brick, wood grain, woven fabric – a high Diffusion value will soften the edges of your patch and smear that texture. It can look worse than the seam you were trying to fix. In those cases, keep Diffusion at 3 or 4 and be more deliberate about where you’re sourcing your replacement pixels. The setting exists on a spectrum, and smooth versus textured backgrounds sit at opposite ends of it.
The single most useful thing to take from this: the Patch Tool’s seam problem is not a bug you have to work around with extra tools. It’s a setting you adjust before you start. Change Diffusion to 6 or 7 on smooth backgrounds and the seam basically disappears. That’s it. That’s the whole trick.
Watch the full tutorial on YouTube to see Matt work through the full image from start to finish – seeing the before and after on an actual photo makes it click faster than any description can.
Comments (1)
Solid advice. Especially the part about taking your time with it.
Leave a Comment