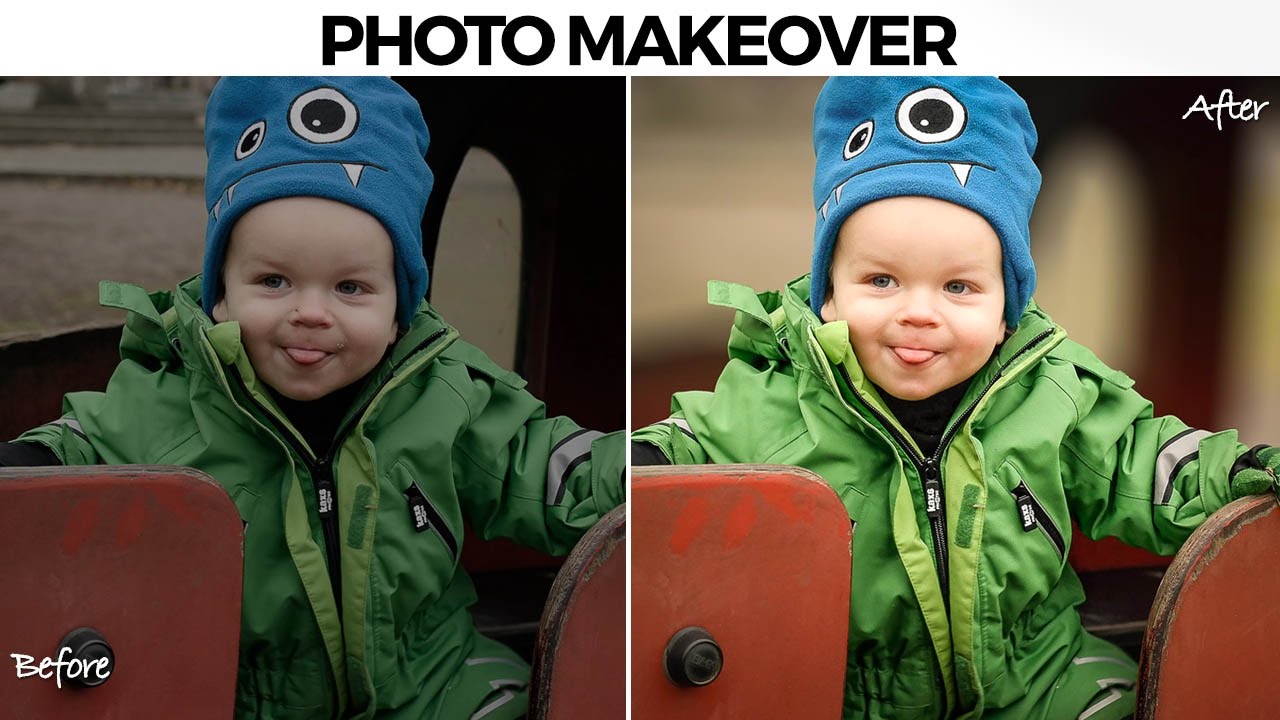
There’s a specific kind of job that used to make me quietly dread opening my inbox. A parent, a friend, someone’s aunt, sends you a candid photo of a kid with a genuinely great expression, and the background is just… a gray wall of visual noise. The subject is good. The light is okay. But nothing separates the person from everything behind them, and the whole thing reads as flat. I used to either spend way too long on it or hand it back with minimal changes and feel vaguely embarrassed about it.
This workflow fixed that. In this Matt Kloskowski tutorial from his Photo Makeover series, he works through exactly that scenario: a candid shot of a kid with a fun, mischievous energy, shot on what looks like an overcast day, with a background competing for attention. The fix involves a quick but deliberate Lightroom pass, then some focused Photoshop work to make complex selections and pull the background back with a blur. Watch the full tutorial on YouTube and then use this breakdown to follow along step by step.
The Lightroom side of this is leaner than you might expect. Matt’s not trying to do everything there. He’s setting a foundation so the Photoshop work lands better. That framing alone changed how I think about split workflows.
Step 1: Warm Up the White Balance and Open the Exposure
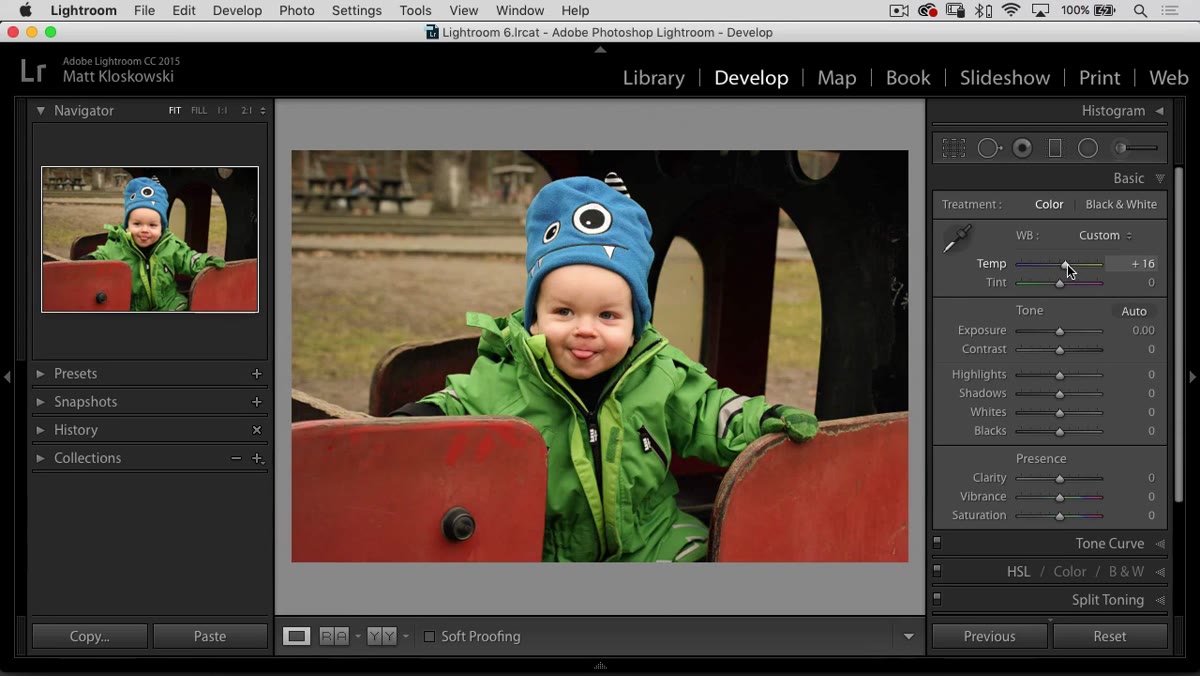 Lightroom sliders being adjusted, white balance and exposure
Start in Lightroom’s Basic panel. If the photo was shot on a cloudy day, it probably has a cool, flat cast. Bump the Temperature slider to the right to add some warmth. Nothing dramatic, just enough to make skin tones feel alive. Then bring Exposure up slightly. On a low-contrast overcast shot, you want to open things up without blowing anything out.
Lightroom sliders being adjusted, white balance and exposure
Start in Lightroom’s Basic panel. If the photo was shot on a cloudy day, it probably has a cool, flat cast. Bump the Temperature slider to the right to add some warmth. Nothing dramatic, just enough to make skin tones feel alive. Then bring Exposure up slightly. On a low-contrast overcast shot, you want to open things up without blowing anything out.
This step is less about making it look “done” and more about correcting the camera’s failure to handle the lighting conditions. Warming and brightening is a one-two punch that takes a gray, lifeless file and makes it workable before you touch anything else.
Step 2: Set White and Black Points with the Option/Alt Method
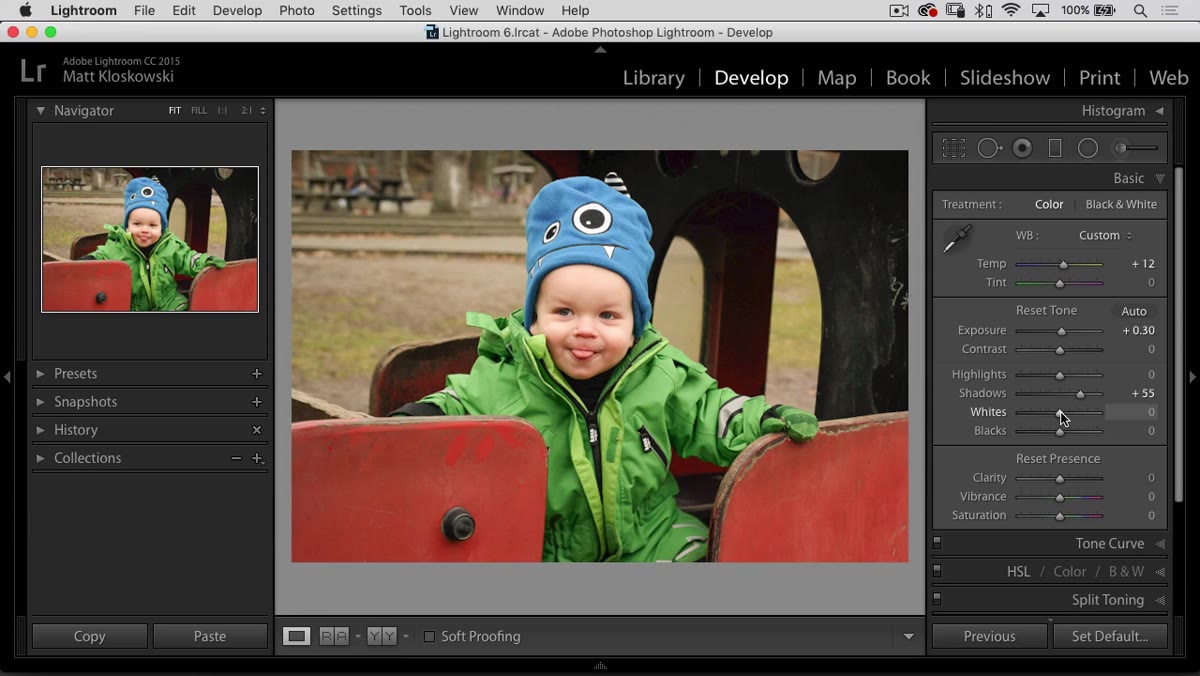 Whites slider being dragged while screen shows clipping preview
Hold Option (Mac) or Alt (PC) and click the Whites slider. The screen goes black. Drag right until you just start to see white appear, which tells you where your brightest highlight is. That’s your white point. In a photo like this, that’s probably going to appear in something light on the subject, like a hat.
Whites slider being dragged while screen shows clipping preview
Hold Option (Mac) or Alt (PC) and click the Whites slider. The screen goes black. Drag right until you just start to see white appear, which tells you where your brightest highlight is. That’s your white point. In a photo like this, that’s probably going to appear in something light on the subject, like a hat.
Do the same thing for the Blacks slider. Hold Option/Alt, click Blacks, and drag left until detail just starts to disappear into pure black. This gives your image proper contrast anchors without guessing. I used to skip this step and do it by eye, and my prints always looked slightly muddy. The clipping preview takes ten seconds and it’s just better.
Step 3: Paint Clarity onto the Subject’s Clothing with the Adjustment Brush
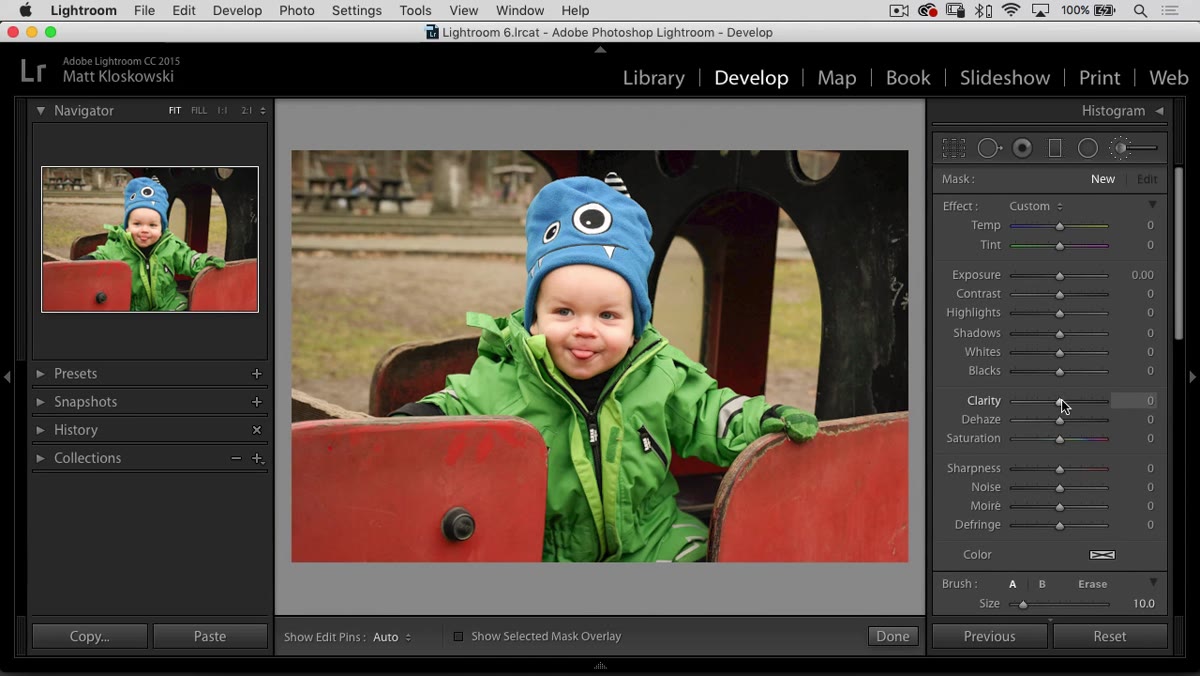 Adjustment brush being used over the subject’s clothing in Lightroom
Here’s the part most people skip. Go to the Adjustment Brush in Lightroom, reset all sliders to zero, and then crank Clarity up. Paint that brush over the subject’s clothing, not the face, specifically the clothes and any textured areas you want to feel more three-dimensional.
Adjustment brush being used over the subject’s clothing in Lightroom
Here’s the part most people skip. Go to the Adjustment Brush in Lightroom, reset all sliders to zero, and then crank Clarity up. Paint that brush over the subject’s clothing, not the face, specifically the clothes and any textured areas you want to feel more three-dimensional.
Clarity on skin looks terrible, which is why you’re avoiding the face. But on fabric, on texture, it adds depth and separation that helps the subject feel like they exist in physical space. It’s a subtle effect but it’s doing real work. Think of it as a mini texture pass targeted only where it helps.
Step 4: Add Light Sharpening with Masking Enabled
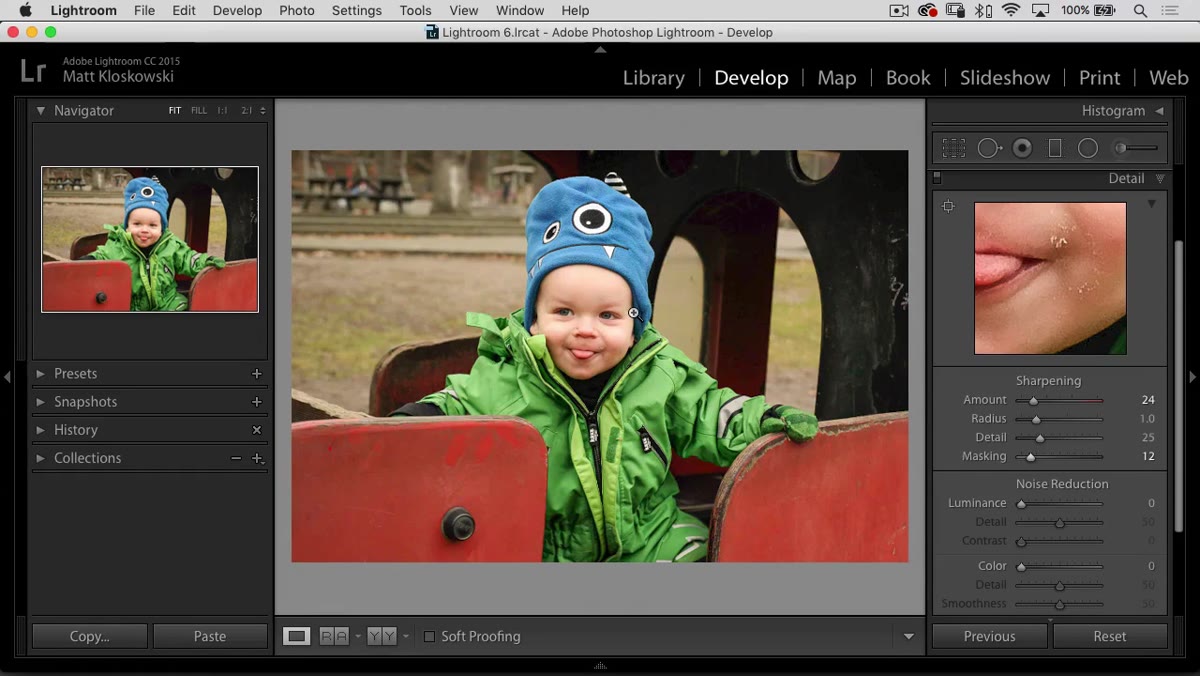
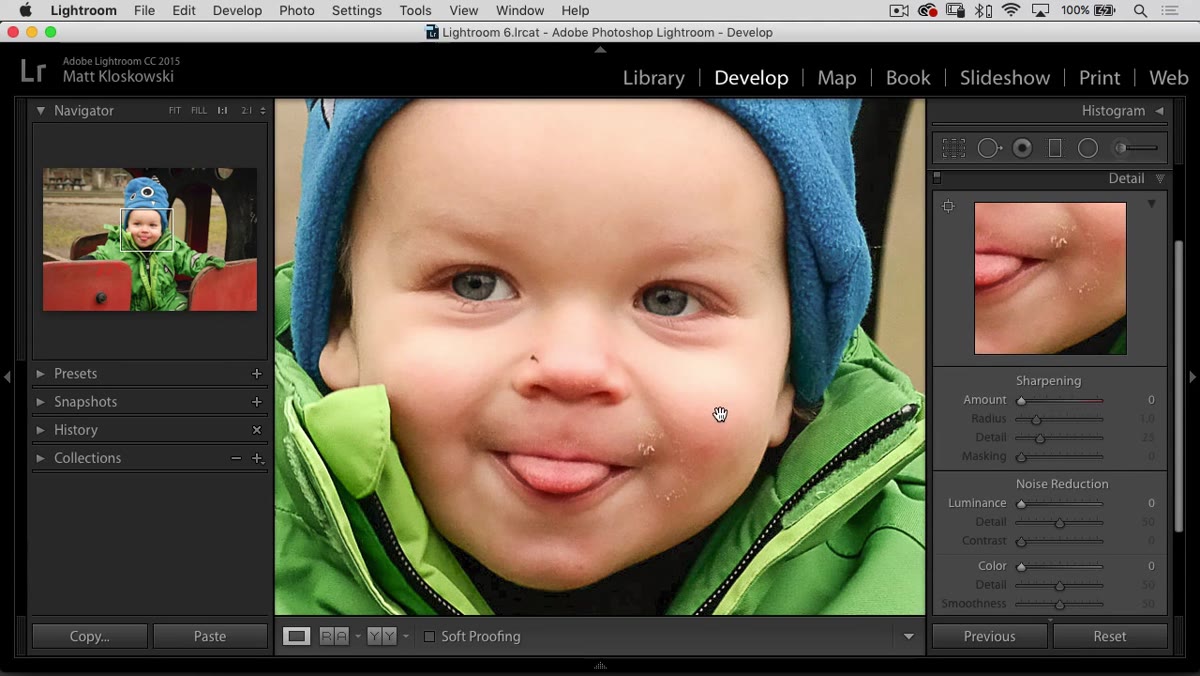 Sharpening panel in Lightroom with masking slider visible
In the Detail panel, apply modest sharpening. The key here is the Masking slider. Hold Option/Alt and drag the Masking slider to the right. The screen turns black and white, and you can see exactly which edges are being sharpened. White areas get sharpened, black areas are protected.
Sharpening panel in Lightroom with masking slider visible
In the Detail panel, apply modest sharpening. The key here is the Masking slider. Hold Option/Alt and drag the Masking slider to the right. The screen turns black and white, and you can see exactly which edges are being sharpened. White areas get sharpened, black areas are protected.
Pull Masking high enough that smooth areas like skin are mostly black, meaning protected. You want sharpening on edges and texture only. On a portrait that was already shot sharp, you might not even need much. Matt points out here that if the photo is already sharp, you’re better off not risking adding grain or texture to skin that doesn’t need it.
Step 5: Send the File to Photoshop for Selection Work
 Lightroom’s Photo menu open, Edit In Photoshop option selected
Once your Lightroom work is done, go to Photo, then Edit In, then Edit in Adobe Photoshop. This opens the file in Photoshop with all your Lightroom adjustments baked in. Now the real work starts.
Lightroom’s Photo menu open, Edit In Photoshop option selected
Once your Lightroom work is done, go to Photo, then Edit In, then Edit in Adobe Photoshop. This opens the file in Photoshop with all your Lightroom adjustments baked in. Now the real work starts.
The goal here is to separate the subject from the background so you can treat them independently. Matt’s approach involves using Photoshop’s selection tools to isolate the subject, which is where the “complex selections” part of the tutorial title comes in. The Lightroom work just made sure you’re walking into that Photoshop session with the best possible file, not fighting exposure or color cast on top of trying to build a clean mask.
A Note on Why the Lightroom Pass Actually Matters
I used to jump straight to Photoshop on portraits and do all my tonal work there. The problem was I was constantly fighting the image while also trying to do precision masking work. Separating those two jobs, global corrections in Lightroom, local and creative work in Photoshop, made both steps cleaner and faster.
Matt doesn’t say this explicitly, but the workflow implies it: Lightroom is for making the image correct, Photoshop is for making it interesting. When you blur a background, the quality of that blur depends on how well-defined the subject is in the frame. A flat, gray, underexposed image makes masking harder because edges are soft and contrast is low. Spending three minutes warming and contrasting in Lightroom means your Photoshop selection tools have something to grab onto.
Also, the Clarity brush trick on clothing is one of those things I now use on almost every portrait I edit. It sounds minor. It genuinely isn’t. The difference between a subject that looks pasted onto a background versus one that feels present in the photo often comes down to whether there’s micro-contrast on the fabric.
The single most important takeaway here is that blurring a background is only half the technique. The prep work, warming, contrast anchors, selective clarity, and careful sharpening, is what makes the blur actually work. Without a subject that pops, the blur just makes everything look uniformly unfocused.
Watch the full tutorial on YouTube to see Matt walk through the Photoshop selection work that follows this Lightroom setup. The combination of both stages is where the real transformation happens.
Comments
Leave a Comment