
Portrait retouching used to eat my afternoons alive. A client sends over headshots, one eye looks slightly more closed than the other, or their expression came out a little flat, and suddenly I’m pushing pixels around with the standard Liquify brush like I’m trying to sculpt clay with a garden hose. Technically possible, consistently frustrating. When Adobe dropped Face-Aware Liquify in the CC 2015.5 update, it solved a problem I’d been brute-forcing for years without realizing a smarter solution existed.
In this Aaron Nace (PHLEARN) tutorial, Watch the full tutorial on YouTube, Aaron walks through the feature from scratch: how to confirm you have the right version of Photoshop, how the face detection actually works inside the Liquify dialog, and how to use both the on-canvas handles and the sliders to adjust eyes, nose, mouth, and overall face shape. It’s a quick one, but there’s enough nuance in the tool itself that a proper breakdown is worth having.
One thing I appreciate about how Aaron teaches: he doesn’t pretend the tool is magic. It’s a starting point for professional retouching, not a replacement for judgment. Keep that in mind as you work through this.
Step 1: Confirm Your Photoshop Version
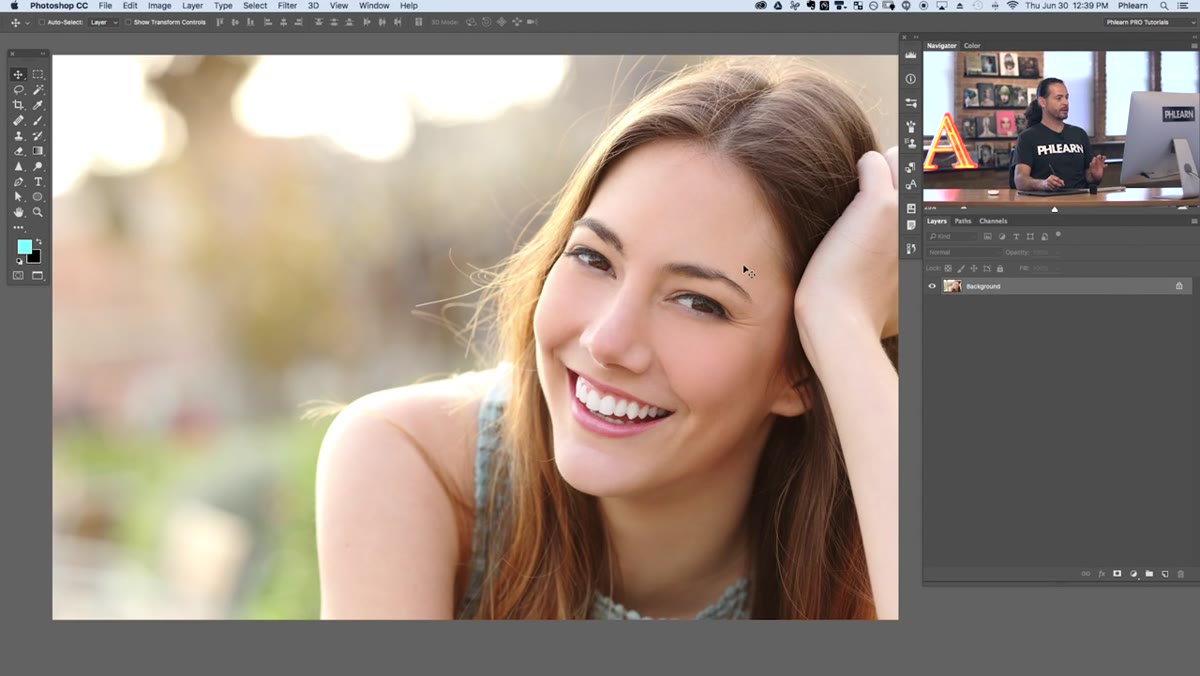 About Photoshop dialog showing version 2015.5.0
Before anything else, check that you’re actually running a version of Photoshop that includes this feature. Go to Photoshop > About Photoshop CC (Mac) or Help > About Photoshop (Windows) and confirm you’re on 2015.5 or newer. If you’re behind, open your Creative Cloud desktop app, find Photoshop in the list, and hit Update. Takes two minutes and saves you the confusion of opening Liquify and wondering where the face controls went.
Step 2: Duplicate Your Background Layer
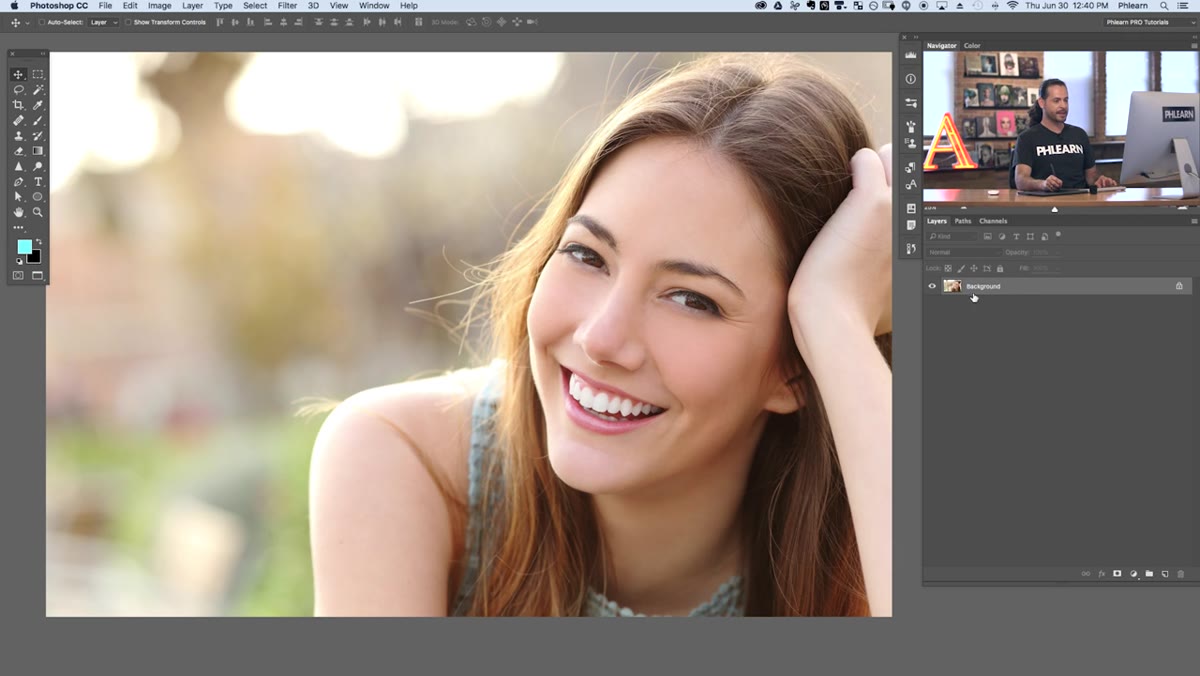 Background layer being duplicated in the Layers panel
Always, always duplicate before you Liquify. Hit Ctrl+J (Windows) or Cmd+J (Mac) to create a copy of your background layer. This is your safety net. Liquify is a destructive edit when applied directly to a pixel layer, and if you decide three steps later that you pushed someone’s nose too far to the left, you want an untouched original to compare against or revert to. This is a two-second habit that has saved me from some genuinely embarrassing client conversations.
Step 3: Open the Liquify Filter
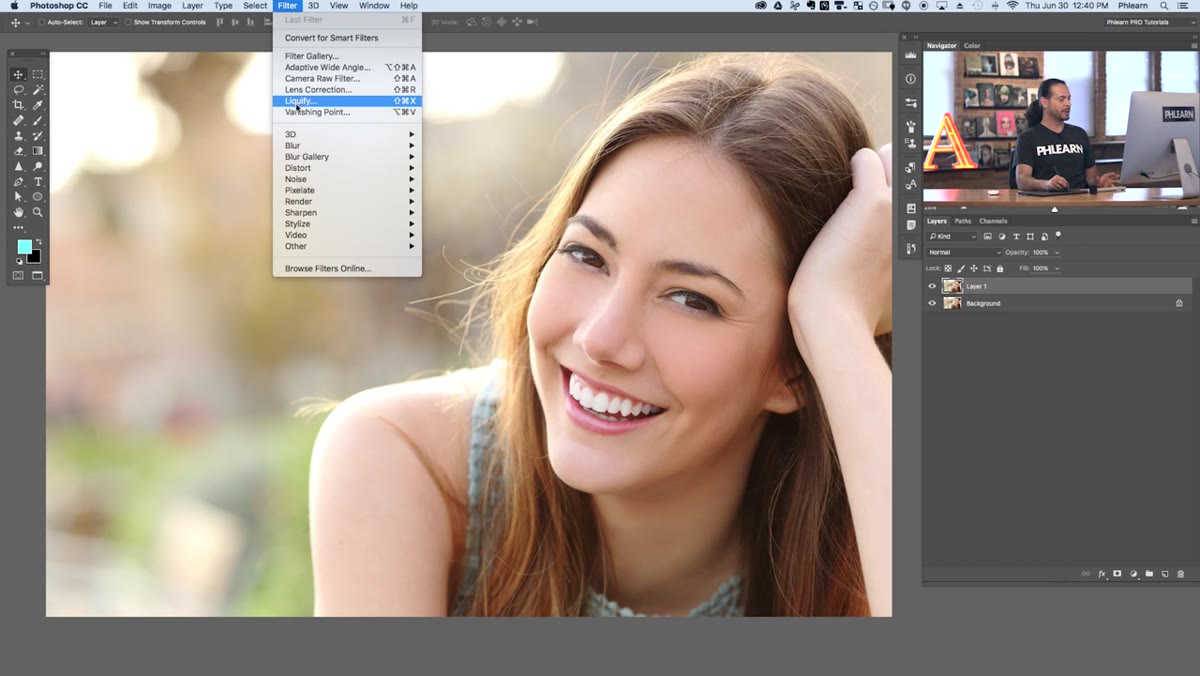 Filter menu open with Liquify option highlighted
With your duplicate layer selected, go to Filter > Liquify. The Liquify workspace opens up, and if you’re on 2015.5 or later, you’ll notice a new section in the right-hand panel called Face-Aware Liquify. Everything else in the dialog, the forward warp tool, the reconstruct tool, the mesh options, that’s all still there. The face controls are an addition, not a replacement. Close the other property panels if they’re open so you get a cleaner view of what you’re working with.
Step 4: Select the Face Tool and Let Photoshop Detect the Face
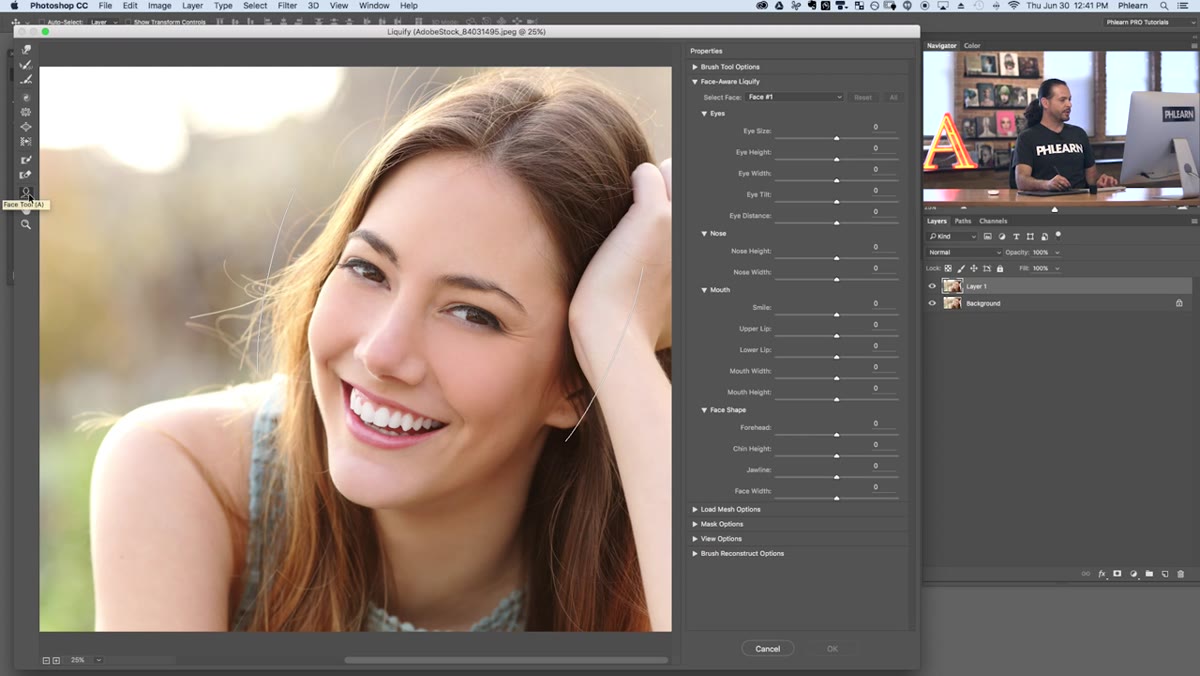 Face tool selected, detection outline visible around subject’s face
In the toolbar on the left side of the Liquify dialog, select the Face tool (it looks like a small face icon). The moment you click it, Photoshop runs its facial detection algorithm on the image and places a subtle overlay around the recognized face. You’ll see small control handles appear near the eyes, nose, mouth, and jawline. If you’re working with an image that has multiple people, there’s a dropdown in the Face-Aware Liquify panel where you can select which face you want to adjust. Work on one at a time.
Step 5: Adjust the Eyes Using Sliders or On-Canvas Handles
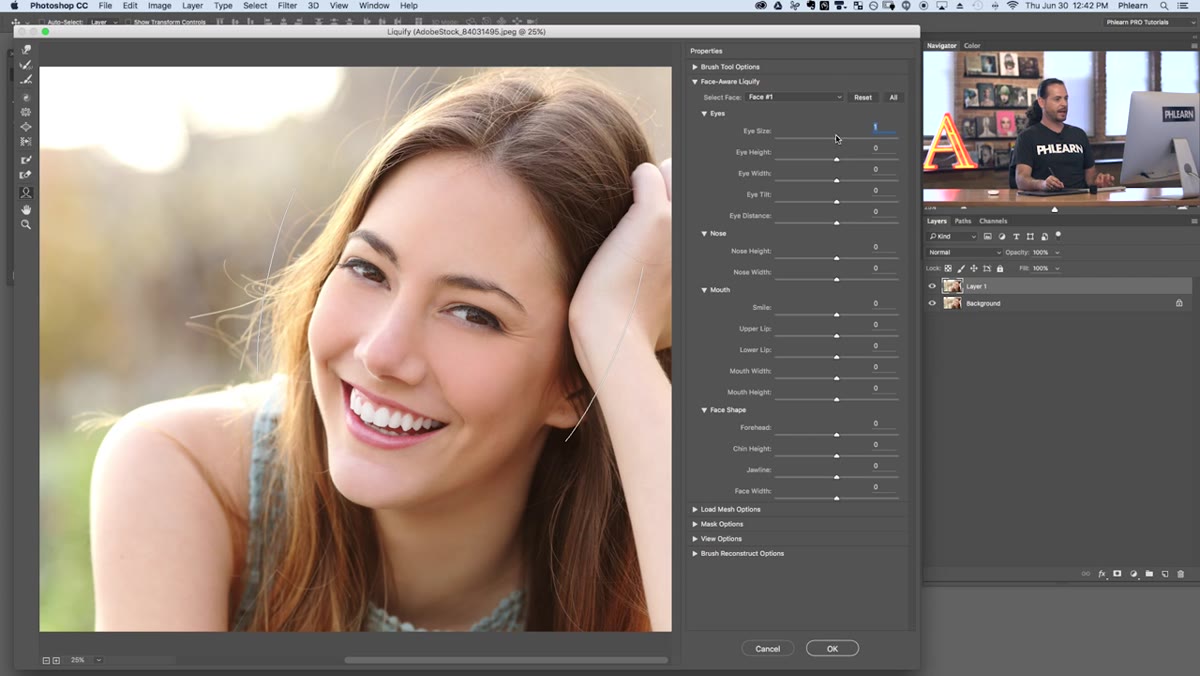 Eye size slider being adjusted, eye visibly changing on canvas
The eye controls are where this tool earns its keep for professional retouching. You’ve got sliders for Eye Size, Eye Height, Eye Width, Eye Tilt, and Eye Distance. Each eye can be adjusted independently, which matters when you’re dealing with asymmetry in a real face (which is basically always). If you hover over the eye area on the canvas with the Face tool active, small arc handles appear at the corners and edges of each eye. You can drag those directly instead of using the sliders, and honestly, I find the on-canvas handles more intuitive for subtle work. Small adjustments go a long way here. Single-digit slider values are usually all you need.
Step 6: Adjust Nose, Mouth, and Face Shape
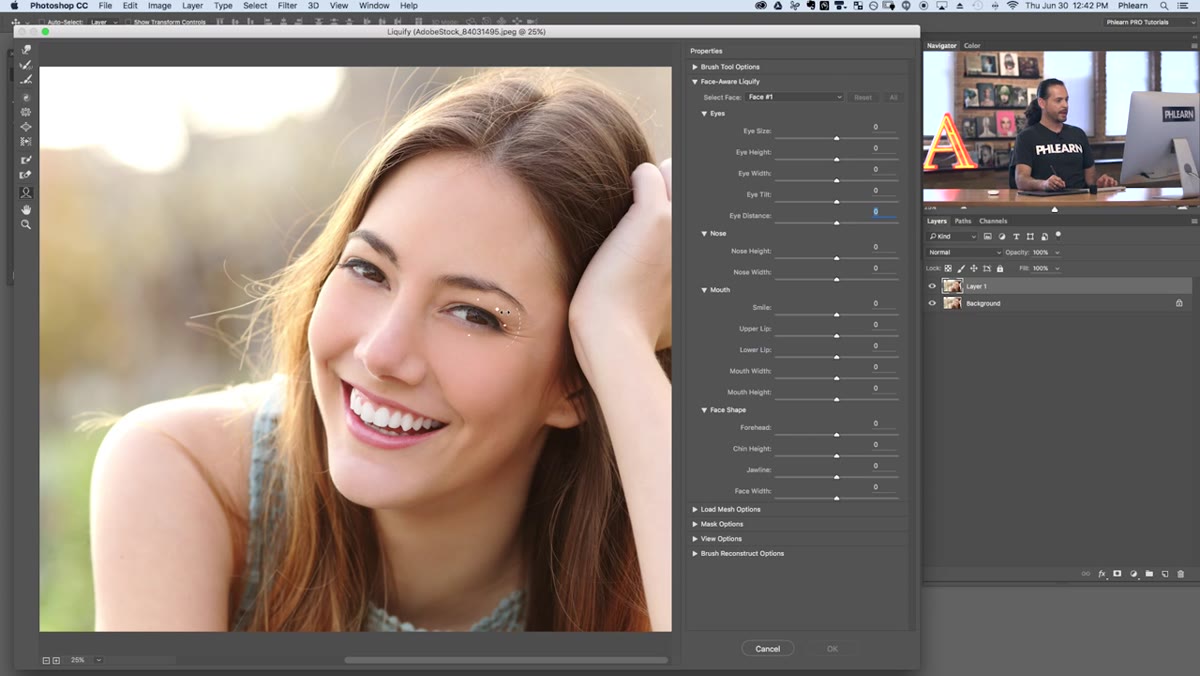 Nose and mouth sliders visible in the Face-Aware Liquify panel
Below the eye controls, you’ll find sections for Nose (width and height), Mouth (smile, upper lip, lower lip, mouth width, mouth height), and Face Shape (forehead, chin height, jawline, face width). The mouth controls are particularly useful for portraits where the expression landed slightly off. A small nudge on the smile slider can shift a flat expression without making anyone look like they’re posing for a toothpaste ad. For face shape, the forehead and chin controls are good for subtle proportion adjustments. Hit the Reset button at any point to zero out all values and start fresh if you’ve gone too far.
Step 7: Combine Face-Aware Controls with the Forward Warp Tool
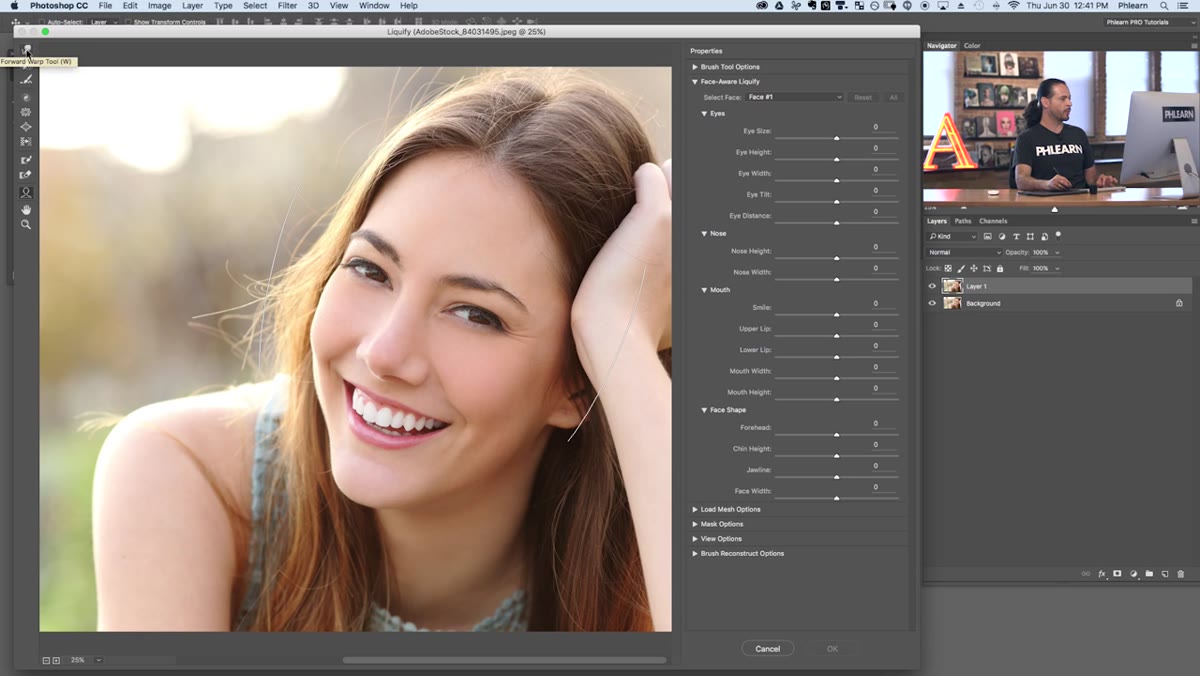 Forward warp tool selected alongside Face-Aware panel in Liquify
The Face-Aware sliders handle the big structural adjustments, but the classic Forward Warp tool (the push-and-pull brush, keyboard shortcut W inside the dialog) is still your best friend for anything the face detection doesn’t quite nail. Hair edges, neck, shoulders, clothing, anything outside the detected face region, you’ll need to handle manually. Think of Face-Aware Liquify as handling the precision work on the face itself, and the warp tool as the finishing pass for everything around it. They’re designed to work together, not as alternatives.
What I’ve Learned Using This in Real Projects
Here’s something Aaron doesn’t cover in the tutorial, because it’s more of a workflow note than a technical one: Face-Aware Liquify works even better when you convert your layer to a Smart Object before running the filter. That way, Liquify becomes a re-editable Smart Filter. You can double-click it in the layers panel and go back in to tweak your adjustments after the fact, without starting over. I learned about Smart Objects the hard way years ago after a particularly painful incident involving a deleted client project, and I’ve been paranoid about non-destructive workflows ever since. Converting to Smart Object takes three extra seconds. Do it.
Also worth noting: the face detection is impressively good on straight-on portraits but starts to get shaky with strong three-quarter angles or partial profiles. If you’re getting weird results, your best move is to switch to the standard warp tools and work manually. Don’t fight the algorithm when it’s clearly not reading the face correctly.
Face-Aware Liquify is one of those features that looks like a gimmick until you’re under deadline and need to fix a subtle asymmetry in under a minute. The slider-based controls give you precision, the on-canvas handles give you speed, and the fact that it lives inside the existing Liquify workspace means there’s almost no learning curve if you’re already comfortable there. The most important thing: keep your adjustments small and always work on a duplicate layer.
Watch the full tutorial on YouTube to see Aaron demo the tool in real time, including a section on working with multiple faces in a single image that’s worth seeing in motion.
Comments (2)
Never thought of approaching it this way. Really creative.
Solid advice. Especially the part about taking your time with it.
Leave a Comment