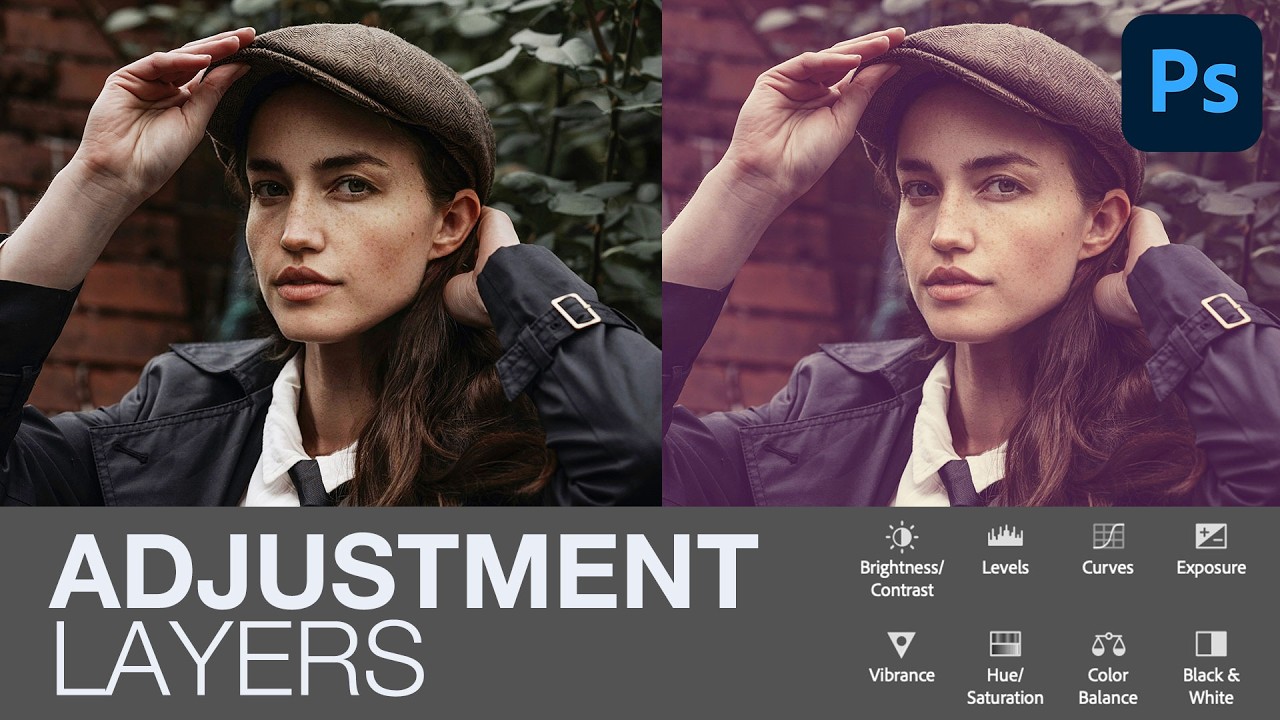
There’s a specific kind of dread that hits when you’ve brightened an image, merged everything, sent the file, and the client comes back asking for a tweak. You open the PSD and realize the adjustment is gone. Not in a layer. Not reversible. Just… baked in, like a bad decision you can’t take back. I’ve been there. More than once. The fix is embarrassingly simple once you know it, which is exactly what Aaron Nace covers in this PHLEARN tutorial on adjustments versus adjustment layers. Watch the full tutorial on YouTube before reading if you prefer to see it live, or follow along here and I’ll break it down step by step.
The core confusion is this: Photoshop gives you two separate ways to do almost identical things, and if you don’t understand why both exist, you’ll reach for the wrong one at the worst possible time. Adjustments and adjustment layers look like twins on the menu but behave completely differently under the hood. One is a permanent stamp. The other is a sticky note you can peel off and rewrite anytime. Knowing which is which, and when to use a third option nobody tells beginners about, is the whole game.
This walkthrough follows the video’s actual order so you can apply each piece immediately. Let’s get into it.
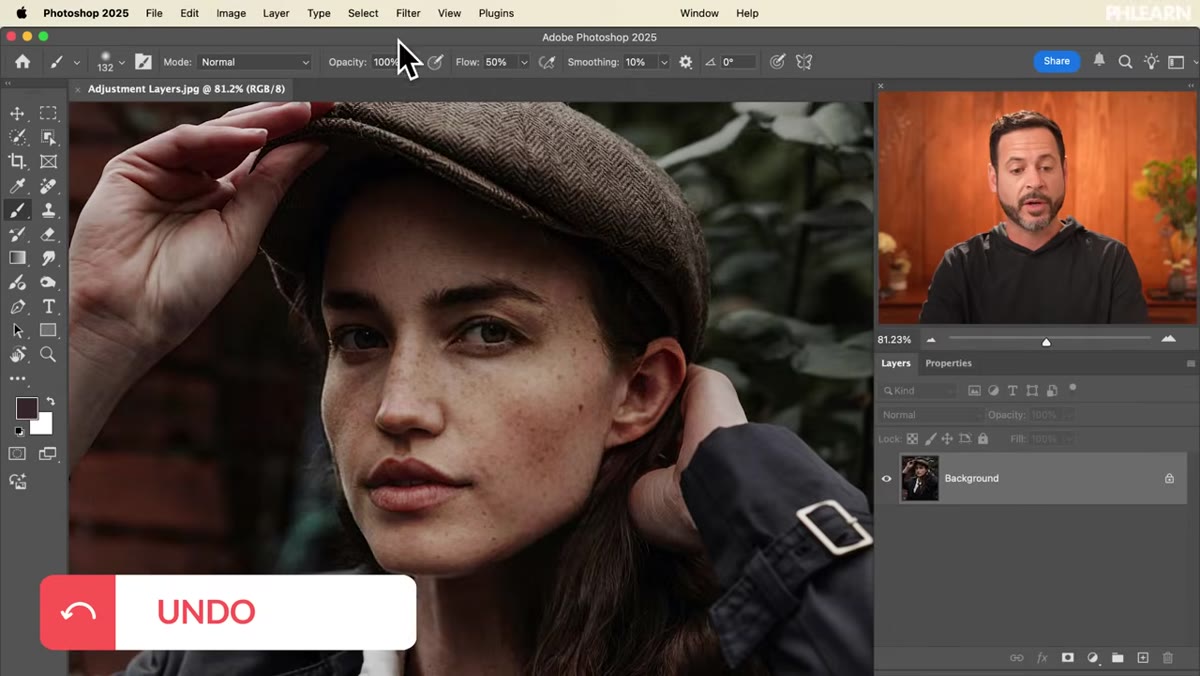
Step 1: Find Your Adjustments in the Image Menu
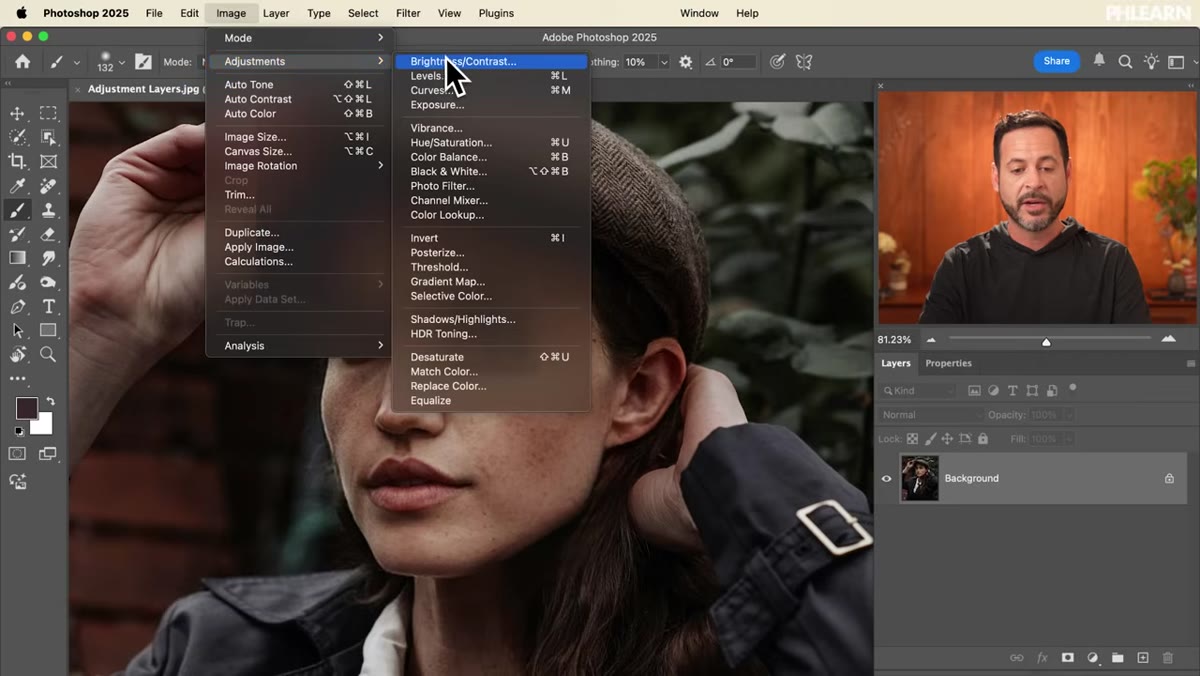 Image menu open showing Adjustments submenu with Brightness Contrast highlighted
Head up to the top menu bar and click Image, then hover over Adjustments. You’ll see a long dropdown list: Brightness/Contrast, Levels, Curves, Exposure, Vibrance, Hue/Saturation, and more. These are your standard image adjustments, and they’ve been in Photoshop forever. The list looks powerful because it is. The problem isn’t the tools themselves. It’s where the result goes when you apply one.
Image menu open showing Adjustments submenu with Brightness Contrast highlighted
Head up to the top menu bar and click Image, then hover over Adjustments. You’ll see a long dropdown list: Brightness/Contrast, Levels, Curves, Exposure, Vibrance, Hue/Saturation, and more. These are your standard image adjustments, and they’ve been in Photoshop forever. The list looks powerful because it is. The problem isn’t the tools themselves. It’s where the result goes when you apply one.
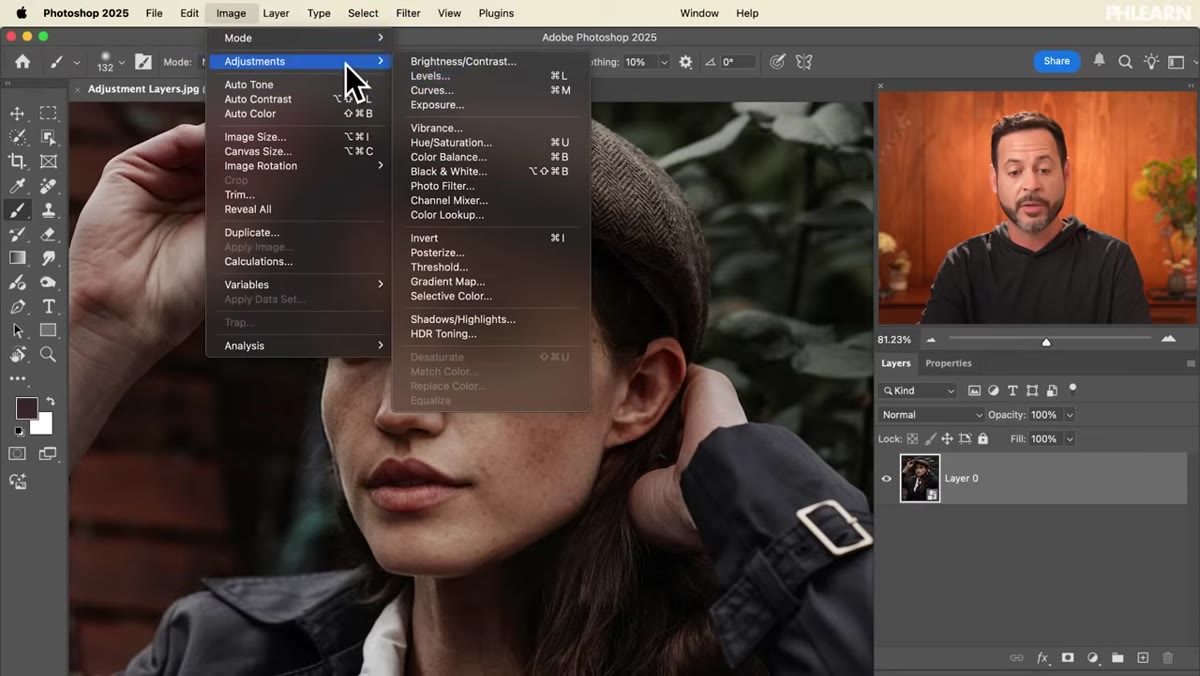
Step 2: Find Adjustment Layers in the Layer Menu
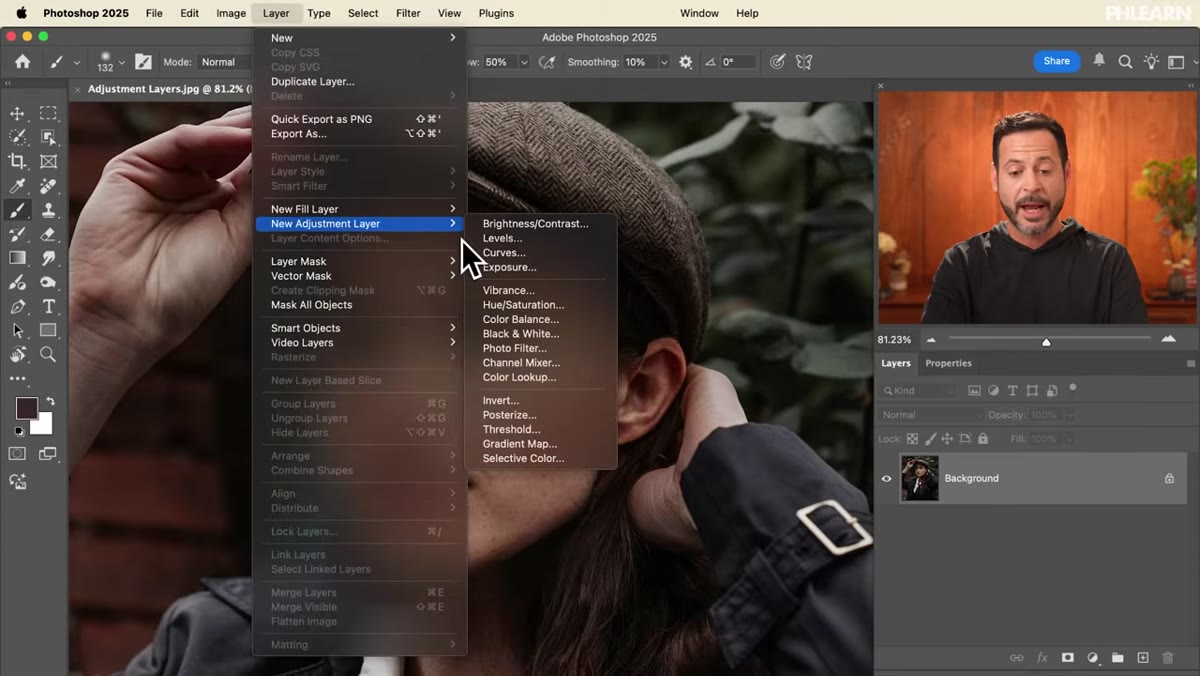 Layer menu open with New Adjustment Layer submenu visible
Now go to Layer in the top menu, then New Adjustment Layer. You’ll see nearly the same list. Brightness/Contrast is there. Hue/Saturation is there. Curves is there. At this point most people reasonably ask why Photoshop has two menus for the same stuff. The answer is that they’re not really the same, and the difference only becomes obvious once you’ve applied one and tried to change it later.
Layer menu open with New Adjustment Layer submenu visible
Now go to Layer in the top menu, then New Adjustment Layer. You’ll see nearly the same list. Brightness/Contrast is there. Hue/Saturation is there. Curves is there. At this point most people reasonably ask why Photoshop has two menus for the same stuff. The answer is that they’re not really the same, and the difference only becomes obvious once you’ve applied one and tried to change it later.
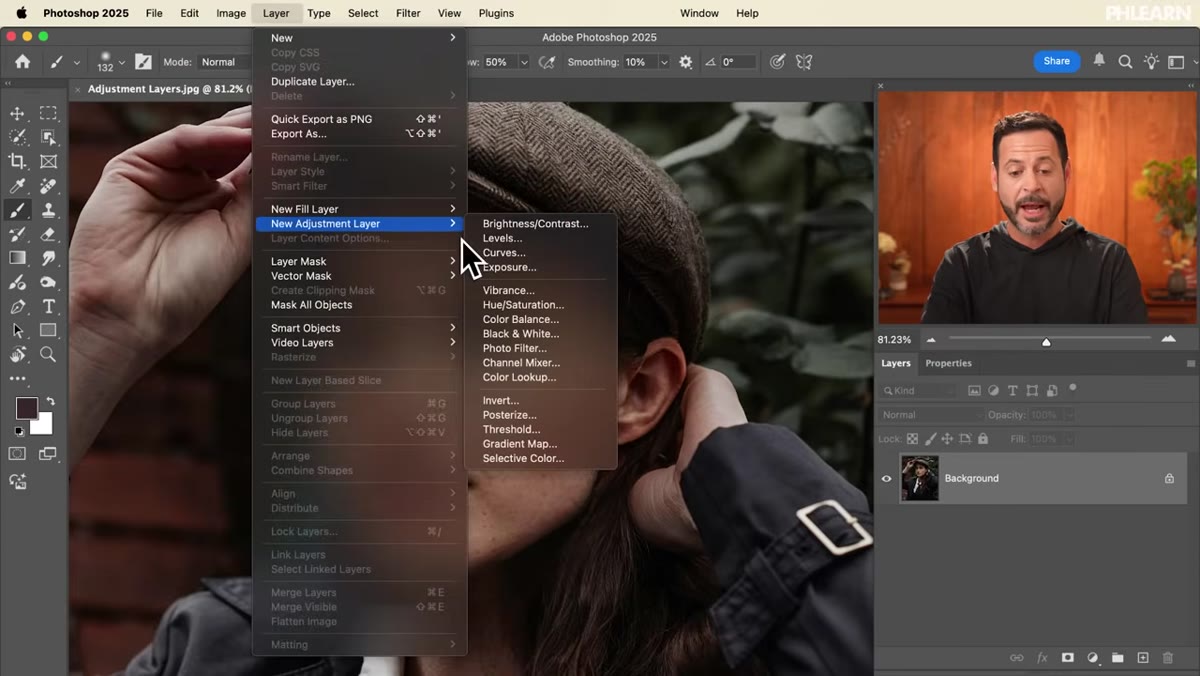
Step 3: Apply a Direct Adjustment and See the Problem
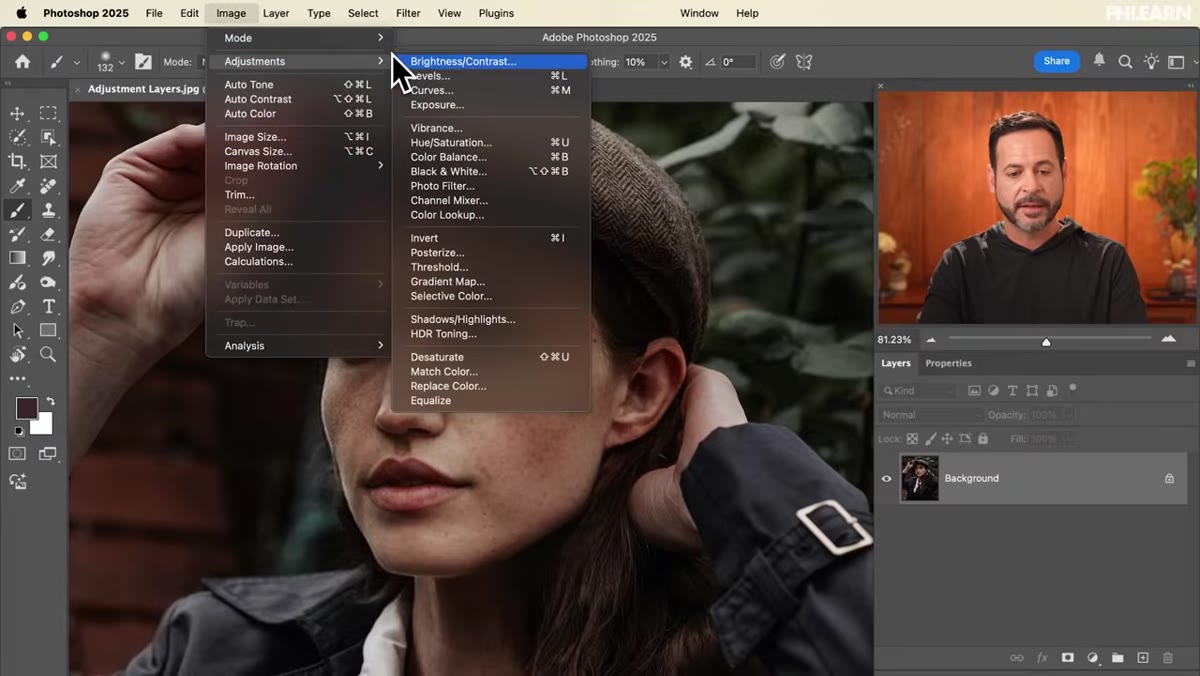 Brightness Contrast dialog open with brightness slider increased on a flat layer
Go to Image > Adjustments > Brightness/Contrast. Drag the Brightness slider up a bit, something obvious like +50, then hit OK. Your image gets brighter. Looks fine. But check your Layers panel. That brightness change is now fused directly to the pixel layer. There’s no separate entry for it. No toggle. No way to dial it back without hitting Undo, and that only works if you haven’t done anything else since. This is what “destructive editing” actually means in practice. It’s not dramatic. It just silently removes your future options.
Brightness Contrast dialog open with brightness slider increased on a flat layer
Go to Image > Adjustments > Brightness/Contrast. Drag the Brightness slider up a bit, something obvious like +50, then hit OK. Your image gets brighter. Looks fine. But check your Layers panel. That brightness change is now fused directly to the pixel layer. There’s no separate entry for it. No toggle. No way to dial it back without hitting Undo, and that only works if you haven’t done anything else since. This is what “destructive editing” actually means in practice. It’s not dramatic. It just silently removes your future options.
Step 4: Convert to Smart Object Before Applying Any Adjustment
 Layer menu open with Smart Object submenu and Convert to Smart Object highlighted
Here’s the move that changes everything. Before you apply any adjustment from the Image menu, right-click your layer in the Layers panel and choose Convert to Smart Object, or go to Layer > Smart Objects > Convert to Smart Object. You’ll see a small icon appear in the corner of the layer thumbnail. That icon means this layer now has a memory. Anything you do to it gets recorded as an editable filter rather than baked into the pixels.
Layer menu open with Smart Object submenu and Convert to Smart Object highlighted
Here’s the move that changes everything. Before you apply any adjustment from the Image menu, right-click your layer in the Layers panel and choose Convert to Smart Object, or go to Layer > Smart Objects > Convert to Smart Object. You’ll see a small icon appear in the corner of the layer thumbnail. That icon means this layer now has a memory. Anything you do to it gets recorded as an editable filter rather than baked into the pixels.
This is the part nobody told me about when I was starting out. Smart objects feel like a pro-level thing because the name sounds technical, but converting a layer takes about two seconds and costs you nothing.
Step 5: Apply the Same Adjustment to a Smart Object
 Brightness Contrast dialog open applied to a Smart Object layer
With your Smart Object layer selected, go through the exact same process: Image > Adjustments > Brightness/Contrast. Drag Brightness up, hit OK. Same result on the canvas. But now look at the Layers panel. Underneath your Smart Object thumbnail, there’s a new section labeled Smart Filters, and your Brightness/Contrast adjustment appears there as its own line item. You can click the eye icon next to it to toggle it off and on. You can double-click the name to reopen the dialog and change the values. You can delete it entirely. The pixels underneath are completely untouched.
Brightness Contrast dialog open applied to a Smart Object layer
With your Smart Object layer selected, go through the exact same process: Image > Adjustments > Brightness/Contrast. Drag Brightness up, hit OK. Same result on the canvas. But now look at the Layers panel. Underneath your Smart Object thumbnail, there’s a new section labeled Smart Filters, and your Brightness/Contrast adjustment appears there as its own line item. You can click the eye icon next to it to toggle it off and on. You can double-click the name to reopen the dialog and change the values. You can delete it entirely. The pixels underneath are completely untouched.
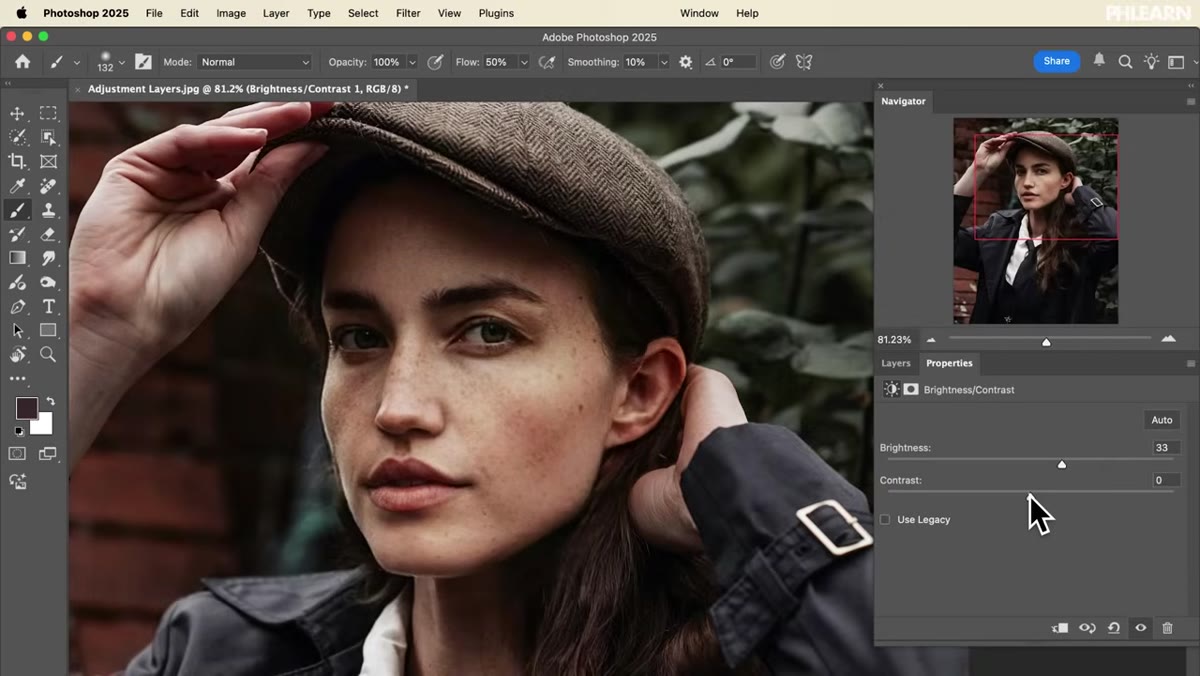
Step 6: Use Adjustment Layers for Maximum Flexibility
 Layers panel showing a new Brightness Contrast Adjustment Layer with mask thumbnail
The other approach, and the one Aaron leans toward for most workflows, is using a proper adjustment layer. Go to Layer > New Adjustment Layer > Brightness/Contrast. A new layer appears in your stack. It has its own visibility toggle. It has its own layer mask, which means you can paint black on the mask to hide the adjustment from specific parts of the image. You can reorder it. Stack multiple adjustment layers. Change the blending mode. The adjustment layer affects every layer below it unless you clip it to a single layer using Alt/Option + click between the two layers.
Layers panel showing a new Brightness Contrast Adjustment Layer with mask thumbnail
The other approach, and the one Aaron leans toward for most workflows, is using a proper adjustment layer. Go to Layer > New Adjustment Layer > Brightness/Contrast. A new layer appears in your stack. It has its own visibility toggle. It has its own layer mask, which means you can paint black on the mask to hide the adjustment from specific parts of the image. You can reorder it. Stack multiple adjustment layers. Change the blending mode. The adjustment layer affects every layer below it unless you clip it to a single layer using Alt/Option + click between the two layers.
For color grading, exposure work, or any adjustment where the client might change their mind three times, this is where I live now.
Step 7: Know When to Use Which Approach
 Side-by-side view of Layers panel showing regular layer vs adjustment layer setup
Neither approach is wrong, but they suit different situations. If you’re doing a quick one-off edit on a photo you’ll export and be done with, converting to a Smart Object and using Image Adjustments gets the job done with less layer clutter. If you’re building a composite, grading a batch of images consistently, or working on anything a client will review, adjustment layers give you more control with less risk. The smart object route is the middle ground: you get editability without adding extra layers to a panel that might already be crowded.
Side-by-side view of Layers panel showing regular layer vs adjustment layer setup
Neither approach is wrong, but they suit different situations. If you’re doing a quick one-off edit on a photo you’ll export and be done with, converting to a Smart Object and using Image Adjustments gets the job done with less layer clutter. If you’re building a composite, grading a batch of images consistently, or working on anything a client will review, adjustment layers give you more control with less risk. The smart object route is the middle ground: you get editability without adding extra layers to a panel that might already be crowded.
What I’d Add: Don’t Sleep on the Layer Mask That Comes Free
Every adjustment layer includes a layer mask automatically, and most people ignore it completely. That mask is the difference between an adjustment that affects your whole image and one that affects only the sky, or only the subject’s face, or only that weird yellow patch in the background. Paint with black on the mask to hide the adjustment in that area, white to reveal it. Soft brushes, low opacity, and you’re doing basic targeted color correction without any complicated selections. I use this constantly for skin tone fixes on product shots where the background color needs to shift but the product itself can’t. It’s one of those features that seems minor until it saves you twenty minutes.
The single most important thing to take from this: never apply an adjustment directly to a flat layer. Either convert to a Smart Object first, or use an adjustment layer. Either way, future-you gets to make changes without starting over.
If you want to see Aaron walk through all of this with a live image, go watch the original. He demonstrates the Smart Object workflow clearly and it’s worth seeing the Layers panel update in real time.
Watch the full tutorial on YouTube
Comments
Leave a Comment