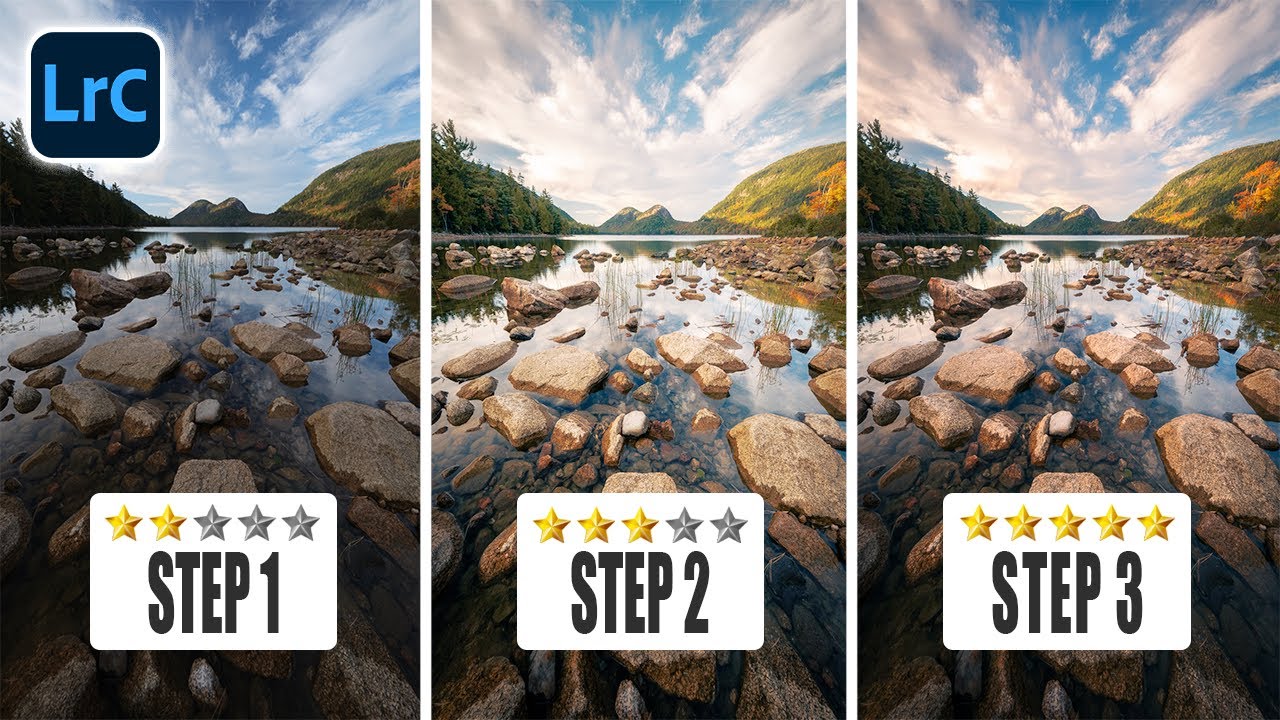
Vignettes in Lightroom: Why You're Probably Using the Wrong Tool for the Job

Vignettes in Lightroom: Why You're Probably Using the Wrong Tool for the Job

I’ve spent an embarrassing amount of time applying vignettes in Lightroom the lazy way — drag the Post Crop Vignette slider left, call it a day, move on. And honestly, for a long time it worked fine. Until it didn’t. The problem crept up on me during a client edit where the sky in the upper-left corner was blowing out, the lower-right foreground was already deep in shadow, and slapping a uniform darkening across all four corners made the whole thing look like I’d developed the photo inside a cave.
Lightroom's Radial Filter Is Doing Way More Work Than You Think

Lightroom's Radial Filter Is Doing Way More Work Than You Think

I’ll be honest with you. For an embarrassingly long time, I used Lightroom’s Radial Filter for exactly one thing: drawing a circle and darkening the outside of it. That’s it. That was my whole relationship with the tool. I was basically using a Swiss Army knife to open envelopes. Then I stumbled onto a tutorial by landscape photographer Nigel Danson where he runs through five distinct things you can do with the Radial Filter, and I had one of those “okay I’ve been doing this wrong” moments that I usually only get from accidentally breaking something expensive.