Panoramic photos are one of those things that look incredible until you open the stitched result in Photoshop and realize the edges are a jagged, transparent mess. Every time. If you’ve shot a wide scene, handed it off to Photoshop’s auto-stitch, and then stared at those ragged borders wondering how much of your beautiful composition you’re about to sacrifice to the crop tool, this one’s for you.
In this CreativeLive tutorial on cropping panoramic photos, the instructor walks through two genuinely clever ways to handle those problem edges without nuking your image with a heavy crop. I’ve been stitching panoramas for clients for a few years now, and I’ll be honest, I was doing it the dumb way for most of that time. Crop aggressively, lose the edges, apologize to nobody because nobody knew what they were missing. These two methods changed how I handle this workflow entirely.
The short version: you’ve got Image Warp and Content-Aware Fill as your two main weapons here. Both work differently, both have their place, and knowing when to reach for each one is the actual skill. Let’s walk through both.
Step 1: Let Photoshop Stitch the Panorama
 Completed panorama stitch shown in Photoshop canvas
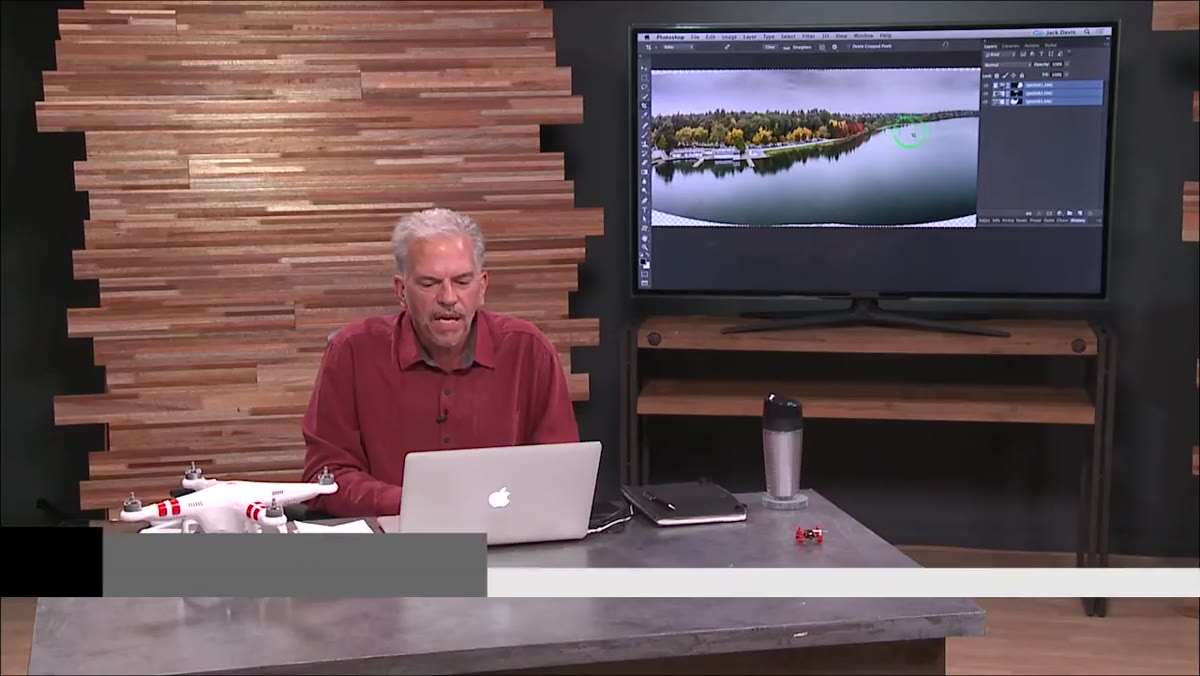
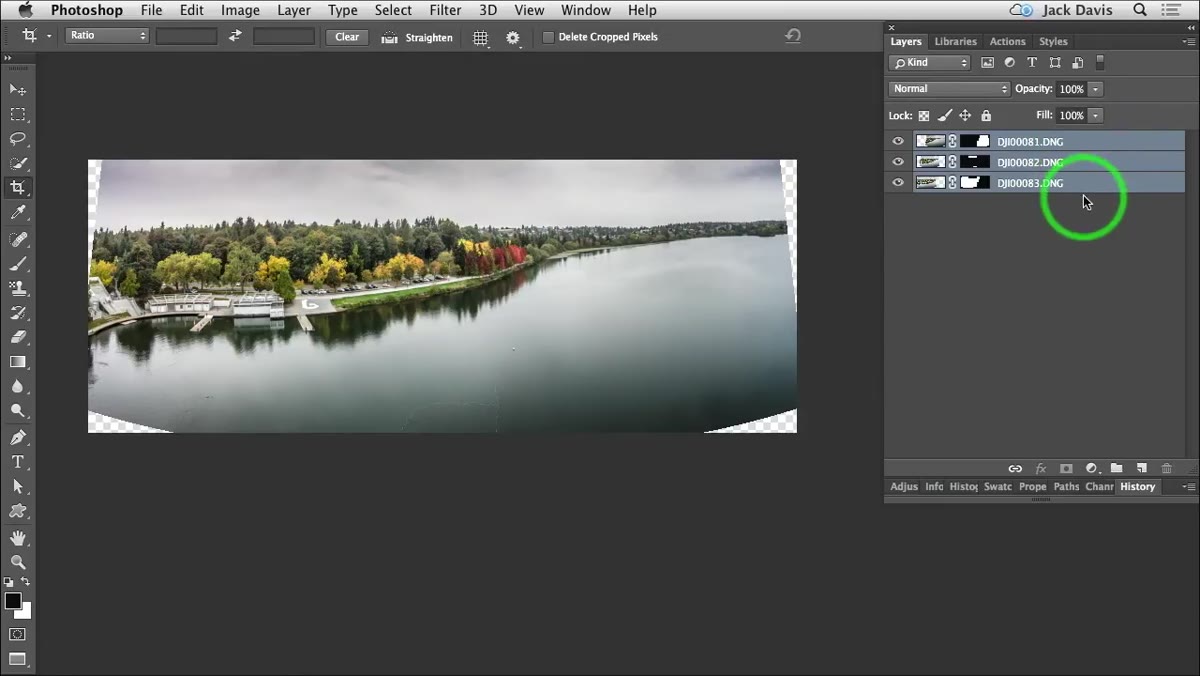
Before you fix anything, you need to understand what you’re actually looking at after a stitch. Photoshop does a surprisingly good job of matching exposure and white balance across the seam lines between individual frames. The instructor toggles a layer on and off to show just how clean the transition is at the pixel level. The stitching itself isn’t the problem. The problem is the geometric distortion correction that leaves you with transparent chunks at the edges and corners of the combined image.
Completed panorama stitch shown in Photoshop canvas
Before you fix anything, you need to understand what you’re actually looking at after a stitch. Photoshop does a surprisingly good job of matching exposure and white balance across the seam lines between individual frames. The instructor toggles a layer on and off to show just how clean the transition is at the pixel level. The stitching itself isn’t the problem. The problem is the geometric distortion correction that leaves you with transparent chunks at the edges and corners of the combined image.
Take a minute to actually look at your result before you reach for the Crop tool. If the stitch is clean, which it usually is, the only real issue is those empty edge areas. That changes your whole approach.
Step 2: Merge Your Layers Before You Do Anything Else
 Multiple stitch layers visible in the Layers panel
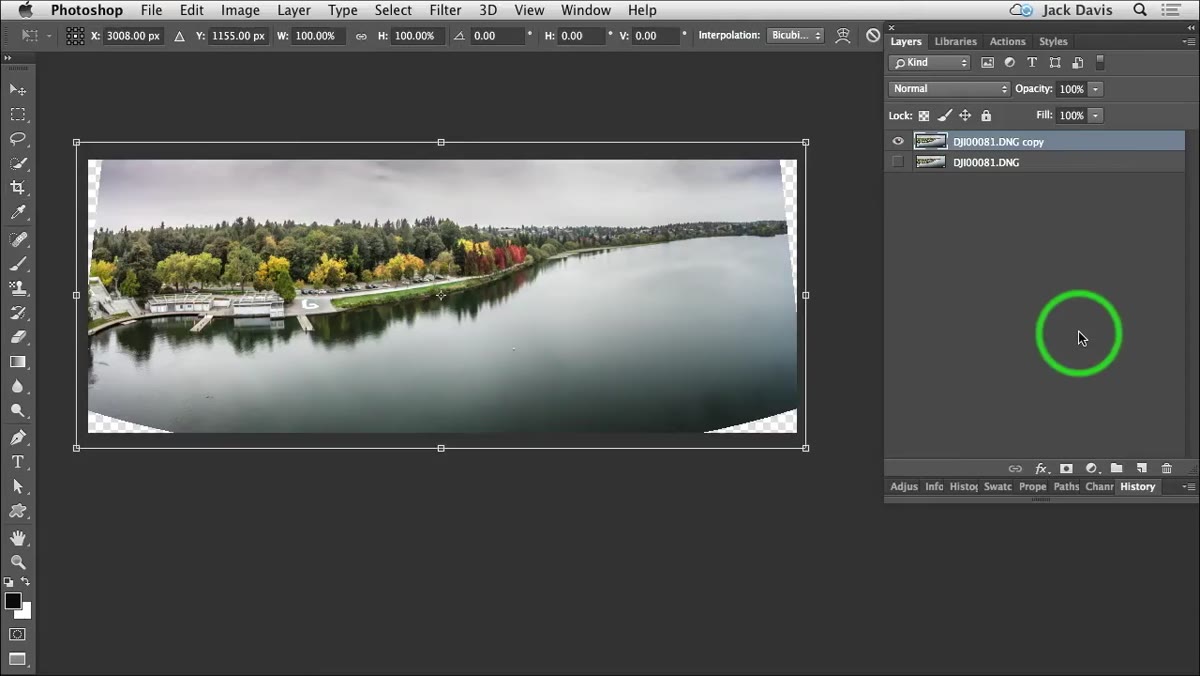
The panorama comes in as multiple separate layers. The instructor is quick to point out that keeping them separate doesn’t buy you much here. Unless you’ve got a moving subject like a car crossing the frame where you might want to selectively blend, there’s no practical reason to hang onto the individual pieces. Use Command+E on Mac or Ctrl+E on PC to merge them down into a single layer.
Multiple stitch layers visible in the Layers panel
The panorama comes in as multiple separate layers. The instructor is quick to point out that keeping them separate doesn’t buy you much here. Unless you’ve got a moving subject like a car crossing the frame where you might want to selectively blend, there’s no practical reason to hang onto the individual pieces. Use Command+E on Mac or Ctrl+E on PC to merge them down into a single layer.
Once merged, duplicate that layer immediately with Command+J (Ctrl+J on PC). You’ll want that backup copy sitting underneath your work layer. Make a habit of this. It costs you nothing and saves you every time.
Step 3: Fix the Edges with Image Warp
 Free Transform bounding box active around panorama layer
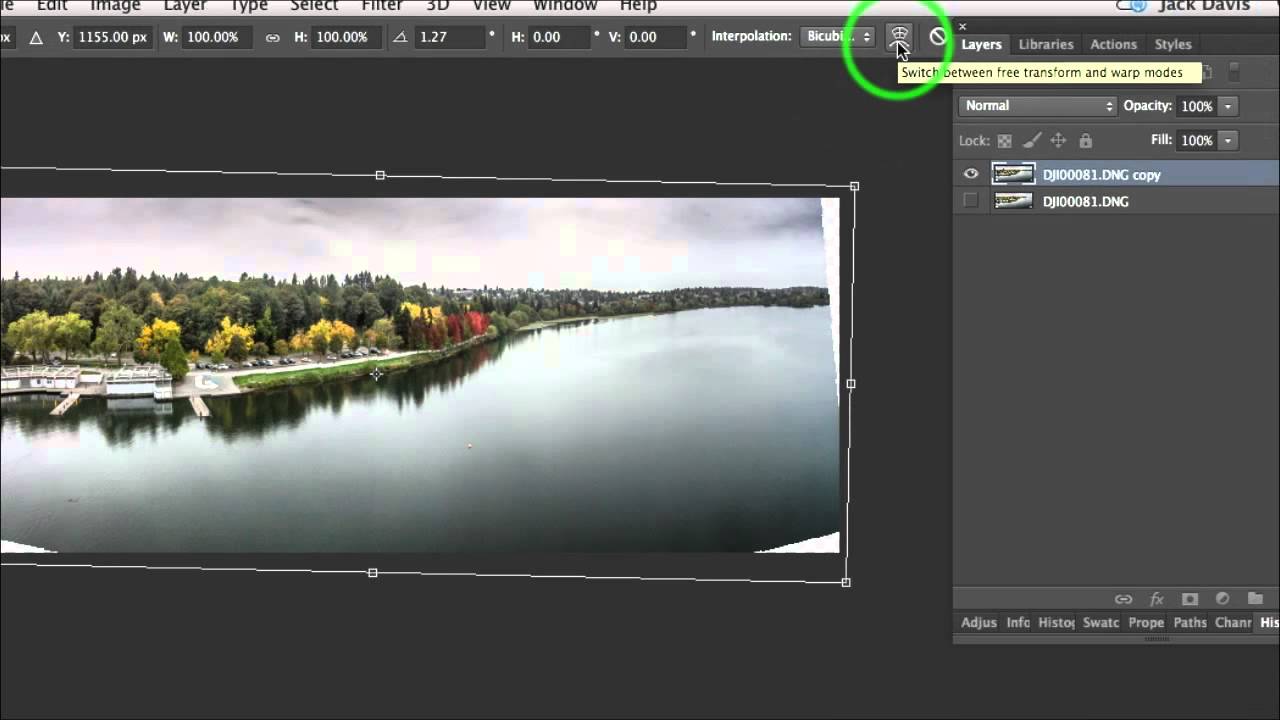
Here’s the first technique, and it’s the one I reach for when the transparent edge areas are relatively small. With your duplicate layer selected, hit Command+T (Ctrl+T) to open Free Transform. You’ll see the transform bounding box appear around the image. Now, instead of just scaling the photo up and blowing up your pixels, look up in the options bar for the Warp icon. It looks like a little curved grid. Click it.
Free Transform bounding box active around panorama layer
Here’s the first technique, and it’s the one I reach for when the transparent edge areas are relatively small. With your duplicate layer selected, hit Command+T (Ctrl+T) to open Free Transform. You’ll see the transform bounding box appear around the image. Now, instead of just scaling the photo up and blowing up your pixels, look up in the options bar for the Warp icon. It looks like a little curved grid. Click it.
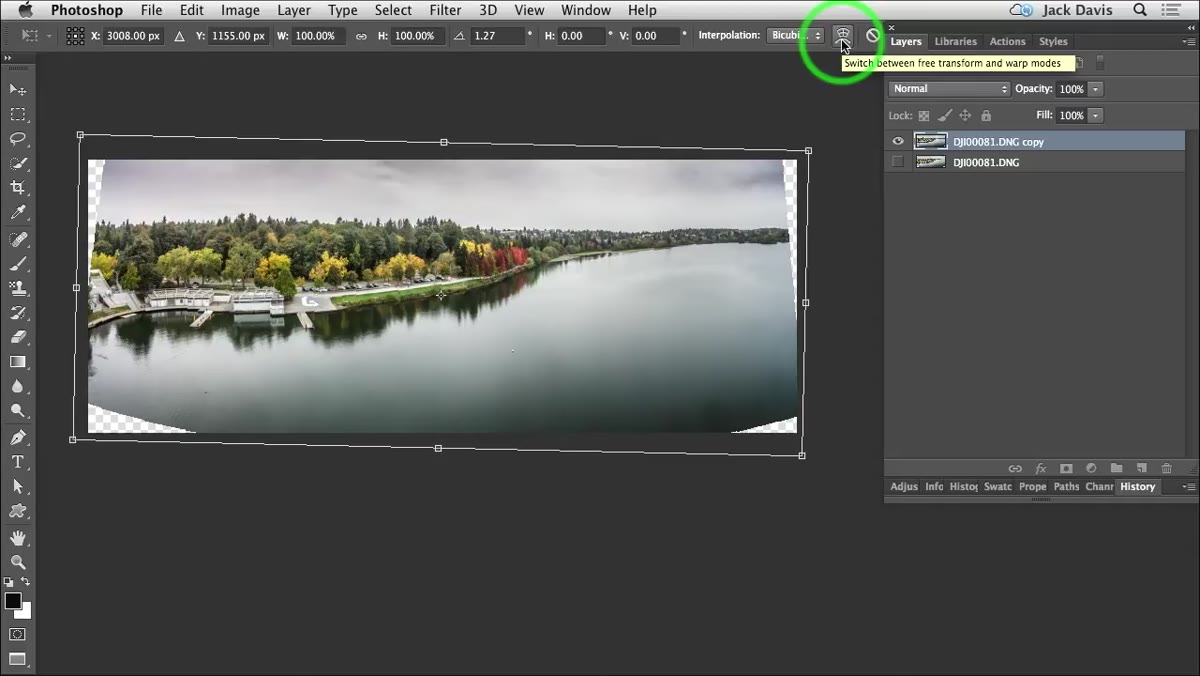 Image Warp grid overlay applied to the panorama
Image Warp puts a spline-based envelope over your photo, essentially a grid of control points you can push and pull. The magic here is that you can grab the edges and gently stretch them outward to cover those transparent gaps, and Photoshop handles the distortion in a way that reads as completely natural, at least for moderate adjustments. You can also click within the image itself to add more subtle warp to specific areas. When you’re happy, hit Return to commit. The before/after difference is real, and nothing was retouched.
Image Warp grid overlay applied to the panorama
Image Warp puts a spline-based envelope over your photo, essentially a grid of control points you can push and pull. The magic here is that you can grab the edges and gently stretch them outward to cover those transparent gaps, and Photoshop handles the distortion in a way that reads as completely natural, at least for moderate adjustments. You can also click within the image itself to add more subtle warp to specific areas. When you’re happy, hit Return to commit. The before/after difference is real, and nothing was retouched.
The key word there is “moderate.” If your transparent gaps are massive, warping enough to cover them will introduce visible distortion. That’s when you move to option two.
Step 4: Select the Transparent Holes
 Command-click on layer thumbnail loading pixels as selection
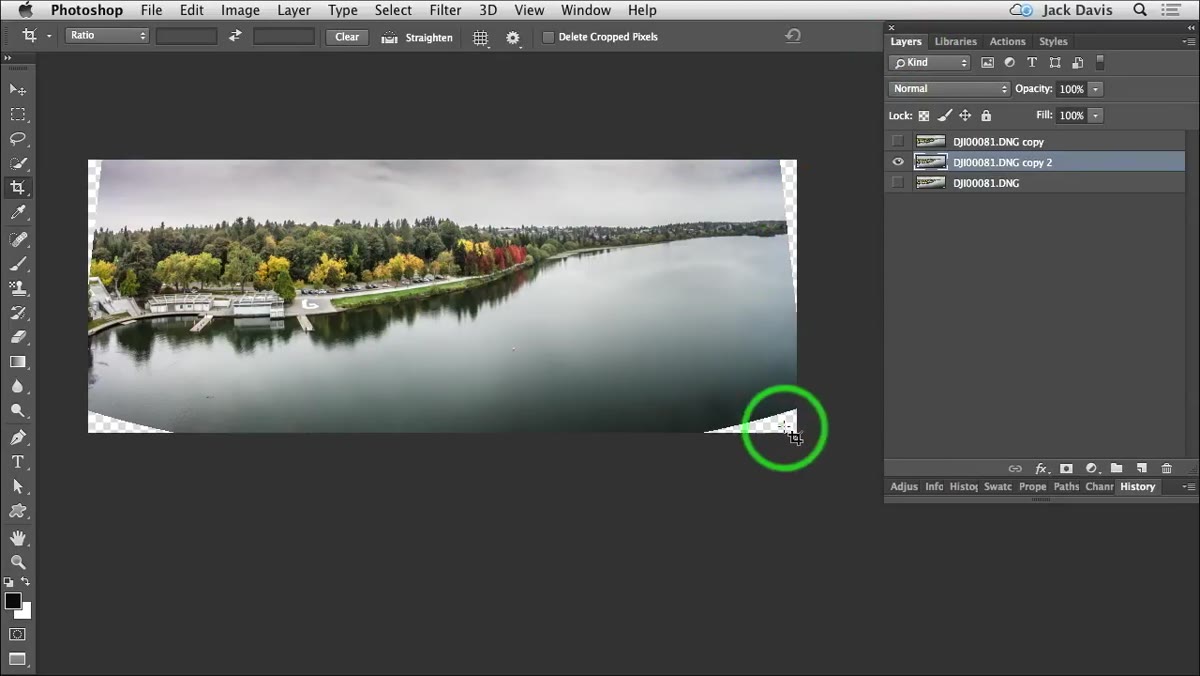
For the Content-Aware Fill approach, start fresh from your merged, duplicated layer. The first thing you need to do is tell Photoshop exactly where the transparent gaps are so it can fill them. Command-click (Ctrl-click on PC) directly on the layer thumbnail in the Layers panel. This loads the actual pixel content of the layer as a selection, meaning everything that isn’t transparent gets selected.
Command-click on layer thumbnail loading pixels as selection
For the Content-Aware Fill approach, start fresh from your merged, duplicated layer. The first thing you need to do is tell Photoshop exactly where the transparent gaps are so it can fill them. Command-click (Ctrl-click on PC) directly on the layer thumbnail in the Layers panel. This loads the actual pixel content of the layer as a selection, meaning everything that isn’t transparent gets selected.
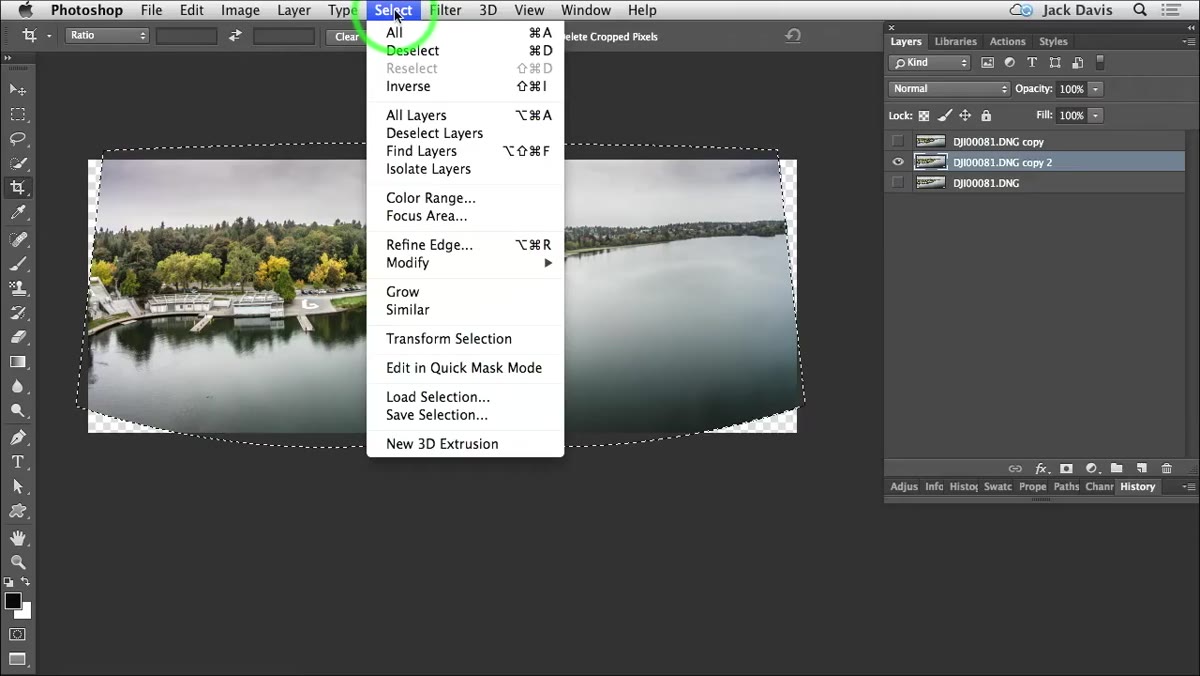
That’s the opposite of what you want. You want to select the holes, not the photo. So go to Select > Inverse, which flips the selection to grab only the transparent areas. Now those empty edges are your active selection.
Step 5: Fill the Gaps with Content-Aware Fill
 Inverse selection active showing marching ants around transparent edge areas
With the transparent areas selected, go to Edit > Fill and choose Content-Aware from the contents dropdown, or use the newer Edit > Content-Aware Fill workspace if you’re on a recent version of Photoshop. Either way, Photoshop is going to look at what’s around those empty edges and generate fill that matches the surrounding sky, ground, or whatever’s at the border of your shot.
Inverse selection active showing marching ants around transparent edge areas
With the transparent areas selected, go to Edit > Fill and choose Content-Aware from the contents dropdown, or use the newer Edit > Content-Aware Fill workspace if you’re on a recent version of Photoshop. Either way, Photoshop is going to look at what’s around those empty edges and generate fill that matches the surrounding sky, ground, or whatever’s at the border of your shot.
The results depend heavily on what’s at your edges. Open sky or water? Content-Aware Fill handles it beautifully. Complex architectural detail right at the border? You might need to do some additional cleanup with the Clone Stamp or Healing Brush. But for most landscape panoramas, this is borderline miraculous. Hit OK, deselect, and compare your result to the original.
My Take: These Methods Aren’t Mutually Exclusive
I started stacking both techniques on the same file after playing with this workflow for a while. A light Image Warp pass first to bring the edges most of the way in, followed by a Content-Aware Fill on whatever small transparent areas remain, means Content-Aware has less work to do and produces cleaner results. Think of it as reducing the problem before you solve it rather than asking one tool to do everything.
One thing I’d add from working on client files specifically: always do this on a duplicate of your merged layer with the original sitting safely underneath. Content-Aware Fill is non-destructive in the sense that you can undo it, but if you’re three steps deep and you want to revisit your warp, you’ll be glad you kept a clean copy around. I learned to love backups after an incident involving a deleted project file and a very understanding client, so. Just duplicate the layer.
The real takeaway here is that the Crop tool should be a last resort for panoramas, not the default. Between Image Warp and Content-Aware Fill, you’ve got two solid options that can recover your full composition without touching a single pixel of the actual image. Try both. See which one fits your particular shot. And definitely check out the full tutorial for the instructor’s live demonstration of both techniques in action.
Watch the full tutorial on YouTube
Comments
Leave a Comment