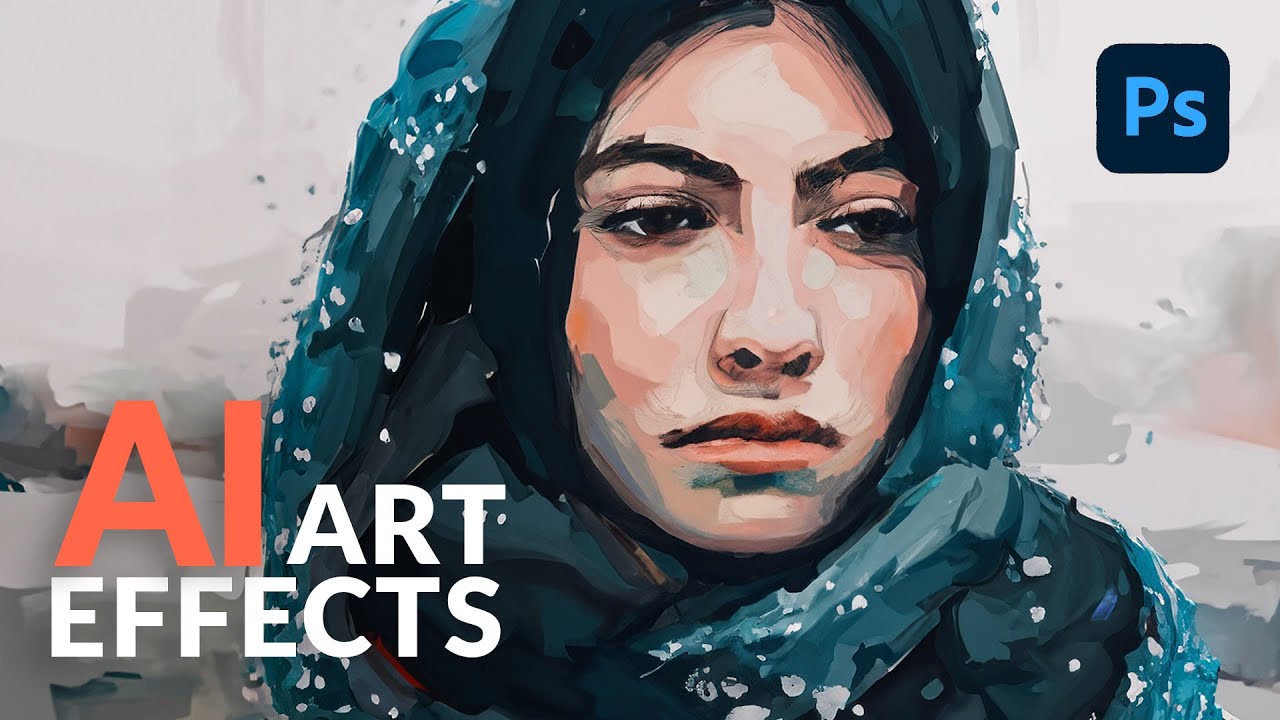
Client work slows down in summer. That’s when I do my best experimenting, usually with a cold brew at my corner table at the coffee shop, headphones on, burning through tutorials I’ve been bookmarking for months. I’ve tried a lot of AI techniques in Photoshop that promised “artistic effects” and delivered something that looked like a stock photo got into a fight with a Instagram filter. So when I stumbled on this one from Aaron Nace over at PHLEARN, I almost scrolled past it. I’m glad I didn’t.
Watch the full tutorial on YouTube
In this Aaron Nace (PHLEARN) tutorial, the core insight is deceptively simple: instead of making a full 100% selection and letting generative fill replace everything, you make a partial selection, something closer to 20-80% selected. That means Photoshop’s AI still has access to the structural and color information from your original photo when it generates the new content. The result is an artistic interpretation that actually looks like it came from your image, not a generic AI hallucination. This is the kind of technique that makes you feel like you wasted the last year doing it wrong.
Step 1: Open Quick Mask Mode
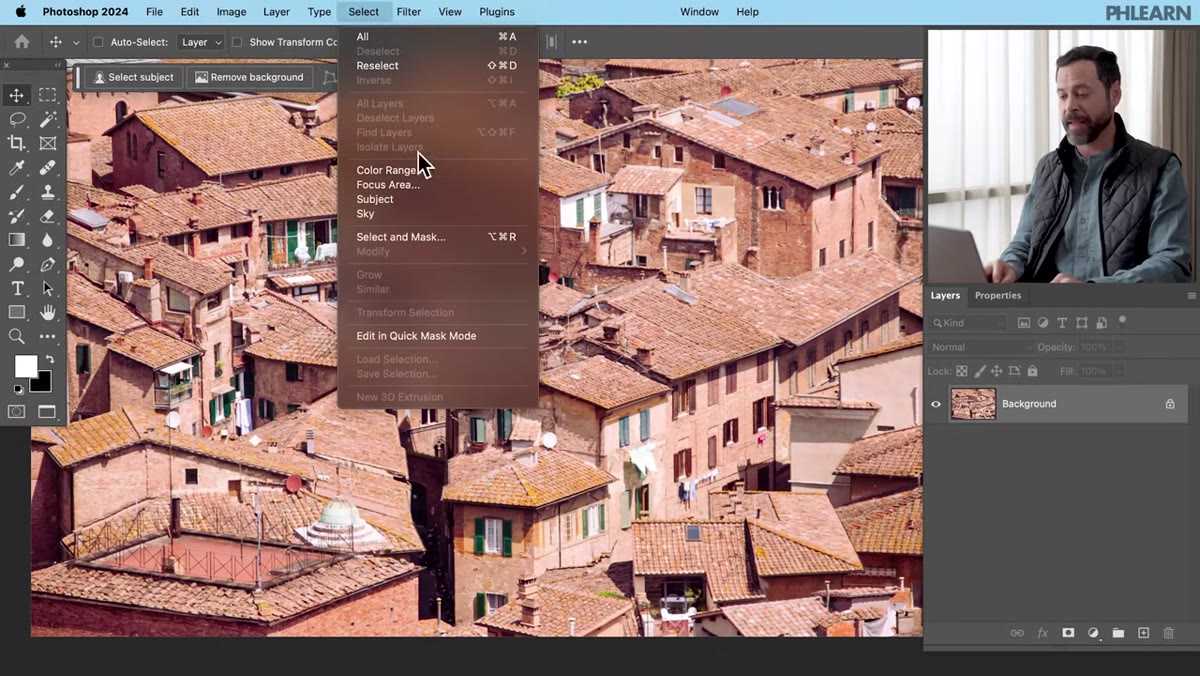 Quick Mask mode active, background highlighted red
Head up to the Select menu and choose “Edit in Quick Mask Mode.” You’ll know it worked because a red overlay blankets your canvas. Quick Mask is basically a painter’s way of defining a selection visually, and we’re about to use it in a way that’s probably not what Adobe had in mind when they built it. That’s fine. That’s the fun part.
Quick Mask mode active, background highlighted red
Head up to the Select menu and choose “Edit in Quick Mask Mode.” You’ll know it worked because a red overlay blankets your canvas. Quick Mask is basically a painter’s way of defining a selection visually, and we’re about to use it in a way that’s probably not what Adobe had in mind when they built it. That’s fine. That’s the fun part.
Step 2: Fill the Mask with a Specific Brightness Value
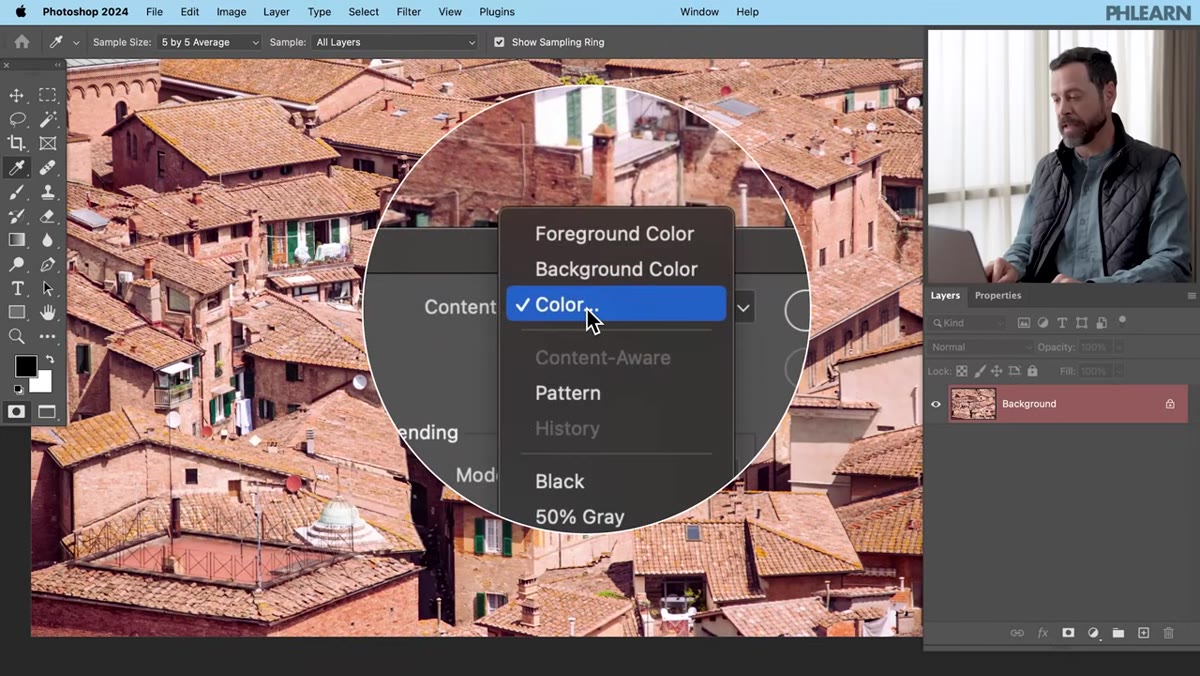 Fill dialog open with color picker visible
With Quick Mask active, go to Edit, then Fill, and when the color picker pops up, this is where the magic lives. Set Hue to 0, Saturation to 0, and Brightness to 20%. That 20% is not arbitrary. In Quick Mask, the brightness of the fill controls how selected that area actually is. A brightness of 100% means fully selected, and generative fill replaces everything. A brightness of 20% means the selection is only partial, and the AI has to work with, and around, the original image data. The lower the number, the more your photo shows through. The higher the number, the more stylized and abstract the output becomes. Start at 20% and experiment from there once you’ve got the workflow down.
Fill dialog open with color picker visible
With Quick Mask active, go to Edit, then Fill, and when the color picker pops up, this is where the magic lives. Set Hue to 0, Saturation to 0, and Brightness to 20%. That 20% is not arbitrary. In Quick Mask, the brightness of the fill controls how selected that area actually is. A brightness of 100% means fully selected, and generative fill replaces everything. A brightness of 20% means the selection is only partial, and the AI has to work with, and around, the original image data. The lower the number, the more your photo shows through. The higher the number, the more stylized and abstract the output becomes. Start at 20% and experiment from there once you’ve got the workflow down.
Step 3: Exit Quick Mask to Convert the Fill into a Selection
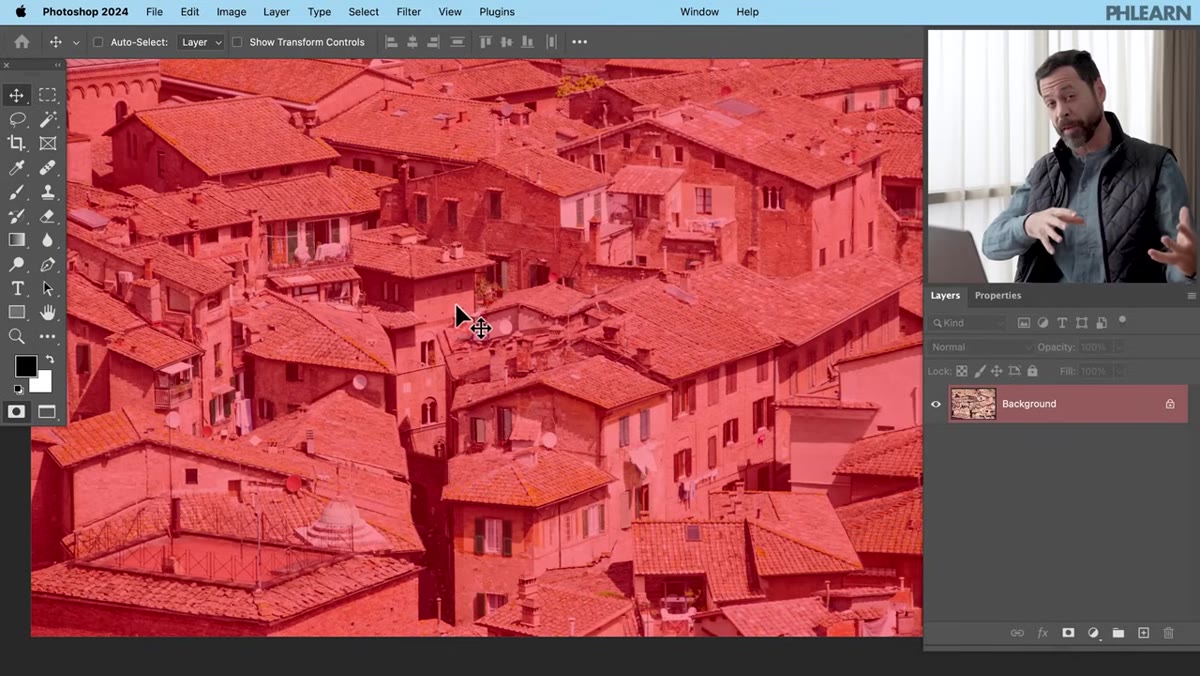 Canvas showing no visible marching ants after exiting Quick Mask
Go back to Select and uncheck “Edit in Quick Mask Mode.” Here’s where first-timers panic: the canvas looks completely normal. No marching ants, no obvious selection border. That’s expected. The partial selection exists, it’s just too subtle to render as a visible outline. Trust the process. The selection is there, and generative fill knows about it even if your eyes don’t.
Canvas showing no visible marching ants after exiting Quick Mask
Go back to Select and uncheck “Edit in Quick Mask Mode.” Here’s where first-timers panic: the canvas looks completely normal. No marching ants, no obvious selection border. That’s expected. The partial selection exists, it’s just too subtle to render as a visible outline. Trust the process. The selection is there, and generative fill knows about it even if your eyes don’t.
Step 4: Run Generative Fill with an Artistic Prompt
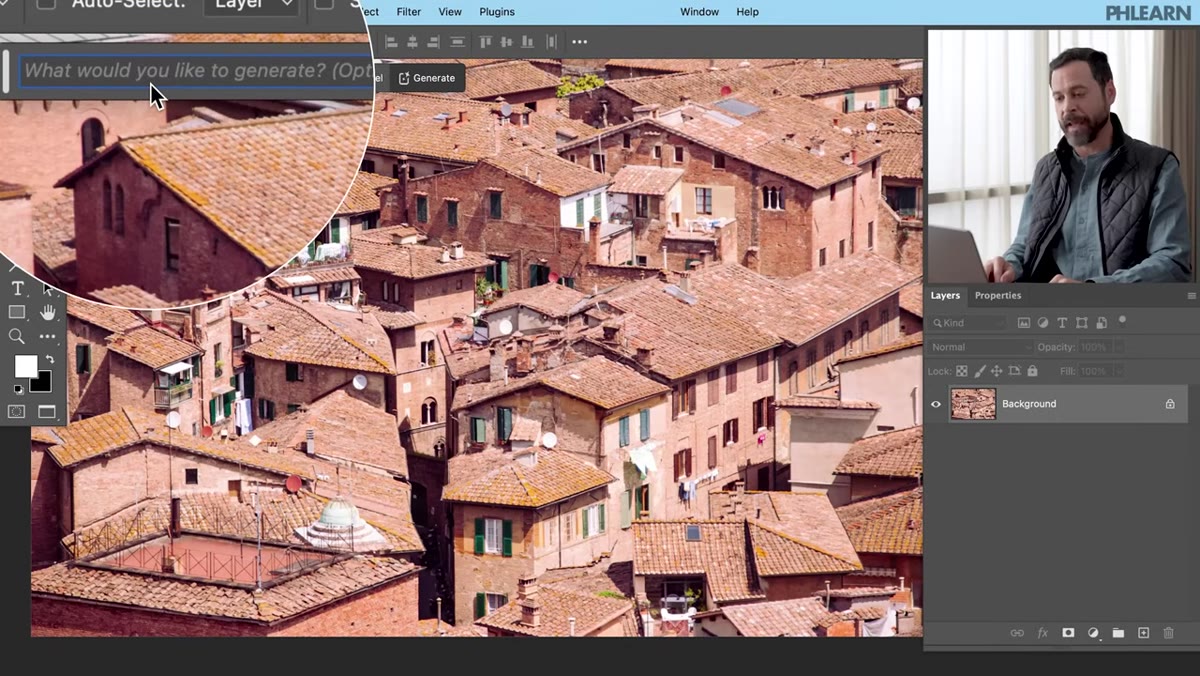 Generative Fill contextual taskbar visible, prompt field active
The Generative Fill bar should appear at the bottom of your canvas. Click into the prompt field and type something like “watercolor painting.” Keep the prompt simple and direct. You’re not trying to redesign the photo, you’re asking the AI to reinterpret what’s already there in a specific medium. Hit Generate and let it run. Photoshop will produce three variations, and because the partial selection preserved so much of your original image structure, the results should look like a painted version of your actual photo rather than something completely fabricated.
Generative Fill contextual taskbar visible, prompt field active
The Generative Fill bar should appear at the bottom of your canvas. Click into the prompt field and type something like “watercolor painting.” Keep the prompt simple and direct. You’re not trying to redesign the photo, you’re asking the AI to reinterpret what’s already there in a specific medium. Hit Generate and let it run. Photoshop will produce three variations, and because the partial selection preserved so much of your original image structure, the results should look like a painted version of your actual photo rather than something completely fabricated.
Step 5: Browse Variations and Regenerate as Needed
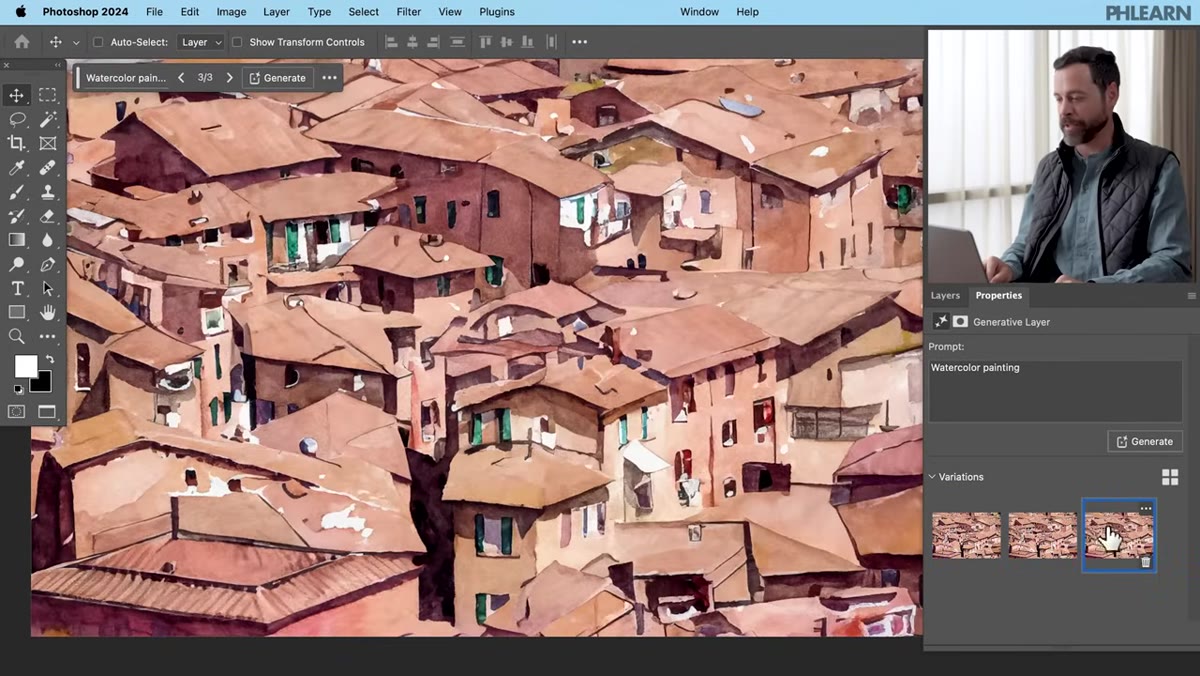 Three watercolor variations shown in Properties panel
Once generation is complete, you’ll see three thumbnails in the Properties panel. Cycle through them. If none of them land, hit Generate again for three more. Aaron points out in the tutorial that this technique works especially well on organic subjects, flowers, landscapes, portraits with soft backgrounds. Hard geometric shapes and architecture tend to get a little chaotic with this approach, so keep that in mind when you’re choosing source photos.
Three watercolor variations shown in Properties panel
Once generation is complete, you’ll see three thumbnails in the Properties panel. Cycle through them. If none of them land, hit Generate again for three more. Aaron points out in the tutorial that this technique works especially well on organic subjects, flowers, landscapes, portraits with soft backgrounds. Hard geometric shapes and architecture tend to get a little chaotic with this approach, so keep that in mind when you’re choosing source photos.
Step 6: Repeat the Process for a Different Style
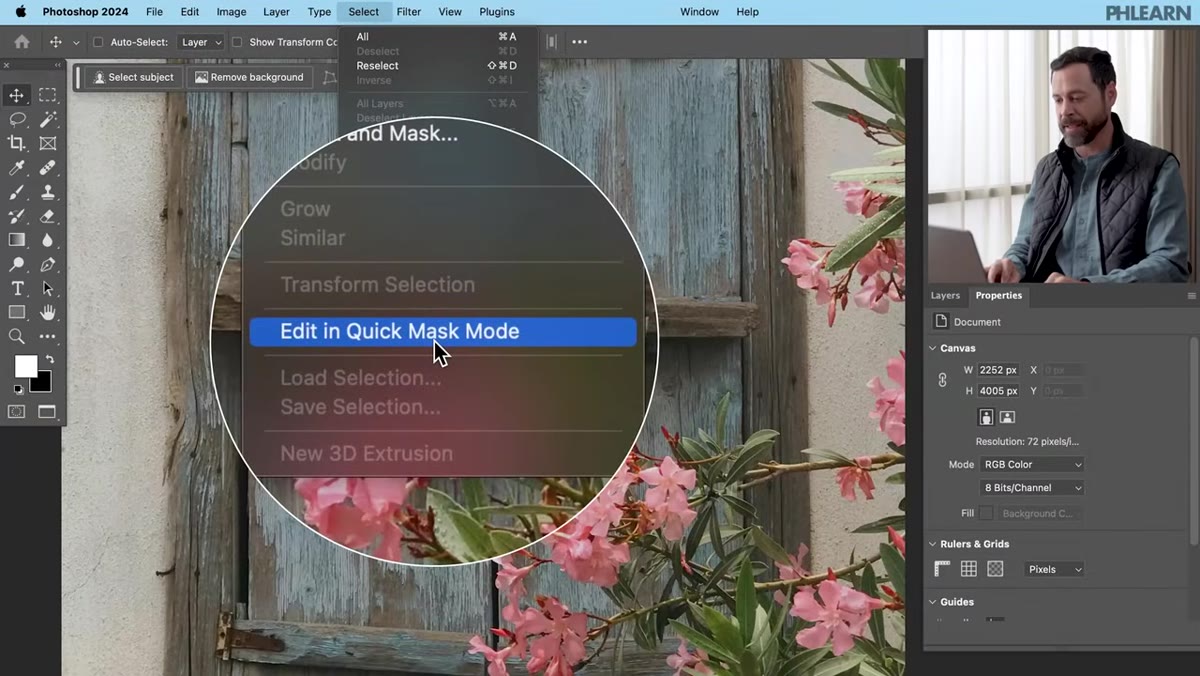 Quick Mask mode re-entered for oil painting variation
Want to try oil painting instead? The entire workflow resets cleanly. Go back to Select, enter Quick Mask mode again, fill at the same brightness settings, exit Quick Mask, and type “oil painting” in the generative fill prompt. The technique is identical. What changes is just the prompt. Aaron’s oil painting results in the video are noticeably more textured and abstract than the watercolor version, which makes sense given how the two mediums differ. You can push toward even more abstraction by bumping the brightness value up to 50% or higher when you fill the mask.
Quick Mask mode re-entered for oil painting variation
Want to try oil painting instead? The entire workflow resets cleanly. Go back to Select, enter Quick Mask mode again, fill at the same brightness settings, exit Quick Mask, and type “oil painting” in the generative fill prompt. The technique is identical. What changes is just the prompt. Aaron’s oil painting results in the video are noticeably more textured and abstract than the watercolor version, which makes sense given how the two mediums differ. You can push toward even more abstraction by bumping the brightness value up to 50% or higher when you fill the mask.
One Thing I’d Add: Save Your Brightness Values as a System
After running this technique across a dozen different photos, I started keeping a quick reference note on my phone with brightness percentages and what they tend to produce. 20% gives you something that still reads clearly as your original photo with an artistic filter quality. 35-40% starts pushing into genuine painterly territory where you lose some fine detail. 60% and above gets wild, sometimes in a good way, sometimes in a “what even is this” way. The point is, this isn’t a one-size number. It’s a dial. Treating it like a dial rather than a setting gives you actual creative control instead of just re-rolling the AI lottery over and over hoping something sticks.
One more thing worth knowing: the generative fill layer this creates is non-destructive. Your original photo sits untouched underneath. That means you can mask, blend, and composite these AI-generated art layers with your source image however you want. I’ve had good results dropping the painted layer to around 80% opacity and blending it with the original using Soft Light. You get the structure of the photo with the texture of the painting, and it reads as intentional rather than algorithmic.
The single most important idea in this whole technique is that “selected” doesn’t have to mean “100% selected.” That one shift in thinking opens up a genuinely different way to use generative AI in Photoshop, one where you stay in control of how much the AI changes versus how much it preserves. It’s the difference between replacing your photo and transforming it.
Watch the full tutorial on YouTube and see Aaron walk through the watercolor and oil painting results side by side. Worth every minute.
Comments
Leave a Comment