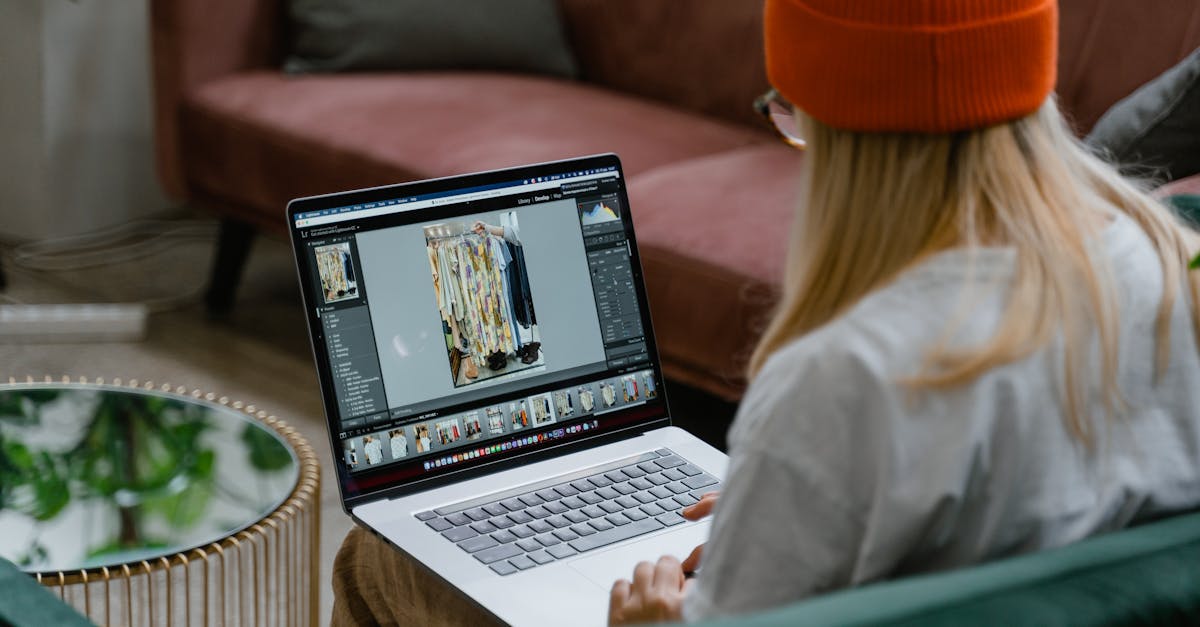
The Dark Art of Photo Manipulation: Making People Look Better Than They Actually Are
Let’s be honest—we’re all here because reality is sometimes disappointing. Your client’s product photos are too dark. Your portrait subject has a mysterious third chin they swear isn’t usually there. The sunset you drove two hours to photograph looks about as inspiring as a spreadsheet.
Enter photo manipulation: the noble art of making things look better without making them look obviously fake. There’s a difference between enhancement and catastrophe, and I’m here to help you stay on the right side of that line.
The Golden Rule: Subtlety Is Your Best Friend
Here’s what separates professionals from that guy at the gym who makes his shoulders 40% wider in every Instagram photo: restraint. The best manipulations are the ones people don’t notice.
When you’re working on a portrait, zoom out every 30 seconds and look at the whole image. If your edits make someone look like a porcelain doll, you’ve gone too far. Aim for “they look like themselves, but better rested and less angry at the world.”
Dodge and Burn: The Sneaky Shaping Tool
This is my favorite technique because it’s basically professional-level contouring without slapping makeup on anyone.
Create a new layer set to Overlay blend mode at 50% opacity. Use the Dodge tool (set to Midtones) with a soft brush to selectively lighten areas you want to bring forward—like cheekbones, the bridge of the nose, or that unfortunate under-chin situation. Switch to the Burn tool to darken recessed areas and create definition.
The magic happens because you’re working with light and shadow, which is how the human brain perceives dimension anyway. It feels natural because it is natural—just turned up to 11.
Content-Aware Fill: When You Need Things to Disappear
Photoshop’s Edit > Content-Aware Fill is basically sorcery. That photobomber, power line, or mysterious stain? Gone.
Here’s the thing nobody tells you: Content-Aware Fill works best when you’re strategic about your selection. Don’t just grab the Clone Stamp and go wild. Use the Object Selection tool to select the unwanted object, then let Content-Aware do its thing. If the result looks sketchy, undo, and try adjusting your selection slightly. Sometimes less is more.
The Liquify Tool: Knowing When to Stop
The Liquify filter (Filter > Liquify) is where people lose their minds. Suddenly everyone’s got a wasp waist and gravity-defying features.
Use it sparingly. A few millimeters of adjustment to a jawline? Elegant. Making someone 30 pounds lighter by warping their entire body? That’s when you get caught. The best approach: make the smallest adjustment that actually matters, then stop.
Pro tip: Lower the Brush Size and Brush Density for more control. You’re sculpting, not power-washing.
The Color Grading Game
Sometimes “manipulation” isn’t about moving pixels—it’s about manipulating emotion through color. A warm color grade makes people look healthier. Cool tones make them look tired and moody (great for that brooding author photo, not great for your Aunt Susan’s LinkedIn headshot).
Use Image > Adjustment Layers > Color Balance or Curves to shift the overall feel. Add slight warmth to skin tones with a touch of red and yellow in the shadows and midtones.
The Ethical Stuff (Yeah, I Had to)
There’s a line between enhancement and deception. Making someone’s skin clearer? Enhancement. Changing their body shape dramatically? Deception. You’ll sleep better if you stay honest with your edits, and your clients will trust you more when they see the final product.
The best photo manipulation is the kind that makes people say, “Wow, you look great in this photo!” not “Did you use Photoshop?”
Master that distinction, and you’ll never run out of work.
Comments (4)
I'd push back slightly on the last point, but otherwise this is spot on.
Any chance you'll do a follow-up covering the advanced version of this?
So well written. You make technical stuff actually enjoyable to read.
Appreciate the feedback, Omar Hassan. Means a lot.
Leave a Comment