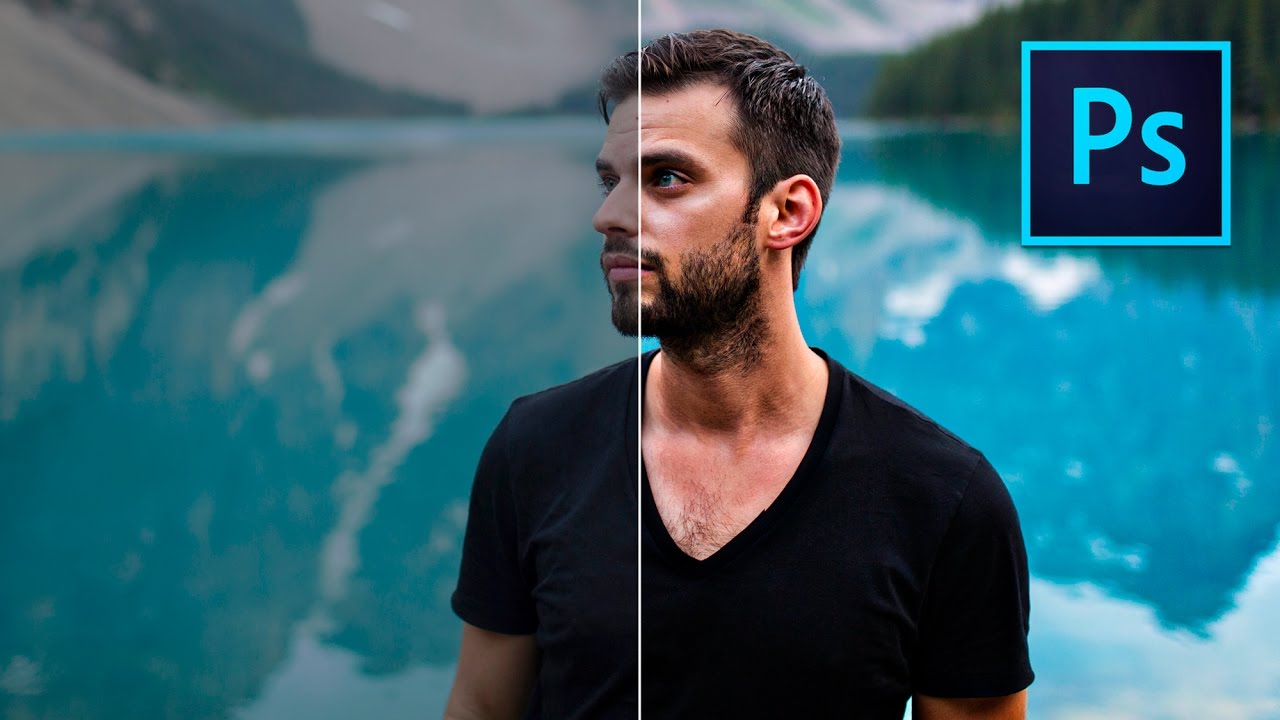
There’s a specific kind of disappointment that hits when you open a photo on your computer and it looks absolutely nothing like what you saw with your own eyes. You were there. The light was incredible. You felt it. And now your screen is showing you something flat, dull, and vaguely depressing. I’ve been editing photos and graphics professionally long enough to know this feeling doesn’t go away – but the gap between “what the camera captured” and “what you actually saw” gets a lot smaller once you have a reliable editing process you can move through quickly.
That’s exactly what Watch the full tutorial on YouTube – Peter McKinnon’s tutorial on making your photos look better fast – delivers. It’s not flashy compositing or heavy retouching. It’s the kind of repeatable, efficient workflow that turns a mediocre shot into something you’d actually want to post, without spending three hours on it. Peter’s an interesting teacher because he doesn’t over-explain or get precious about tools. He just works, and you keep up.
Below I’ve broken the whole thing down into discrete steps you can follow along with in Photoshop CC. If you’re comfortable in Lightroom you’ll recognize a lot of this logic – the difference is workflow preference, not capability. Let’s get into it.
Step 1: Open Your Image in Camera Raw
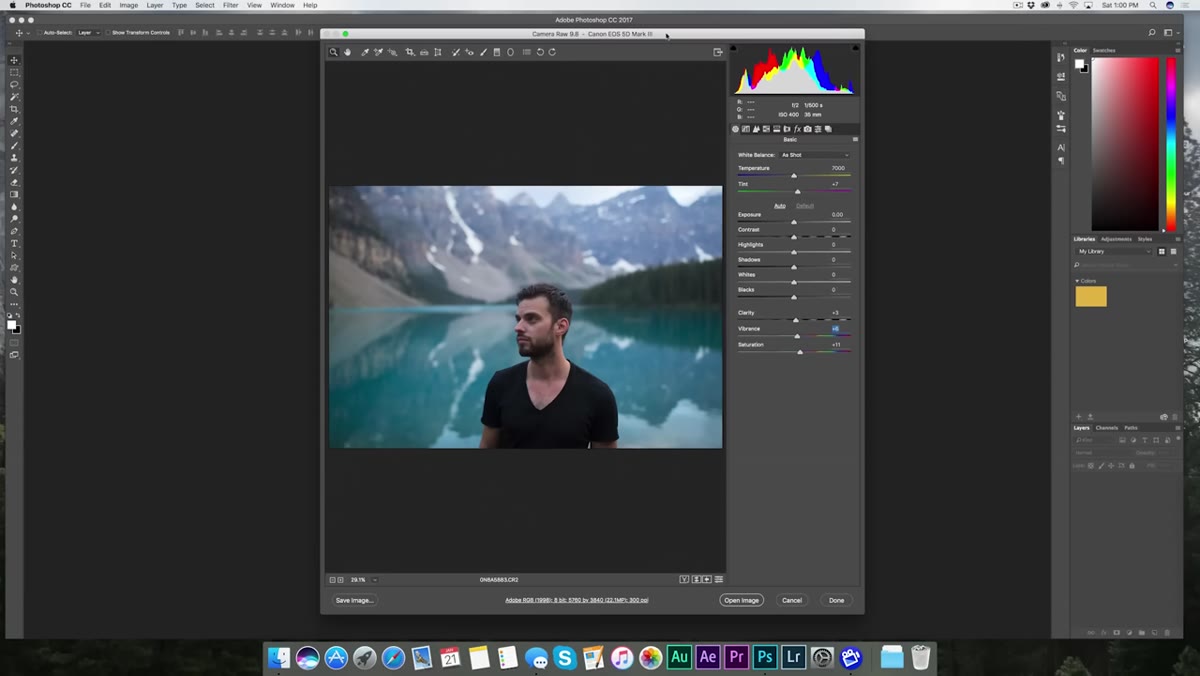 Camera Raw plugin opening with RAW photo loaded
When you drag a RAW file into Photoshop, Camera Raw launches automatically and intercepts the image before it ever hits the canvas. This is a good thing. Think of Camera Raw as the foundation pass – you’re setting the tone of the whole edit here before you touch any layers or brushes. If you’re working with JPEGs instead of RAWs, you can still access Camera Raw via Filter > Camera Raw Filter once the image is open.
Camera Raw plugin opening with RAW photo loaded
When you drag a RAW file into Photoshop, Camera Raw launches automatically and intercepts the image before it ever hits the canvas. This is a good thing. Think of Camera Raw as the foundation pass – you’re setting the tone of the whole edit here before you touch any layers or brushes. If you’re working with JPEGs instead of RAWs, you can still access Camera Raw via Filter > Camera Raw Filter once the image is open.
Don’t skip this step just because you’re in a hurry. Two minutes here saves ten minutes of compensating later.
Step 2: Dial in Exposure and Contrast
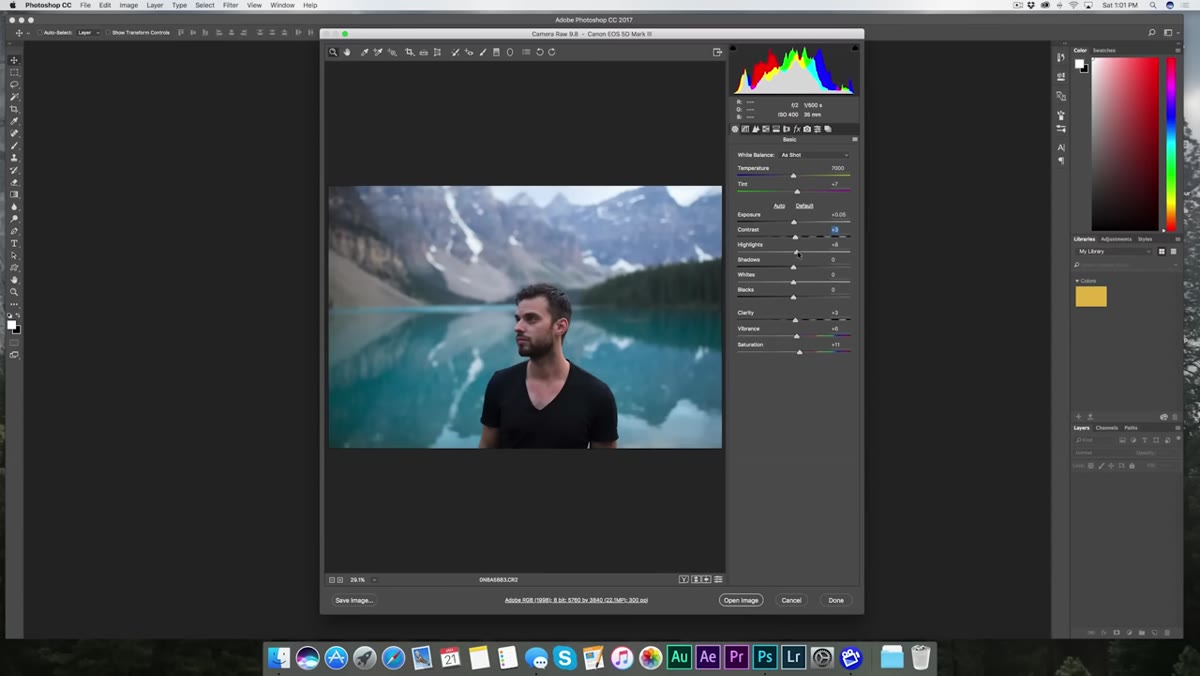 Exposure and contrast sliders being adjusted in Camera Raw
Start with Exposure. The goal isn’t to make it look “edited” – it’s to get it close to accurate. Nudge it up or down until the image feels balanced rather than washed out or crushed. Then bump Contrast slightly. Peter doesn’t go heavy-handed here, and neither should you. A small contrast boost adds structure to the image without making it look like a stock photo filter.
Exposure and contrast sliders being adjusted in Camera Raw
Start with Exposure. The goal isn’t to make it look “edited” – it’s to get it close to accurate. Nudge it up or down until the image feels balanced rather than washed out or crushed. Then bump Contrast slightly. Peter doesn’t go heavy-handed here, and neither should you. A small contrast boost adds structure to the image without making it look like a stock photo filter.
One thing worth internalizing: every slider you move has a relationship with the others. Bumping contrast often affects how bright the highlights look, which is exactly why you deal with them next.
Step 3: Tame the Highlights and Lift the Shadows
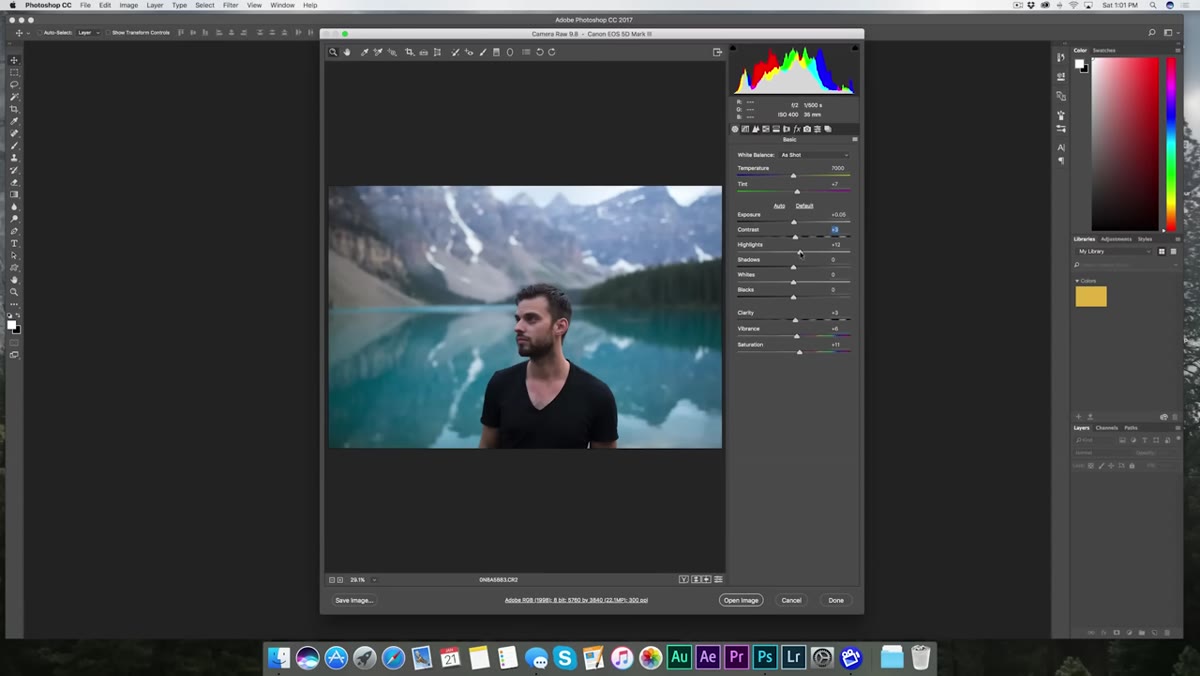 Highlights slider pulled down, mountain detail recovering at top of frame
Highlights are your enemy whenever there’s a bright sky or any blown-out area. Pull them down – not all the way to the bottom, but enough to recover detail you’d otherwise lose. Peter lands somewhere just below center on his shot, which has a mountain and a bright sky competing for attention. You’ll know you’ve gone too far when the image starts looking muddy or underexposed at the top.
Highlights slider pulled down, mountain detail recovering at top of frame
Highlights are your enemy whenever there’s a bright sky or any blown-out area. Pull them down – not all the way to the bottom, but enough to recover detail you’d otherwise lose. Peter lands somewhere just below center on his shot, which has a mountain and a bright sky competing for attention. You’ll know you’ve gone too far when the image starts looking muddy or underexposed at the top.
Shadows work the opposite way. Drag them up slightly – Peter uses around 25 – to open up the darker parts of the frame without making the whole image feel artificially bright. The key word is “slightly.” Shadow recovery is one of the easiest things to overdo.
Step 4: Add Clarity, Vibrance, and a Touch of Saturation
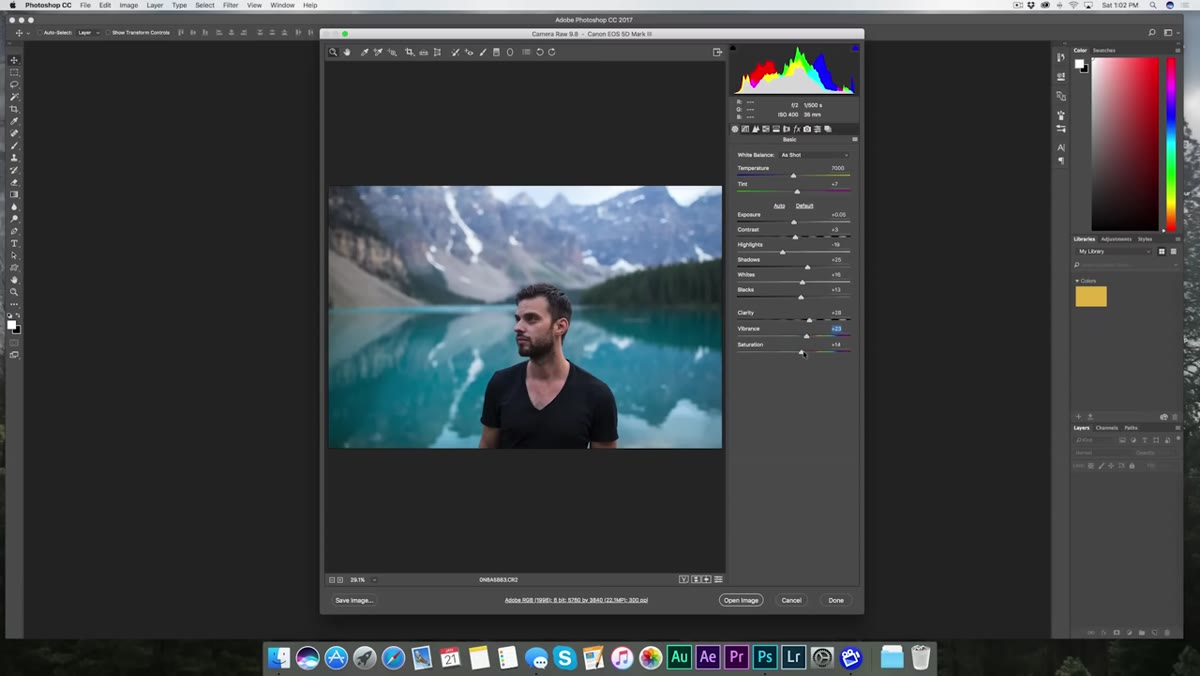 Clarity, Vibrance, and Saturation sliders being raised in Camera Raw
Clarity is one of my personal favorite sliders because it does something subtle but powerful: it increases local contrast along edges, which makes the image feel sharper and more defined without actually running a sharpening algorithm. Don’t confuse it with the Sharpening panel. Clarity is about presence. Push it too far and your image looks like an over-processed HDR nightmare from 2011. A moderate bump – somewhere in the 10-25 range depending on the shot – is usually all you need.
Clarity, Vibrance, and Saturation sliders being raised in Camera Raw
Clarity is one of my personal favorite sliders because it does something subtle but powerful: it increases local contrast along edges, which makes the image feel sharper and more defined without actually running a sharpening algorithm. Don’t confuse it with the Sharpening panel. Clarity is about presence. Push it too far and your image looks like an over-processed HDR nightmare from 2011. A moderate bump – somewhere in the 10-25 range depending on the shot – is usually all you need.
After Clarity, bump Vibrance a little, then Saturation slightly less. Vibrance is smart – it boosts less-saturated colors more aggressively while protecting skin tones. Saturation is a blunt instrument by comparison. Use both, but let Vibrance do most of the heavy lifting. One last thing: Clarity can slightly darken an image, so after making these adjustments, go back and nudge Exposure up just a hair to compensate. Then hit Open Image.
Step 5: Clean Up Spots and Blemishes with the Spot Healing Brush
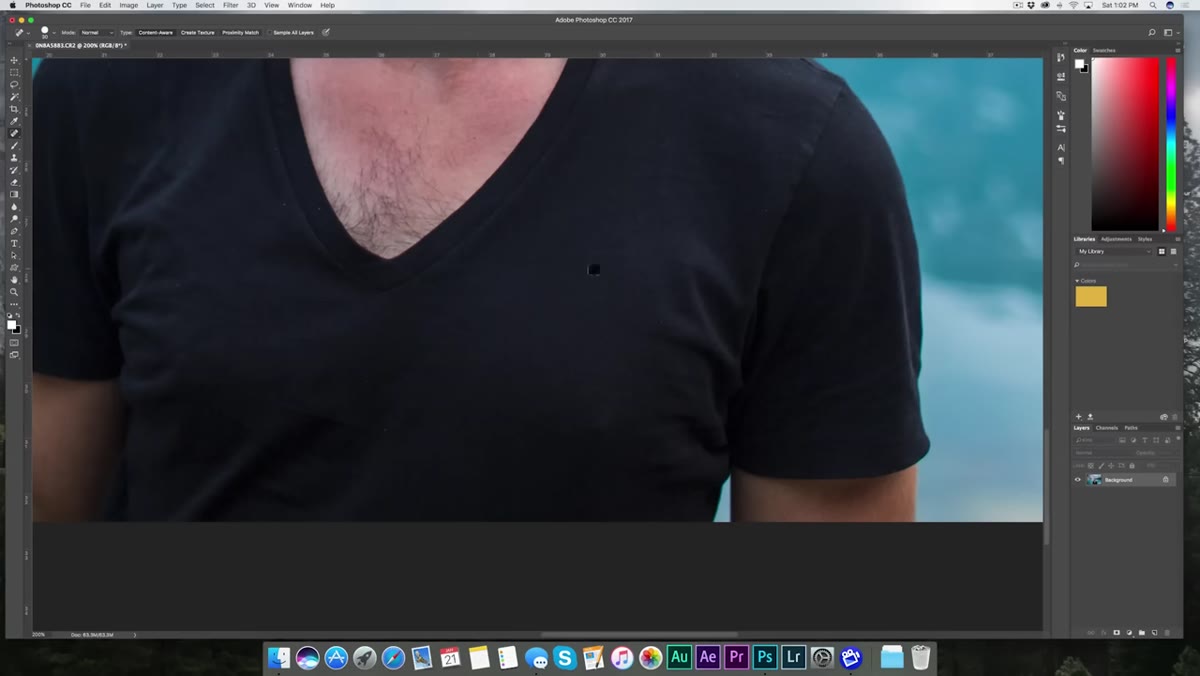 Spot Healing Brush removing dust speck from subject’s shirt
Once you’re in the main Photoshop canvas, zoom in and do a quick scan of the image for anything distracting – dust spots, sensor artifacts, small marks on clothing, minor skin issues. This is where the Spot Healing Brush earns its keep. Find it in the left toolbar, just below the Color Picker icon. It looks like a bandage.
Spot Healing Brush removing dust speck from subject’s shirt
Once you’re in the main Photoshop canvas, zoom in and do a quick scan of the image for anything distracting – dust spots, sensor artifacts, small marks on clothing, minor skin issues. This is where the Spot Healing Brush earns its keep. Find it in the left toolbar, just below the Color Picker icon. It looks like a bandage.
The process is simple: make the brush slightly larger than the spot you want to remove, click once, and Photoshop samples the surrounding area to fill it in seamlessly. It works surprisingly well on clean, textured surfaces. One thing to watch: don’t make the brush so large that the sampled area becomes visible as a circle. Keep it tight to the blemish. For anything more complex than a simple spot – like removing a distracting object near a high-contrast edge – you’ll want to reach for the Patch Tool or Content-Aware Fill instead.
One Thing I’d Add From My Own Workflow
Peter doesn’t mention this in the tutorial, but I always do my Camera Raw adjustments on a Smart Object whenever possible. If you right-click your layer and convert it to a Smart Object before opening Camera Raw as a filter, all those adjustments become re-editable. You can double-click the filter entry in the Layers panel and tweak your Camera Raw settings any time – non-destructively.
I learned this lesson the hard way. Early in my freelance career I flattened a client’s file before delivering it, then they came back wanting changes to the color grade. I spent two hours re-editing from scratch on a flattened JPEG because I’d never worked non-destructively. Smart Objects would have made that a three-minute fix. Don’t be past-Dave. Work in Smart Objects.
The biggest thing I take away from Peter’s approach is that speed and quality aren’t opposites – they’re the result of having a consistent process and actually trusting it. Camera Raw for the foundation, a fast pass with the Spot Healing Brush for cleanup, and you’re looking at ten minutes or less for a photo that genuinely looks like the moment you experienced it.
If this breakdown helped, go watch Peter work through it himself: Watch the full tutorial on YouTube. Seeing the sliders move in real time adds a lot to understanding the feel of these adjustments – text can only take you so far.
Comments
Leave a Comment